If you are not familiar with it, read this guide to learn about:
- What is Watchdog
- What are Types of Watchdog in Raspberry Pi
- Why is it Important to Enable Watchdog on Raspberry Pi
- How to Setup Watchdog on Raspberry Pi
- Conclusion
What is Watchdog
A watchdog is a hardware or software device that runs on your system and monitors the operation of the system continuously. If it detects any fault in the system like the system becoming unresponsive or hangs, it will take necessary action automatically, such as reboot the system.
What are Types of Watchdog in Raspberry Pi
There are two types of watchdog in Raspberry Pi; hardware and software. Hardware watchdogs are devices that are connected to your system through GPIO pins. While software watchdog is a program that runs on your Raspberry Pi system. Both hardware and software watchdogs are an effective choice for preventing your Raspberry Pi system from hanging or unresponsiveness.
Why is it Important to Enable Watchdog on Raspberry Pi
Enabling the watchdog on Raspberry Pi is important due to following reasons:
- It prevents your system from malfunctioning because of software bugs or any type of hardware failure.
- It monitors your system activities, such as device voltage or temperature and restarts the system to keep your device safe. Thus, helps to increase system reliability and stability.
How to Setup Watchdog on Raspberry Pi
To set up watchdog on Raspberry Pi, follow these steps:
Step 1: Load the Watchdog Module
Raspberry Pi device has a built-in watchdog module that can be triggered if you load it, this can be done by using the following command:
You can also try running the above command with the following watchdog module if the above module won’t be able to load on the Raspberry Pi system:

Note: In my case, the watchdog module is bcm2835_wdt.
Step 2: Edit the Module File
Now, open the modules files on Raspberry Pi using nano editor through the following command:
Then add the module name inside the file. The module name should be the one that is loaded successfully in the first step:

Save the file using CTRL+X, add Y and enter to exit the terminal.
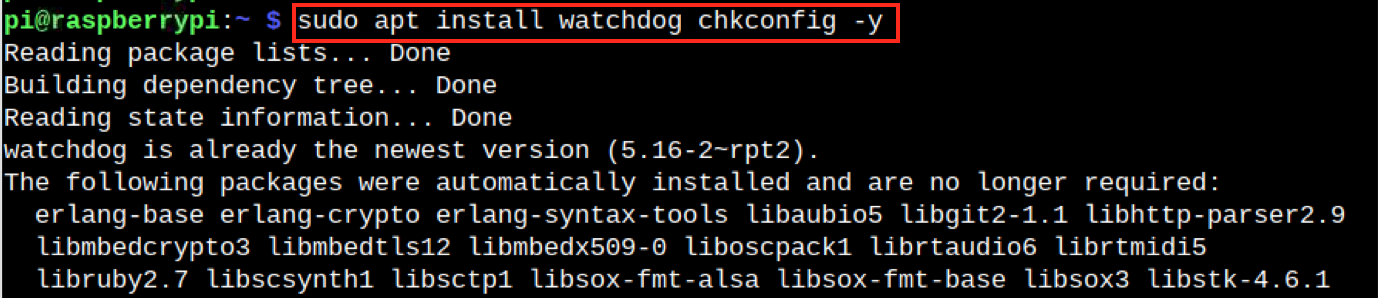
Step 3: Install Watchdog on Raspberry Pi
The watchdog tool is already available in the Raspberry Pi repository and can be installed by running the following apt command:
Step 4: Enable Watchdog Service
You have to enable the watchdog service on your Raspberry Pi system from the following command:

Step 5: Start Watchdog Service
After enabling, you can start watchdog service on Raspberry Pi from the following command:
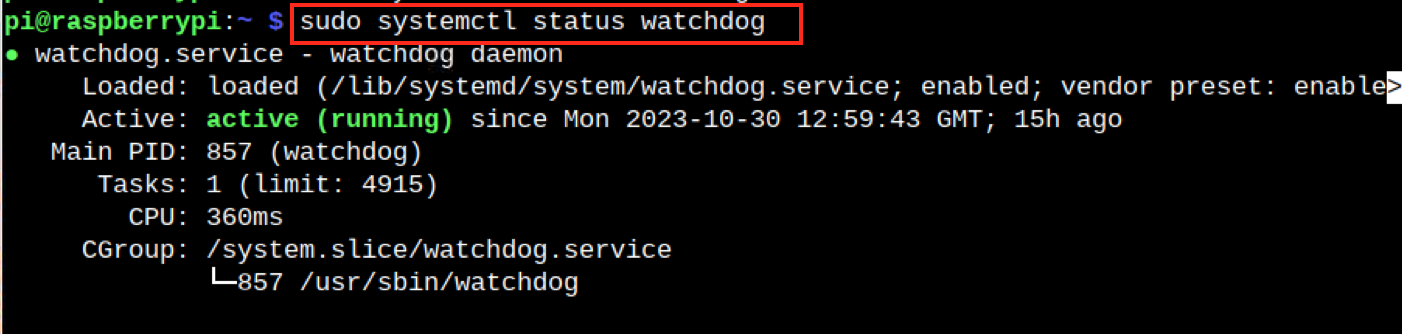
Step 6: Check Watchdog Status
You must ensure watchdog service is up and running on Raspberry Pi, this can be done by using the command given below:
Step 7: Configure Watchdog on Raspberry Pi
Now open the watchdog configuration file on Raspberry Pi by running the following command:
Inside the watchdog configuration file, uncomment the line “#watchdog-device = /dev/watchdog”. You can manually search this line using CTRL+W, and then save the file using CTRL+X, add Y and press enter:
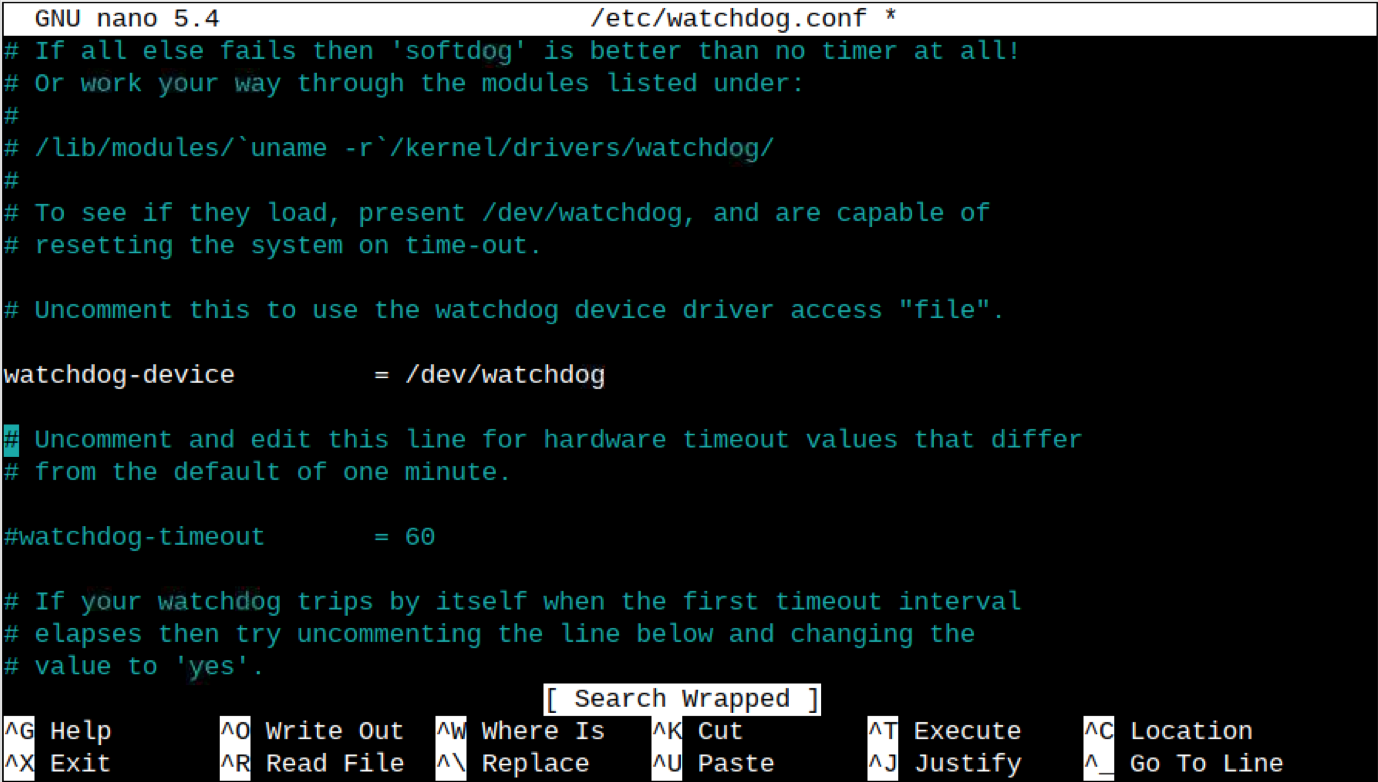
Once you save the file, the watchdog daemon will send a heartbeat every 10 seconds to /dev/watchdog, and if it doesn’t receive any signal from it, it restarts the system
Step 8: Test the Watchdog Functionality
You can test whether the changes you made are correct by generating a fork bomb on Raspberry Pi from the following command:
Wait for 10 seconds and you will see your Raspberry Pi system restart after that time, which ensures that the watchdog is successfully up and running on your system. If it detects any unresponsiveness on your device, it will restart, thus keeping your device stable.
Conclusion
Setting up a watchdog on Raspberry Pi is a simple and straightforward process and can be done by first loading the watchdog module on the device. After that, you have to add the module inside the /etc/modules file and save it. Then install the watchdog daemon on the Raspberry Pi system, enable and restart the daemon to run it on the system. Finally, you only have to uncomment the /dev/watchdog line inside the watchdog configuration file to allow watchdog to monitor your system. After that, you can test its working by generating a fork bomb on the Raspberry Pi system.