In this article, we will show you can set up a Node.JS web server on Raspberry Pi.
How to Setup Node.JS Web Server on Raspberry Pi
To create a Node.JS web server on Raspberry Pi, you should need to perform the following steps:
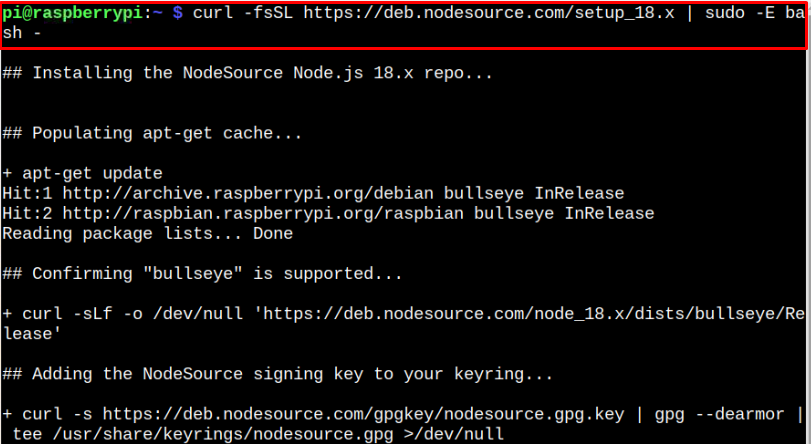
Step 1: Add Source Repository for Node.JS on Raspberry Pi
Since the Node.JS latest version on Raspberry Pi can only be installed if you add the source repository to Raspberry Pi using the following command:
At the time of writing, the Node.JS latest version is 18 and you can visit here to check for the latest version.
Step 2: Install Node.JS on Raspberry Pi
After successfully adding the source repository, you can run the following command to install the Node.JS latest version on your Raspberry Pi device:

Step 3: Confirm the Node.Js Version
To ensure Node.Js latest version is successfully installed on your system, you can issue the following command:

Step 4: Creating Node.JS Webserver
To begin creating a web server through Node.JS, you should need to create a file with the name of your choice.
In our case, the file we created is “Welcome.js” and for this purpose we are using the following command for creating a file with nano editor:
Once, the file is opened, you need to paste the following code inside the file:
var server=http.createServer(
function(request,response){
response.writeHead(200,{"Content-Type":"text/plain"});
response.end("your message");
});
server.listen(8000);
console.log("Server running at http://:8000/");
In place of “your message”, write your own message that will appear on the web server. While in place of “RaspberryPi_IP”, you should enter your Raspberry Pi IP address that you can find from the “hostname -I” command.
We are replacing the “your message” with “Welcome to Linux Hint!” and “Raspberry_IP” with “192.168.18.58”.

After doing all the changes, save the file using “CTRL+X”, adding Y and pressing enter to exit.
In the final step, you should run the file using the following command:

Ensure that the file name should be the same you created earlier. When you receive the output of “Server running”, it means that your web server is ready to publish your message on the web browser. In order to view this message, head to your browser and enter the address that appears in the above command. You will see the message appearing on your browser tab like the one that appeared below:
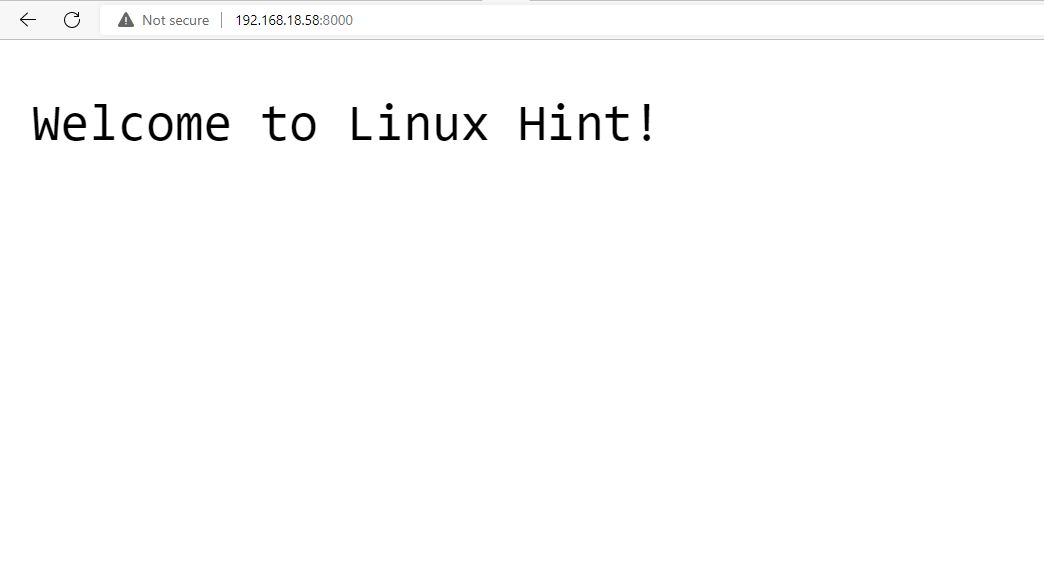
The above output confirms that we have successfully set up a Raspberry Pi Node.JS server. You can create your own Node.JS server file and start building your website.
Conclusion
Node.JS is a robust run-time environment for JavaScript that helps users develop mobile applications or professional websites. You can install this environment on Raspberry Pi by retrieving its repository and then installing the latest version of Node. JS through the “apt” installation command. Later, you can start creating your website by following the guidelines mentioned above for publishing a simple message on the web server using the Raspberry Pi IP address. To develop a professional website, you must have a clear knowledge of JavaScript programming.