In this guide, you will learn:
- What is NGINX Proxy Manager
- Why NGINX Proxy Manager is Useful for Raspberry Pi
- How to Setup NGINX Proxy Manager on Raspberry Pi
- Conclusion
What is NGINX Proxy Manager
NGINX Proxy Manager is a free and open-source web-based user-interface used for managing NGINX proxy hosts. It is a powerful yet simplified tool for easily configuring and managing NGINX for both beginner-level and advanced users.
Why NGINX Proxy Manager is Useful for Raspberry Pi
NGINX Proxy Manager is useful for Raspberry Pi due to the following reasons:
- It has a user-friendly interface that makes it easy for you to create, manage and delete proxy hosts.
- It is useful in scenarios when you don’t have access to the command line interface. You can also use this proxy manager to create websites, such as blogs or portfolios, or can host a web application, such as WordPress or Node.js.
- It can be used as a reverse proxy that routes the traffic to multiple web servers. Hence a good choice for users who want to develop multiple web servers on Raspberry Pi.
How to Setup NGINX Proxy Manager on Raspberry Pi
To setup NGINX Proxy Manager on Raspberry Pi, follow these steps:
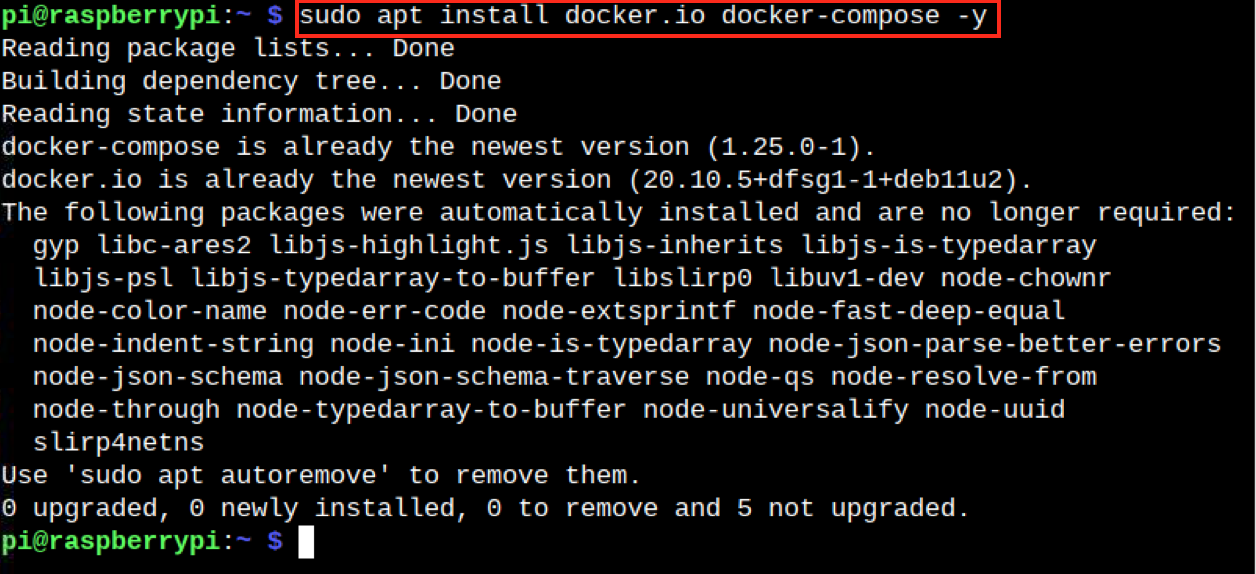
Step 1: Install Docker and Docker Compose on Raspberry Pi
First, ensure you have installed Docker and Docker Compose on Raspberry Pi. If it’s not, run the following command to install them on your system:
Step 2: Create NGINX Proxy Manager Directory
You should create a NGINX Proxy Manager directory so that we can perform all our installation inside this directory. You can create a NGINX Proxy Manager directory by running the following command:
Step 3: Navigate to NGINX Proxy Manager Directory
Navigate to NGINX Proxy Manager directory on Raspberry Pi by running the following command:
Step 4: Create a Docker Compose yml File
We will use Docker to setup NGINX Proxy Manager on Raspberry Pi and to set the things up, we have to create a Docker Compose yml file that will provide instructions on how to startup the specified containers. To create a Docker Compose yml file, use the following command:
Inside the file, add the code provided below:
services:
app:
image: 'jc21/nginx-proxy-manager:latest'
restart: unless-stopped
ports:
- '80:80'
- '81:81'
- '443:443'
volumes:
- ./data:/data
- ./letsencrypt:/etc/letsencrypt
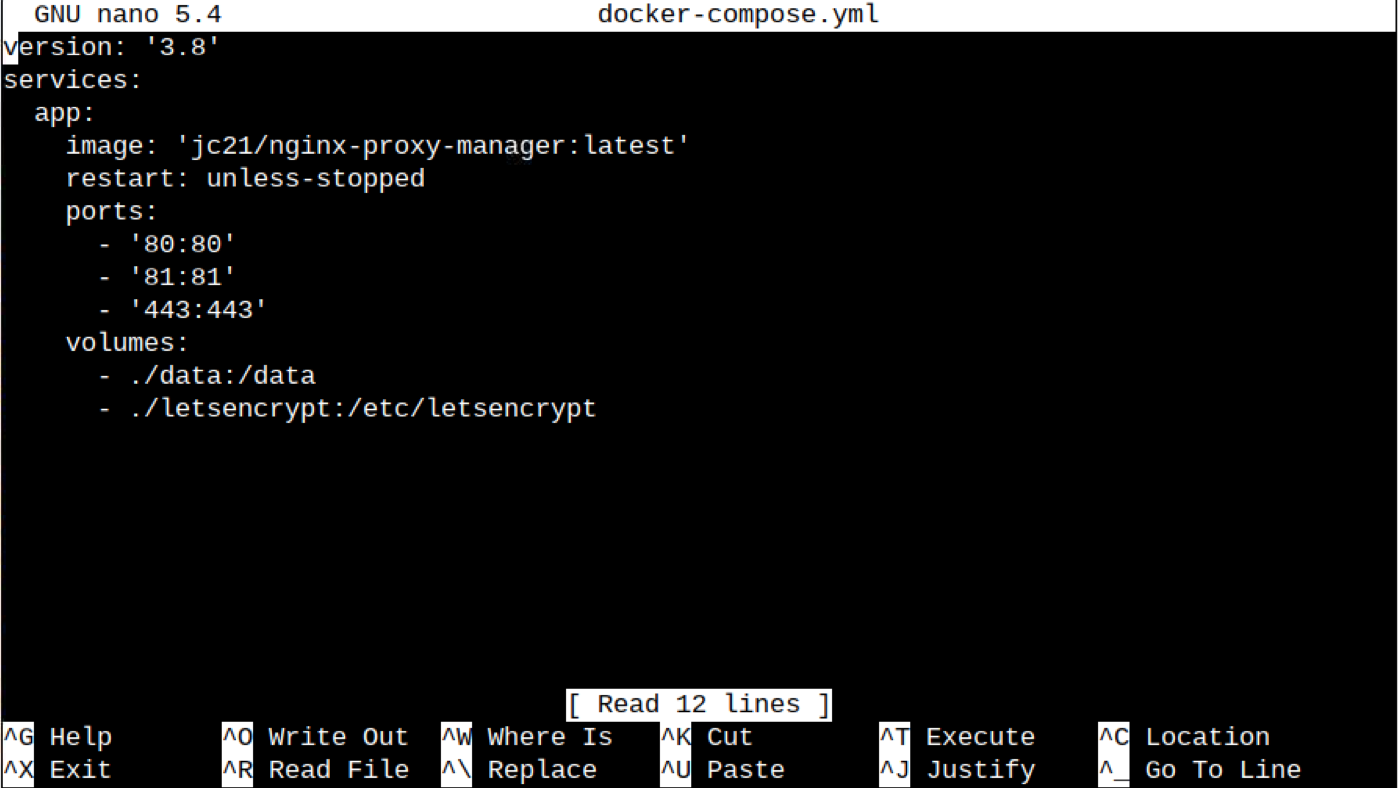
You can save this file using CTRL+X, add Y and press Enter.
Step 5: Run the Docker Compose Command
Now run the following command to start the Docker container, which will begin downloading all the components of the container.
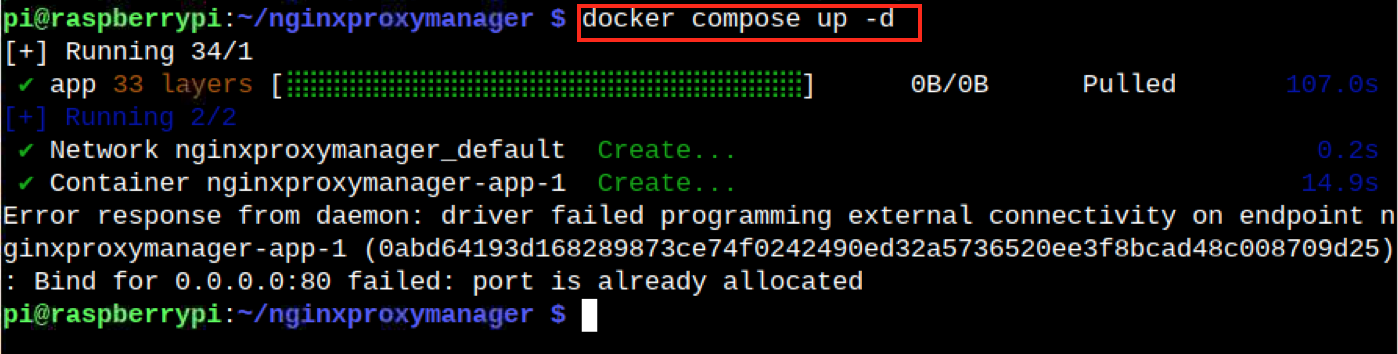
Step 6: Fix “port is already allocated” Error in Docker Compose Command
While running the above command, you may experience the error “port is already allocated”, as in our case. If this error occurs, you have to fix it using the below-given fixes.
First, use the command below to check the Docker containers information:
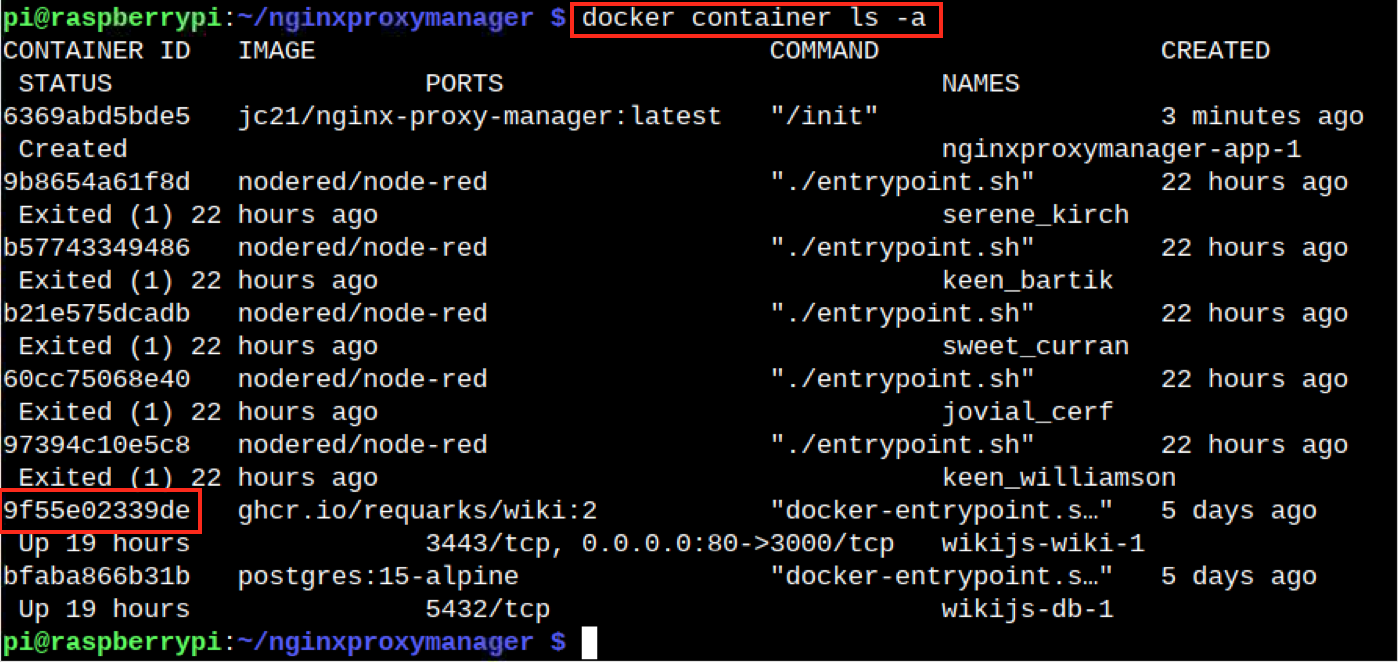
Check for the CONTAINER ID that uses the same port number, which is 80 in our case, then use the following command to stop this container.
After stopping the container, run the following command to remove this container.
Once the container is removed, you can run the docker compose command again to complete the NGINX Proxy Manager installation.

Step 7: Access the NGINX Proxy Manager Interface
Now go to your browser and add the following address by replacing the IP address with the address of your Raspberry Pi:
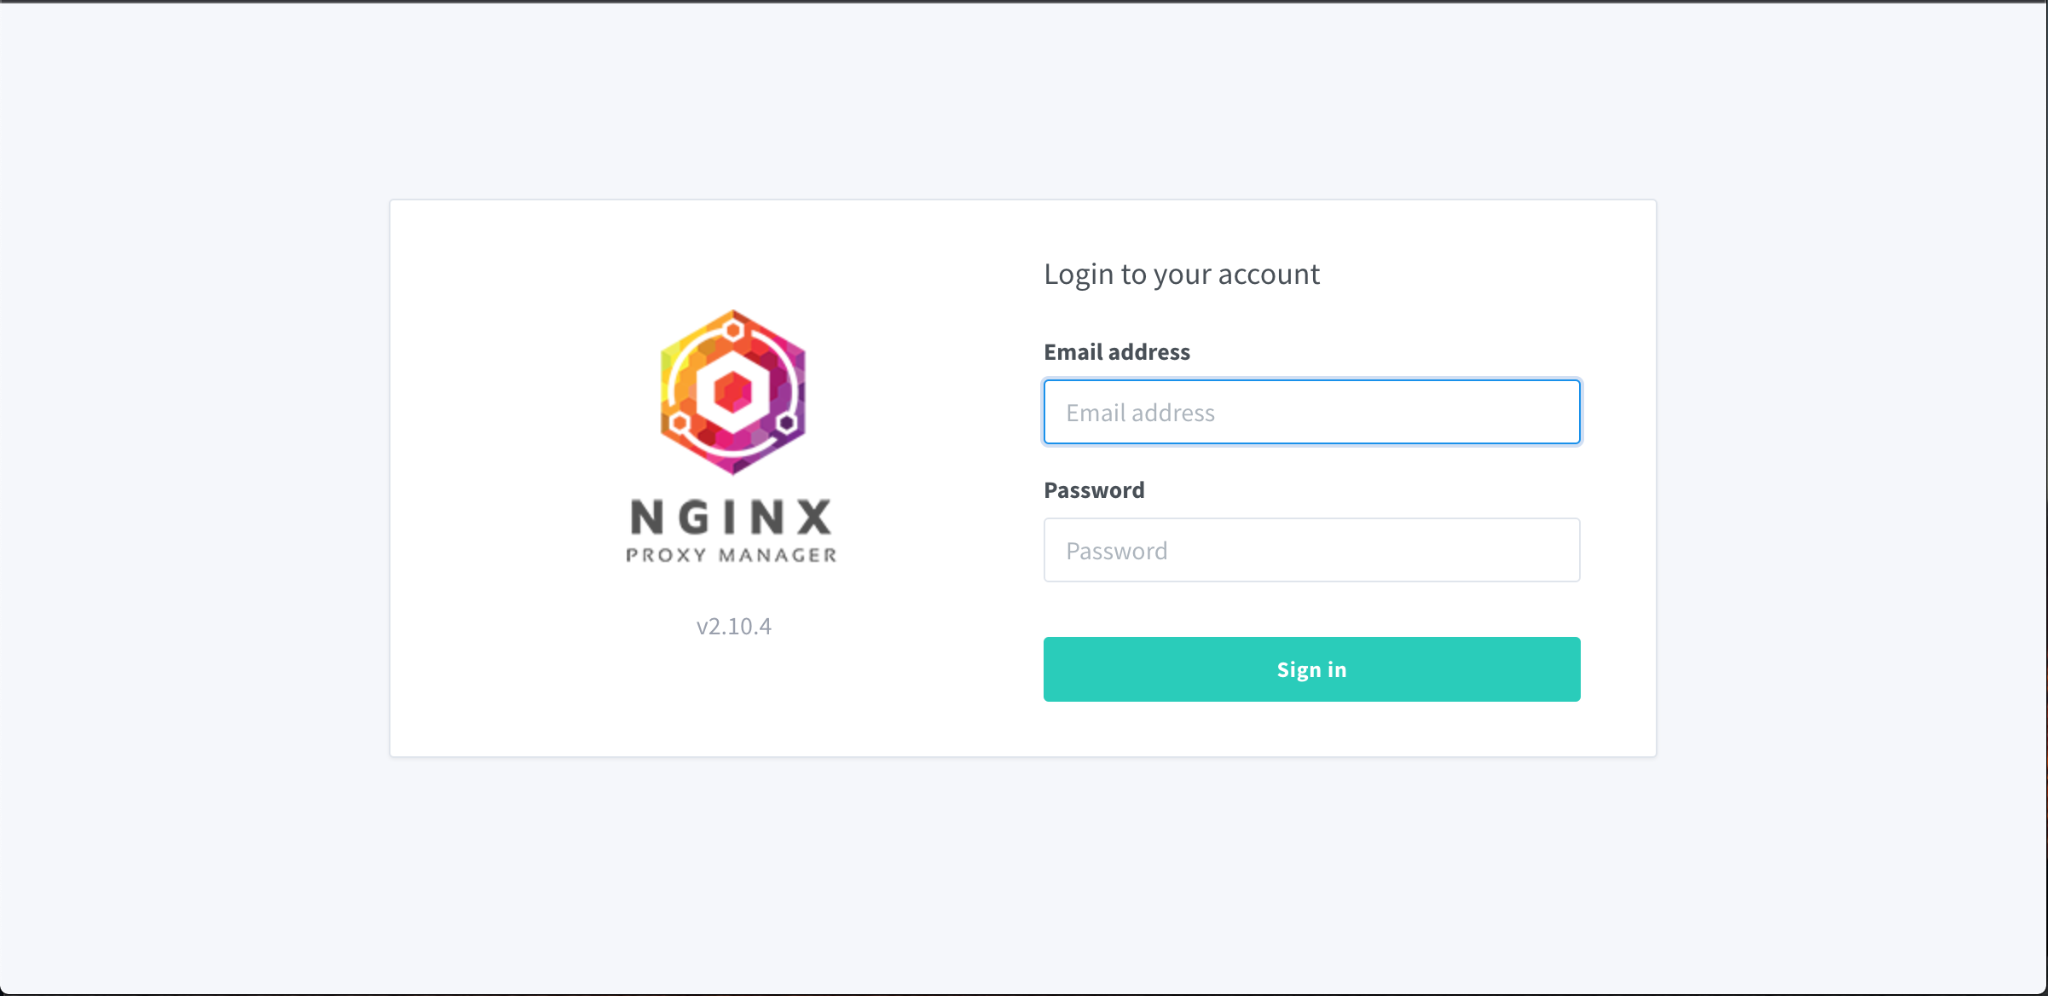
Step 8: Sign in to NGINX Proxy Manager
By default, NGINX Proxy Manager uses the email address as “[email protected]”, while password as “changeme”. Add the default information and sign in to NGINX Proxy Manager.
Step 9: Change Email Address and Password
You are then allowed to change the default email address and password once you sign in to NGINX Proxy Manager. Complete the onscreen instruction.

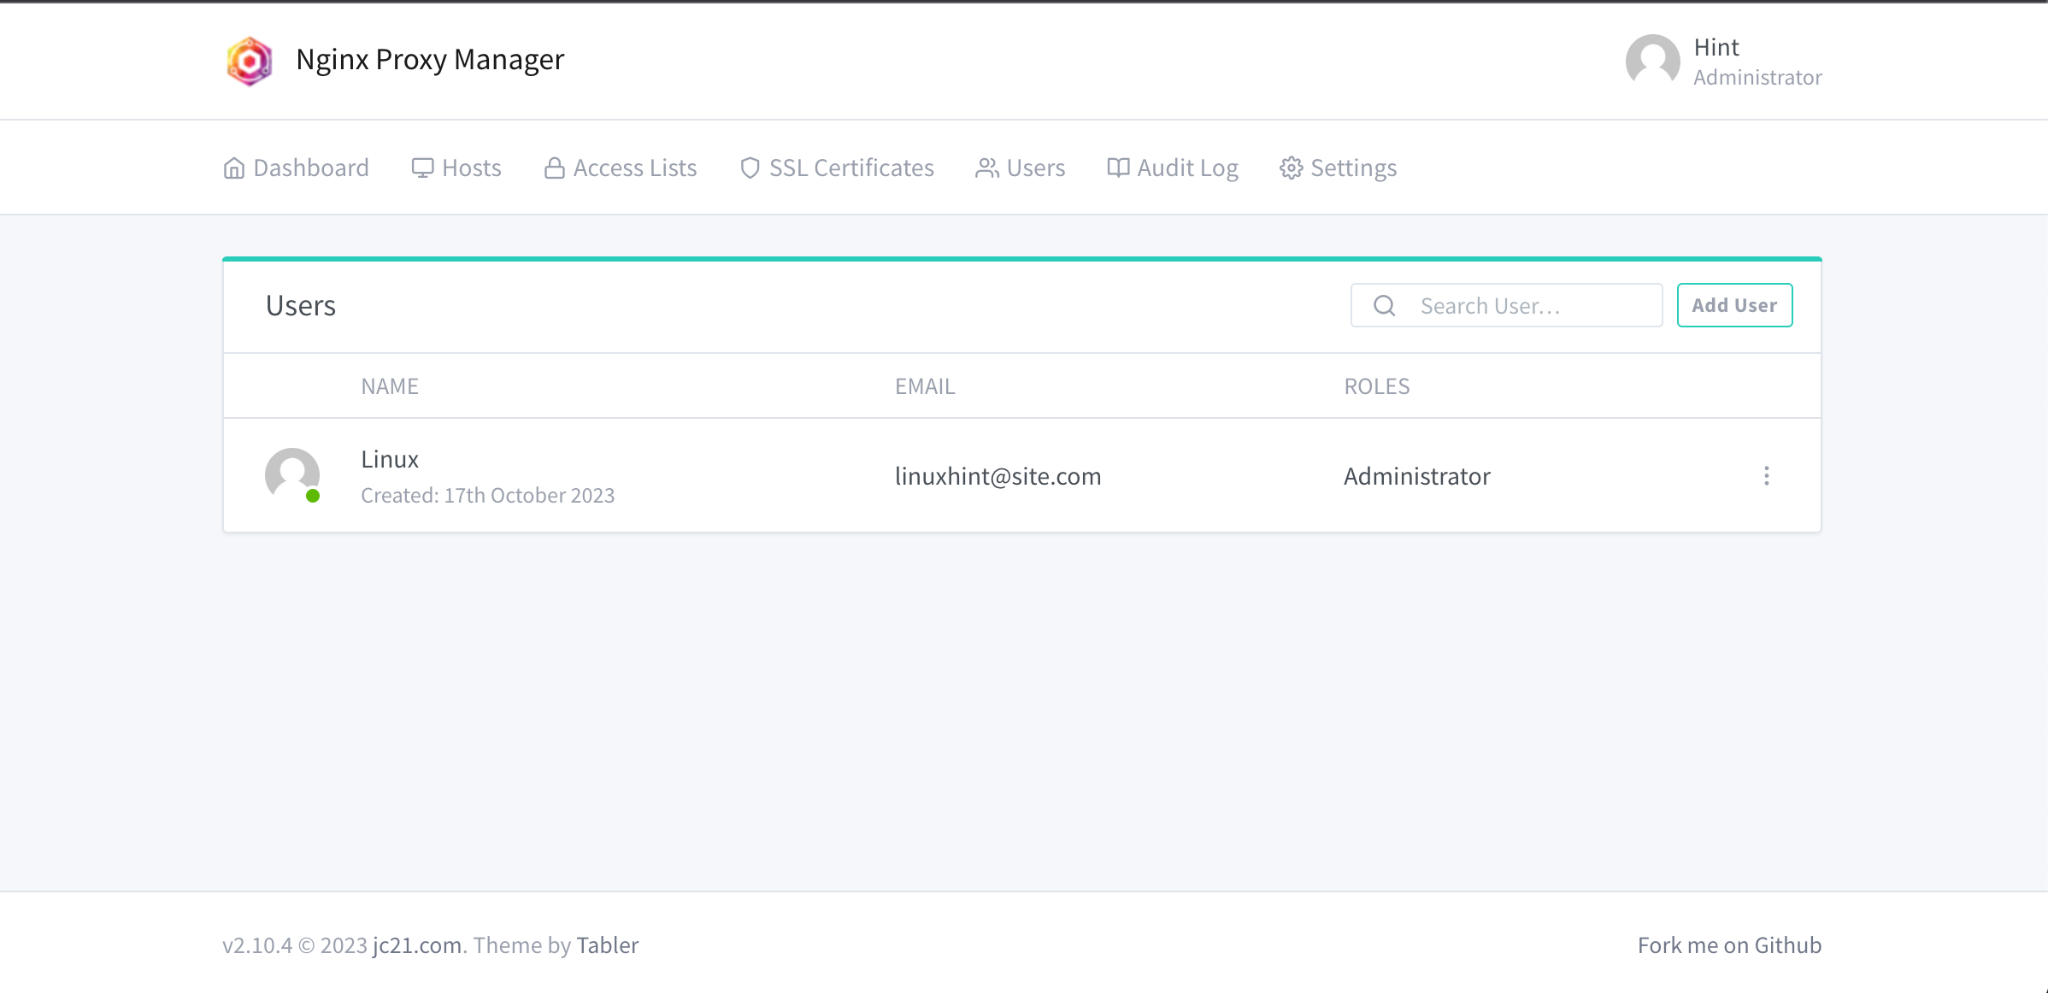
This completes the installation of NGINX Proxy Manager on Raspberry Pi.
Step 10: Create your First Reverse Proxy
Creating a reverse proxy server on Raspberry Pi using NGINX Proxy Manager should be done with care. We will not cover the full details here, but will show you how you can add a proxy host on NGINX Proxy Manager. You can do these steps if you have a decent understanding of the proxy server and how to set it up.
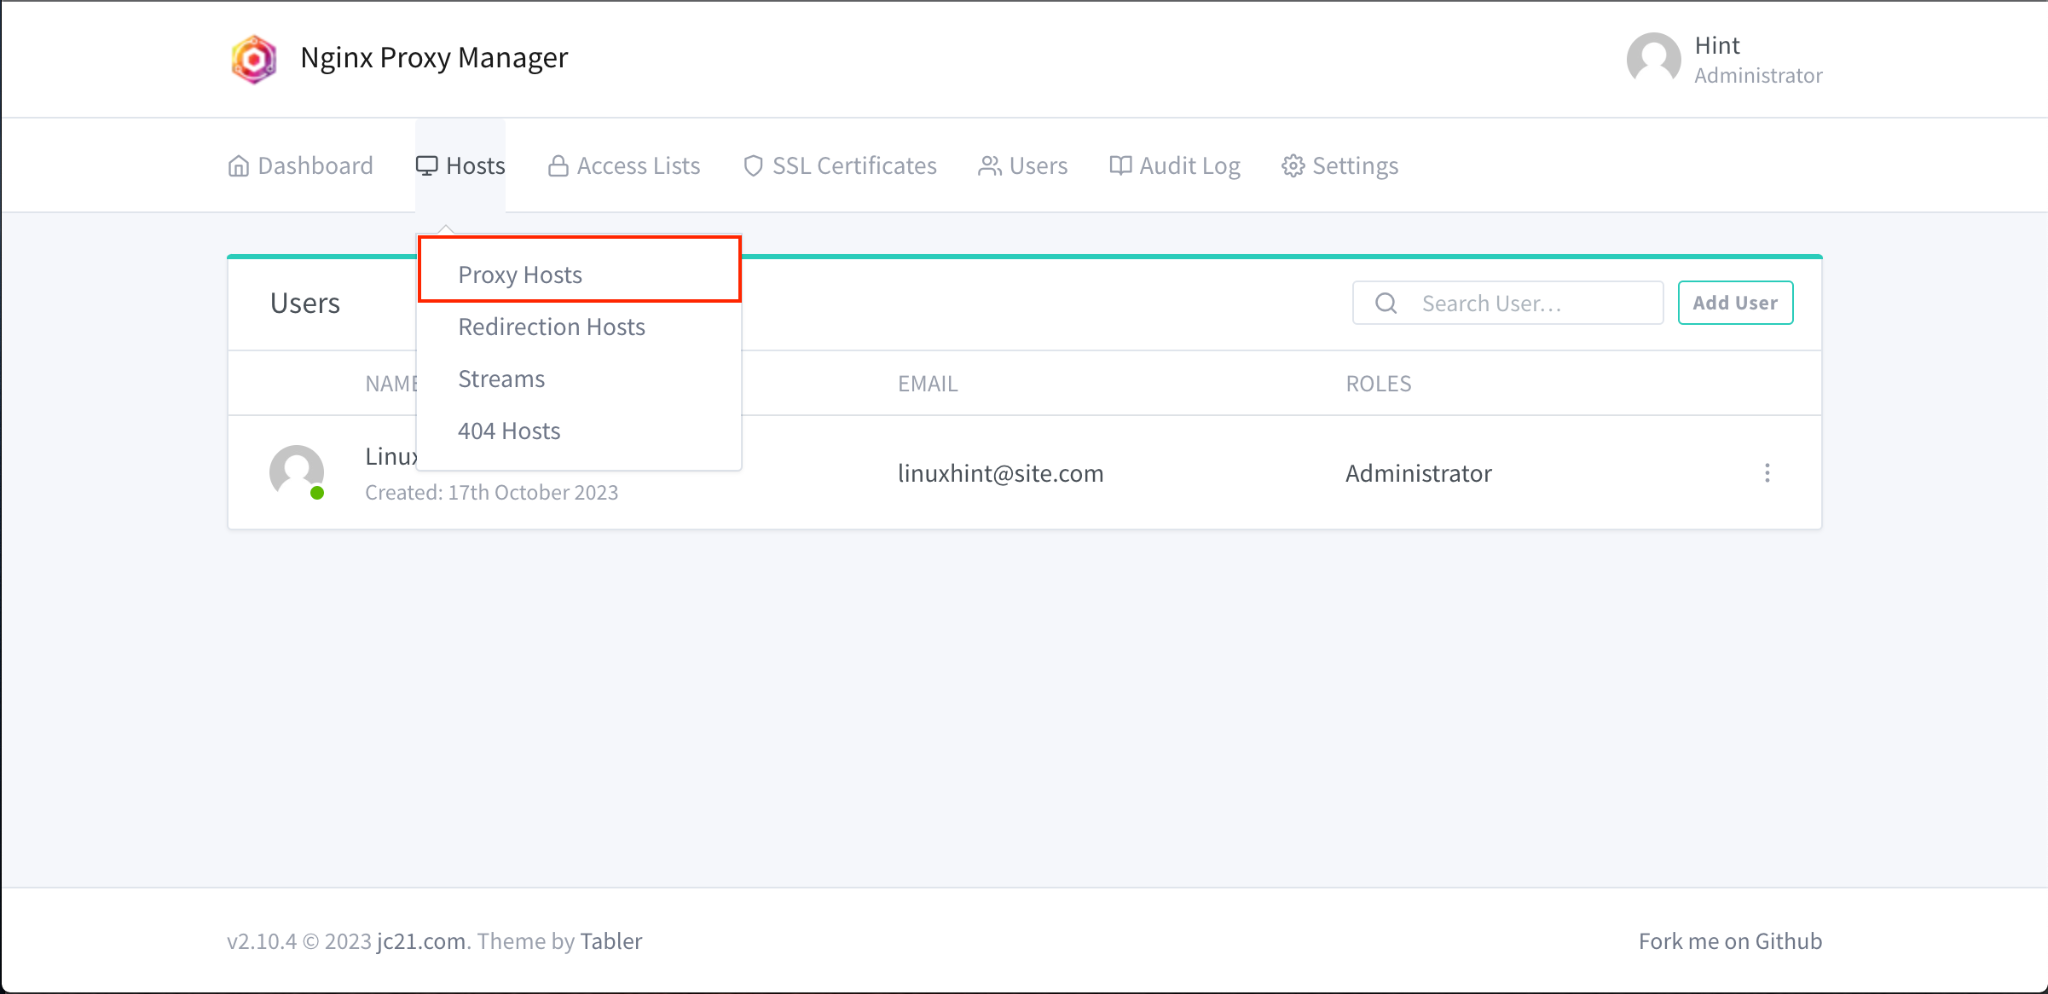
To do this, go to Proxy Hosts:
Select Add Proxy Host button:
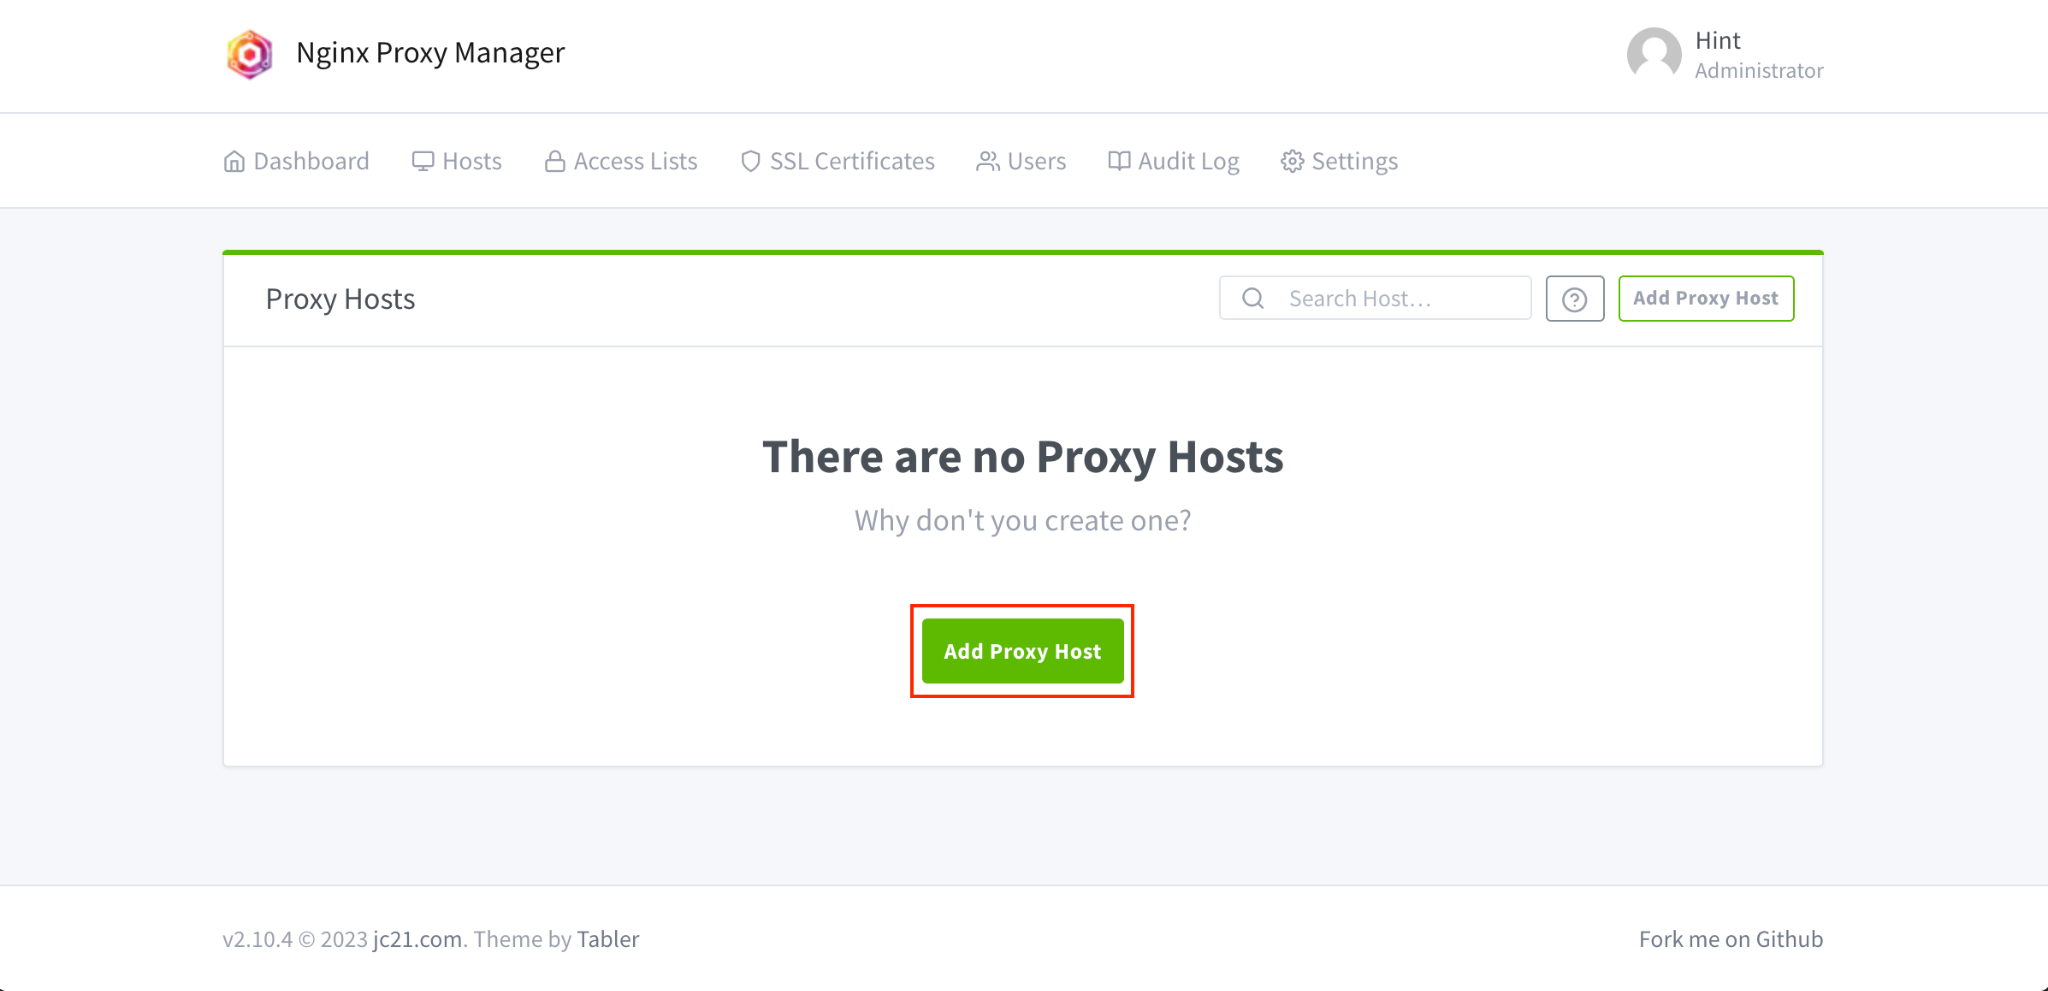
Then use the Domain Names, Forward Hostname/IP and Forward Port, then click on the Save button to save the changes:
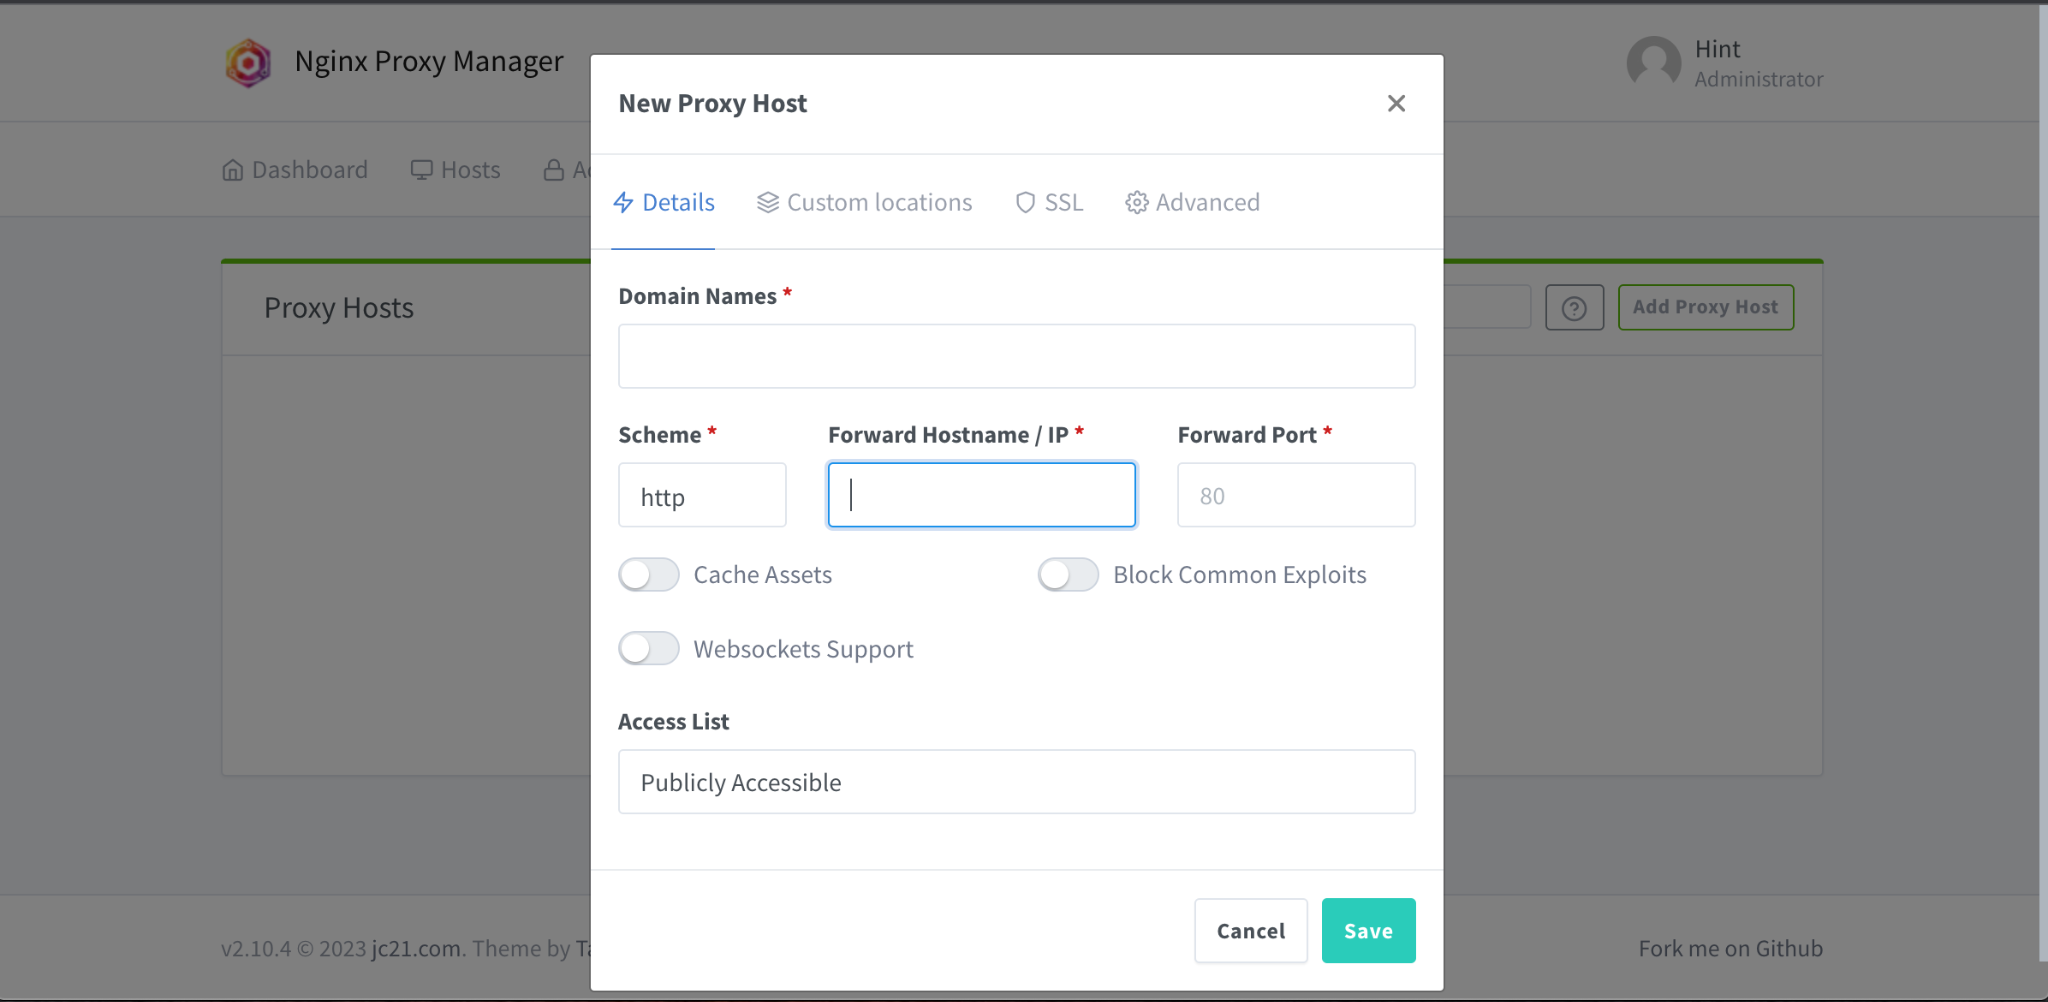
This will activate the reverse proxy. You can also generate SSL certificates by going into the SSL section.
Conclusion
NGINX Proxy Manager provides a simple interface for managing NGINX proxy hosts for both beginner and advanced-level users. You can set it up on Raspberry Pi by first installing Docker and Docker Compose on the system. Then create a directory and yml file where you have to place your code. After that, you can run the docker-compose command to download and install the required files needed to setup NGINX Proxy Manager. Once the setup is done, you can access the NGINX Proxy Manager dashboard on the browser using the Raspberry Pi IP address.