In this article, you will learn how to install and set up the MySQL database on your Raspberry Pi system.
How to Setup MySQL Database on Raspberry Pi
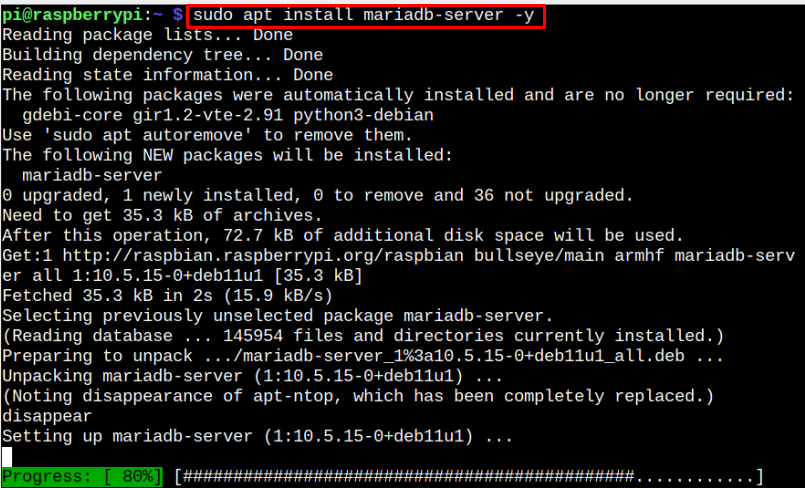
The MariaDB server is introduced by MySQL developers as a drop-in replacement for the MySQL server. Therefore, the MySQL server is no longer available in the Raspberry Pi repository.
To install and setup MySQL (MariaDB) database, follow the below-mentioned steps:
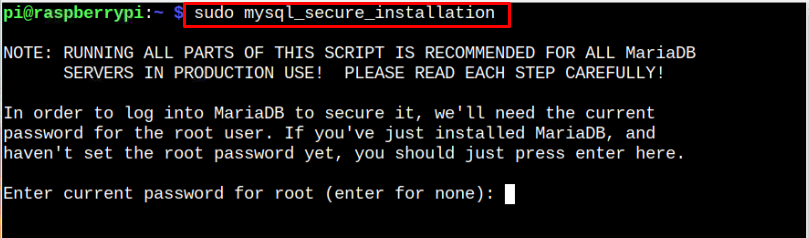
After completing the installation, you must secure your MySQL database from the following command:
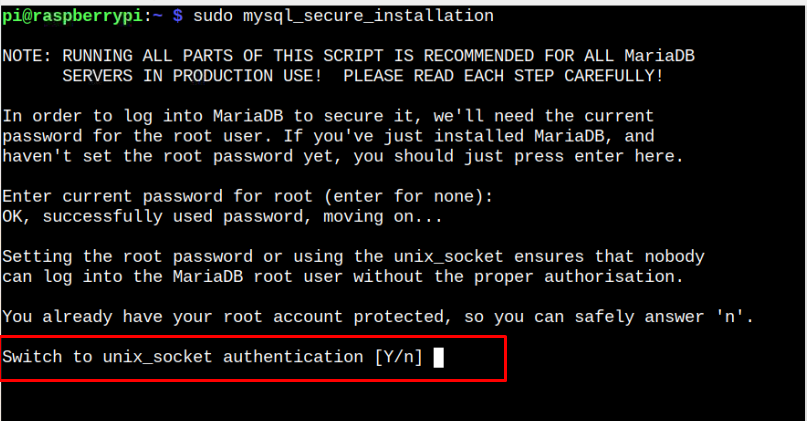
Enter your system password to configure MySQL database setup. Then choose the default option “n” to stay with the root account instead of switching to unix_socket.
Enter “n” to stick with the default root password.

Remove the anonymous users by entering “Y”.

You can disable the root login remotely or enable it according to your choice. In my case I go with “n”.

Enter “Y” to remove the test database or you can reply with “n” too.

Reload the privilege tables by entering “Y” to make the changes.

This completes the MySQL database configuration.

Create a Database Using MySQL
Now, to start creating your first database through MySQL, first, execute the following command to log in to MySQL.

Then create a database using the following syntax:
For example, the name of the database is “sqldatabase”:

Create a username and password for your database and then grant all privileges to your database using the following syntax:

Replace the <username> and <password> in the above command.
Finalize the changes by flushing the privilege table through the following command:

Exit to the database through the “exit” command.

This completes the MySQL database creation on the Raspberry Pi system.
Conclusion
Most advanced servers or websites require you to create a database first so that you can be able to work with those servers or websites. MySQL database is the right choice in these circumstances, which can easily be set up once you install the MariaDB server on your Raspberry Pi system. After the installation, you can secure your MySQL database through some configuration and then easily create a database through MySQL to run or create a server on your system.