In this article, we will show you the method through which you can easily set up an On-Screen Keyboard on Raspberry Pi.
Setting up an On-Screen Keyboard on the Raspberry Pi
Setting up On-Screen Keyboard on Raspberry Pi is a pretty simple task as it doesn’t require installing any dependencies of packages on your system. For installation, use the following steps:
Step 1: Update Packages
Before you install On-screen Keyboard on Raspberry, you must ensure that the packages are updated on your system. To confirm it, you can apply the following command:
The update time depends on your internet speed and the size of the packages so you have to wait till it finishes.
Step 2: Install On-Screen Keyboard on Raspberry Pi
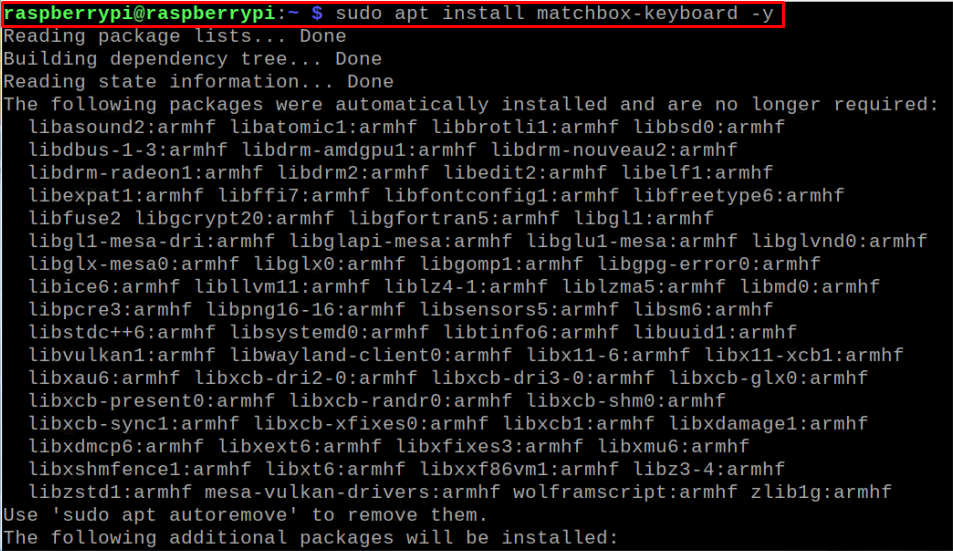
After updating the packages, you can begin installing On-Screen keyboard on Raspberry Pi. Here, we are installing “matchbox-keyboard”, which is the most suitable one to be used on Raspberry Pi. Run the following command to install it on your Raspberry Pi device:
Step 3: Running On-Screen Keyboard on Raspberry Pi
After completing the installation of On-Screen keyboard on Raspberry Pi, you can run it using the following command:
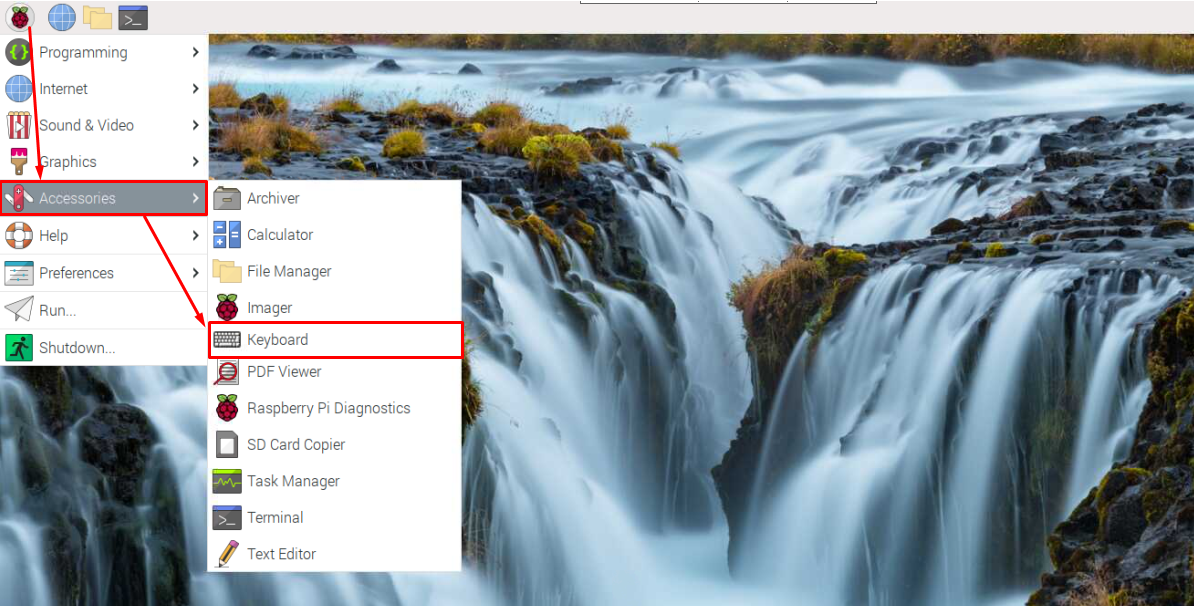
You can also run the On-Screen Keyboard by heading towards the “Accessories” option in the Raspberry Pi main menu.
Adding On-Screen Keyboard Toggle at the Taskbar
Now the next thing is to add On-Screen Keyboard toggle at the taskbar so that whenever your system restarts, you can see it right onto your desktop. To do this method, use the following steps:
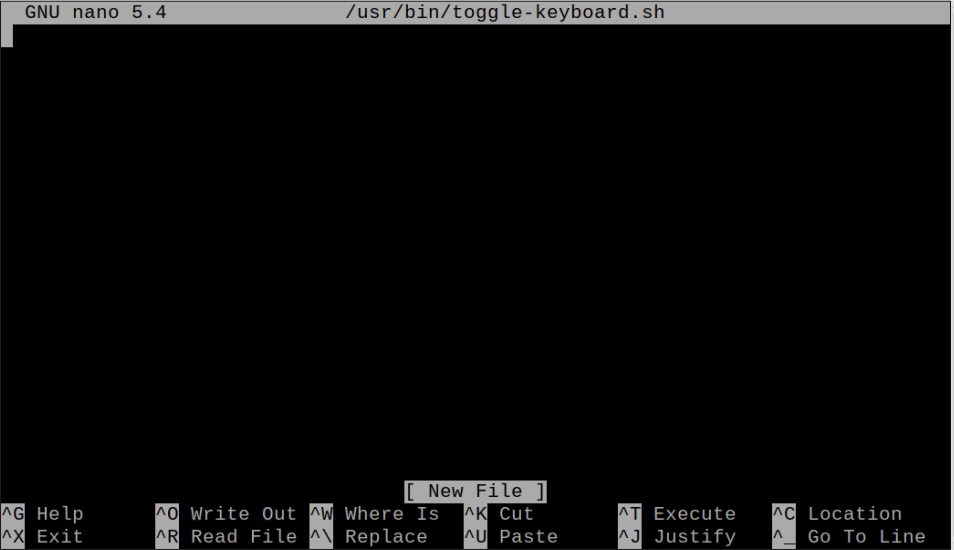
Step 1: First, open the toggle-keyboard bash script file at the location “/usr/bin” using the following command:
In the above script file, you have to add the text as given below:
PID="$(pidof matchbox-keyboard)"
if [ "$PID" != "" ]; then
kill $PID
else
matchbox-keyboard &
fi
After adding the above line inside the file, save the file using “CTRL+X” keys, add Y to confirm and Enter to exit.
Step 2: Next, you will need to make the bash script file executable which you can do so using the following command:
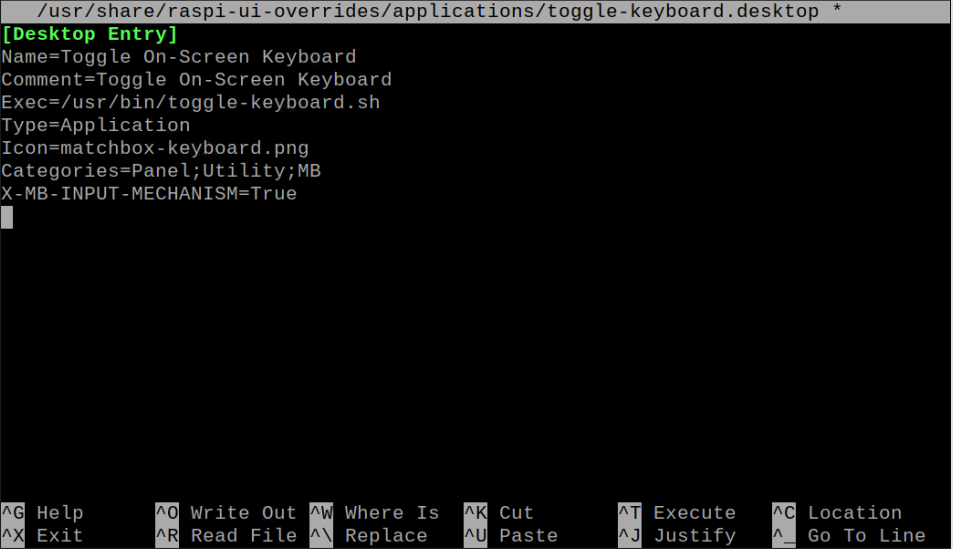
Step 3: Now, you will have to create a file for Taskbar to read and load the toggle-keyboard on your system. You can do this through following command:
Then add the following text in the file:
Name=Toggle On-Screen Keyboard
Comment=Toggle On-Screen Keyboard
Exec=/usr/bin/toggle-keyboard.sh
Type=Application
Icon=matchbox-keyboard.png
Categories=Panel;Utility;MB
X-MB-INPUT-MECHANISM=True
Save this file.
Step 4: Now, copy the default configuration to your current Raspberry Pi user configuration folder using the following command as we are going to do some modification in the configuration file.
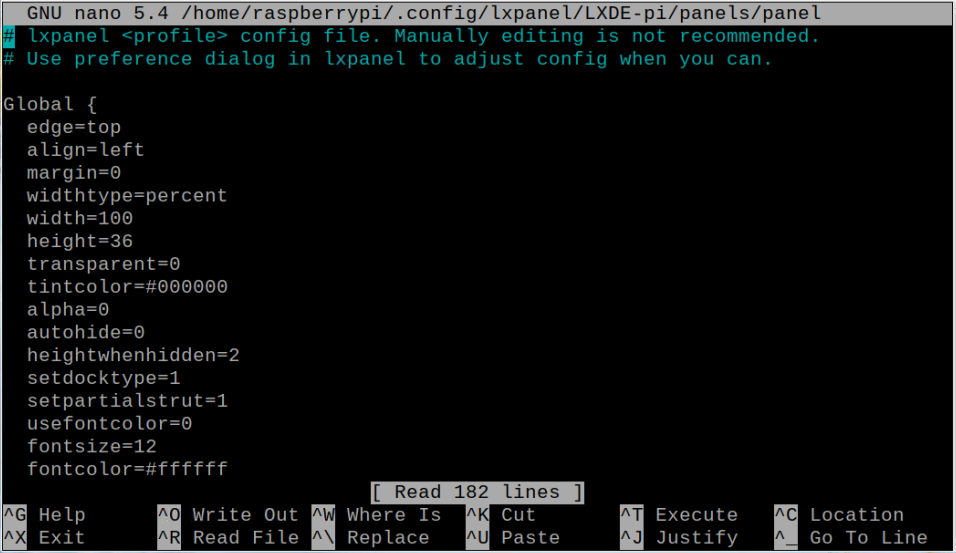
Step 5: Next, open the configuration file using the following command to allow the taskbar to add the On-screen keyboard icon.
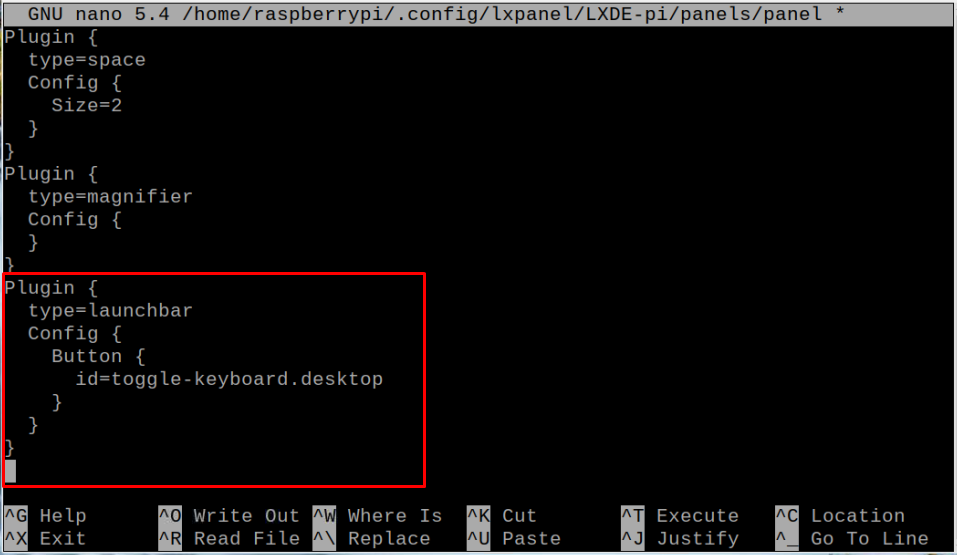
Then add the following lines at the end of the file.
type=launchbar
Config {
Button {
id=toggle-keyboard.desktop
}
}
}
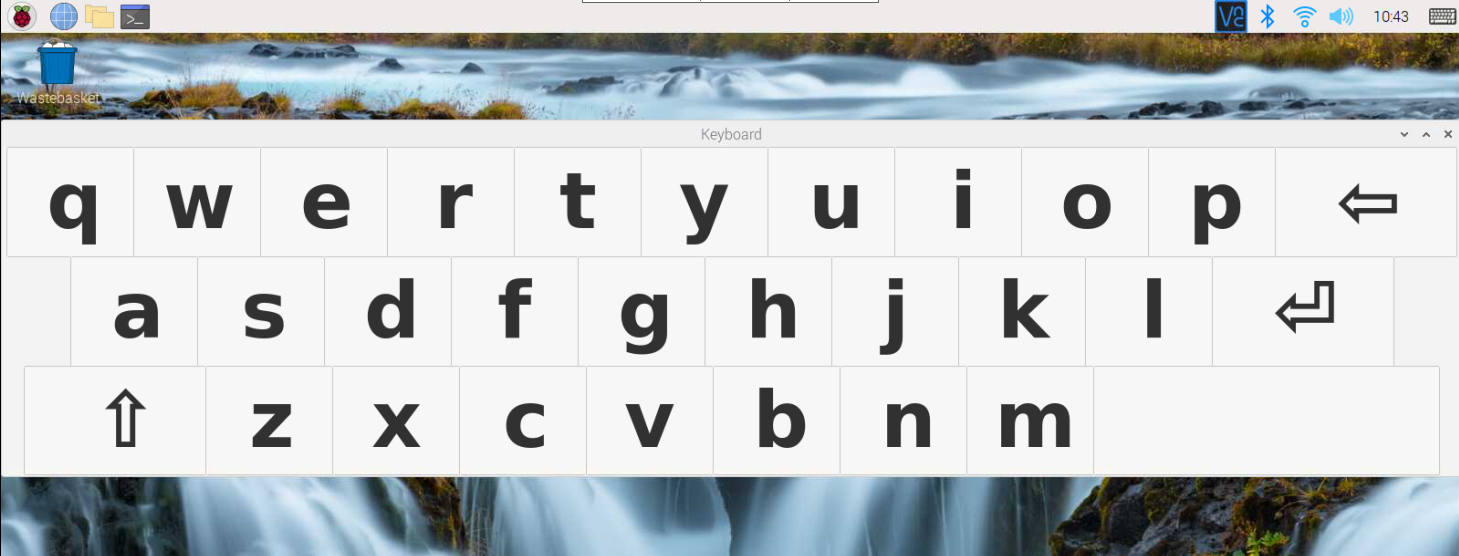
Save the file and then reboot your device. After the reboot, you can see that the On-Screen keyboard icon appear on your screen
You can run it by clicking on the On-screen keyboard icon and close it by clicking on the icon again.
At this point, the On-Screen Keyboard is successfully set up on a Raspberry Pi device.
Conclusion
An On-Screen Keyboard is the most effective solution for the Raspberry Pi user who doesn’t want to purchase a keyboard for the device, or the keyboard isn’t functioning properly. Following the above-given guidelines, the users will be able to install and set up an On-Screen keyboard on Raspberry Pi and take full charge of the device using only a mouse.


