The UFW is a firewall that comes on Ubuntu and Debian-based distributions by default to control and monitor the network traffic. The UFW can be handled from the terminal of the Raspberry Pi (as Raspberry Pi is also a Debian-based operating system).
In this write-up, we will discuss the method to install and set up the ufw firewall on Raspberry Pi.
How to install the UFW on Raspberry Pi
We always recommend our readers, update the repository of Raspberry Pi before installing any package so if there is any package that needs an upgrade, it can be upgraded. To update the Raspberry Pi repository, we will use the command:

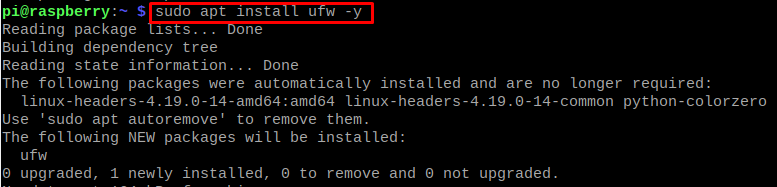
When all the packages are up to date, then we will install the UFW package using the apt package manager:
After the successful installation of the UFW, we will check its status using the systemctl command:

The output is displaying the service of UFW is inactive on Raspberry Pi, to enable it to execute the command:

To verify the status of UFW, we will use another command that is verbose:

The status of the UFW is active.
How to set up the UFW on Raspberry Pi
As we discussed above the UFW is a program of the Raspberry Pi that is used to allow and restrict the network traffic of our network. We can not only allow/restrict the specific network but also can allow/restrict the particular IP address using the UFW on Raspberry Pi. Similarly, we can allow/restrict the group of networks or group of IPs.
How to deal with the port using UFW on Raspberry Pi
Now if we want to allow the port in Raspberry Pi, we will simply allow the port number. For example, we will allow port 22 by ufw using the command:

The rule has been added which means that all the traffic through port 22 will be allowed. To limit any port, we use the keyword of “limit” instead of allowing so the command will become:

Similarly, we can restrict any port by using the keyword of “deny”, so the command will be:

To see all the rules which are added in UFW on Raspberry Pi, we will run the command:

We can see all the rules we added are displayed in the output.
How to change the default policies of UFW on Raspberry Pi
By default, the policies which are defined by UFW on Raspberry Pi are, neither incoming is allowed nor outgoing requests will be entertained. To change the default policies, we execute a simple command, for example, we want to change the default policies and allow all the incoming, we will run the command:

Similarly, we can change the default policies by using “deny” or “limit” keywords instead of “allow” in the above command according to our requirements.
How to enable IPv6 on UFW firewall on Raspberry Pi
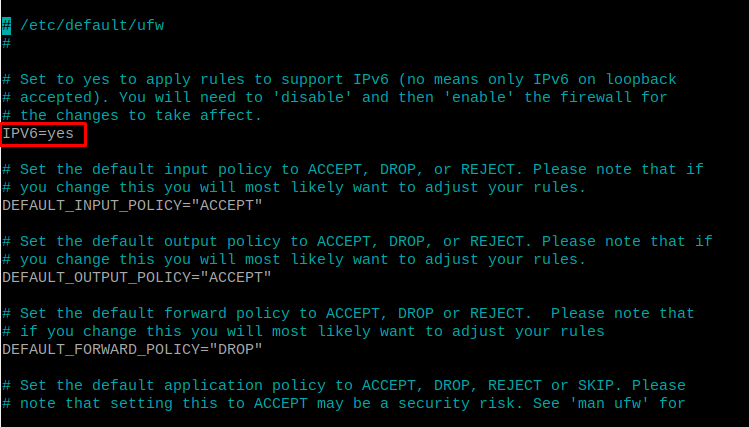
First, we will check the status of the IPv6 by opening the file of /etc/default/ufw using the nano editor:
![]()
We will find out the “IPv6” and will make it “yes” if it is not:
Save the settings by pressing CTRL+S and exit the editor using a shortcut key or CTRL+X. After making the new changes, we will reload the settings using a command:

How to deal with the particular IP by UFW on Raspberry Pi
We can allow/deny the particular IP address to access our network system, moreover, we can also define the rules for the specific IP on a specific port. We will discuss both methods; first, to allow the specific IP on Raspberry Pi is using the command:

Now, if we want to allow the specific IP on a specific port, we will use the command:

How to delete the rule of UFW on Raspberry Pi
We can list down all the rules defined on the UFW by using the command:

Now if we want to delete the rule [5], we will use the command:
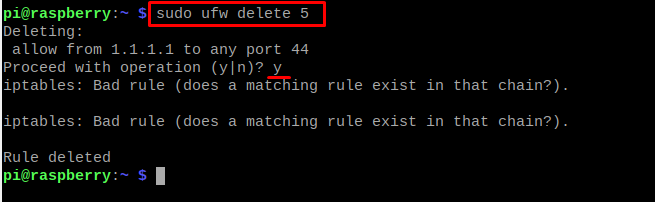
It will ask for the proceeding of operation, type “y” to confirm the deletion of the command. After this we can reset the ufw by using the command:
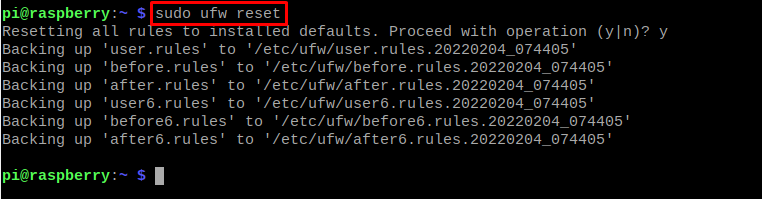
It will also ask permission of proceeding with the process, type “y” to grant the permission.
Conclusion
The UFW comes in Debian-based operating systems like Raspberry Pi OS to configure the firewall of the network. The UFW can be configured from the terminal using simple commands to allow, deny, and limit the rules definitions. In this write-up, we have discussed the method of setting up the firewall on Raspberry Pi along with the method of installing it on Raspberry Pi OS.