In this tutorial, you will learn to install Rclone on Raspberry Pi so that it will enable you to use cloud storage on your Raspberry Pi device.
Installing Rclone to the Raspberry Pi
To install Rclone on Raspberry Pi, you will need to follow the below-mentioned steps:
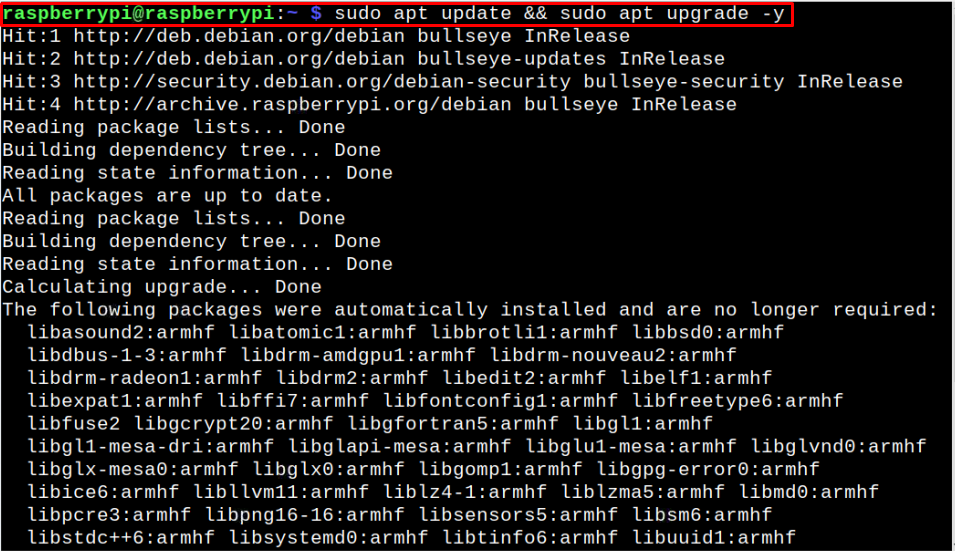
Step 1: Update Raspberry Pi System
Before beginning Rclone installation on Raspberry Pi, first ensure that your system packages are up to date and for that reason you will need to use the following command:
Step 2: Install Unzip
Next, you will need to install the unzip package on your Raspberry Pi through the following command as this will allow you to extract the contents of the zip file later on.
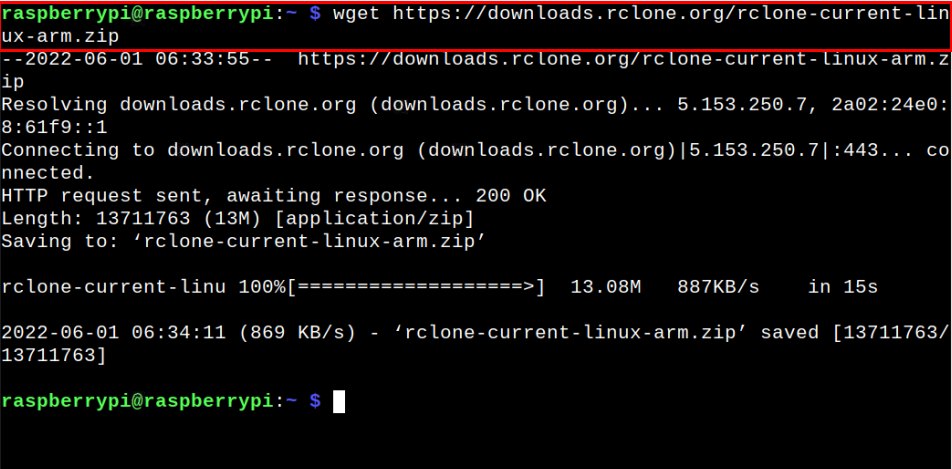
Step 3: Install Rclone Zip File on Raspberry Pi
Now, download the latest Rclone zip file by executing the following command:
Step 4: Unzip the Rclone Contents
After the downloading finished, unzip the Rclone contents through following command:
The “j” argument in the above command is used to unzip all the contents of the file without creating any directory. Further, the use of “d” argument is to extract the files into an assigned directory.
Step 5: Move files to directory
After extracting the files, you have to specify the location where the system will know the where the file is placed and for this reason, you have to use the following command:
This will move the files to binary location.
Step 6: Set Manual Pages for Rclone
The next step is to set up manual pages for Rclone on Raspberry Pi as this will provide you with the program manual whenever you type “man rclone”.
To do this step, you have to move the Rclone folder to man folder using the following command:
Step 7: Allow Root user ownership
Next, you will need to allow root user ownership to the file using the following command so the person who has access to your Raspberry Pi won’t be able to access these files:
Step 8: Clean up the Installation
Now, clean up the installation files such as zip file, and temp folder as they are no longer required. To do so, use the following command:
$ rm -r -f ~/rclone-temp
Step 9: Running Rclone on Raspberry Pi
After successfully installing Rclone on Raspberry Pi, it’s now time to use it on your Raspberry Pi. To get started with Rclone, you will need to add a new remote connection using the following command:
Then enter “n” to create a new remote connection.
Provide a remote connection name and as soon as you press enter you will see various storage options on your Raspberry Pi terminal that Rclone offers.
Now, pick a number for the service you want to use and start syncing your files to cloud storage by following the guidelines because now Rclone is perfectly set up on your Raspberry Pi device.
Conclusion
Rclone is an excellent command-line program that enables Raspberry Pi users to manage and sync their files on cloud storage. It has access to 40+ cloud storage servers and you have to pick anyone to upload your files. Its installation requires a Rclone zip file and some additional steps, which you can complete by following the above guidelines. After the installation, you can then use the Rclone guidelines to start sending your files to the cloud storage of your choice.


