In this write-up, we will learn the installation procedure of the Apache web server on the Raspberry Pi operating system and also learn how a web page is accessed using the Apache web server.
How to install an Apache web server on Raspberry Pi
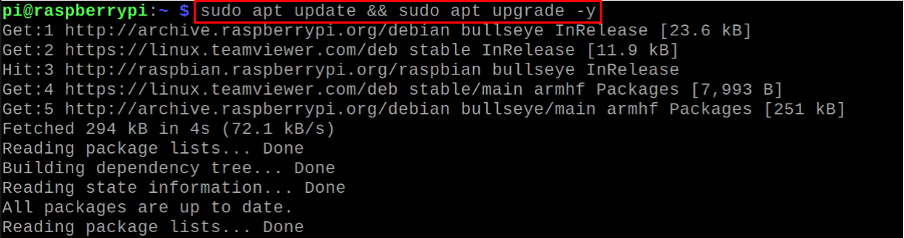
Before setting up the Apache server, we will first update and upgrade all the packages up to date of the Raspberry Pi using the apt package manager command:
Now, we will check the status of the Apache server using the systemctl command:

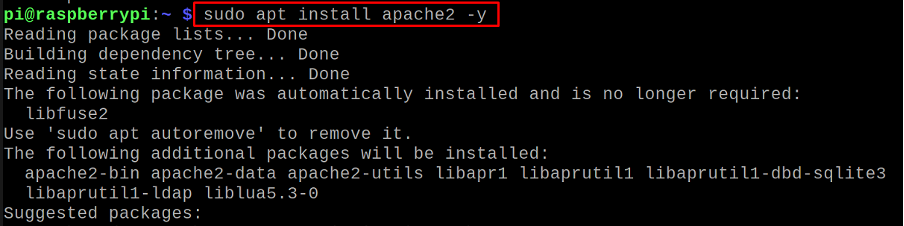
The output means that the Apache server has not been pre-installed, so we will install it using the apt package manager:
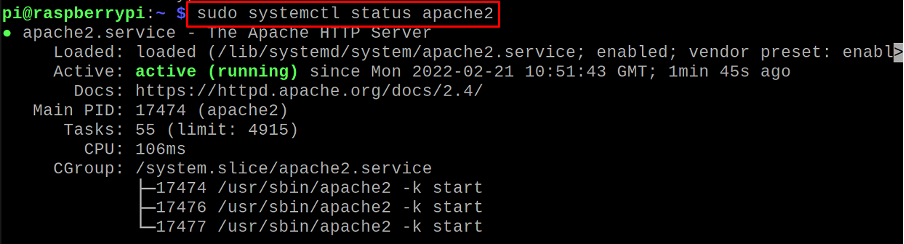
To confirm the installation of the Apache server on the Raspberry Pi, we will find out the status of Apache2 using the command:
Now, we will type the IP address of the Raspberry Pi device in the URL bar of the web browser to check the running status of the Apache2, to know the IP address of the device, use the command:

Type the 192.168.18.218 (or simply type “localhost”) in the URL bar of the Chromium web browser of the Raspberry Pi:
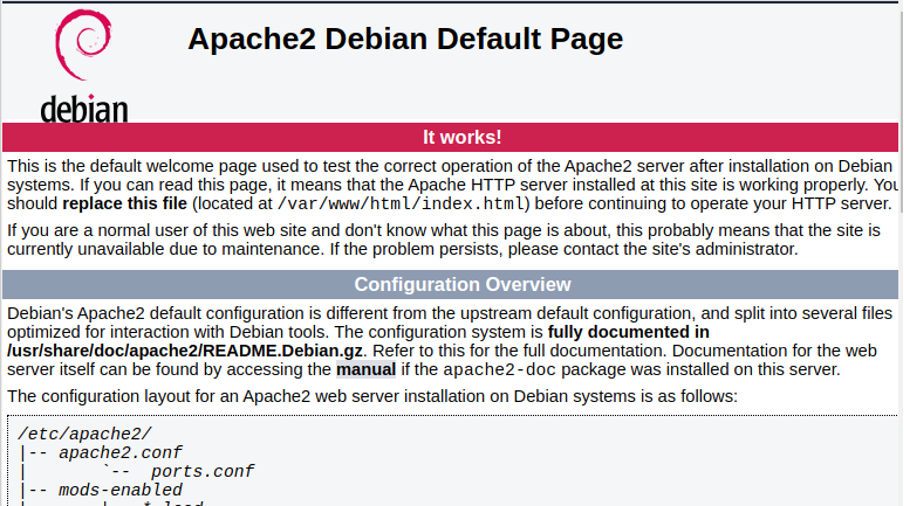
The default Apache2 web page is displayed and confirms the installation of the Apache2 on Raspberry Pi.
How to set up the Apache2 server on the Raspberry Pi
For the configuration of the Apache2, we have to make the changes in the file /var/www/html, but before making the changes, we will add our Raspberry Pi user, Pi, to the www-data group(default group of Apache2) using the command:

After adding the user “Pi” to the group “www-data”, we will transfer all the ownership privileges of /var/www/html to the “www-data” group using the command:

To save the changes, reboot the Raspberry Pi using the command:

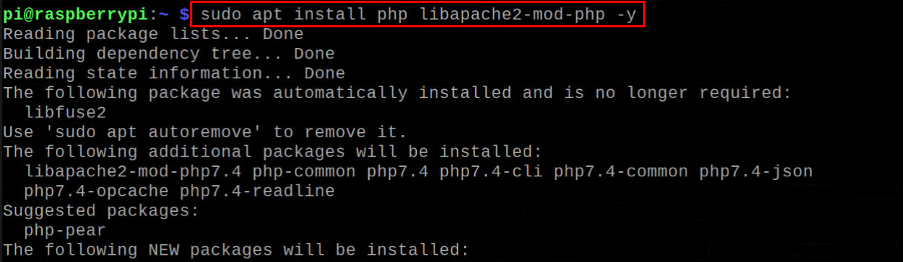
How to install the PHP on Raspberry Pi
We can make websites using HTML and CSS only but those will be static websites whereas PHP is used to create dynamic websites, moreover, we cannot run it on our local machine therefore we create a virtual server in our local machine using Apache or xampp. It is primarily used to manipulate databases. It is popular because it is platform independent and can easily be integrated with many database management systems.package of the Raspberry Pi repository using the command:
Restart the Apache2 server using the systemctl command:

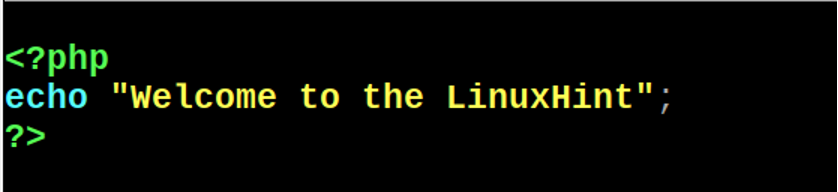
Now we will create a Webpage with the help of PHP with the name of “linuxhint.php” using the nano editor:
![]()
We will display the “Welcome to the LinuxHint” and for this we will type the following php script in the file opened:
echo "Welcome to the LinuxHint”;
?>
Exit the nano editor by saving the file using the shortcut key CTRL+X, and then go to the chromium browser and type the following address in the URL bar:

We can see the web page which was created by us has been opened.
Conclusion
The users can deploy their websites using the Apache web server as it is the oldest and most used web server for hosting the websites. In this write-up, we have installed the Apache web server on the Raspberry Pi operating system and displayed the newly created web page using the Apache web server.