In this article, we will guide you through the procedure to install Kazam on Raspberry Pi so that you can do screen recording easily.
Screen Recording on Raspberry Pi Using Kazam
Since Kazam is a lightweight application; thus, Raspberry Pi developers include the application repository in the Raspberry Pi source list and you can install this application easily from the “apt” installation command. Follow the below-mentioned step-by-step guidelines for installing Kazam on Raspberry Pi.
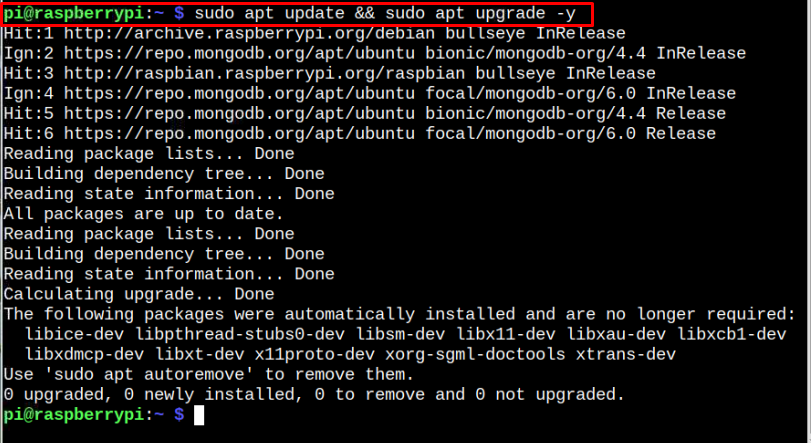
1: Update Raspberry Pi System
Before beginning the installation, you must update your system so that it will be able to install the latest version of Kazam.
To update Raspberry Pi systems, you should need to execute the following command in Raspberry Pi terminal:
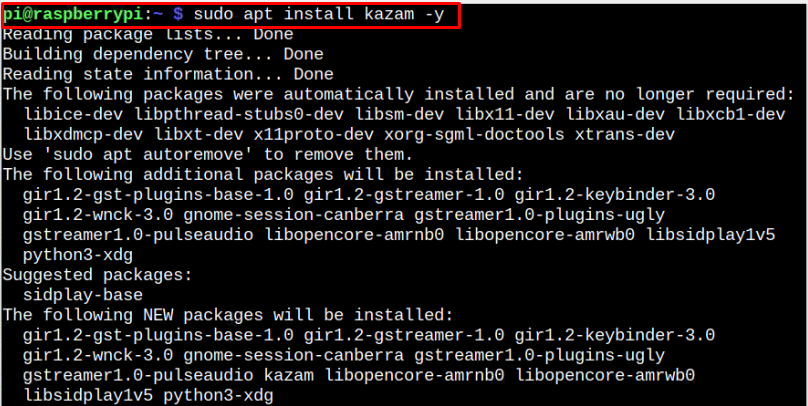
2: Install Kazam on Raspberry Pi
Once you update the Raspberry Pi system, you can run the following command to install Kazam on Raspberry Pi.
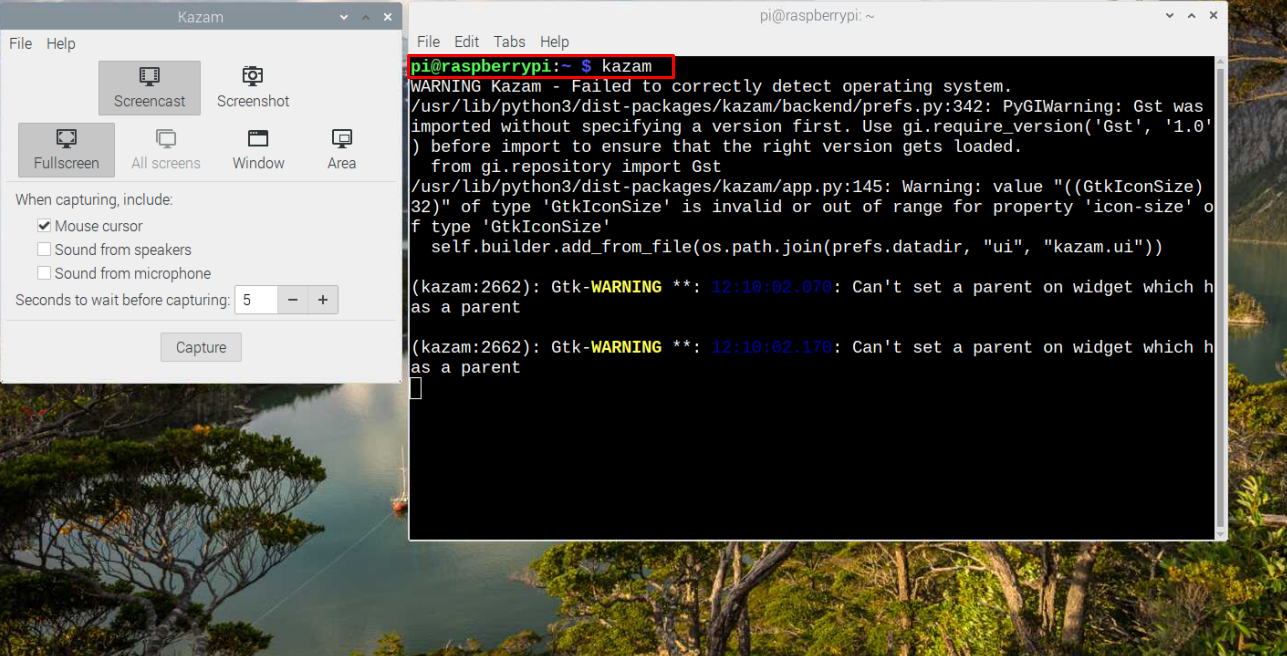
3: Run Kazam on Raspberry Pi
There are two ways to run Kazam on Raspberry Pi; either you can use the Raspberry Pi terminal or the Raspberry Pi main menu.
To run Kazam through the Raspberry Pi terminal, use the command “kazam”.
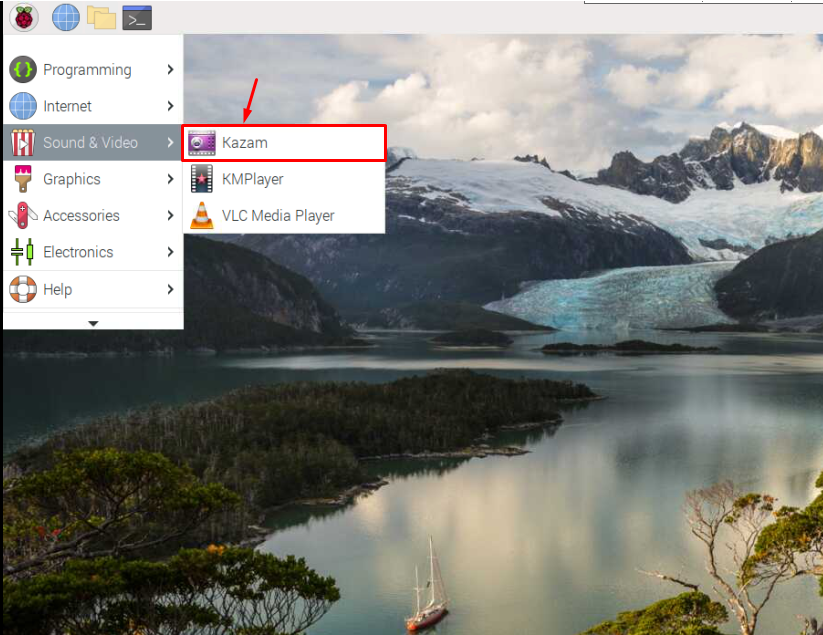
If you don’t like the terminal option, you can run Kazam on your system by going into the “Sound & Video” section in the main Raspberry Pi menu.
4: Use Kazam on Raspberry Pi
To start recording your desktop session, select “Screencast” and click on the “Capture” button.

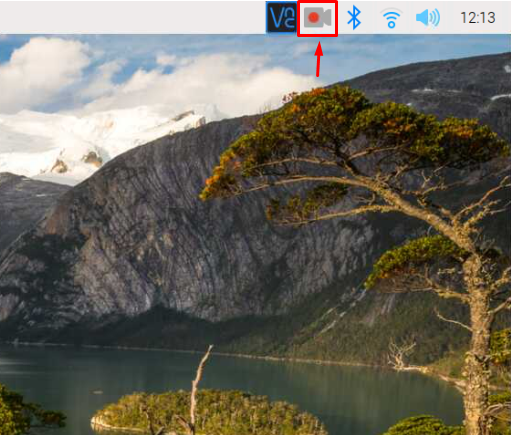
This will begin recording your activities on the Raspberry Pi system and you can confirm it by seeing the video camera icon at the top right corner of your Raspberry Pi desktop.
5: Stop/Pause Kazam on Raspberry Pi
To stop or pause the recording session through Kazam, click on the video icon and select Finish or Pause recording.

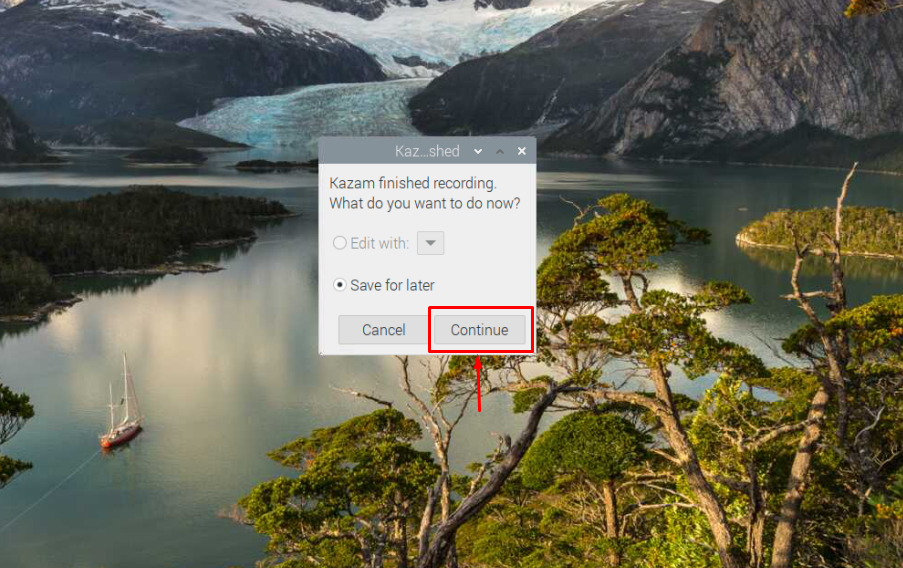
In case if you choose the Finish Recording option, you must need to save the recorded file and you should select the “Save for later” option and click on the “Continue” button.
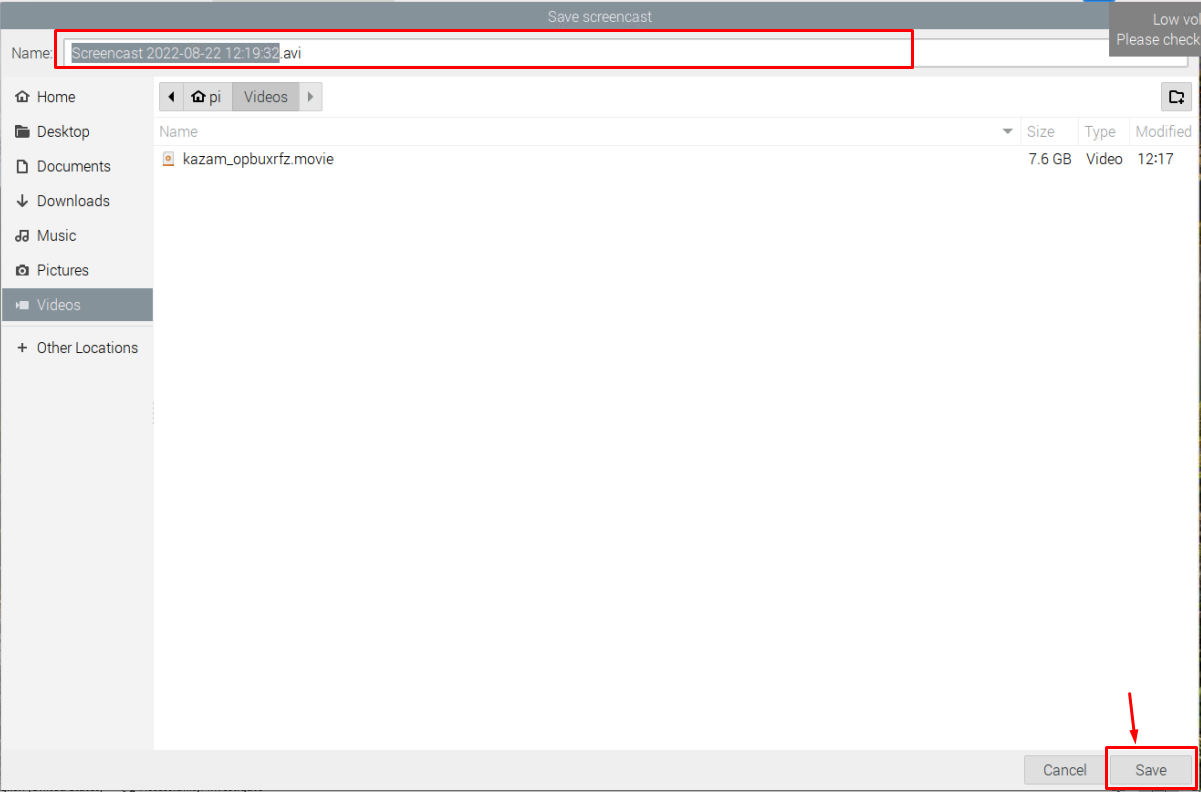
Save the recorded file with an appropriate name and then click on the “Save” button to successfully save the file on your system.
Remove Kazam on Raspberry Pi
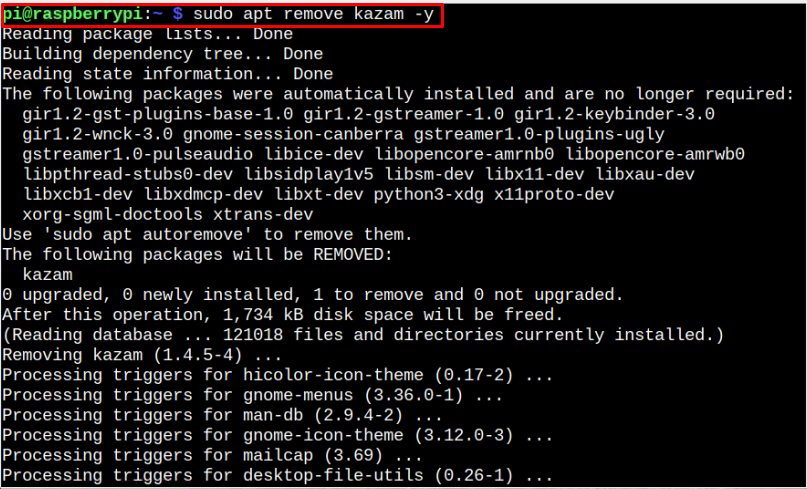
Although Kazam is a lightweight application that doesn’t occupy much space even if you keep it in your system. However, if you don’t like it, you can remove it from your system anytime using the following command:
Conclusion
Kazam is a lightweight screen recording application that you can install on your Raspberry Pi system directly from the command line. Once the installation is successful, you can run Kazam on your system either from the terminal using the “kazam” command or from the Raspberry Pi main menu in the “Sound & Video” option. Afterward, you can select the “Screen cast” and click the “Capture” option to start recording your desktop session on your system.