In this article, I will show you how to turn off built-in LEDs on Raspberry Pi 4 to save the device’s power consumption.
Save Raspberry Pi Power Consumption by Turning off Built-in LEDs
Before moving towards the main process to turn off built-in LEDs on Raspberry Pi, you should know about the LEDs on Raspberry Pi. The detail is provided in the table shown below:
| LED | Description |
| ACT (Green) | It describes the status of the SD card as it blinks during the activity performed on the SD card. |
| PWR (Red) | It’s a power indicator LED that describes the power supply status. |
| ACT Ethernet (Green) | It shows the status of the Ethernet cable and it blinks during internet connectivity. |
| ACT Ethernet (Amber) | When the Ethernet cable is connected to the device, it turns on. |
Now to turn off the LEDs, follow the below-given steps:
Step 1: Open the Boot configuration file on Raspberry Pi through the nano editor via the following command:
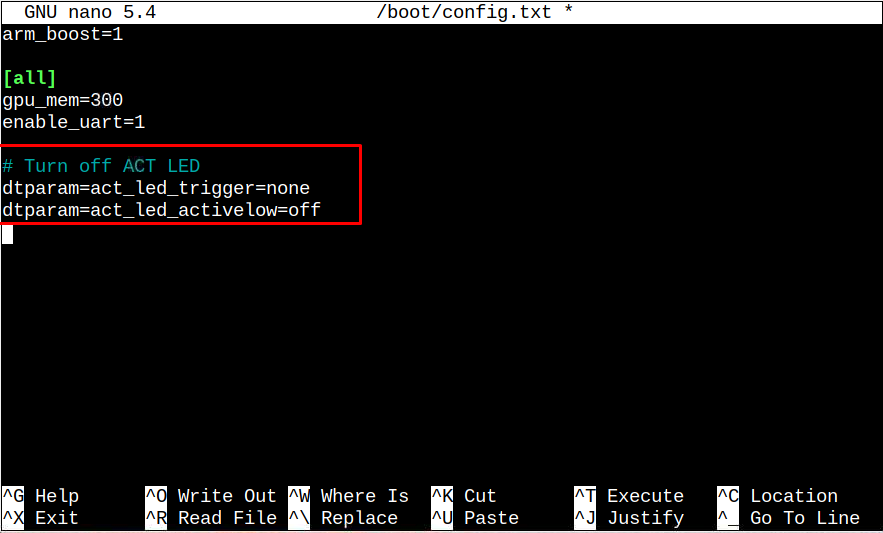
If you want to turn off the ACT LED, you can add the following lines inside the boot configuration file:
dtparam=act_led_trigger=none
dtparam=act_led_activelow=off
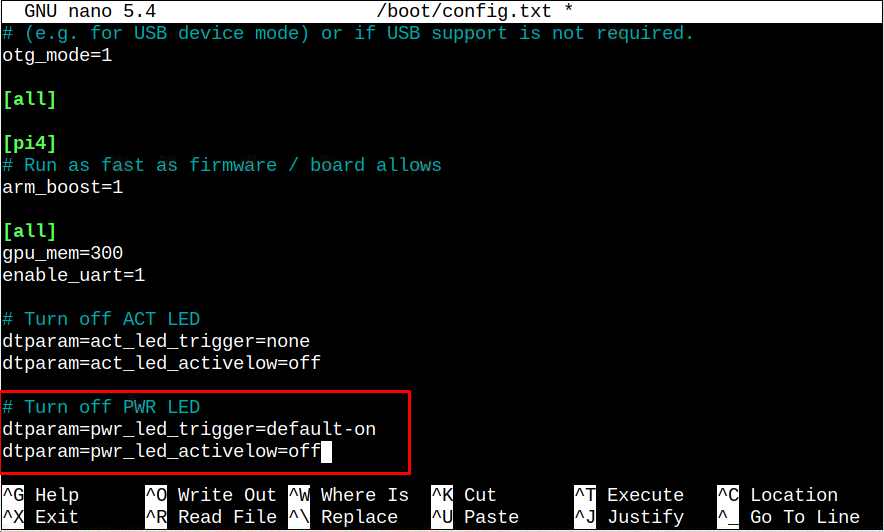
If you want to turn off PWR LED on Raspberry Pi, add the following lines.
dtparam=pwr_led_trigger=default-on
dtparam=pwr_led_activelow=off
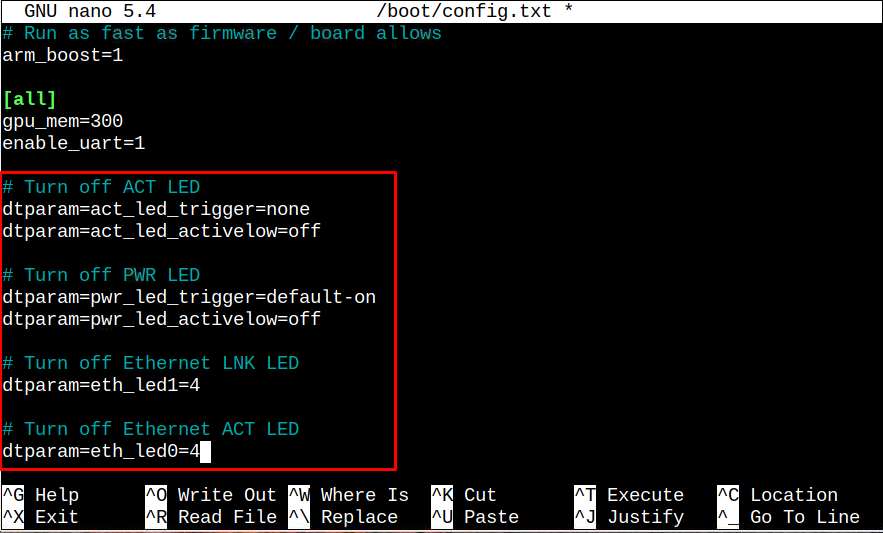
For turning off the ethernet LEDs, which are LNK and ACT, add the following lines:
dtparam=eth_led1=4
# Turn off Ethernet ACT LED
dtparam=eth_led0=4
Note: You can comment the lines using “#” if you don’t want to turn off any LED.
Once the lines are added, you can save the file using “CTRL+X”, add “Y” and enter. Then reboot the system using the reboot command to apply the changes. This will turn off the built-in LEDs on your Raspberry Pi system.
Conclusion
Turning off built-in LEDs on Raspberry Pi will save some of the power consumed by the device. You can manually turn off the LEDs within the boot configuration files. The only thing you have to do is add some lines inside the file given in the above guidelines and save the file. Reboot is required for the changes.