To run and use Kali Linux on the system without affecting the host system, users can use system virtualization. The Kali Linux can be run in Docker containers as well as in virtual machines. While running Kali in a virtual machine, it will install and run separate Kali’s OS and kernel and will take more space. In Docker, the Kali Linux can be run inside the small executable package named containers. These docker containers use OS virtualization and system kernel to operate Kali Linux. Running Kali Linux in Docker is one of the effective and efficient choices.
In this blog, we will demonstrate:
- Prerequisite: Install Docker on the System
- How to Run Kali Linux in Docker
- Bonus Tip: How to Mount Volume With Kali Linux Container
- How to Remove KaIi’s Container?
- Conclusion
Prerequisite: Install Docker on the System
To run the Kali Linux in a Docker container, the user needs to install Docker first on the system. Docker is a well-liked universally used containerization platform that permits us to build, deploy, and ship the application and software in isolated habitats.
Install Docker on Windows:
On Windows, Docker and its components can be easily installed by installing its Desktop application. To install Docker on Windows, first, enable the WSL and virtual platform features. Then, download and install Docker Desktop from the official website. For proper guidance to install Docker, follow the “Install Docker Desktop” article.
Install Docker on Linux:
On Linux, Docker can be installed from the official source repository of the installed Linux distribution. To install Docker on Debian or Ubuntu, go through the “Install Docker on Debian 12” or “Install Docker on Ubuntu” article respectively.
Install Docker on MacOS:
On MacOS, the Docker installer can be downloaded from the Docker official website. Then, users can install Docker by following our linked article “Install Docker Desktop on Mac”.
However, the working and commands of Docker will remain the same on any operating system. For demonstration to run Kali Linux in Docker, we will use Windows OS.
How to Run Kali Linux in Docker?
To run Kali Linux in Docker, Docker releases the official “kali-rolling” image to install and use Docker inside the container. The image in Docker is a template or simple instructions that guide how to build the container. To install and use Kali in a container, follow the given demonstration.
Step 1: Pull Kali’s Official Image
First, pull the Docker image from the official website. To pull the image, the user needs to log in to Docker Hub’s official Docker registry.
For confirmation, list down the Docker images:
Here, we have downloaded the “kali-rolling” Kali’s image from Docker Hub:
Step 2: Run Kali in Container
Now, run the Kali Linux inside the container through the “docker run –name <cont-name> kalilinux/kali-rolling” command:
In the given command, the “–name” will set the container name, and “-it” is used to open and run the TTY pseudo terminal interactively:
Here, you can see that Kali’s root terminal is open on the screen.
Step 3: Update Kali
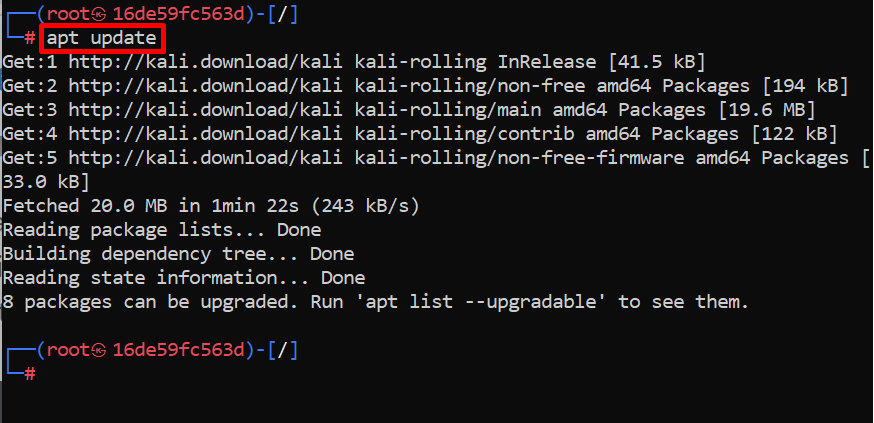
Now, update the Kali repository through “apt update”:
Here, the “8” package needs to be upgraded:
Step 4: Upgrade Kali’s Packages
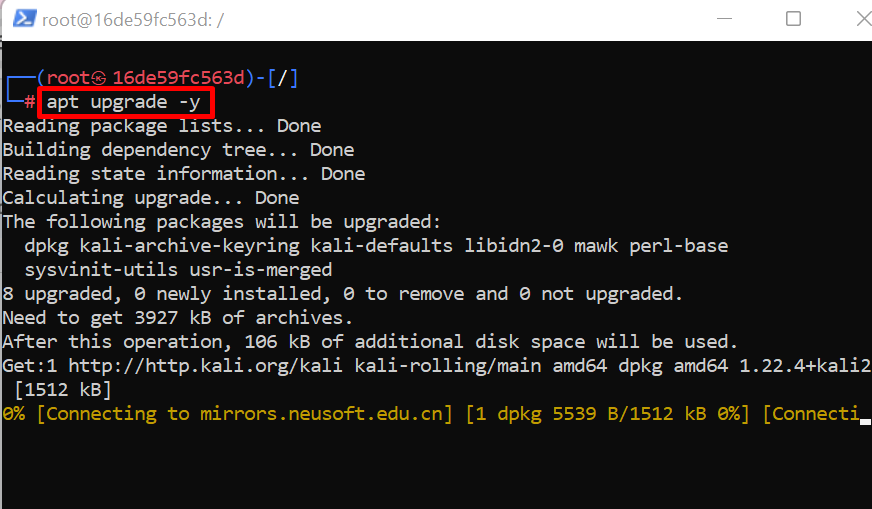
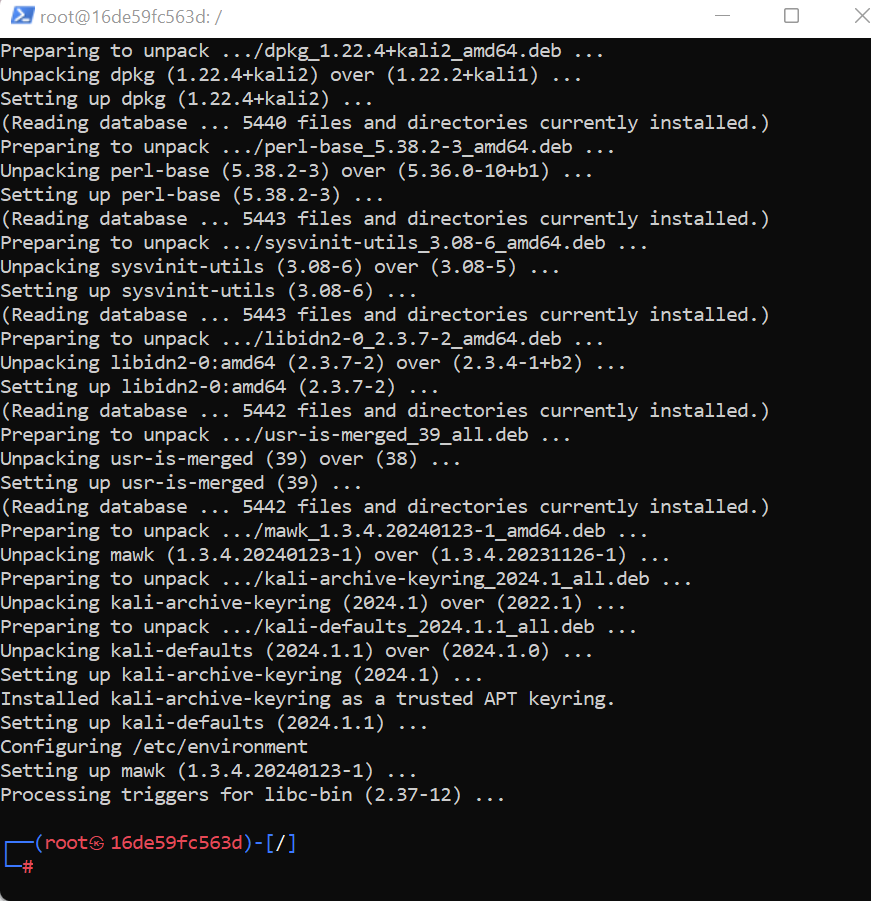
To upgrade the packages in Kali, execute the “apt upgrade” command. Here, the “-y” option will permit the process to use an additional container space:
Step 5: Install Essential Packages
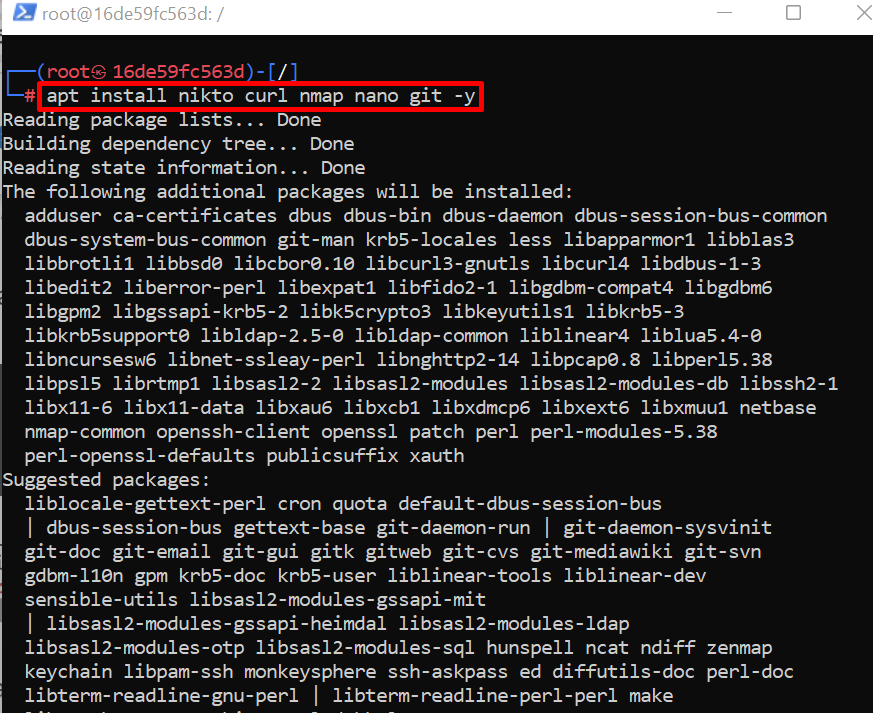
To install essential packages in Kali Linux, execute the “apt install <package-name>” command:
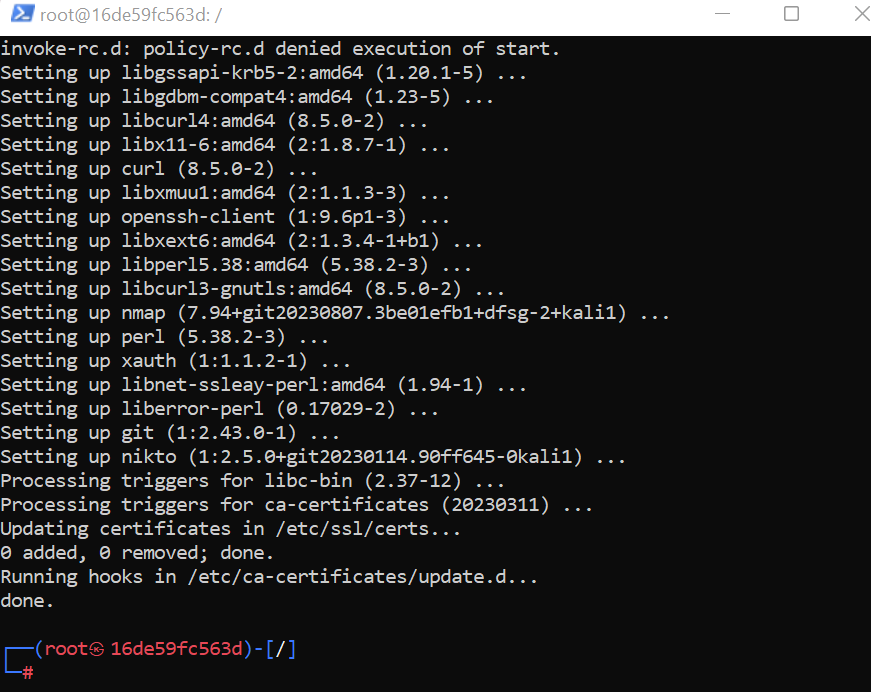
Here, we have installed “nikto”, “curl”, “nmap”, and “git” in the Kali Linux container:
Bonus Tip: Add a New User in the Kali Linux Container
Sometimes, the user wants to create an unprivileged account to secure Kali’s root account. This is also a recommended option for Kali’s container security. The user account will be used as the root account but always stands lower than the root.
To add a Kali user in a container, utilize the “adduser <user-name>” command:
Now, add the new user to the sudo user group. For this purpose, run the below command:
In order to exit Kali’s terminal in the Docker container, simply run the “exit” command:
That is how a user can run Kali Linux in the Docker container.
Bonus Tip: How to Mount Volume With Kali Linux Container?
The volume is utilized to persist the container’s data outside the container. This is mostly used for backup purposes. The mounting volume also means a shared drive that can be accessible to both the Docker container and the host system.
To mount the volume in Kali’s container, follow the below steps.
Step 1: List Down Docker Containers
List down the containers in Docker using the “docker ps” command. Here, to view all stopped and running containers, we have added the “-a” flag:
Note the ID of the Kali container from the displayed result:
Step 2: Save the Kali’s Container in New Image
Next, make a copy of Kali’s container in a new Docker image using the “docker commit <cont-id> <new-image-name>” command:
This image copy will be used to run the new Kali container and mount the volume. We have created the image from the container, so that, we can preserve the previous state and data of Kali’s Docker container:
For verification, view the docker images using the below command:
Here, you can see we have generated the new Docker image from the Kali container:
Step 3: Run and Mount the Volume with Kali Container
Now, run the generated Docker image to execute the new Kali container and also mount the volume with the container using the “-v” option:
In the above command, we have mounted the host directory “C:/Users/Dell/Documents/kali” to the containers directory “/root/kali”:
Step 4: Open the Mounted Volume Directory
Now, navigate to the container’s directory where the volume is mounted using “cd”:
Step 5: Create a File
Now generate a new file and add some content in the file through “echo” command. This step is used for verification purposes:
To view the content of the file, run the “cat <file-name>” command:
Now, let’s see if this file is shared and accessible on the host machine or not.
Step 6: Verification
For confirmation, exit the Docker container terminal using the “exit” command. Then, navigate to the mounted directory using “cd”:
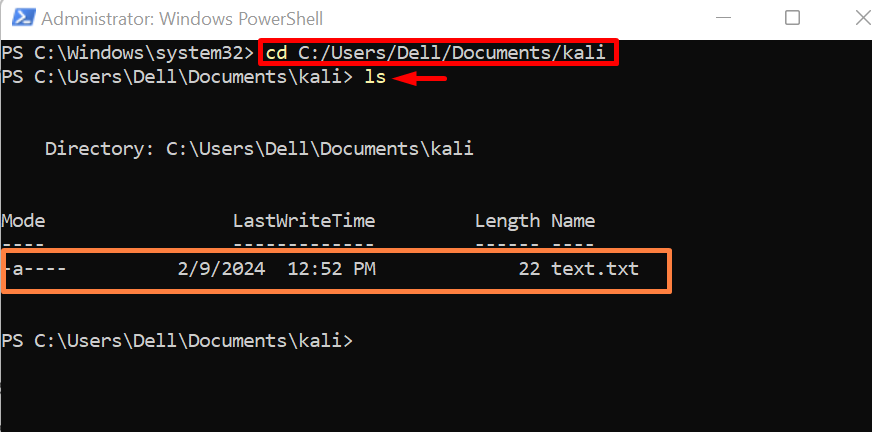
To check the file and folders of the opened directory, run the “ls” command:
Here, you can see the file “text.txt” that is created in Kali’s container is also visible in the mounted directory. This means we have effectively mounted volume with Kali Linux container:
View the content of the file using the “cat” command”:
This is how we can embed volume with a Docker container and preserve the container’s data.
How to Remove KaIi’s Container?
To remove Kali Linux running in a Docker container, users can remove it by deleting the container. To remove or delete the container, first, stop the running container then, run the “docker rm” command. For demonstration, go through the following steps.
Step 1: Stop Docker Container
First, stop the executing container using the “docker stop <cont-name/cont-id>” command:
Step 2: Remove the Container
Then, delete the Kali Linux container using the “docker rm <cont-name/cont-id>” command:
We have the method to install and use Kali Linux in a Docker container.
Conclusion
To run the Kali Linux in Docker, first, download the image from the Docker Hub. After that, run the image to set up the Kali Linux in the Docker container through the “docker run -it kalilinux/kali-rolling” command. Users can also mount external volume to Docker containers through the “-v” option. This post has explained how to execute Kali Linux in Docker.


