In this guide, you will learn how to run a batch job if you remotely access your Raspberry Pi device from a remote location. Here, you will find:
- Why Is it Useful to Run Batch Jobs on Remote Raspberry Pi
- How to Run Batch Job on Remote Raspberry Pi
- Conclusion
Why Is it Useful to Run Batch Job on Remote Raspberry Pi
Running a batch job on a remote Raspberry Pi poses several benefits especially when the Raspberry Pi device is located in a different location or a network. Some of the benefits of running batch job on a remote Raspberry Pi are given below:
- You can connect multiple Raspberry Pi devices and set up a centralized network that shares the workload of the batch job across multiple devices. This will balance the load among the devices and offer better resource utilization and improve the execution time of the task.
- Running a remote batch job on a Raspberry Pi will enhance the security of your device since it isolates sensitive data and processes from the user’s local machine. Thus, reduces the threat of any malware infections or unauthorized access to your device.
How to Run Batch Job on Remote Raspberry Pi
To run a batch job on remote Raspberry Pi, you can use the following steps:
Step 1: Open Command Prompt/PowerShell or Terminal on Windows, Linux or Mac
First, you have to open your system terminal, it can either be Command Prompt/PowerShell on Windows or Terminal on Linux or Mac.
Step 2: Enable SSH on Raspberry Pi
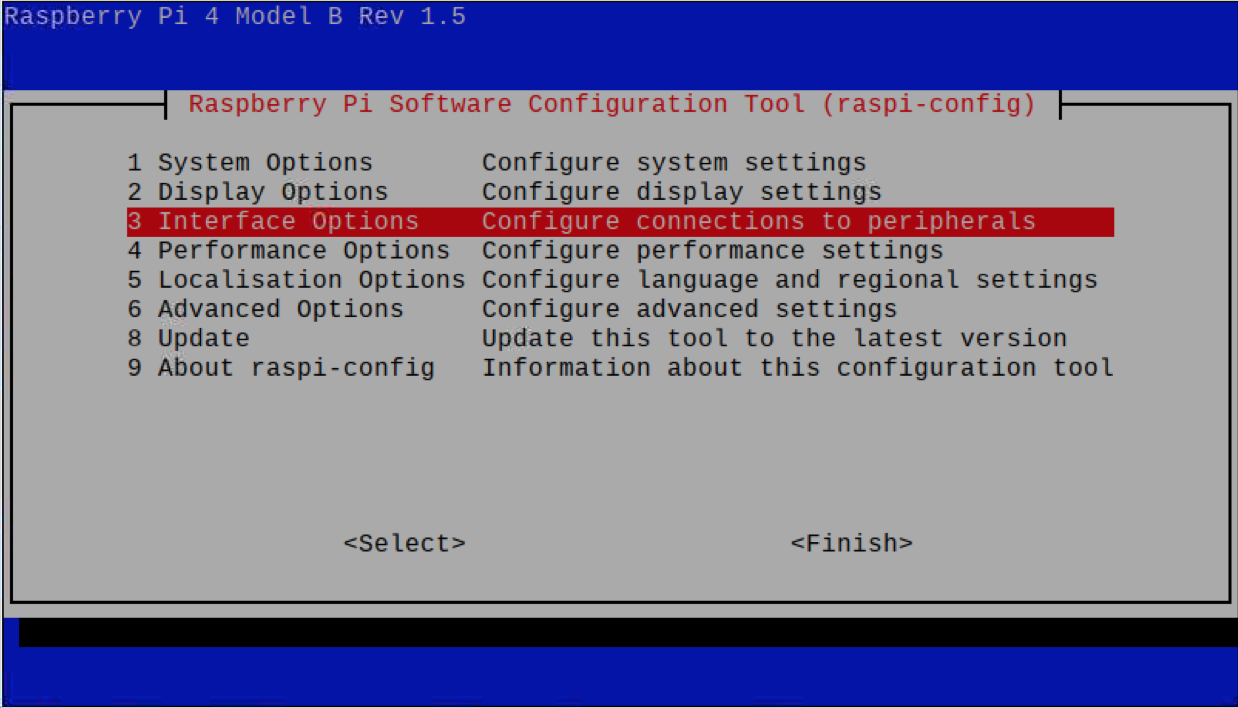
Ensure SSH is enabled on Raspberry Pi and if it is not, you can enable SSH from command line by running the following command:
The above command will open Raspberry Pi Configuration on the terminal where you can enable the SSH from the Interface Options:
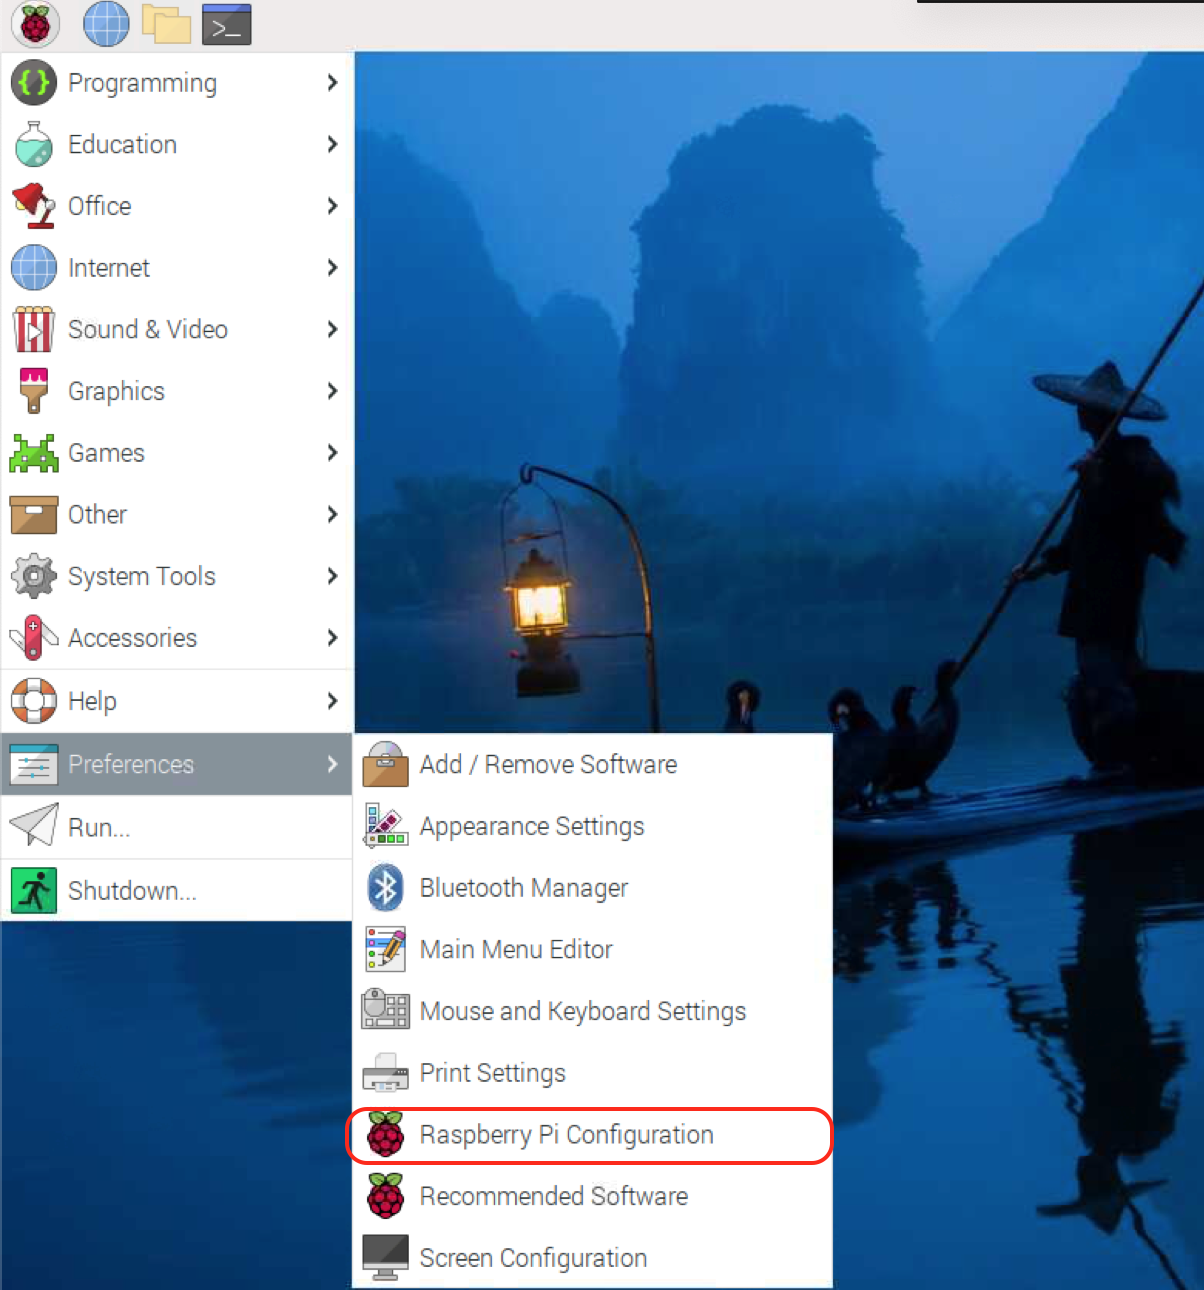
You can also open Raspberry Pi Configuration from GUI by navigating towards the application menu, then using the Preferences option and selecting the Raspberry Pi Configuration:
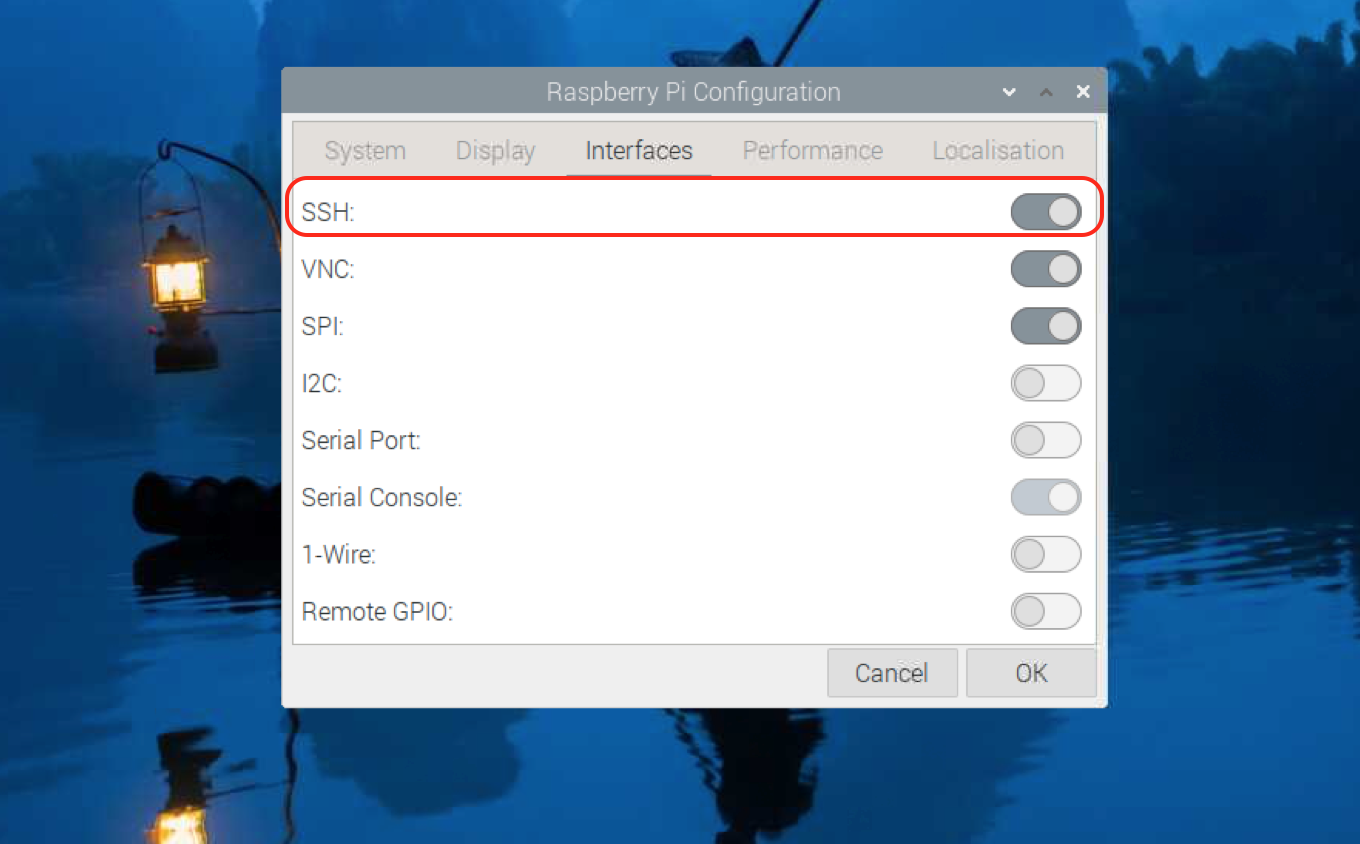
Then you can enable SSH from the Interfaces tab by toggling the SSH button to right:
Step 3: SSH into a Raspberry Pi
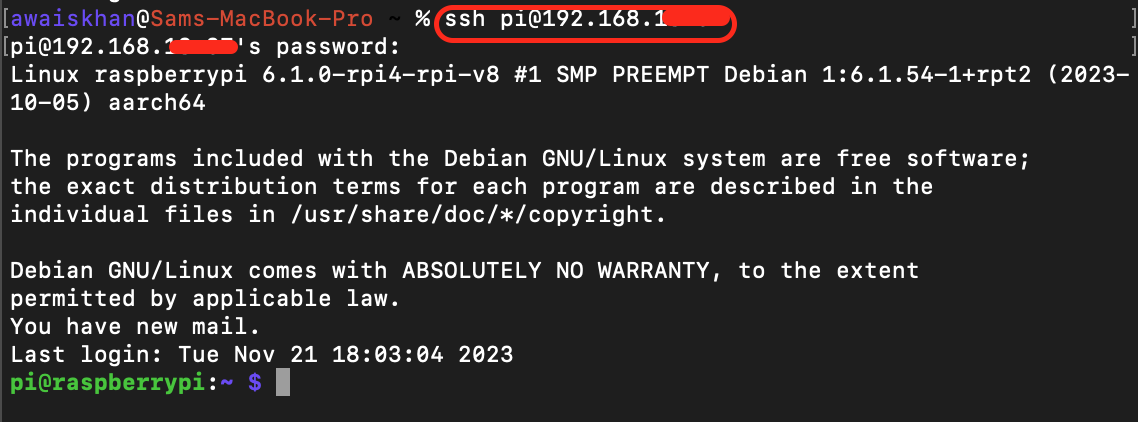
Now, remotely access the Raspberry Pi terminal through SSH on either Windows, Mac or Linux system by using the following syntax:
Instead of username and IP_address, type your Raspberry Pi username and IP address.
Note: You can find your Raspberry Pi IP address from the hostname -I command in the terminal.
Step 4: Create a Batch Job Directory
For organization it is better to create a separate directory on the Raspberry Pi system where all your batch job files are placed. You can create a batch job directory with the name mybatchjobs by running the following command:
Step 5: Navigate to Batch Job Directory
To navigate to mybatchjobs directory on Raspberry Pi, you can simply run the following command:
Step 6: Create a Batch Job Script
Now, you have to create a batch job script inside the mybatchjobs directory and for that you can use the nano editor from the following command:
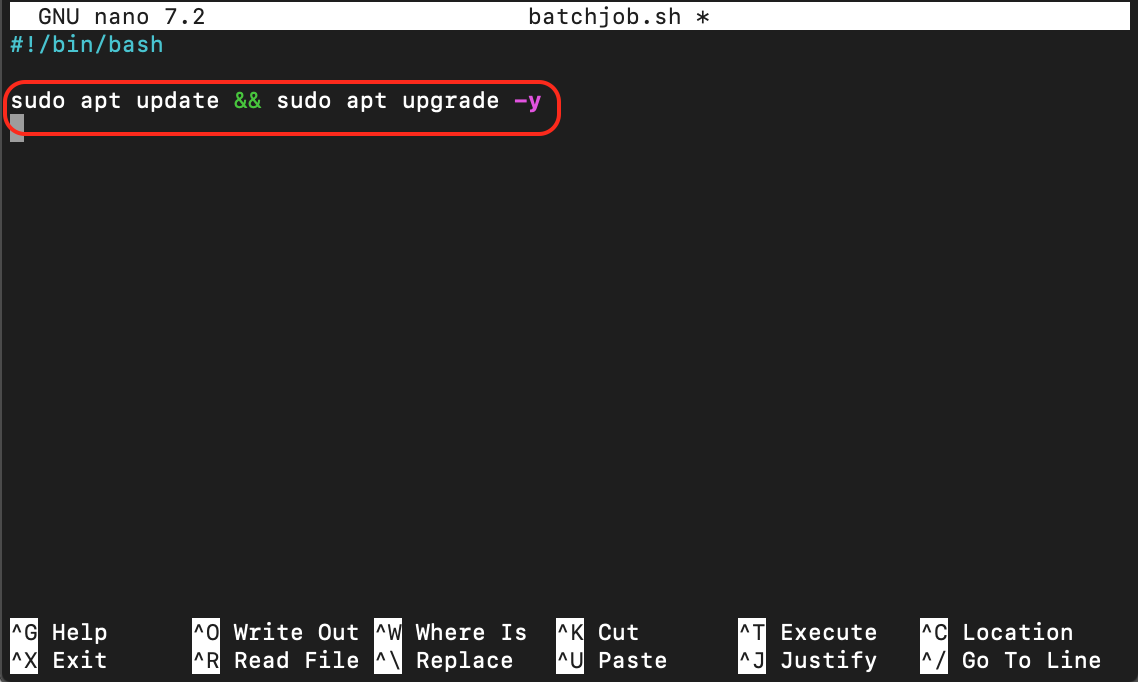
Step 7: Add the Batch Jobs Commands
Since we are creating Batch jobs commands inside the bash file, you will need to tell the script to use the bash shell, this can be done by adding the following line in the file:
After adding the above line, it’s not time to add commands that will work on your Raspberry Pi system. You can run multiple commands inside the script one by one, these commands can be related to updating the system, running a script file or executing other tasks.
Here, to keep things simple, I am going to use the update and upgrade command to update the packages on Raspberry Pi remotely through a batch job script. The complete code to add inside the file is provided below:
sudo apt update && sudo apt upgrade -y
Step 8: Save the Batch Job File
After adding the complete code, you must save the batch job file, this can be done by using CTRL+X, add Y and press Enter.
Step 9: Make the File Executable
You must make your batch job file executable on Raspberry Pi and it can only be possible if you run the following command:
Step 10: Execute the File
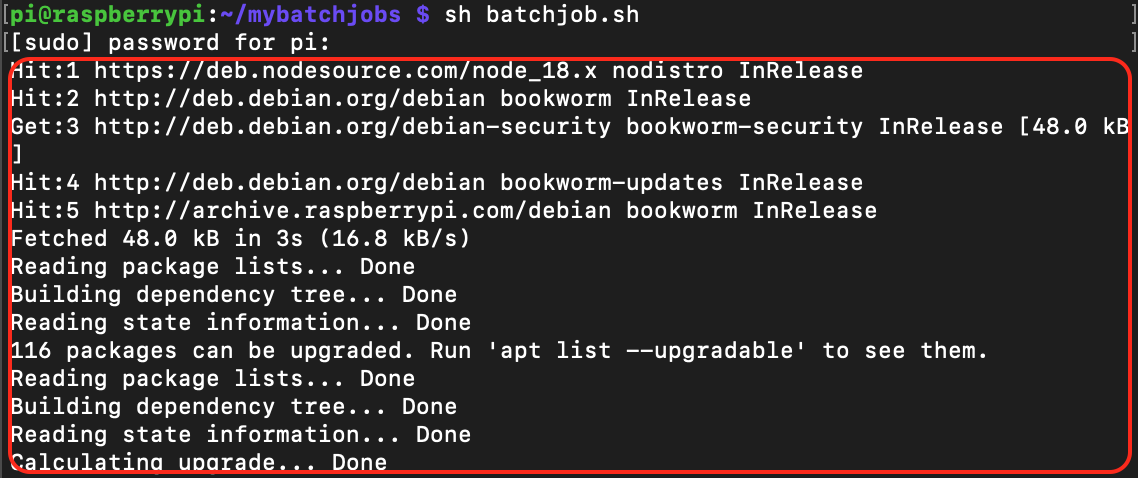
Now to run batch job successfully on remote Raspberry Pi, you can simply execute the script file from the following command:
You can also run the script with the following command:
When you execute the script, it may ask to enter your Raspberry Pi password, as soon as you write it, the batch job will execute the commands inside the file.
Since I have used the update command, the batch job will start updating the packages as soon as I run the script:
Conclusion
Executing batch jobs is useful for automating the tasks and managing them on remote Raspberry Pi devices. This guide has provided a detailed step-by-step guide to run batch jobs on a remote Raspberry Pi by setting up a remote connection first using the SSH connection. Then creating jobs and executing it remotely on another computer. By following this guide, users will be able to efficiently handle tasks, such as data backups, system updates and script execution. This will enhance the versatility and functionality of Raspberry Pi devices remotely.