Replacing the Splash Screen on Raspberry Pi
Splash screen of Raspberry Pi can be used for different purposes like adding instructions for operating the device or any sort of relevant information. Follow the steps below to replace the splash screen of raspberry Pi:
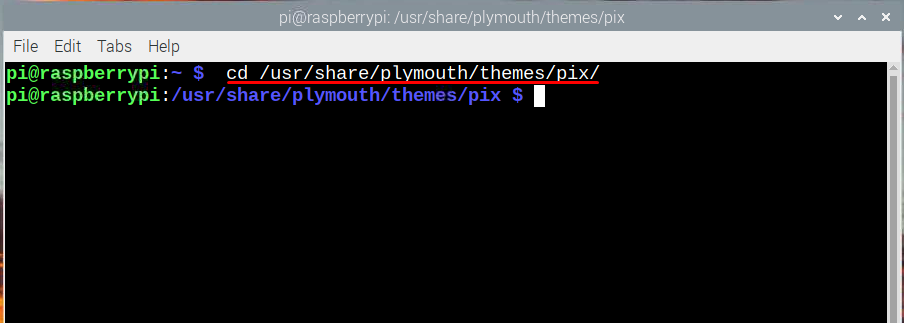
Step1: Open the terminal and move to the themes/pix/ directory by using the following command:
Step2: Next move the image file that you want to replace the default splash screen with by executing the below-mentioned command:
Step 3: Just to be on safer side make a copy of the image file and place it in the home directory thorough executing the command below:
Step 5: Reboot your raspberry Pi and see if the splash screen your saved is visible on the startup or not:
So, this is how you can replace the default splash screen with a custom-made image on your Raspberry Pi and add a little class to your Raspberry Pi.
FAQs
Q: What Is the Purpose of a Splash Screen?
The basic theme of adding a splash screen is to give a sign that the application or the system is setting up. The splash screen can also be used to display any set of information either regarding the application or the system.
Q: How Long Should the Splash Screen Last?
The ideal time for the splash screen is about 3 seconds and it shouldn’t be more than that as it can annoy the users.
Conclusion
Splash screens as from the name can be understood that they appear for a very short duration as it generally appears when either any application or any system is booting up. They indicate that the processing is going which satisfies the user that there are no problems with the application or system. Raspberry Pi also has a default splash screen. This default splash screen can be replaced by a custom-made splash screen which you can create in any image editor software. To replace the Raspberry Pi splash screen just copy the image to theme/pix directory and reboot the Pi to see your new splash screen.


