
In Inkscape software, you can use the image tracing and the outlining method for removing the background of an image. The “Trace Bitmap” feature helps trace the selected image in image tracing. Whereas a “Bezier” tool is used to outline the image’s main subject in the outlining method. This write-up will teach you both methods for removing the white background and colored background in Inkscape. So, let’s start!
How to remove background in Inkscape using image tracing
In Inkscape, a feature lets you convert a raster image into a path that you can then modify and utilize in your design. This feature is known as Inkscape tracing or vectorization. The Inkscape tracing feature is helpful when you want to vectorize a dark shape or something in front of a bright background.
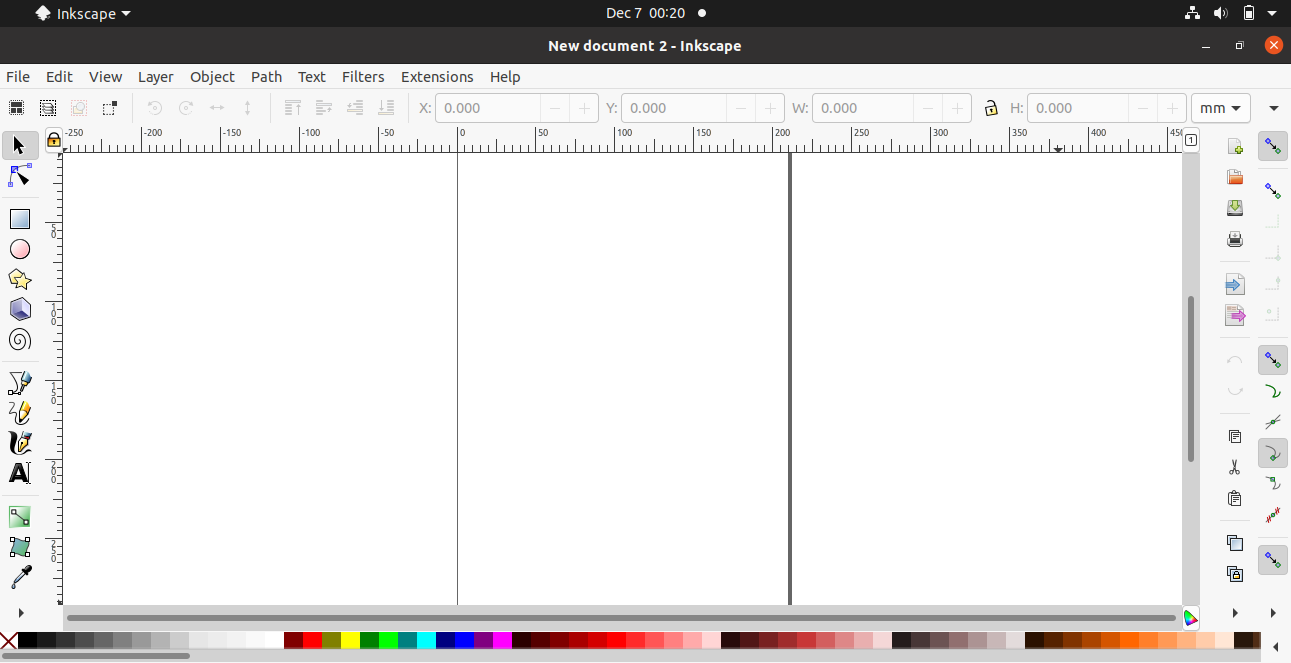
This section will show you the method of removing the white background of an image, such as a logo in Inkscape. For this purpose, firstly open up the Inkscape application on your system:
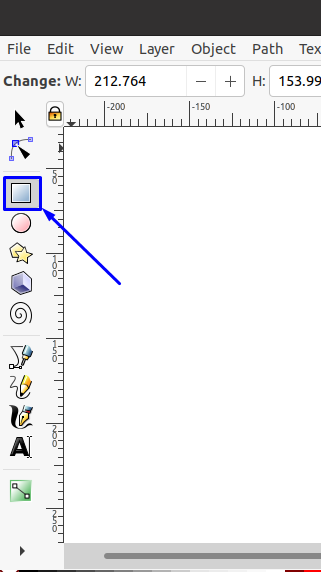
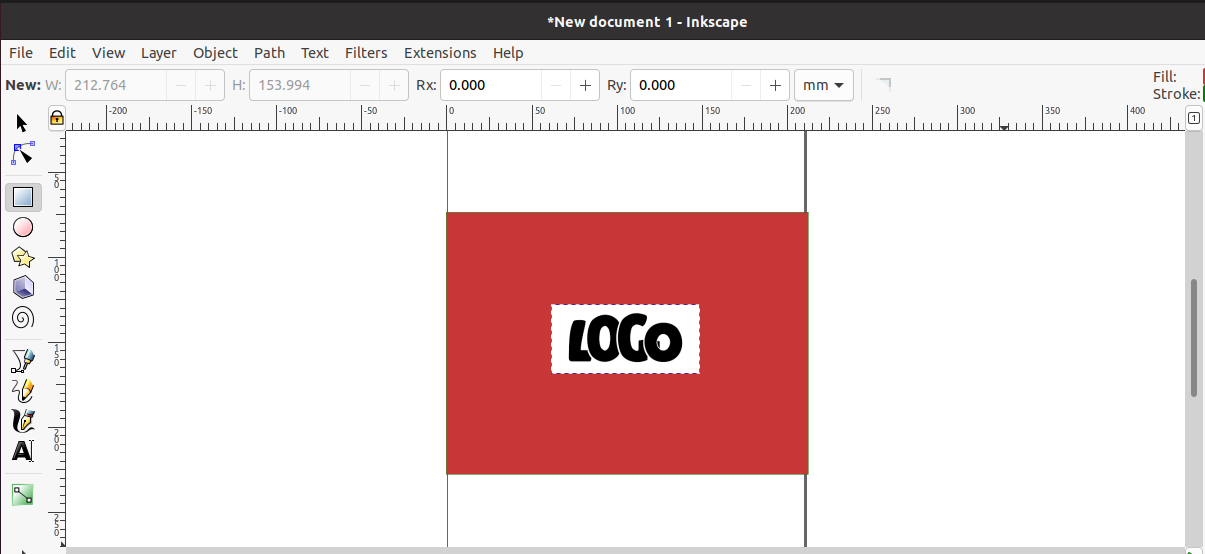
Before opening a sample logo image, we will add a Rectangle to the drawing area of Inkscape. This will help us illustrate that the image has a white background. Here, we have clicked on the “Rectangles and Squares” tool from the tool panel:
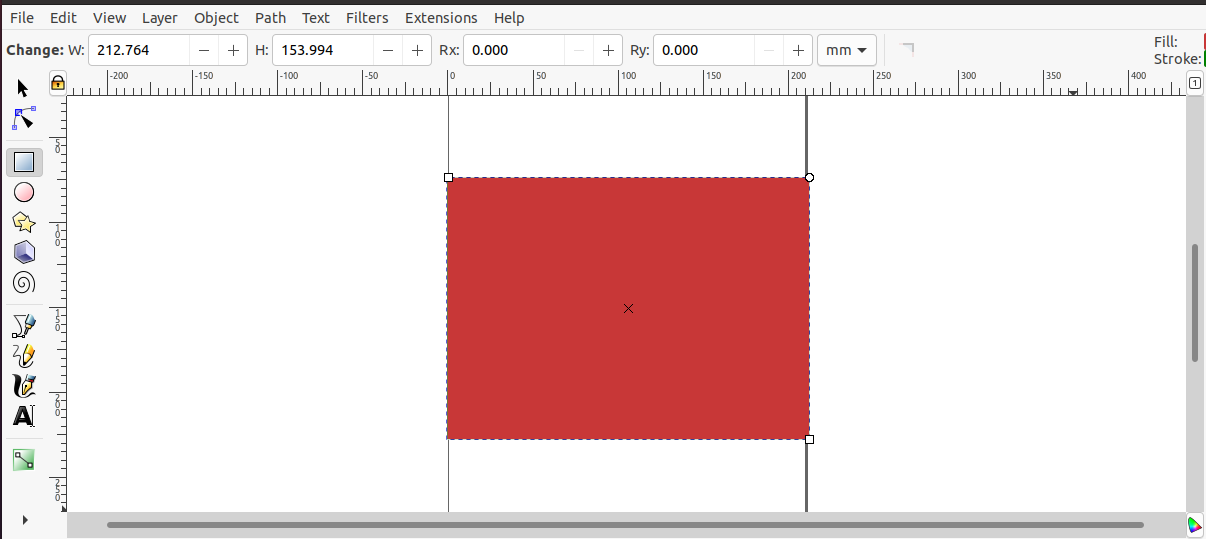
Now, we have added a simple rectangle to the Inkscape drawing area:
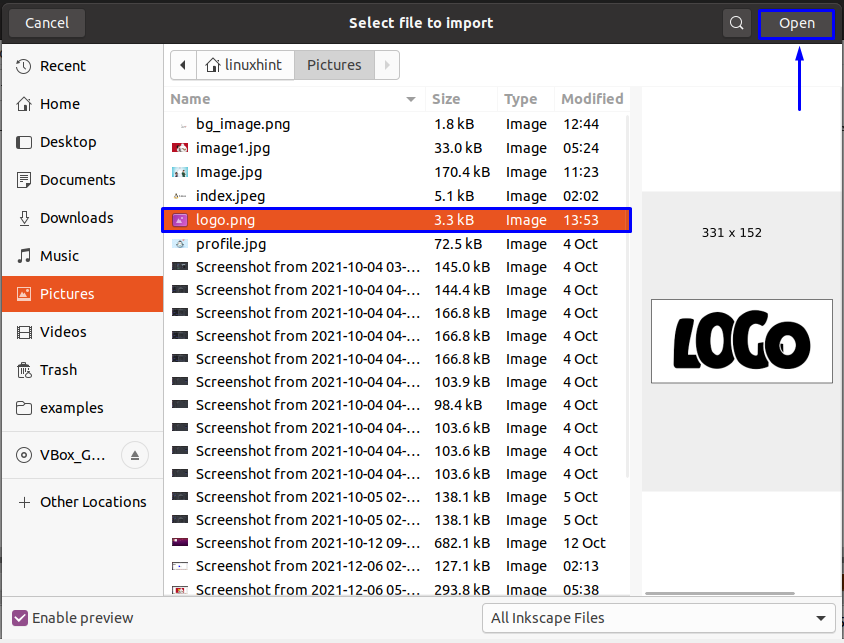
Next, import your desired image to remove its white background. To do so, open up the “File” menu and click on the “Import” option:
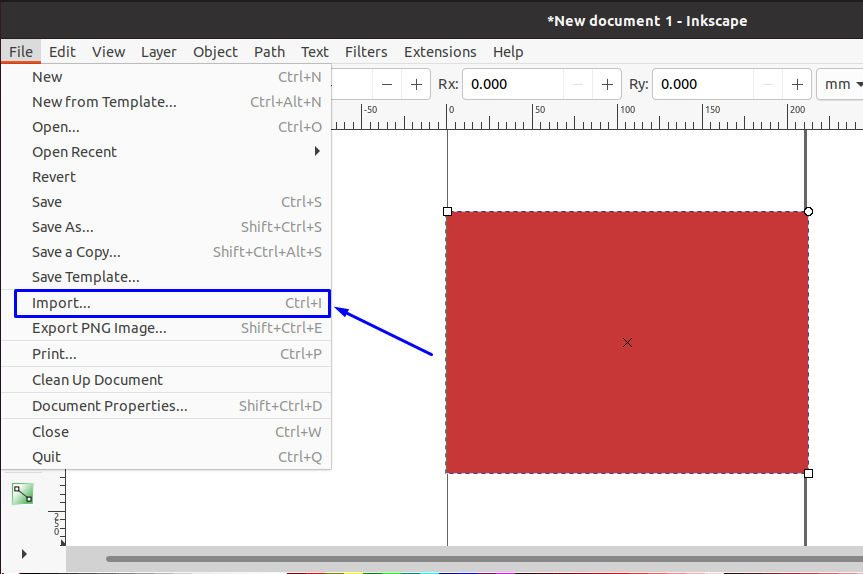
Now, we will import a sample logo file “logo.png” to Inkscape:
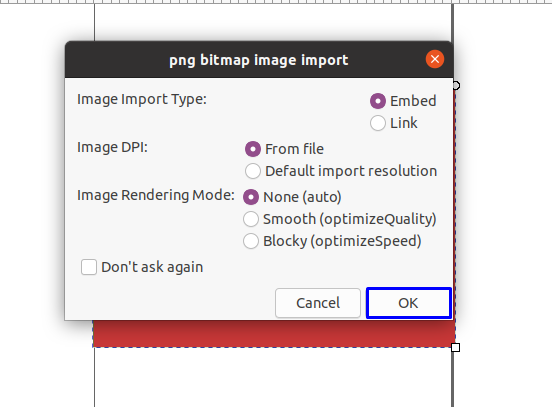
A dialog box will appear on your Inkscape screen; specify the following settings and then click on “OK” to proceed:
Our logo file is imported in Inkscape, and you can see that the rectangle shape in the background removed the confusion of mixing up the “white” background of the “logo” with the Inkscape area:
From the left side of the tool panel, click on the “Select and transform” tool, which is highlighted in the below-given image:
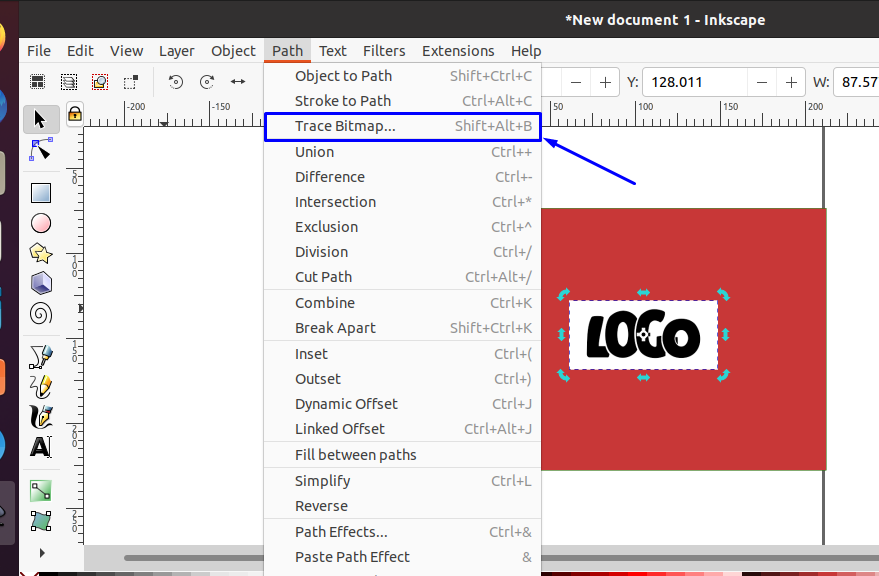
In the next step, open up the “Path” menu and then select the “Trace Bitmap” option from the drop-down menu:
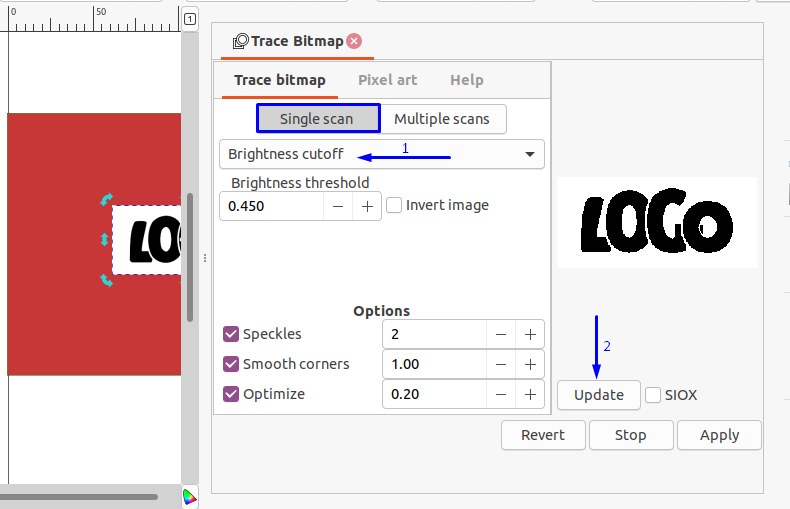
The “Trace Bitmap” is a tool that utilizes an algorithm for generating the vector tracing of the selected image automatically. In the “Trace Bitmap” dialog box, explore the “Single scan” tab. From there, select the “Brightness cutoff” option, and then click on the “Update” button to preview the traced image on the right side:
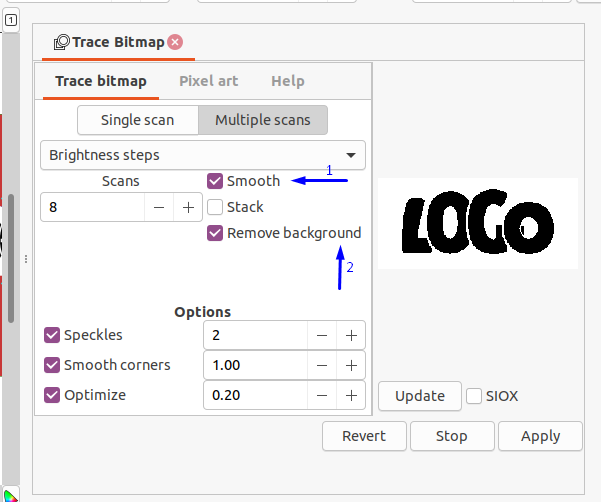
In the “Multiple scans” tab, mark the “Smooth” and “Remove background” checkboxes:
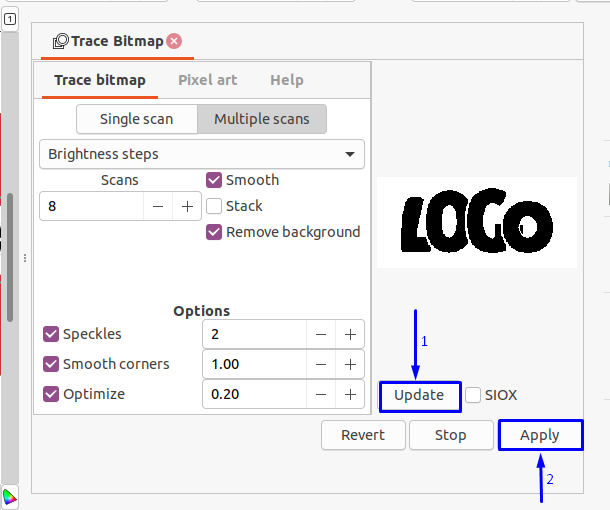
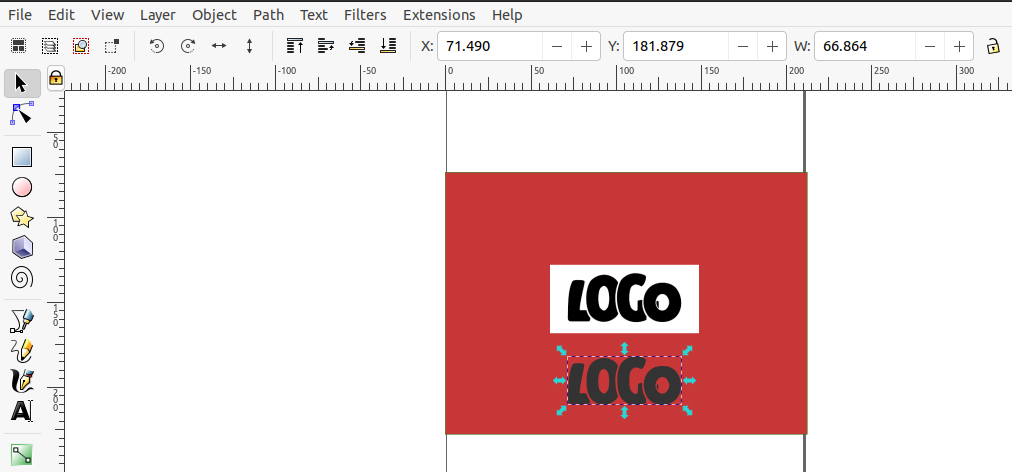
After doing so, click on the “Update” button the preview the traced logo image, and then click on the “Apply” button to apply the specified settings to the logo image:
As we have enabled the “Remove Background” option in the Multi scans window, it will remove the white background of the traced image, which you can see here:
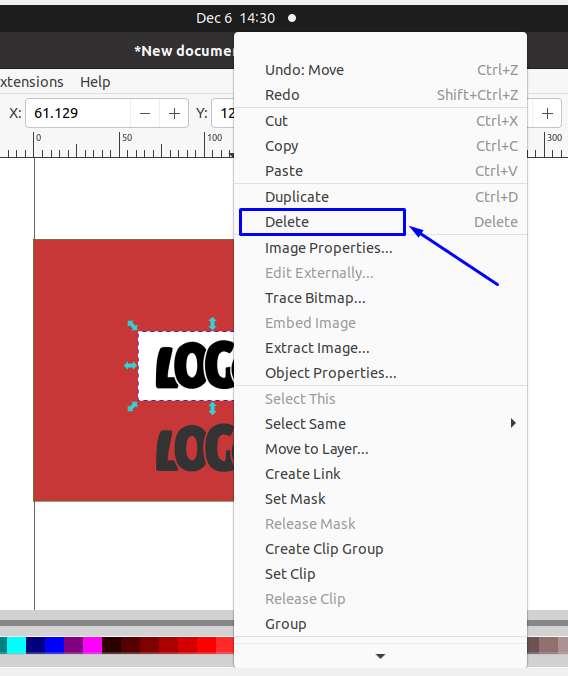
Now, left-click on the added logo image, and from the opened menu and then select the “Delete” option:
Now, set the traced image parameters according to your requirements:
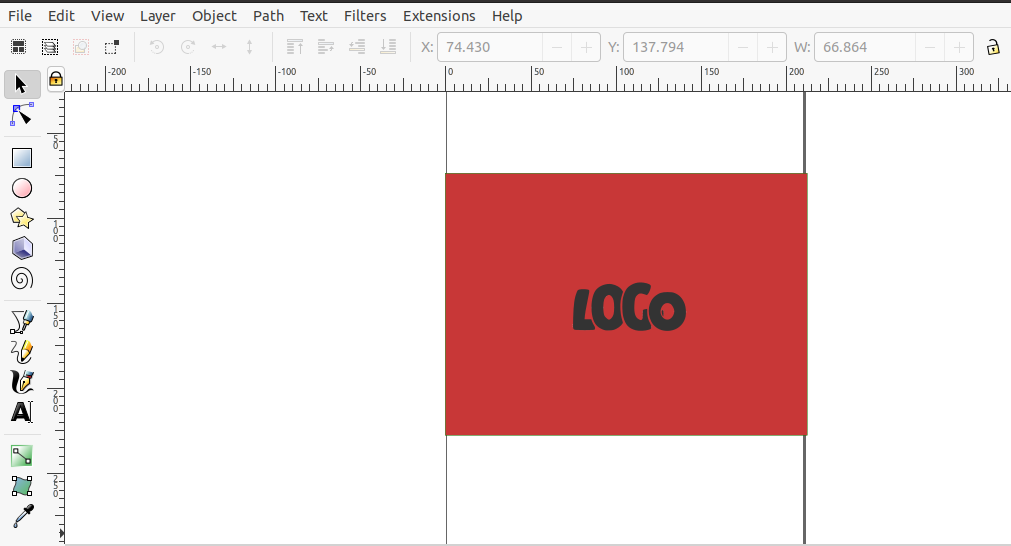
By following the above-given image tracing procedure, you can easily remove the white background of an image in your Inkscape application.
How to remove background in Inkscape using Outlining method
The tracing image method is useful when you want to remove the background of an image with a white background. However, in the case of images with colored backgrounds, you can utilize the “Outlining” method to outline the image’s main subject and then remove its background.
This section will teach you how to remove the background of an image in Inkscape using the outlining method. For this purpose, firstly, open up the “File” menu:
From the drop-down “File” menu, click on the “Open” option:

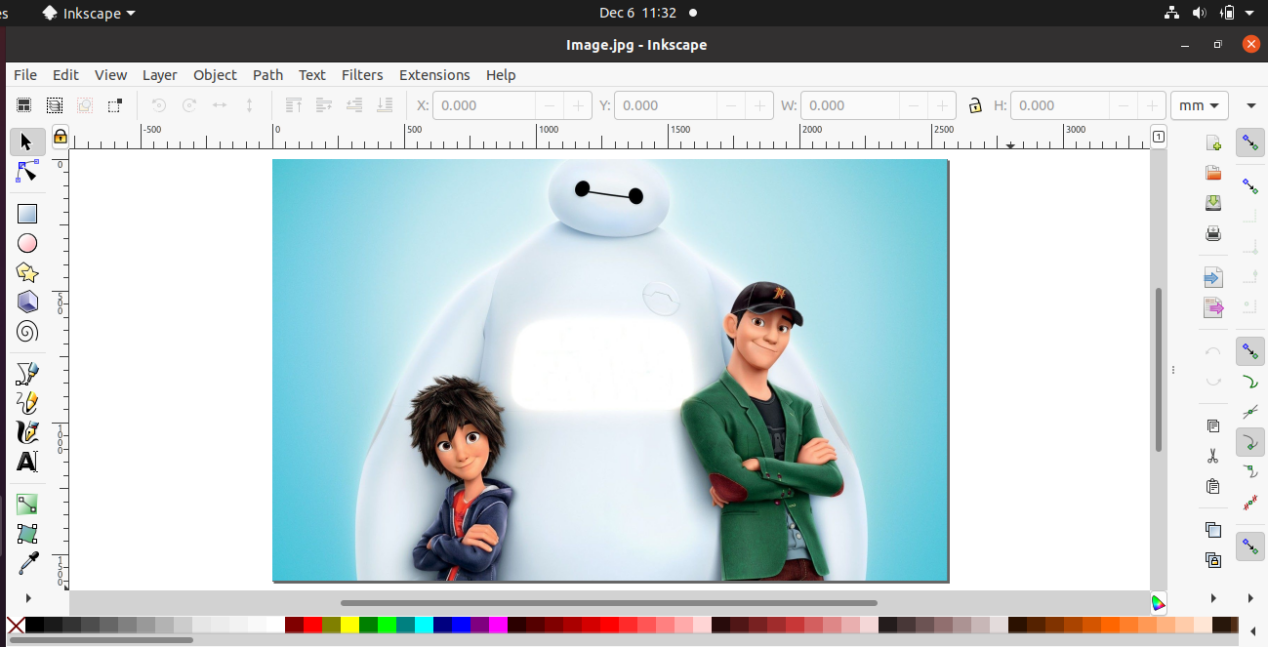
Now, we will open the “Image.jpg” image with a colored background. You can select any image having a colored background from your system files:

The image will be loaded in Inkscape within a few seconds:
Next, select the “Bezier” tool to outline the image using the Bezier lines:
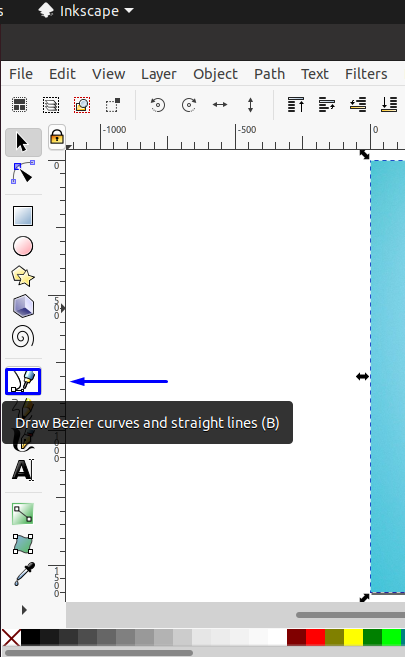
Now, start outlining the image, and remember you have to connect the ending node with the starting node when you finish the outlining process:

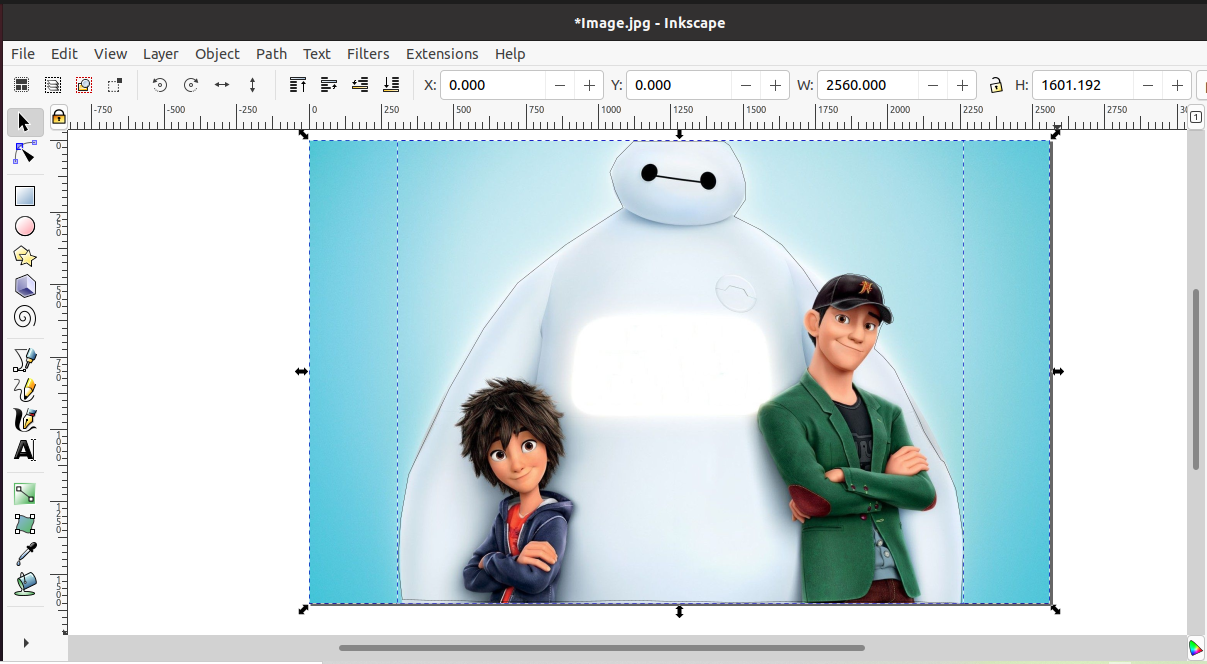
In the below-given image, you can see how we have outlined the image and distinguished its colored background from it:

After doing so, click on the “Select and transform” tool from the Inkscape tool panel, which is present at the left side of the window:

Now, hold the “Shift” key and then select the whole image comprising the colored background and the outlined area:
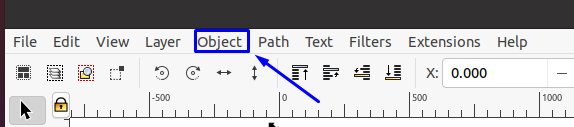
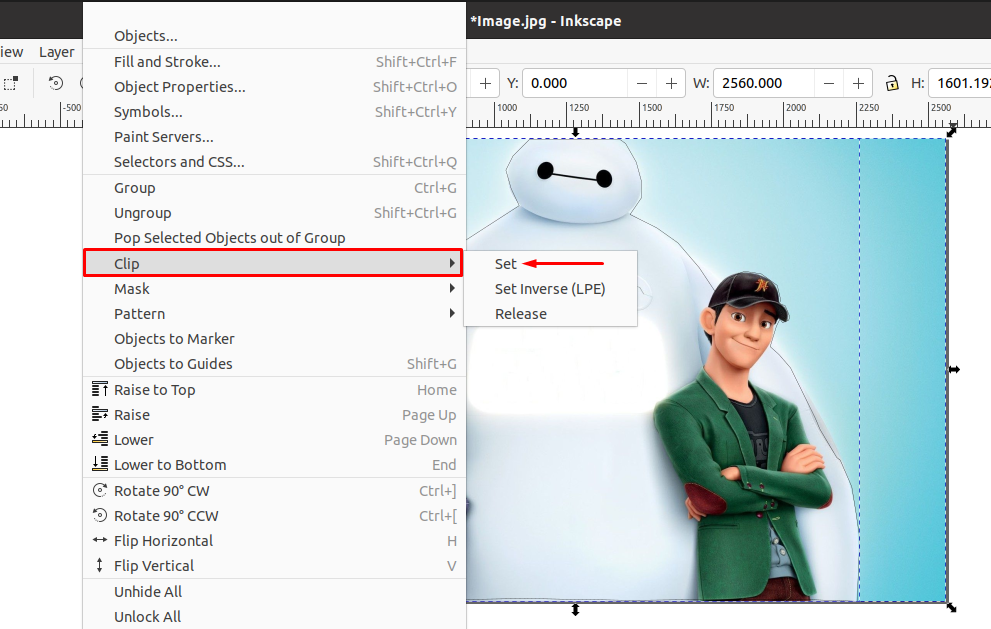
In the next step, we will set a “Clip” on the opened image. Settings clip in Inkscape permits users to hide all objects present outside the selected part. To do so, open up the “Object” menu:
From the drop-down “Object” menu, look for the “Clip” sub-menu and then select the “Set” option:
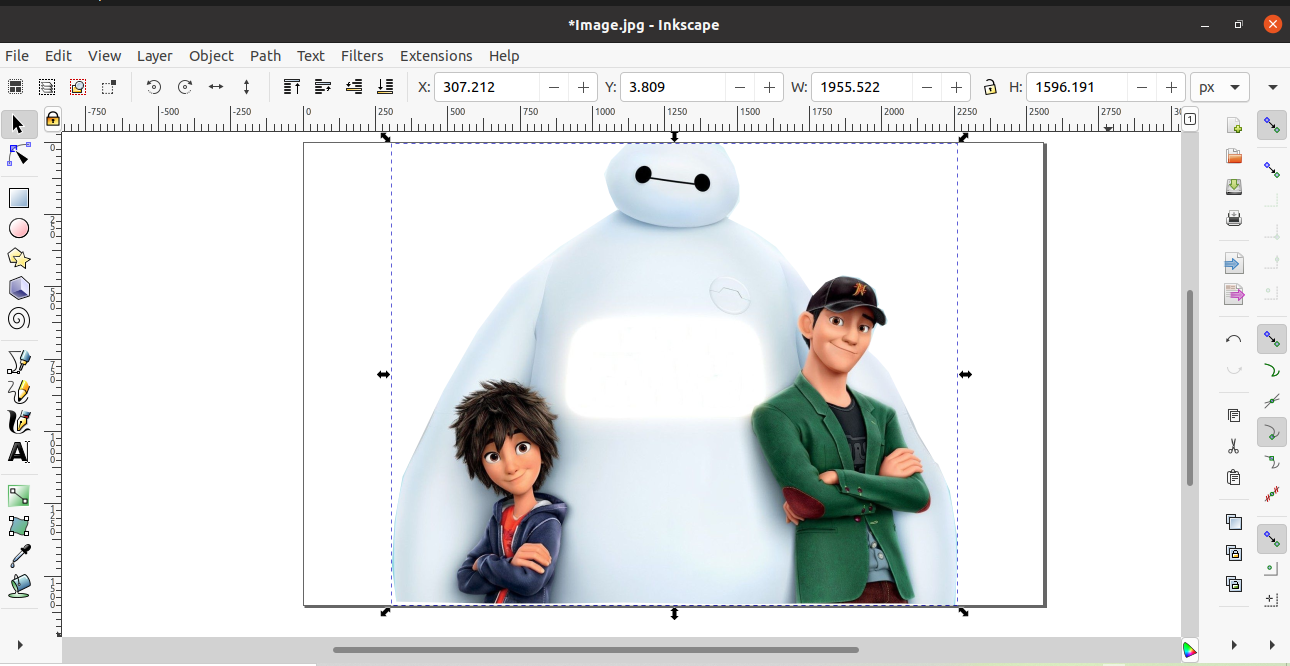
By carefully following the previous steps, the colored background of your selected image should be removed now:

Conclusion
Removing the background of an image in Inkscape helps you focus on the main subject, eliminating the distracting and unwanted objects and bringing an appealing look to the image. Inkscape users utilize the background removal feature to eliminate the imperfections of the captured images. Also, web developers remove the background of images to enhance the appearance of the images they post on their websites. This write-up showed you how to remove background in Inkscape using the Tracing image and outlining methods. The provided two sections demonstrated removing white background and colored background from the images.