Recover Lost and Deleted Data on Raspberry Pi
There are two lightweight utilities that make it possible to recover lost and deleted data on Raspberry Pi, which are as follows:
Let’s discuss both these utilities in detail.
1: Recover Lost and Deleted Data on Raspberry Pi Using Photorec
Photorec is a lightweight command-line utility pre-installed on the Raspberry Pi system, that makes it easier for the user to recover the deleted files/data on the system.
To use Photorec for data recovery on Raspberry Pi, follow the below-given steps:
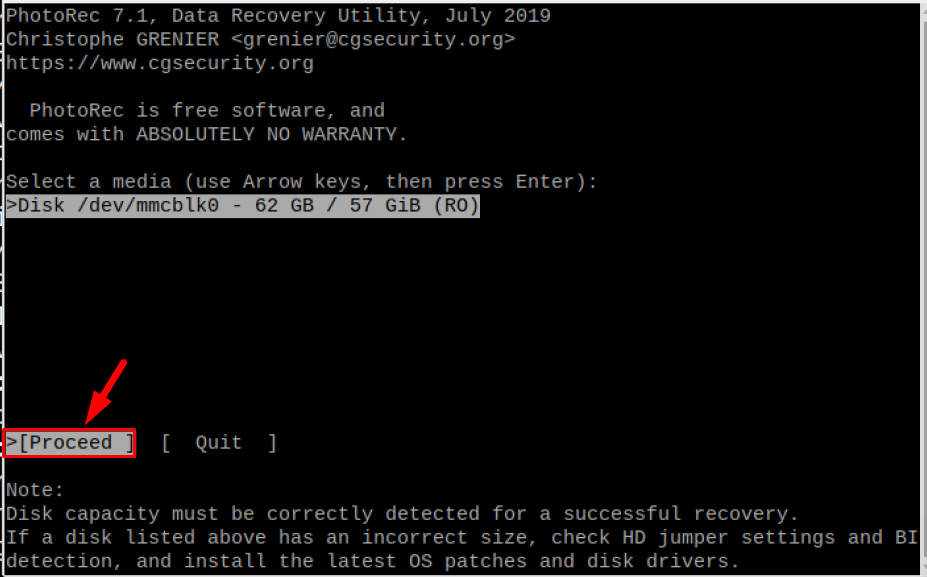
Step 1: Open Photorec on Raspberry Pi from the below-mentioned command:

Step 2: Click “>[Proceed]” here: on the prompt to move forward.
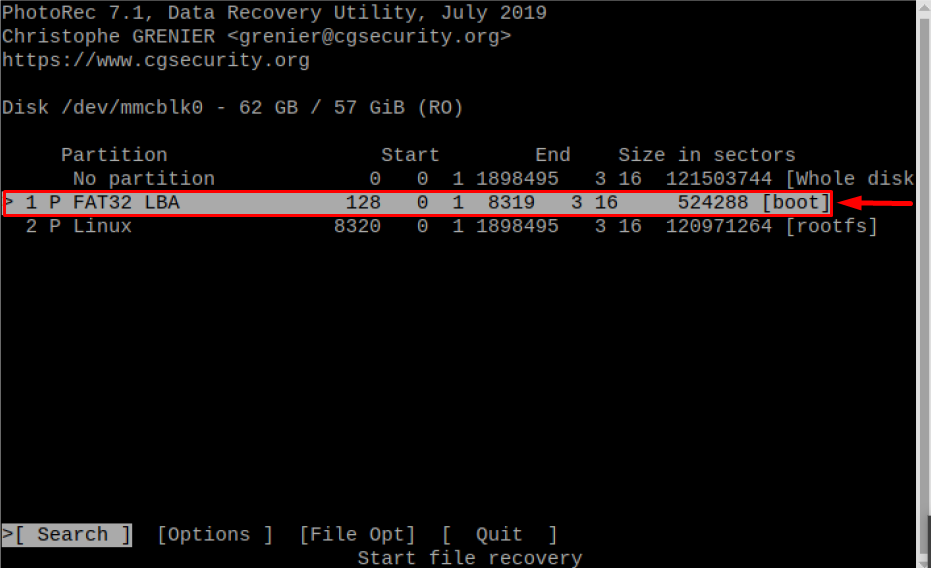
Step 3: Then select the “[boot]” partition by using the up and down arrow key, then hit Enter:
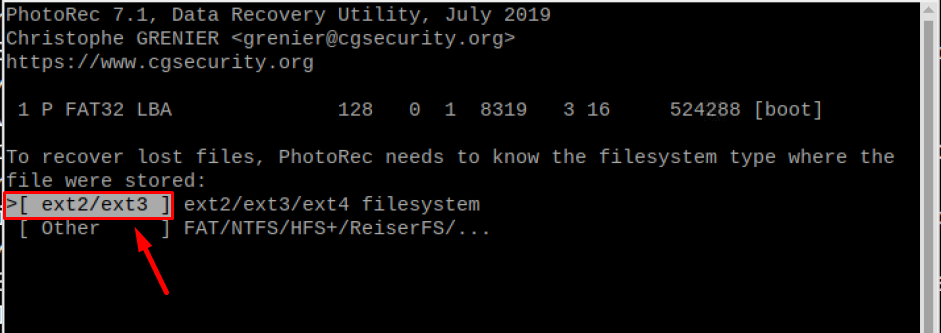
Step 4: Then choose “>[ ext2/ext3 ]” filesystem, these are Raspberry Pi’s file systems format:
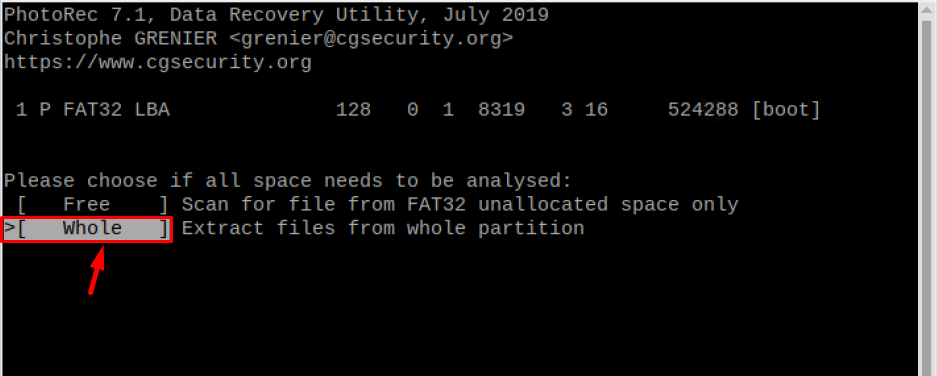
Step 5: Now select “>[ Whole ]” to extract the files from the whole partition:
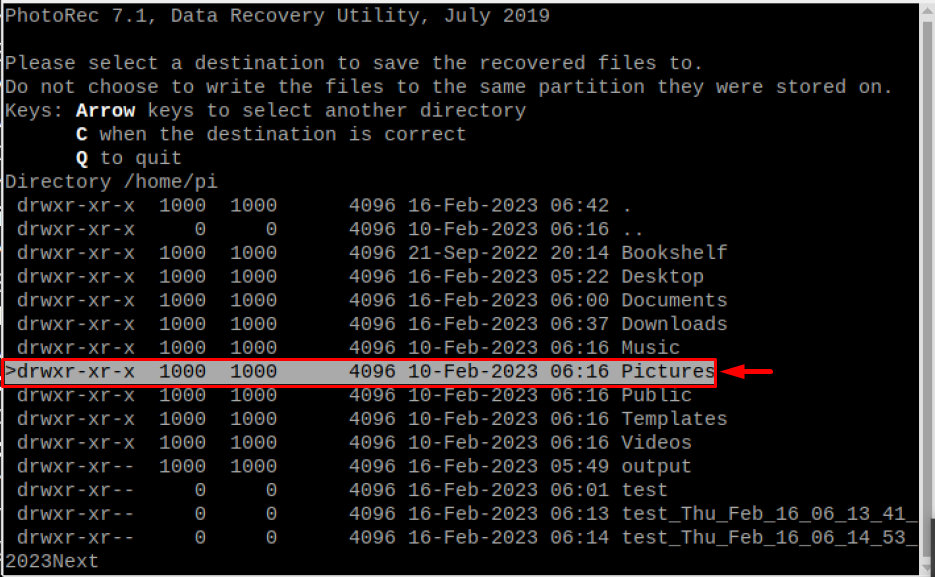
Step 6: Now you will see a list of all directories, by using the arrow keys you can move up and down to select the destination of your deleted file:
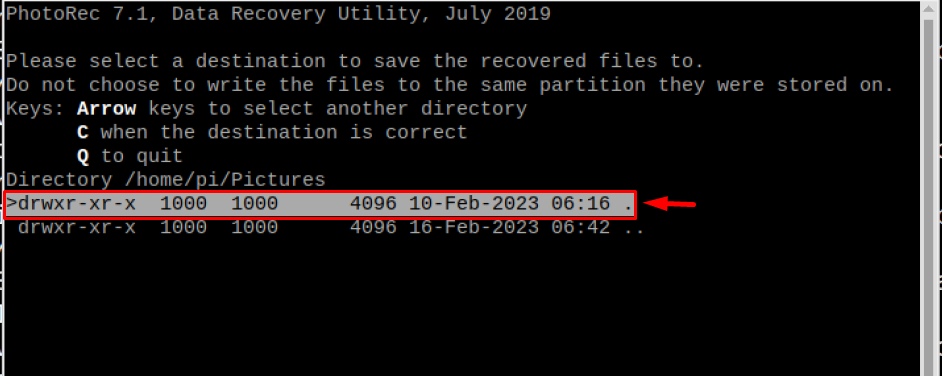
For example; here I selected the “Pictures” directory:
Step 7: Now you will see all the deleted files in that directory, by using the arrow keys you can move up and down to select the file. Once you have found the desired file then press the “c” key to recover that file:
Note: Once you are done then press “Q” to quit.
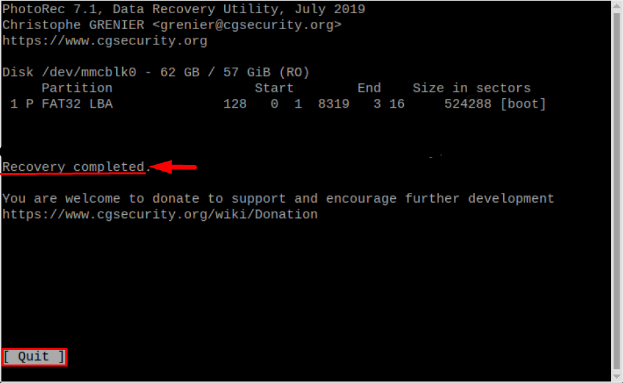
Step 8: Once the recovery is completed, then hit “Quit” to exit the photorec:
2: Recover Lost and Deleted Data on Raspberry Pi Test Disk
Another tool which can be installed on Raspberry Pi to recover lost and deleted data is test disk. Testdisk can be installed from the Raspberry Pi repository by using the below-mentioned command:
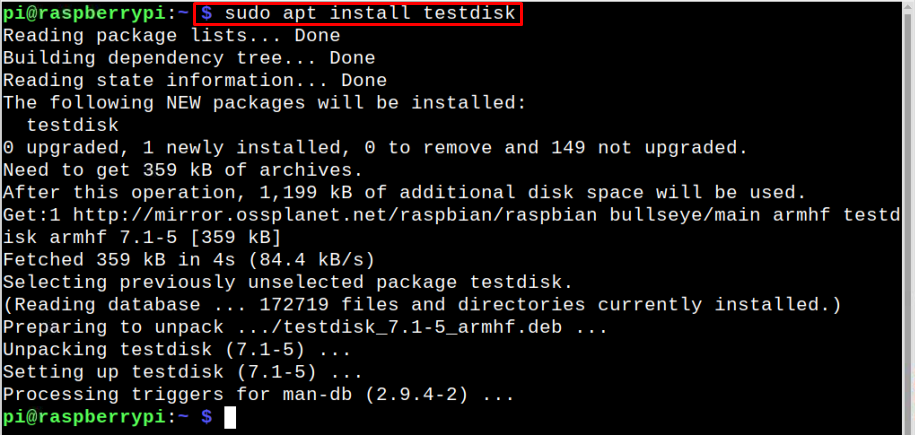
Then enter the below-written testdisk command to start running the utility.

Then use the following steps to recover lost and deleted data through Testdisk:
Step 1: Select “>[Create]” and press Enter:

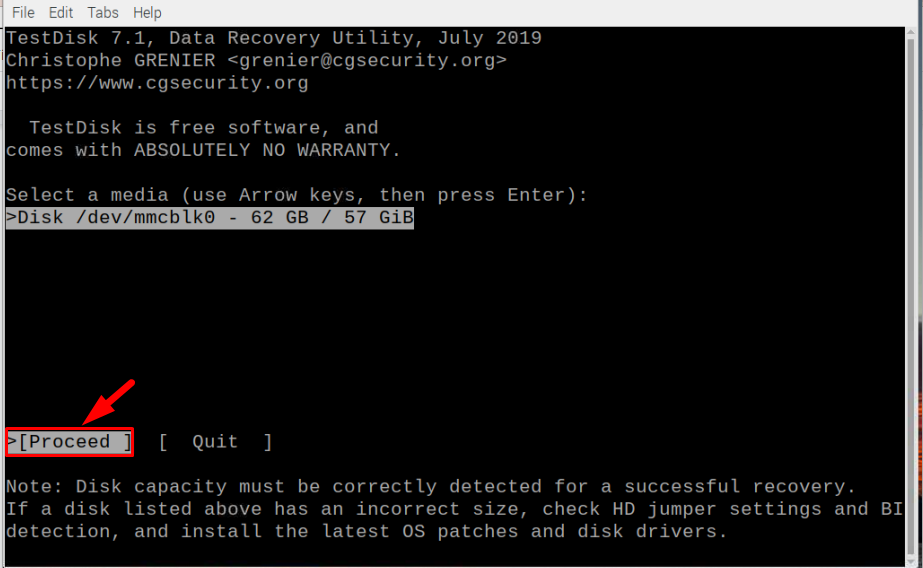
Step 2: Now enter the “>[Proceed]”.
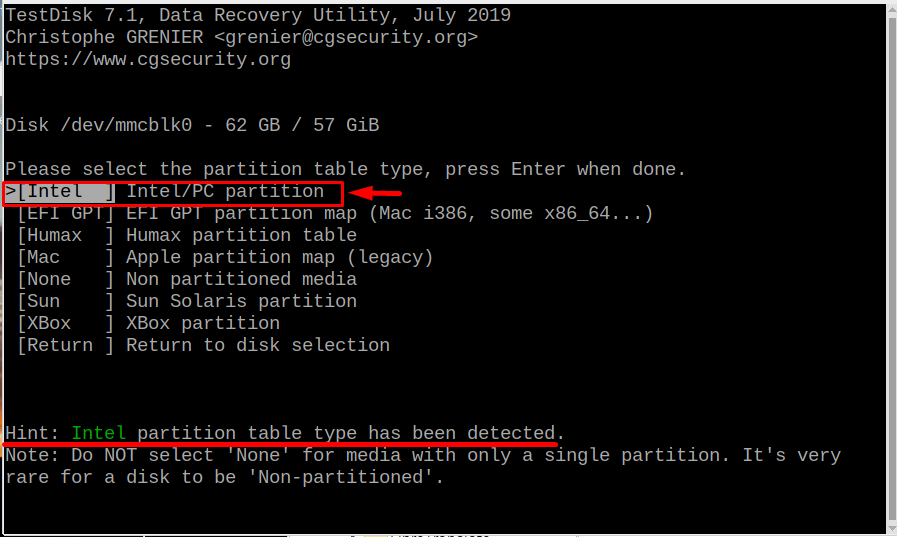
Step 3: Then select your device’s partition, usually, the recommended partition is given as a hint. For instance, here my partition is Intel Partition:
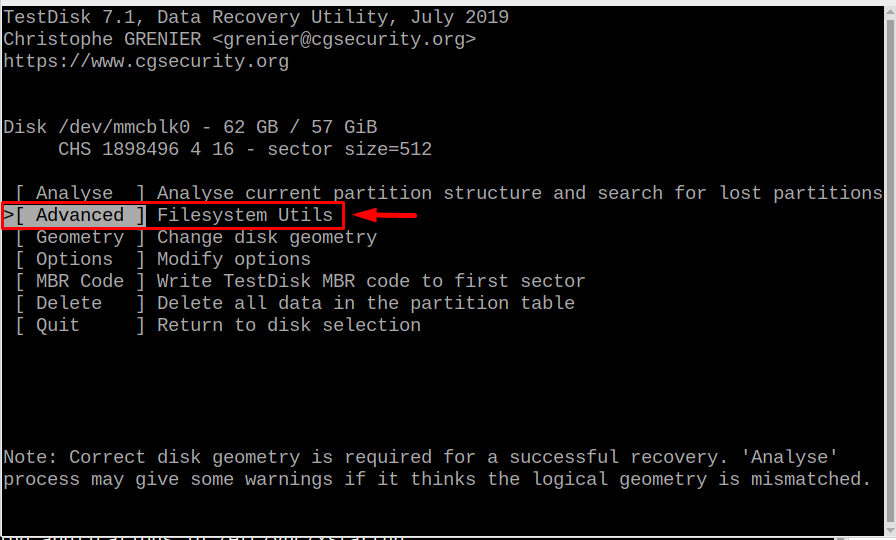
Step 4: Then click on “[Advanced] File system Utils”:
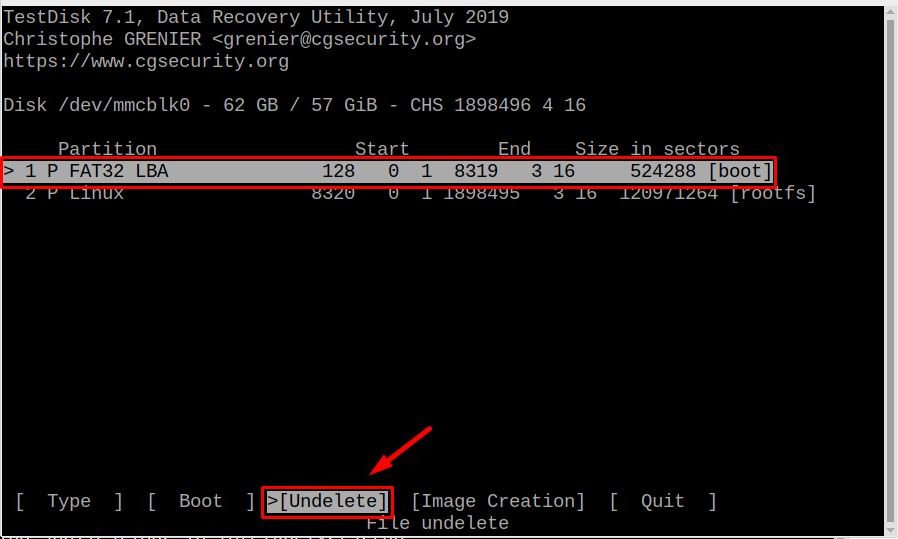
Step 5: Select boot partition and click on “>[Undelete]” at the bottom:
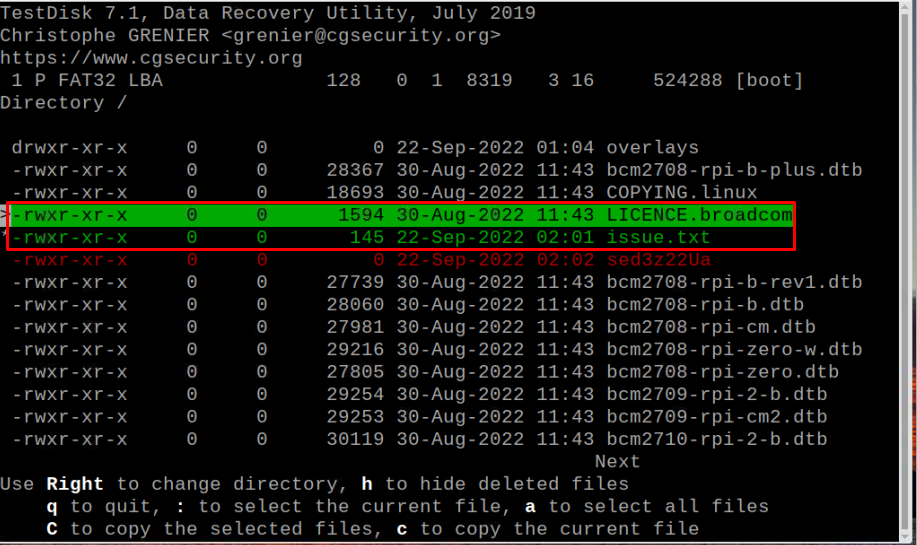
Step 6: All the deleted files will appear on the screen from where you can find the required file, press “c” to recover the file once you have found your desired file. The color of the file will change to green once “c” is pressed. Here, I have marked two files for recovery:
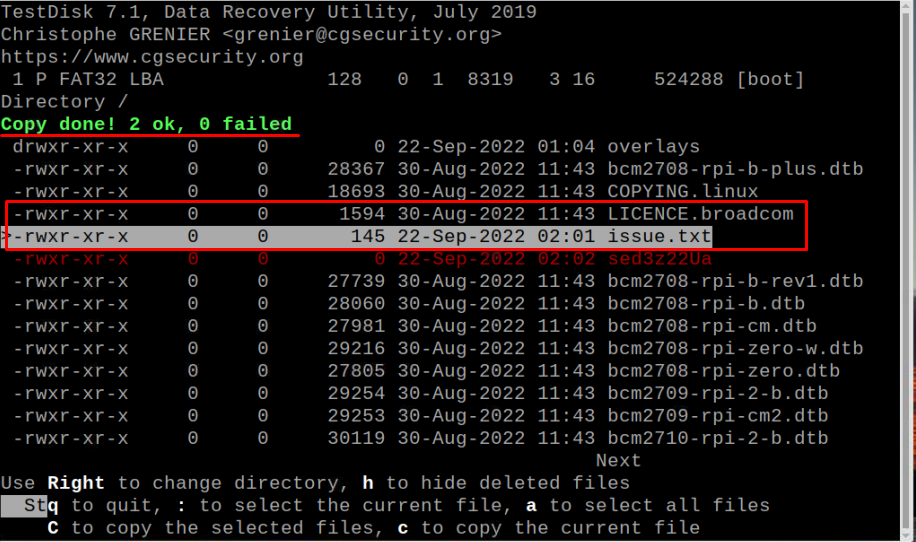
Once the files are recovered a “Copy done!” message will appear and the file colors will change back to normal from green:
Step 7: Once you are done then press “q” to quit.
Conclusion
There are two useful tools Photorec and testdisk to recover the lost and deleted data on Raspberry Pi. Photorec is a pre-installed package, whereas the test disk needs to be installed from the official repository. Photorec is a better choice if you remember the directory of deleted files, but due to any reason you do not remember the directory name, then you can use the testdisk utility to recover lost and deleted data on Raspberry Pi.