If you are a Raspberry Pi user and you have mistakenly deleted your important data files and you don’t have those even in the trash. Then this article will show you a way to recover them with a simple command line utility, which can be used by any Raspberry Pi user.
How to Recover Deleted Files in Raspberry Pi
To recover deleted files in Raspberry Pi, you can use a utility called testdisk; the procedure to install and use testdisk on the Raspberry Pi system.
Step 1: The testdisk utility can be installed on Raspberry Pi from the official repository but before that make sure to update the repository through the following command:
$ sudo apt upgrade
Step 2: Then install testdisk by running the below-mentioned command:

Step 3: After installing test disk, run it by using the below-mentioned command so that we can use it to recover the desired file:

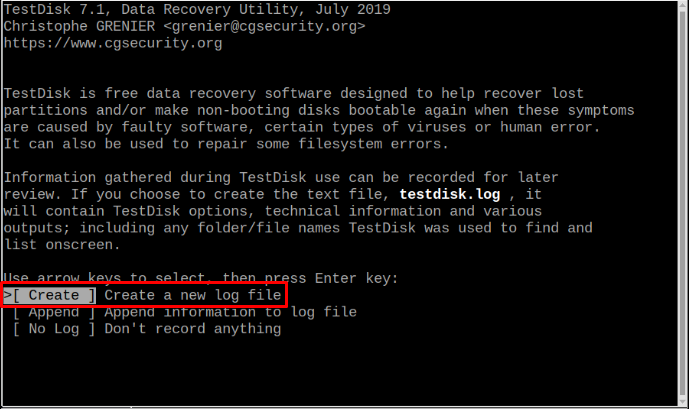
Step 4: Now you will see the testdisk menu on the screen, by default the [ Create ] is selected so just press Enter here:
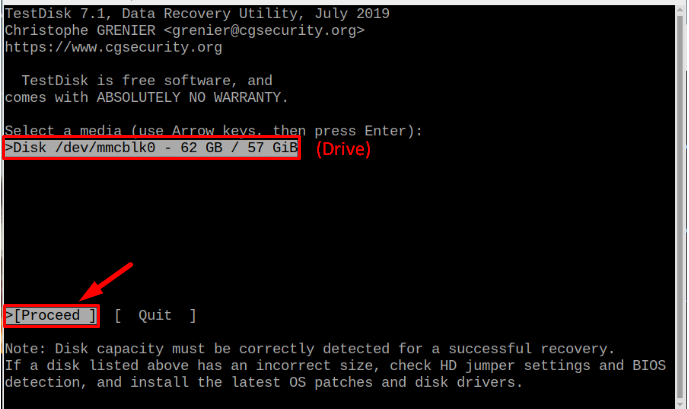
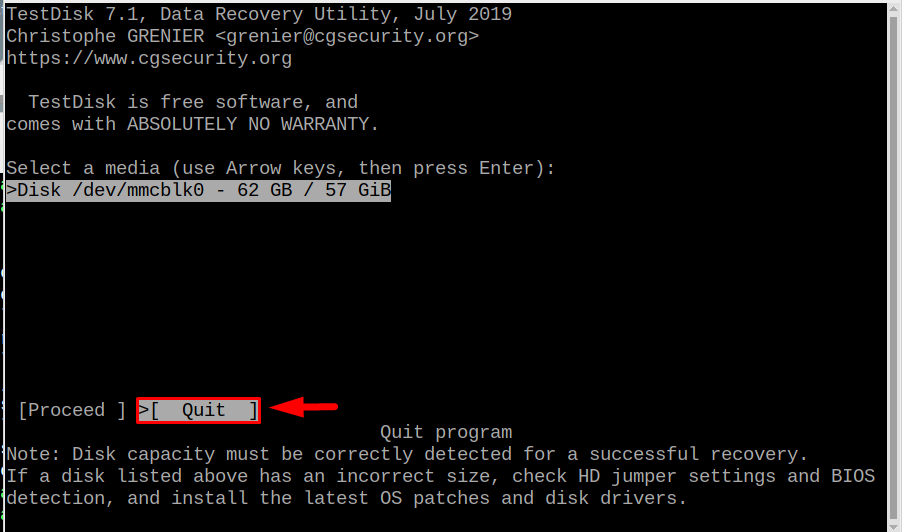
Step 5: At this point, you will see your drive here and you must select [Proceed] by using the arrow keys and hit Enter:
Step 6: It will automatically show you the detected partition table here; just press Enter:
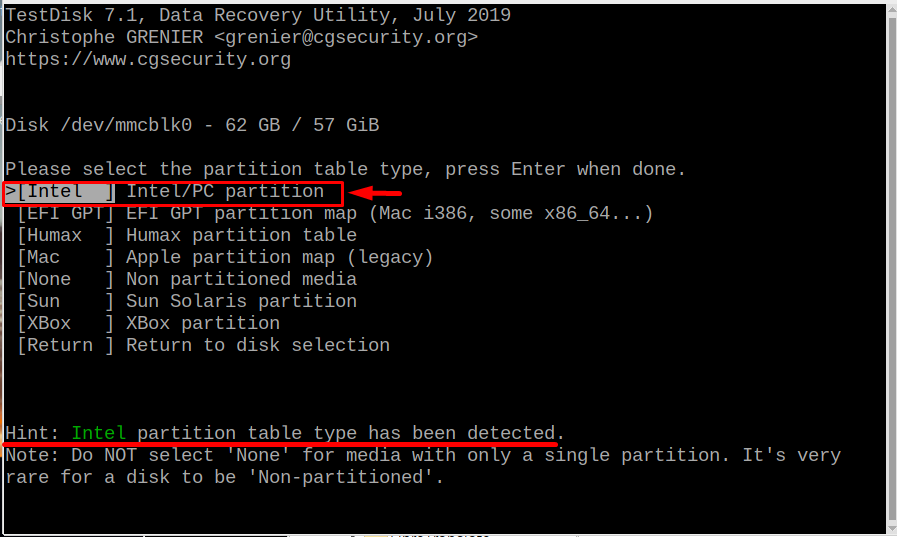
Note: Here, my partition table is [Intel], yours can be different and it really doesn’t matter. Just Enter whatever your detected partition type is.
Step 7: Then Enter the [Advanced] Filesystem Utils option:

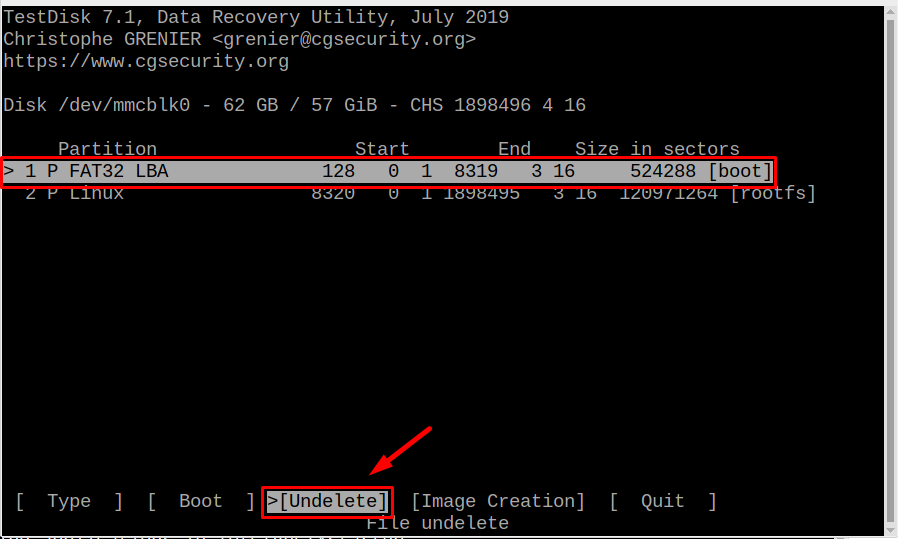
Step 8: Then select the [boot] partition, which is FAT32 in my case and most probably yours will be the same too. Once it’s selected, simply press the Enter button on the [Undelete] option.
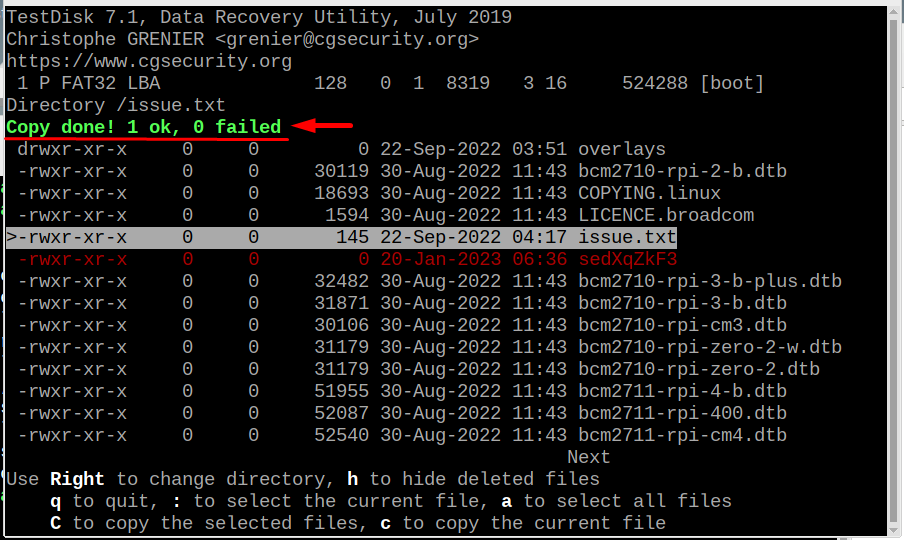
A list of deleted files will appear on the screen, from where you can recover your files. I want to recover four files which are highlighted in the image below. You can recover one file, all files or as many files as you want:

Step 9: Once you have found the file you want to recover from the list, navigate to that file using the arrow keys and press c to copy the file, by copy it means the file is recovered. The successful copying can be verified by a highlighted copy done text which will appear after pressing the c key:
In the same way, all the other files can also be recovered and if you want to recover all the files, press a to select all the files then press C (capital C) to recover all the selected files.
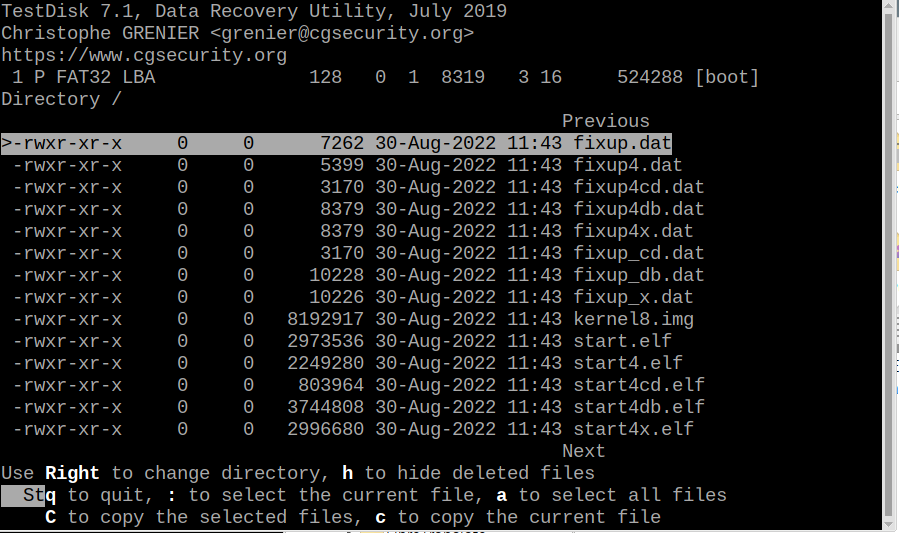
Step 10: Once you are done recovering the desired files then press q to quit:
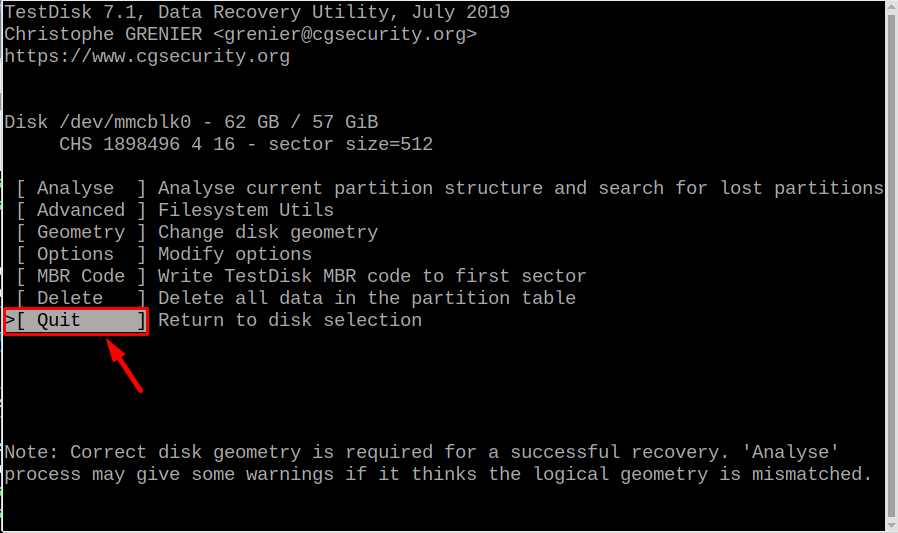
Step 11: Then again select Quit:
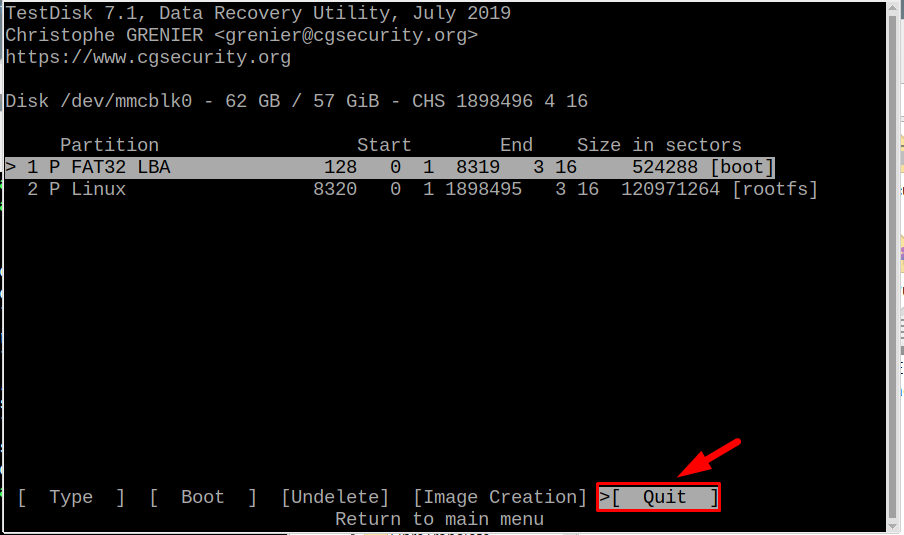
Step 12: Then again use the arrow keys to go to the Quit option and press Enter:
Step 13: Finally Quit one last time and the process is completed now.
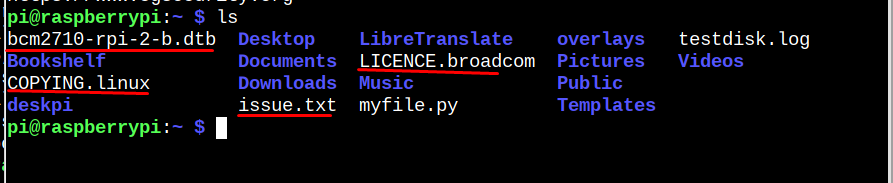
Step 14: To verify if the desired files are recovered or not, let’s run the below-written ls command:
In the output, you can see that all the files are recovered successfully:
Conclusion
To recover the deleted files in Raspberry Pi, a command line utility testdisk is used, which can be installed from the official Raspberry Pi repository. After installing testdisk, run it on the terminal and there will be few selections that users have to make. After completing the required selection process which is discussed in the above-mentioned guidelines, you will see all the deleted files, which can be recovered by pressing the c key.