Screen Recording is very common nowadays. People record their important meetings, lectures, gaming sessions, and many such things by using screen recording applications. Some systems have pre-installed screen recording applications and some don’t. Well, fortunately, Raspberry Pi comes with a preinstalled VLC media player which can be used for screen recording purposes too. In this tutorial, the method to record a screen on Raspberry Pi by using a VLC media player is discussed.
Record Screen on Raspberry Pi Using VLC Media Player
To record the desktop screen on Raspberry Pi by using a VLC media player, follow the steps below:
Step 1: To record the screen through a VLC media player firstly the user has to access the VLC media player which can be accessed either through the GUI or through the terminal:
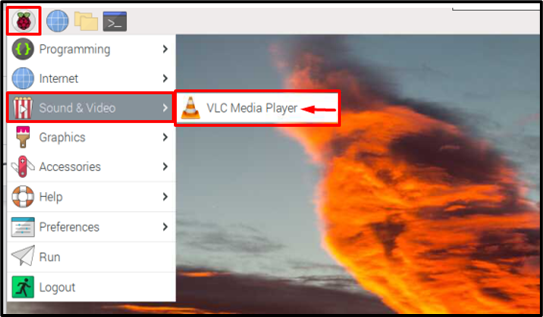
To access the VLC media player through GUI, go to the Application Menu then choose Sound & Video to finally access the VLC Media Player.
To open the VLC Media Player through the terminal, follow the below-mentioned command:
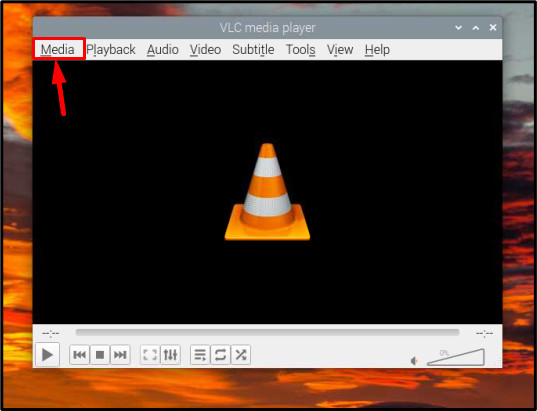
As an output the VLC Media Player interface will display on the screen:
Step 2: Click the Media tab from the menu bar:
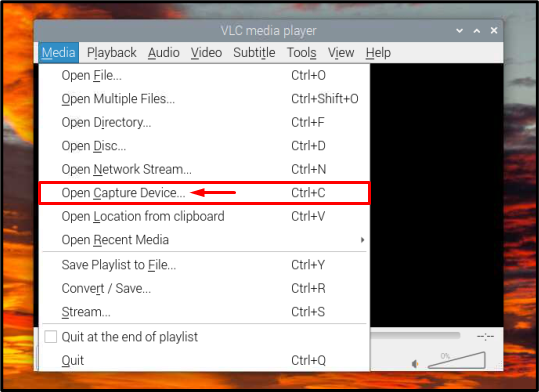
Step 3: Choose the Open Capture Device option from the Media drop-down list:
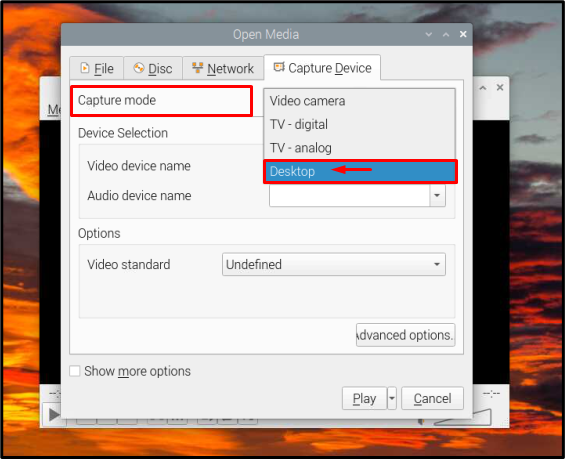
Step 4: Then go to the Capture Device tab:
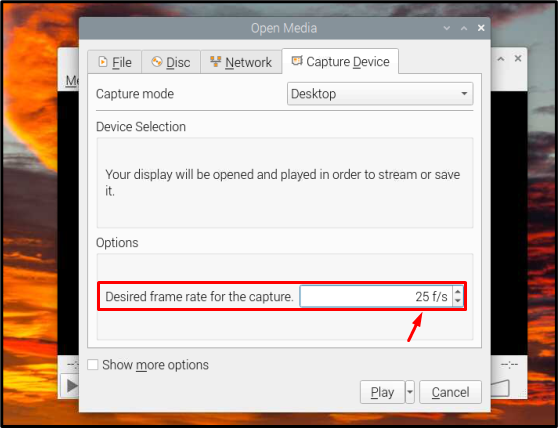
Step 4: From the Capture mode select the Desktop as you have to record the desktop screen:
Step 5: Then set the Desired frame rate value usually 25 – 30 frames per second is a good number, but this is totally up to the user:
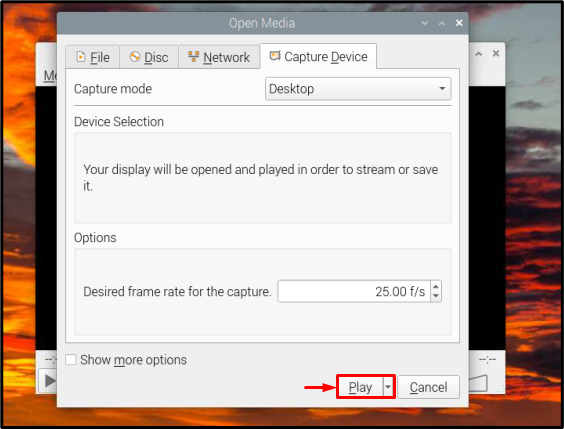
Step 6: Finally hit the Play button to start the screen recording:
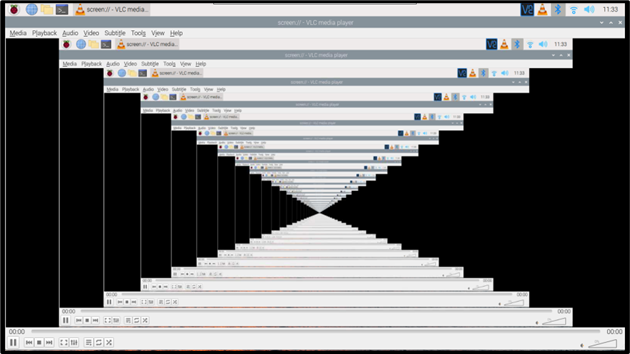
Step 7: The screen recording will start by recording frames and now you can perform whatever activities you want to record on the screen:
The Pause button can be used to pause the recording and the Stop button is pressed when the recording is complete, both of these buttons lie at the bottom of the interface:
That’s all for the process and now you can record as many screen-recording videos as you want.
Conclusion
VLC media player is the default media player of Raspberry Pi which is why it has been used in this tutorial to record the desktop screen so that Raspberry Pi users do not have to run into the hassle of installing new software just to record the screen operations.

