Microcontrollers have been used for a very long time, from simple daily use household items to complex machinery. Communication with microcontrollers was not an easy task until Arduino, an open-source platform, makes this possible and has made electronic circuits more accessible to users. Arduino communicates with microcontrollers through C++ language but due to advancement and diverse interest of peoples, multiple new languages have emerged such as Python. In this article, we will look at how we can control Arduino boards using Python.
Arduino and Python
Arduino is an electronic platform that uses C++ as default to communicate between Arduino boards and users. It’s based upon both hardware like Arduino boards and software known as IDE. Arduino IDE has made it easy to control Arduino boards through multiple languages. Python is one of those languages which comes with Arduino support packages.
Python is a high-level object-oriented programming used in data structure, machine learning, software developments and automated tasks using microcontroller boards such as Arduino.
How to Program Arduino Using Python
Arduino can be programmed using Python. We just need to install Python packages using pip which is a package manager tool used for Python programming. Different Python packages are available to build serial communicating bridge with microcontrollers such as:
-
- MicroPython
- pyFirmata
- pySerial
In this article we will continue with pyFirmata as it is easy to use. Also, Arduino IDE comes with preinstalled pyFirmata packages that makes it easy to install.
Setup Arduino Board with Python
Before we go further here is a list of tools needed to continue:
-
- Arduino Board (UNO)
- Arduino IDE
- Python 3.10.6
- Pip package 22.2.2
- LED
- Breadboard
To continue further, first we will download our Python installer and pip package to install pyFirmata which helps us to develop serial communication between Arduino board and Python. Follow along these steps to setup Python with Arduino.
Download All the Required Software and Packages
First, download all the required software and packages:
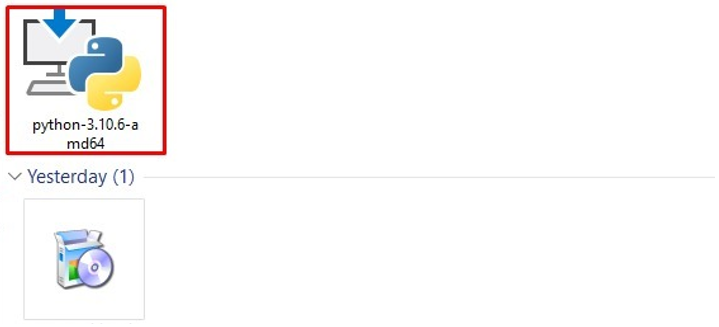
Step 1: Download Python by going to the official site. Click here to download.

Once Python is downloaded open the Python installer to complete the Python installation process.
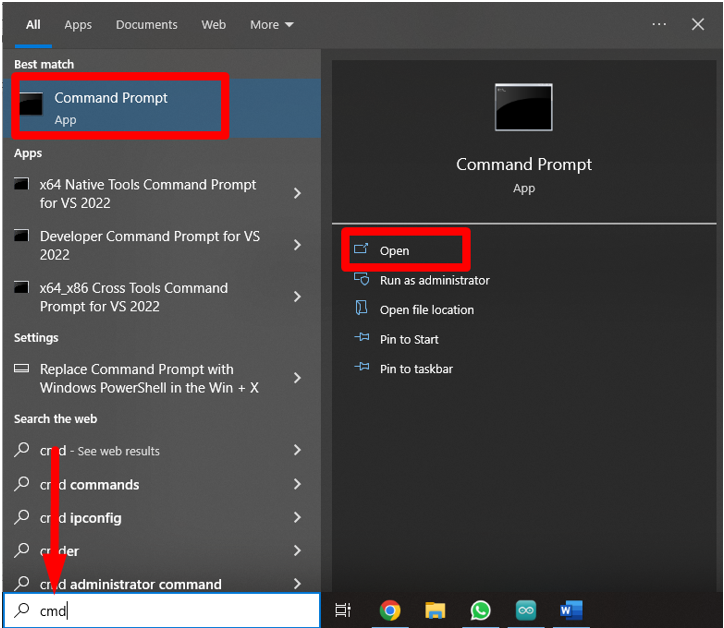
Step 2: It is time to install pip package manager. Open command prompt:
Download pip using:

To install it use:

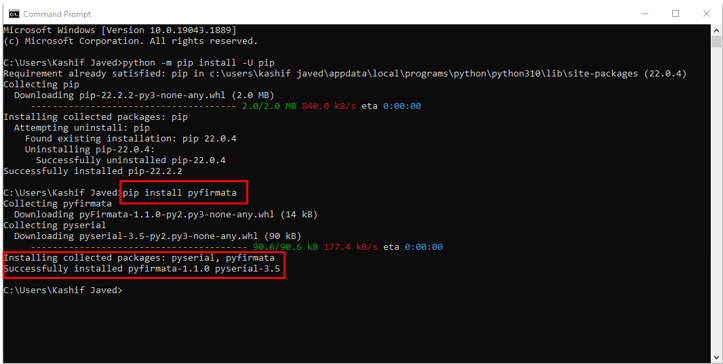
Type the following command in command prompt window to update pip package:
Step 3: The last software needed to set up is Arduino IDE. It can be downloaded by visiting their official downloads page where multiple download files are available according to the required OS.

Installation of pyFirmata and pySerial Packages
Through pip package manager install pyFirmata and pySerial packages:
Step 1: To install pyFirmata using pip, type the command given below:
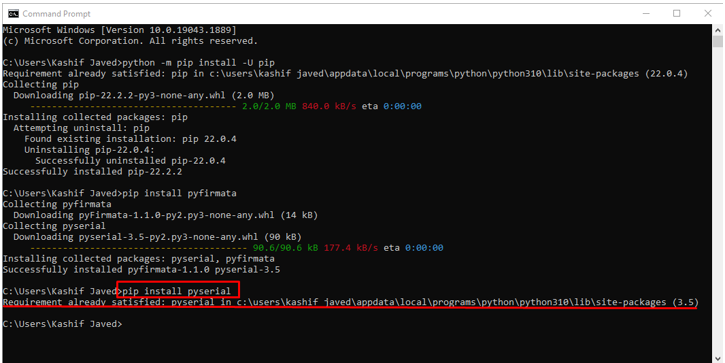
Step 2: Another very famous protocol used to communicate with Arduino boards is pySerial by typing this command it can be installed easily:
Setting up of pyFirmata with Arduino IDE
After installing the Arduino IDE installer, open it by double clicking the shortcut icon or by typing IDE in the window search bar. To install the pyFirmata package with an Arduino board follow below given steps:
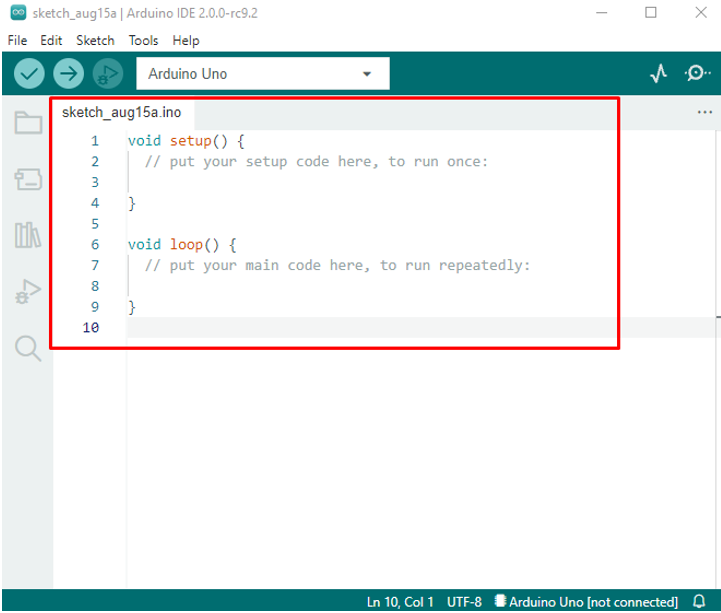
Step 1: Open Arduino IDE. A new window will open, with a blank sketch.
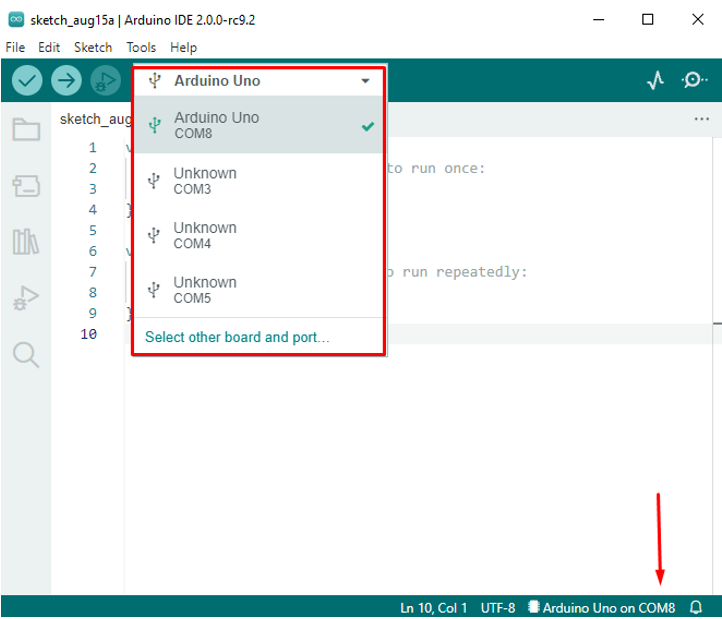
Step 2: Setup Arduino board ports. Latest version of IDE (version 2.0) can detect Arduino boards automatically but on older version go to: Tools>Boards>Arduino AVR Boards>Arduino Uno:
For port selection go to: Tools>Port>Serial ports>COM:
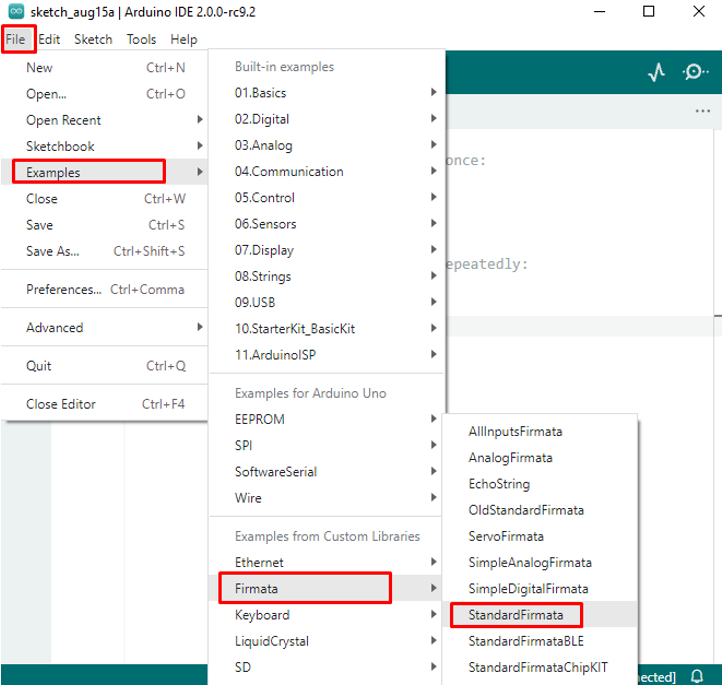
Step 3: Load pyFirmata sketch in Arduino IDE, for that go to: File>Example>Firmata>StandardFirmata:
Step 4: New window is showing StandardFirmata sketch:
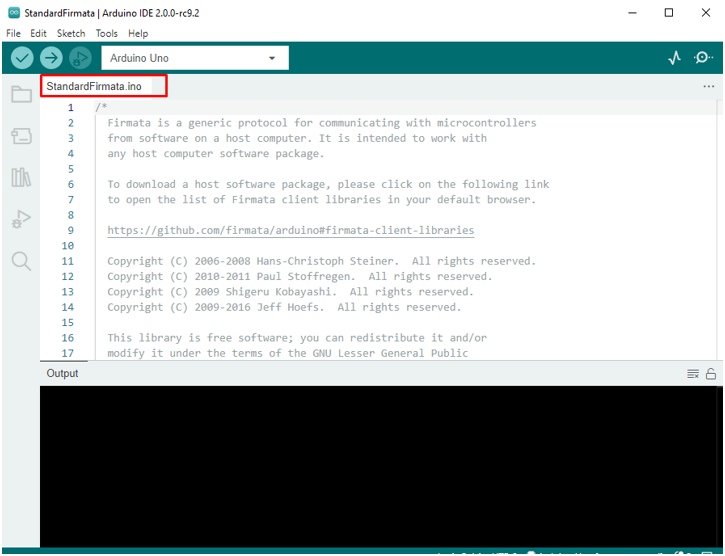
Step 5: Compile and Upload this sketch into the Arduino board using the mentioned buttons on top left corner.
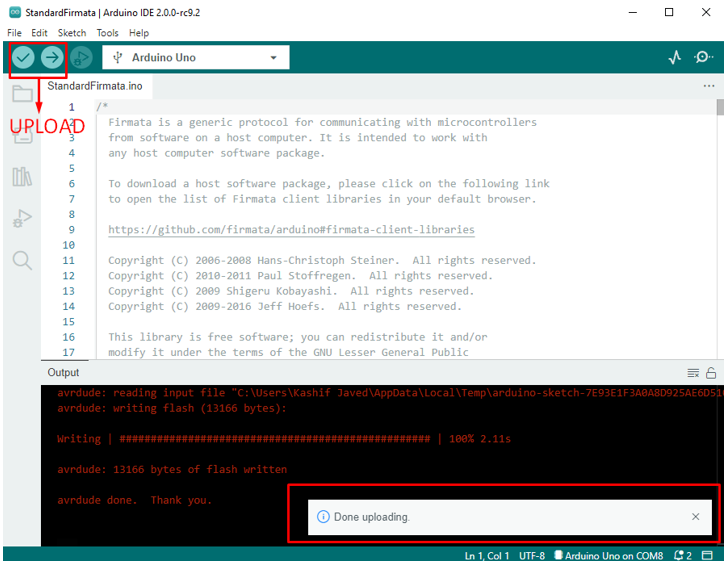
After successfully uploading a sketch. The Arduino board is ready to program using Python language.
Upload LED Blinking Program in Arduino Uno Using Python
We have just set up our Arduino board with Python to write the first Arduino program using Python. Here are a few steps that show how to write an LED blinking program in Python and upload it to the Arduino board.
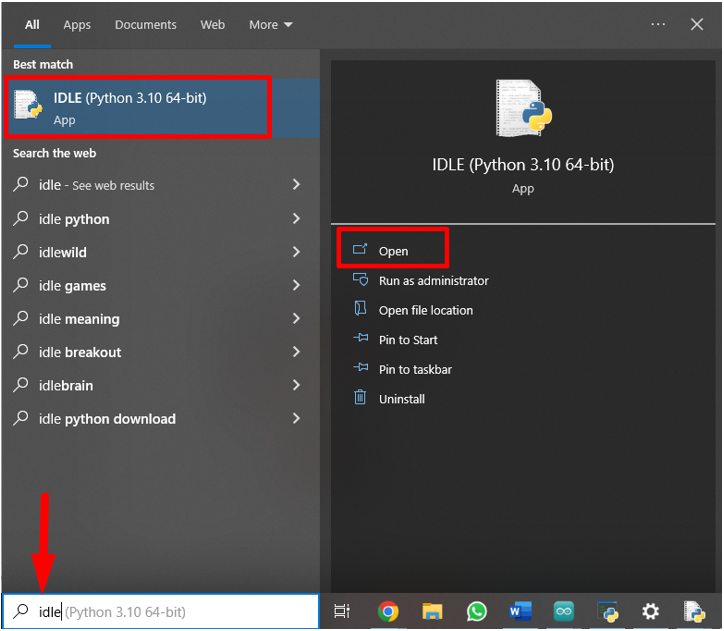
Step 1: Open Python IDLE using the Windows search box option.
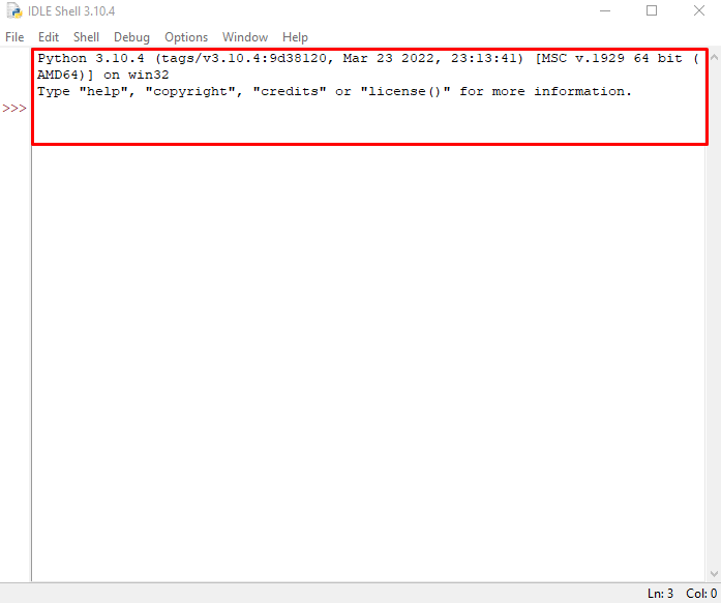
Step 2: New window will open showing the Python IDLE shell where we can write an Arduino program in the Python programming language.
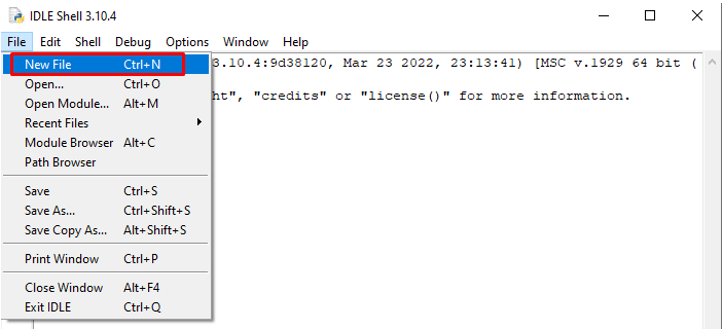
Step 3: Press Ctrl+N or click File then New File.
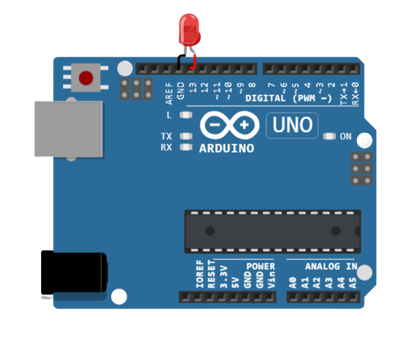
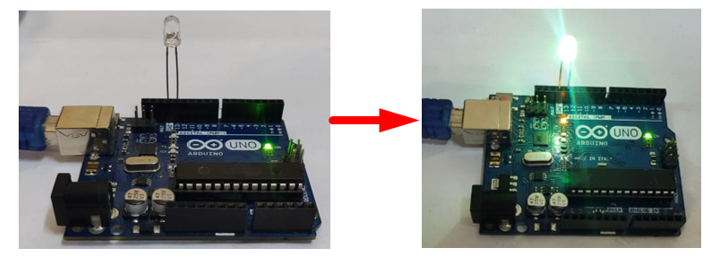
Step 4: New window will open type code below to run LED on Arduino board at pin 13. Connect the positive end of LED at pin 13 and negative or shorter leg of LED at GND pin.
Step 5: Now, copy and paste the given code in the Python IDLE:
import time
board=pyfirmata.Arduino('COM8')
it=pyfirmata.util.Iterator(board)
it.start()
x=board.get_pin('d:13:o')
while True:
x.write(1)
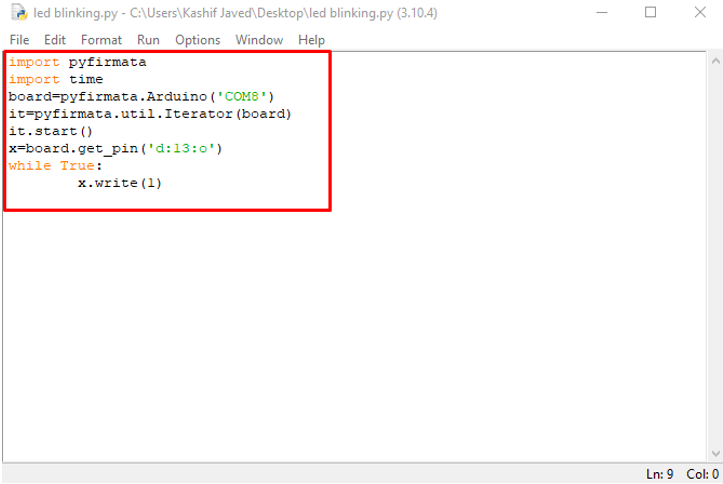
We started code by importing our pyFirmata protocol in Python IDE to establish connection between Arduino and Python. After that, it declared the COM port at which Arduino is connected. Next using board.get_pin we declared the output pin at which LED is connected. In the while section x.write(1) function will glow LED continuously.
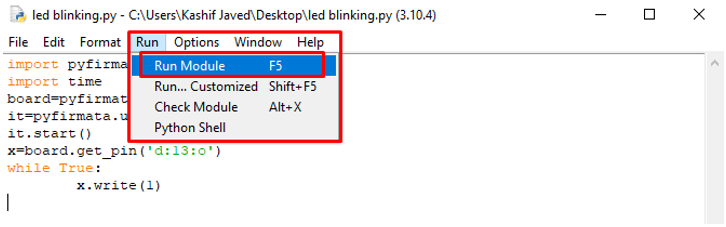
Step 6: Once our circuit and Python code is ready, it’s time to upload our code in the Arduino board. First save Python code then Press F5 or go to: Run>Run Module to upload code in Arduino UNO.
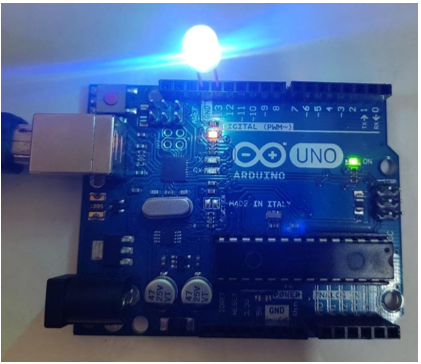
The above Python code will keep the LED ON. Let’s move on and check how we can make it blink.
Python LED Blinking Code Arduino
Now upload an LED blinking program:
import time
board=pyfirmata.Arduino('COM8')
it=pyfirmata.util.Iterator(board)
it.start()
x=board.get_pin('d:13:o')
while True:
x.write(1)
time.sleep(1)
x.write(0)
time.sleep(1)
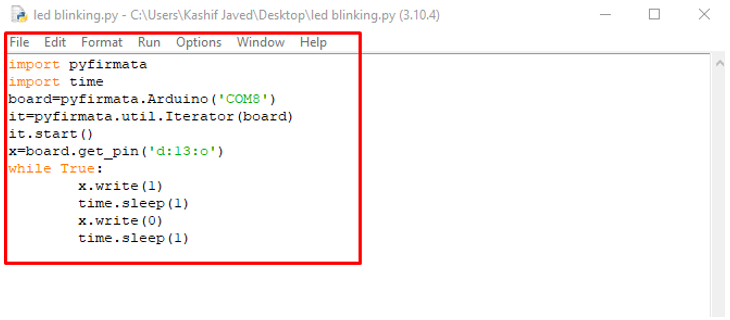
First, we must upload pyFirmata to establish serial connection with the Arduino board, which is declared at line 3 as an object board after that we have defined the pin 13 at which output will be shown as our led is connected at pin 13.
In while section output is declared as high using 1 and Low using 0. LED will glow for 1 sec then it will turn off due to time.sleep function for 1 sec.
Conclusion
In this article we highlighted how we can use Python code in an Arduino board using pyFirmata. It makes it easy to run Python code in Arduino boards. Using pyFirmata we can use multiple other Arduino libraries with Python but in complex applications pyFirmata is limited.