If you want to turn your Raspberry Pi into a private chat and messaging server, then you should install the RocketChat server. This article shows you the easiest way to set up RocketChat private web server, so let’s start the setup process.
Private Chat and Messaging Server with Raspberry Pi using RocketChat
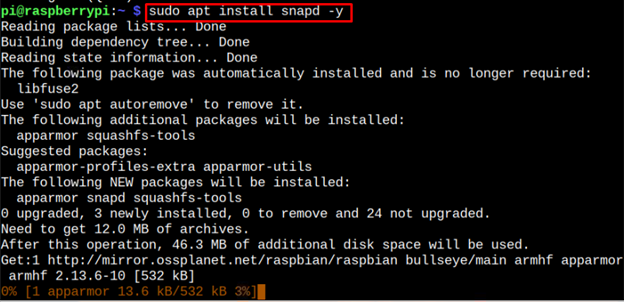
The installation of the RocketChat web server can be done easily on your Raspberry Pi system from the snap store. However, to install this server, you must confirm whether Snap store is installed on your system and if it’s not, follow the below-mentioned command to install it.
Once the snap store is installed, you should also install the core package from the Snap to ensure the packages you installed later are the latest ones. To install the core, you can follow the below-given command:
After performing the core installation, you can install RocketChat server from the following command:
Access RocketChat Web Interface
To access the RocketChat web interface on your browser, you should first find the IP address of Raspberry Pi via the following command:
After finding the system IP address, open the browser tab and enter the address http://<IP>:3000 to open the RocketChat web interface.
At the screen, you must provide admin information by yourself. Fill in all the options and then click on the “Continue” button.
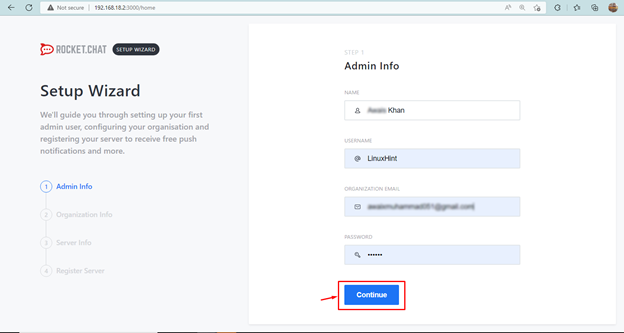
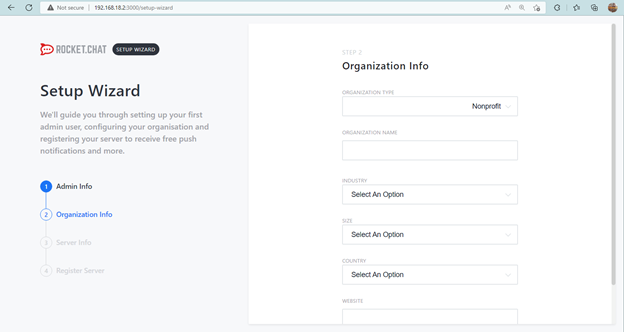
The next screen will ask you about the organization you are working with and you have to fill in these options by yourself.
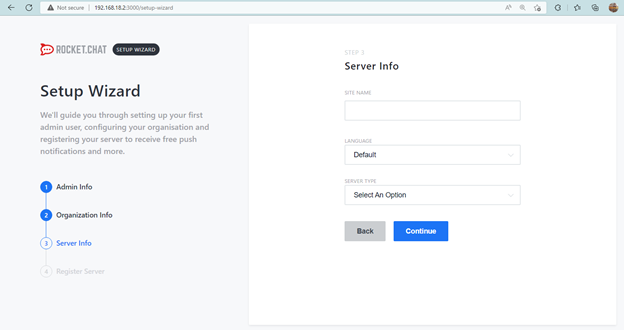
For server information, you have to provide the site name, language and server type and then click on the “Continue” button again to move forward.
Now, you must register your server by choosing any option.
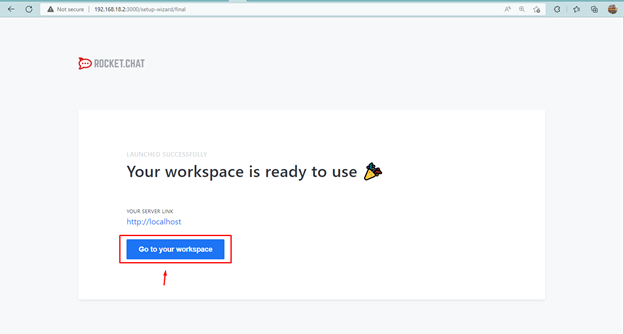
Once you click on the “Continue” button, you will see a confirmation message telling you that the workplace is ready to use. You must select the “Go to your workspace” button to move toward the workplace you just created.
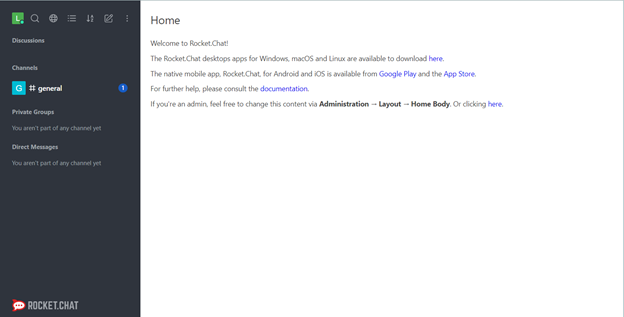
This shows the RocketChat dashboard on your system browser.
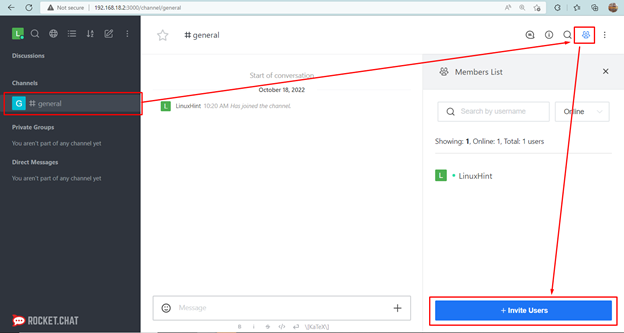
To start chatting with your friends, you must invite them to your channel using the “Invite Users” button. It is important to note that you will need the username of a person you want to invite and that person must have an account on RocketChat.
At this point, your RocketChat server is successfully operating on your Raspberry Pi device. In case of any issue accessing it, wait for a few moments because it may take some time to access the database.
Conclusion
RocketChat is a private web server that provides you the freedom to chat with your friends and family members securely. You can install this server on your Raspberry Pi system from the snap store, whose installation process is provided in the above guidelines. After the installation, you can access the RocketChat dashboard on any browser using the Raspberry Pi IP address. You must invite users to your channel to start chatting with them secretly.

