The NES games include popular Super Mario Bros, Legend of Zelda and many more whereas on SNES you can play games like Legend of Star Wars, Super Metroid.
For the Raspberry Pi users, playing the classic NES and SNES games on their device will be a worthy experience and for those who are interested in playing these games then they should consider installing an emulator preferably RetroPie gaming emulator that lets you play these games on your device quite easily. You won’t find the NES and SNES games on RetroPie with a one click, you will need to perform some process in order to run these games on RetroPie.
In this article, we will show you how you can complete the game installation preferably NES and SNES games in order to play them on RetroPie emulator.
How to play classic NES and SNES games on Raspberry Pi
Here, we will tell you how to play classic NES and SNES games on Raspberry Pi using an emulator called RetroPie which needs to be installed on your device.
Once you have successfully installed RetroPie on your Raspberry Pi device and you will see the RetroPie controller screen, you are good to go and perform the below steps to play NES and SNES games on the device.
Step 1: The first step you will need to perform is to attach a decent gaming controller for your RetroPie as it will be an important thing to do first while you are going to play games on the emulator. To purchase a nice one-hand controller, you will need to visit the following Amazon link to purchase one for your Raspberry Pi device.
Buy a RetroPie Gaming Controller
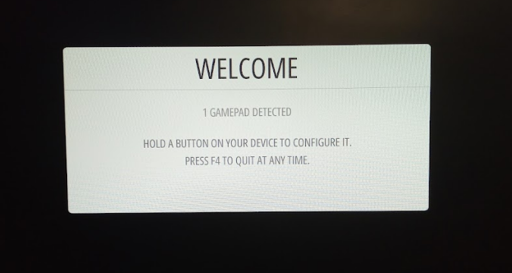
Step 2: After attaching the game controller, you will see that RetroPie easily detect the gamepad on your Raspberry Pi device and to proceed you will need to hold a button on your device till you will see the controller name display on the Welcome screen.
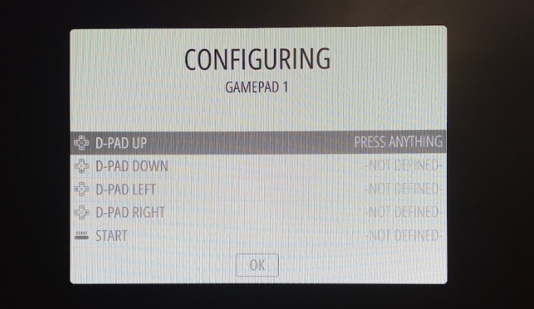
Step 3: After holding the key for a few seconds, a new window screen will appear where you will manage to configure your game controller. Do it by pressing each key from the controller one by one.
Step 4: Once the configuration is done, you will see the RetroPie menu option appear on your screen.
Once you complete the above steps, the NES and SNES games are ready to be installed on RetroPie. To play games on RetroPie, you will require games ROMs which are digital versions of your games that can be simply played on your RetroPie emulator.
There are several methods to put your games’ ROMs to your RetroPie and here we will discuss the easiest one using the USB drive.
Transferring Game ROMs from USB to RetroPie
Transferring game ROMs on RetroPie through USB is the easiest option for someone who is new to RetroPie. However, you will need to do some steps in order to launch the games on RetroPie using your USB drive which are mentioned below.
Step 1: Purchase a quality USB drive from the Amazon website using the following link.
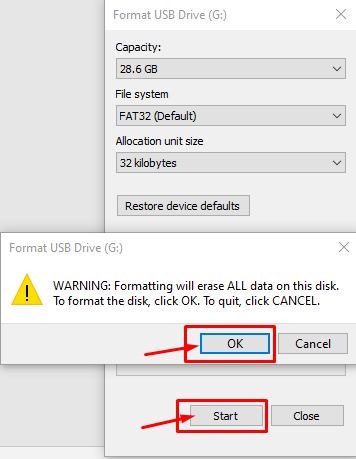
Step 2: Insert the USB drive into the PC and format it using the NTFS or FAT32 file system and once done.
Step 3: Now, open your USB drive and create a folder with the name “RETROPIE”.

Step 4: After successfully creating a folder, it’s now time to remove the USB drive from your PC and insert the drive into your Raspberry Pi USB port.
Step 5: Wait for 10 seconds and then remove the drive from your Raspberry Pi and insert it back into your PC.
Step 6: When you open your USB drive, you will see that three folders are created and that’s what you will require at this stage.

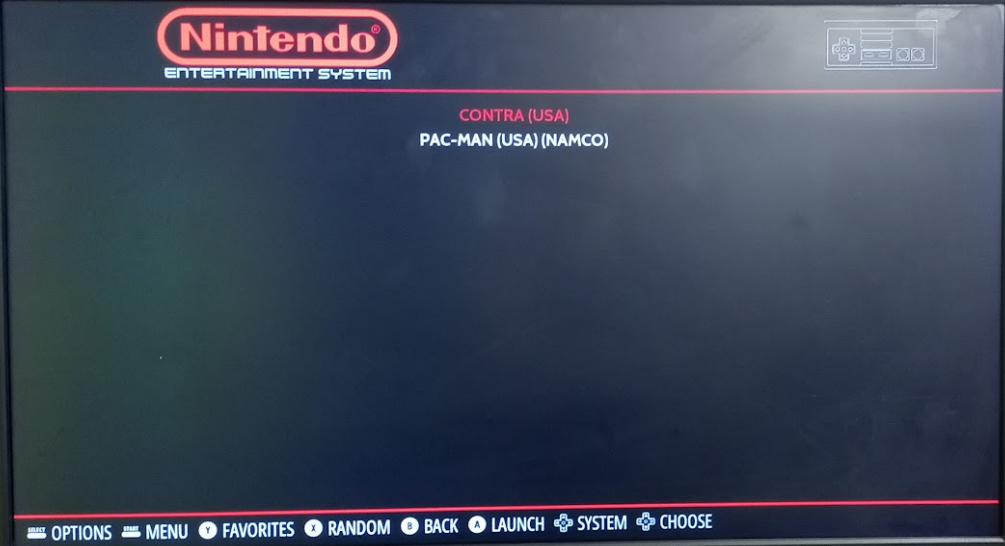
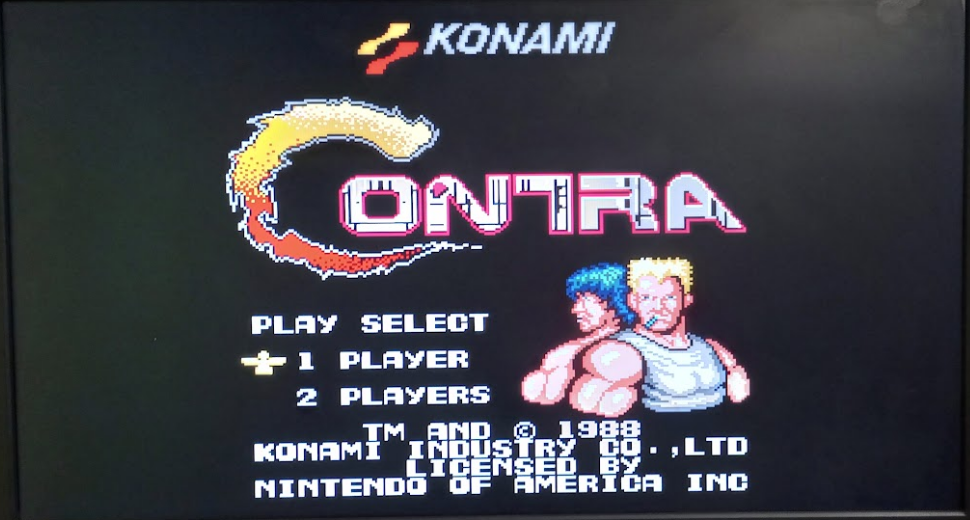
Step 7: Now, install NES and SNES games ROMS on your PC. In our case, we have downloaded Contra ROM (NES game) and Super Mario World (SNES game) on our PC.

Step 8: You will need to extract the Contra file into the “nes” folder and Super Mario World into the “snes” folder. These folders are created already in the roms directory on your USB drive.


Step 9: Now, remove your USB drive from your PC and insert it again in the Raspberry Pi device.
Step 10: Restart the emulator station.
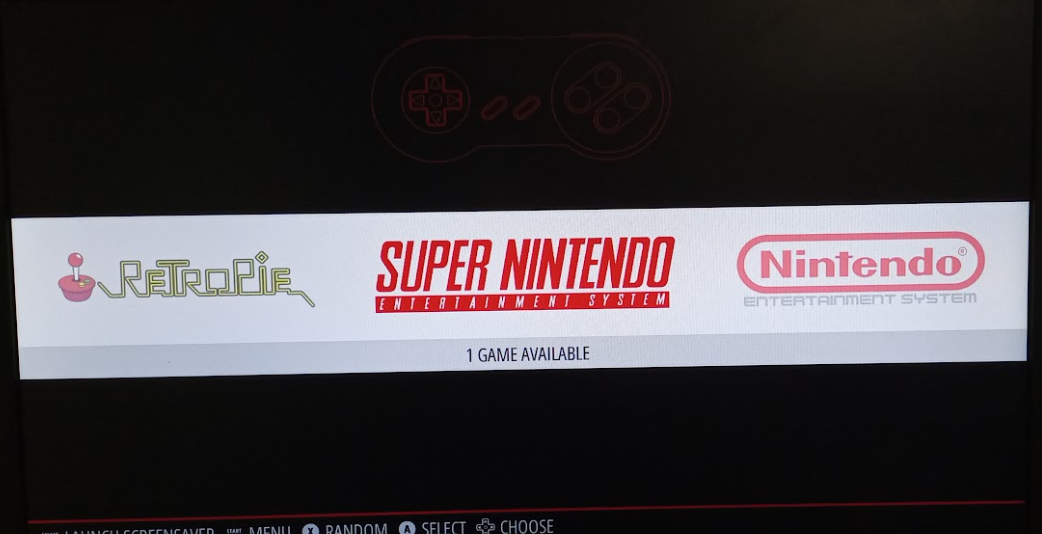
Step 11: After the restart, you will see NES and SNES appear on your RetroPie screen.
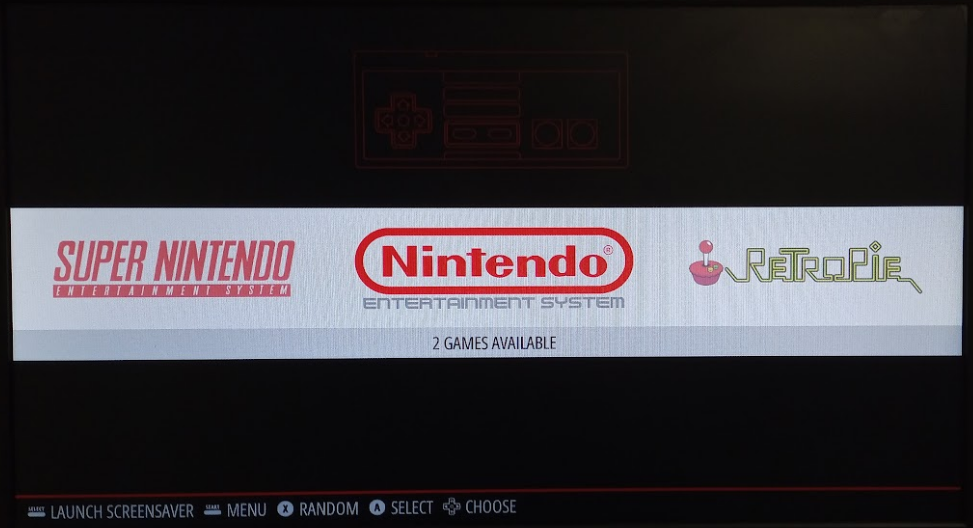
Step 12: On NES or SNES, press the launch button from the controller to select the game which you want to play.
In the NES option, you will find your Contra game and when you press the launch button from your controller, it will appear on your screen.
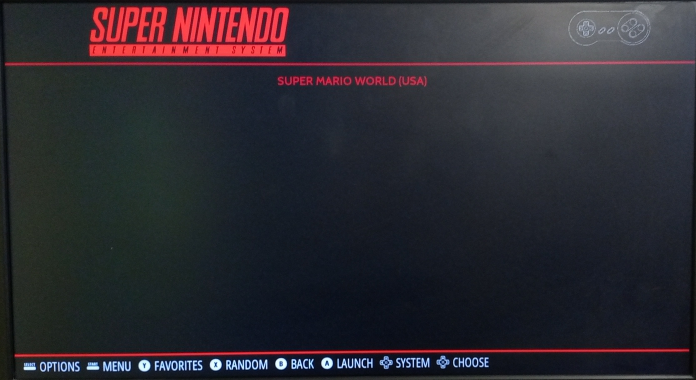
If you want to play the SNES game “Super Mario World”, you can easily find it in the SNES option and in order to play it, you will need to launch the game from the controller.

That’s it, if you want to install more NES and SNES games on your Raspberry Pi device then you can do that pretty easily using the above steps.
Conclusion
RetroPie emulator will make your gaming experience a worthy one if you learn to install NES and SNES games on it. The above guidelines will be sufficient for you to install your favorite games’ ROMS via your USB device and once they are done, you can play those games with the help of a decent gaming controller.