Unfortunately, parental controls or adding restrictions on internet surfing is a very cumbersome process and certainly not free. However, there are some ways that are free and are not difficult to get on, one of which is using the Raspberry Pi by using the Pi-hole application. Read this guide if you are looking for a way to add parental controls on internet surfing.
Setting Up the Network Parental Controls on Raspberry Pi
To add parental controls to your home network you can do it quite easily with Raspberry Pi by installing the Pi-hole application, to achieve that you need a Raspberry Pi and a Wi-Fi router. So, follow the steps to set parental controls in Raspberry Pi:
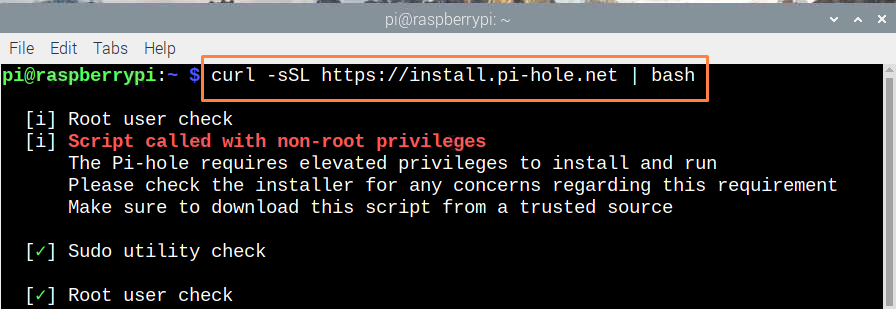
Step 1: Execute the command given below in the terminal of Raspberry Pi:
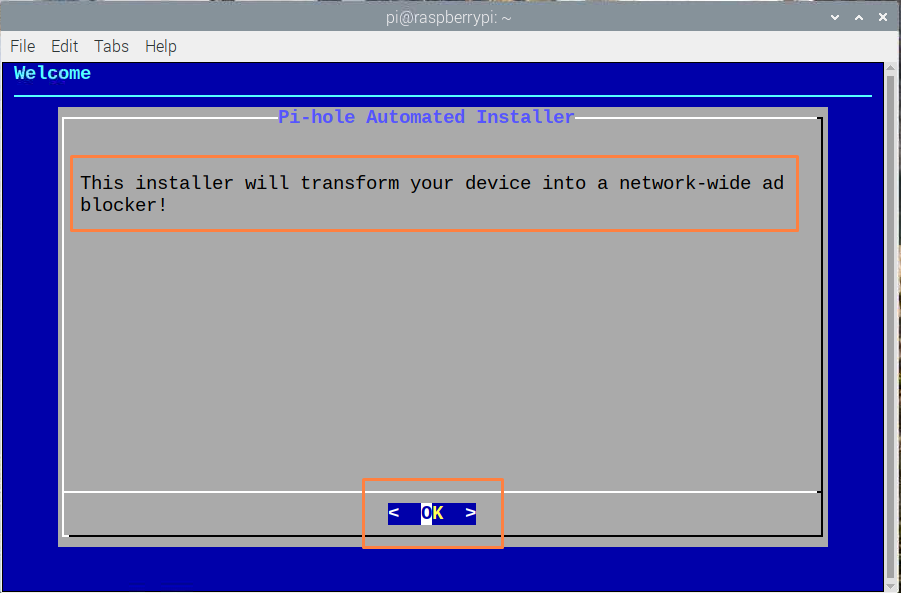
Next press OK to continue the installation of Pi-hole:
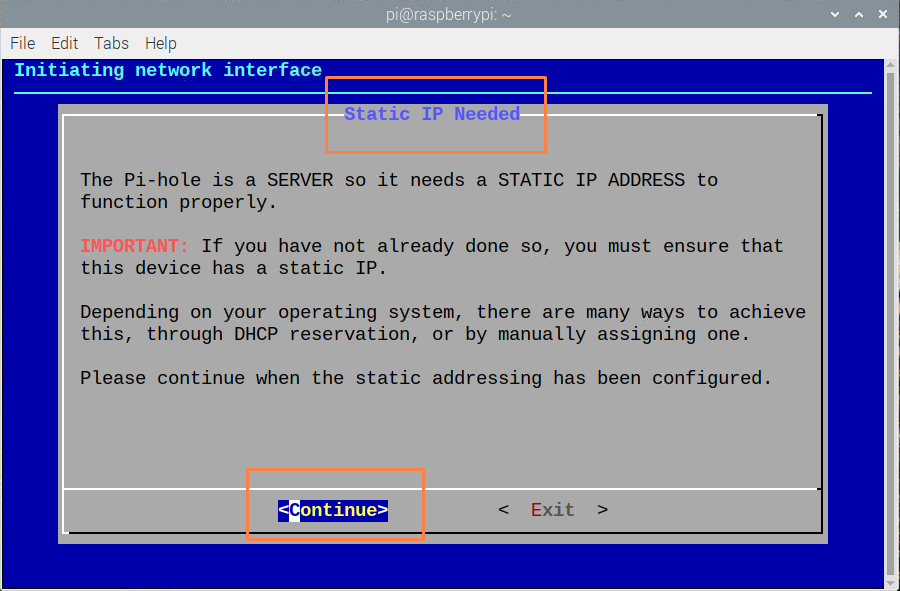
After that the Static IP will be needed, if you have already setup the static IP, press “Continue”, if you don’t know how to create a static IP then read the guide “ How to Give Your Raspberry Pi Static IP Address”
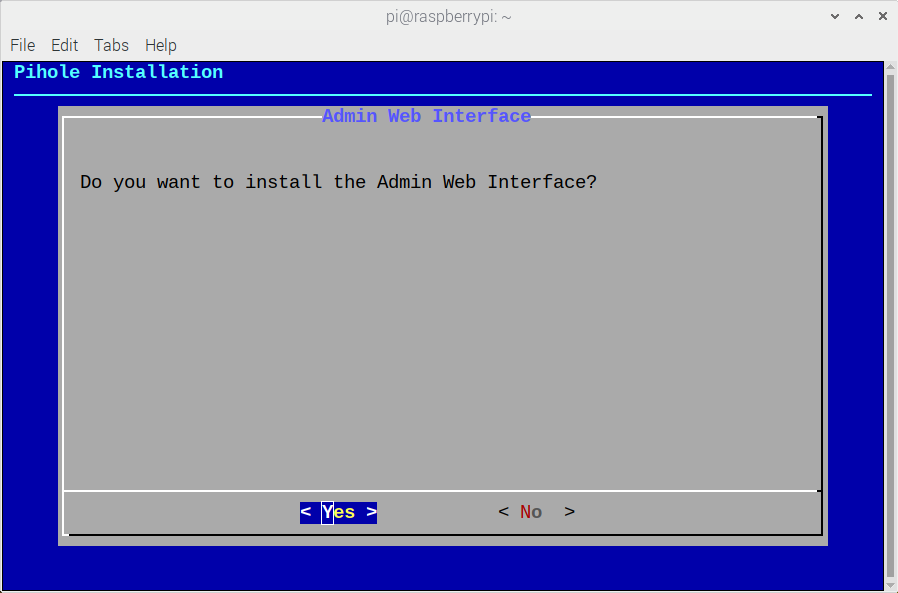
Next, it will ask you to install the “Admin Web Interface” click on “Yes”:
After that select the option “Show everything” in the privacy settings and press “Continue”:
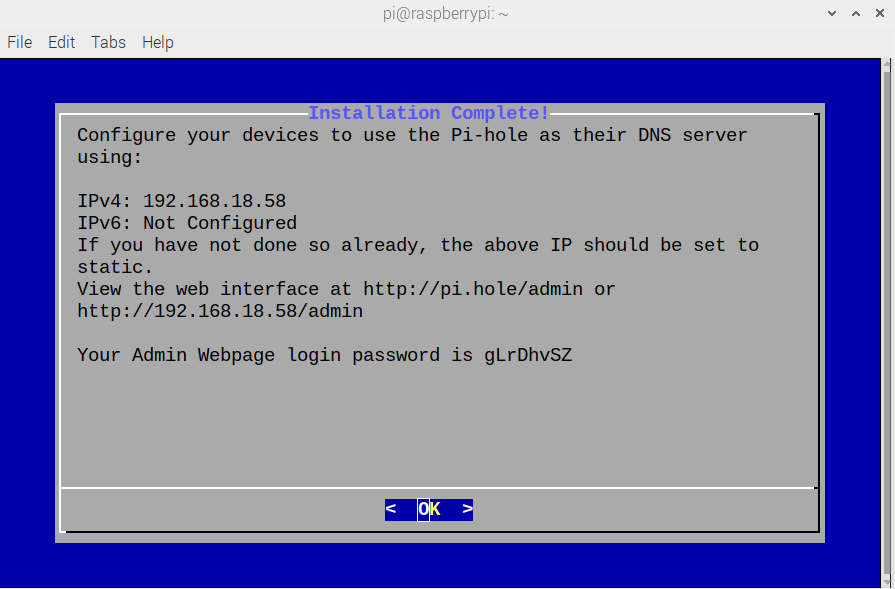
Once the installation is complete it will give you password that you should note down and press “OK”:
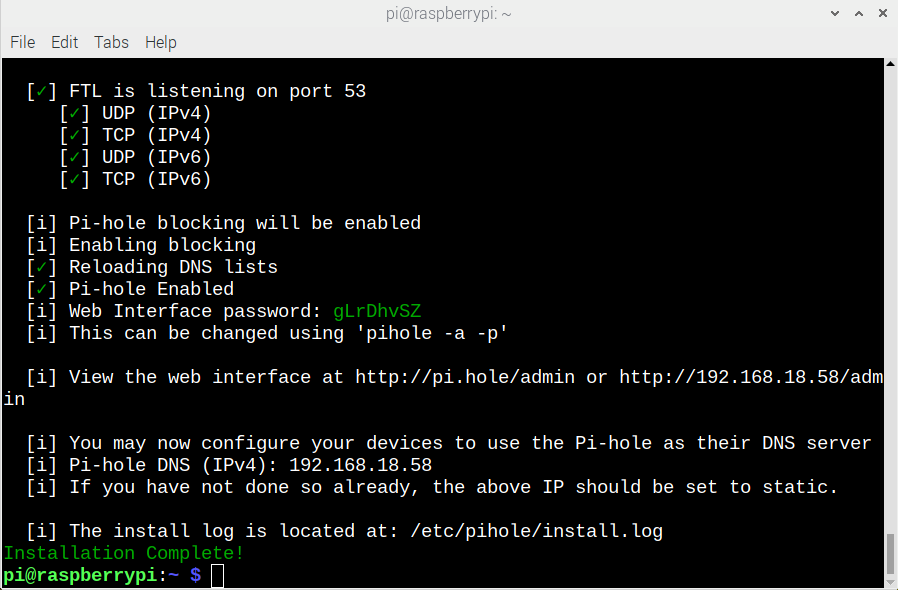
The status of successful installation can be seen in the terminal as well:
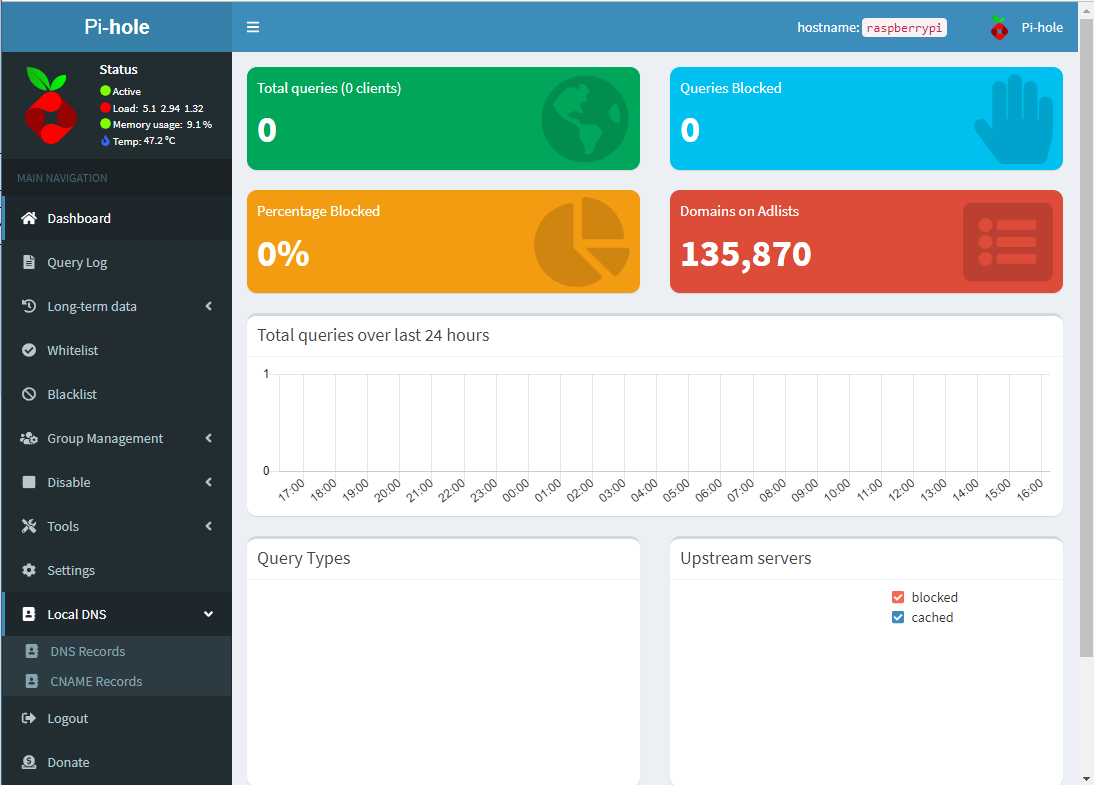
Step 2: Now open the dashboard of Pi-hole either from Raspberry Pi or your own laptop by typing your “IP/admin” in the web browser and the dashboard of pi-hole will open:
Enter the password you noted and login:
Step 3: After that disable the DHCP option from your home router by using the username and password of the router and after that enable the DHCP server from the Pi-hole. Next click on the “Whitelist” option to add the URLS that your kids can visit:
Adding comments are not necessary once you have added the URL then click on “Add to Whitelist” and you are good to go.
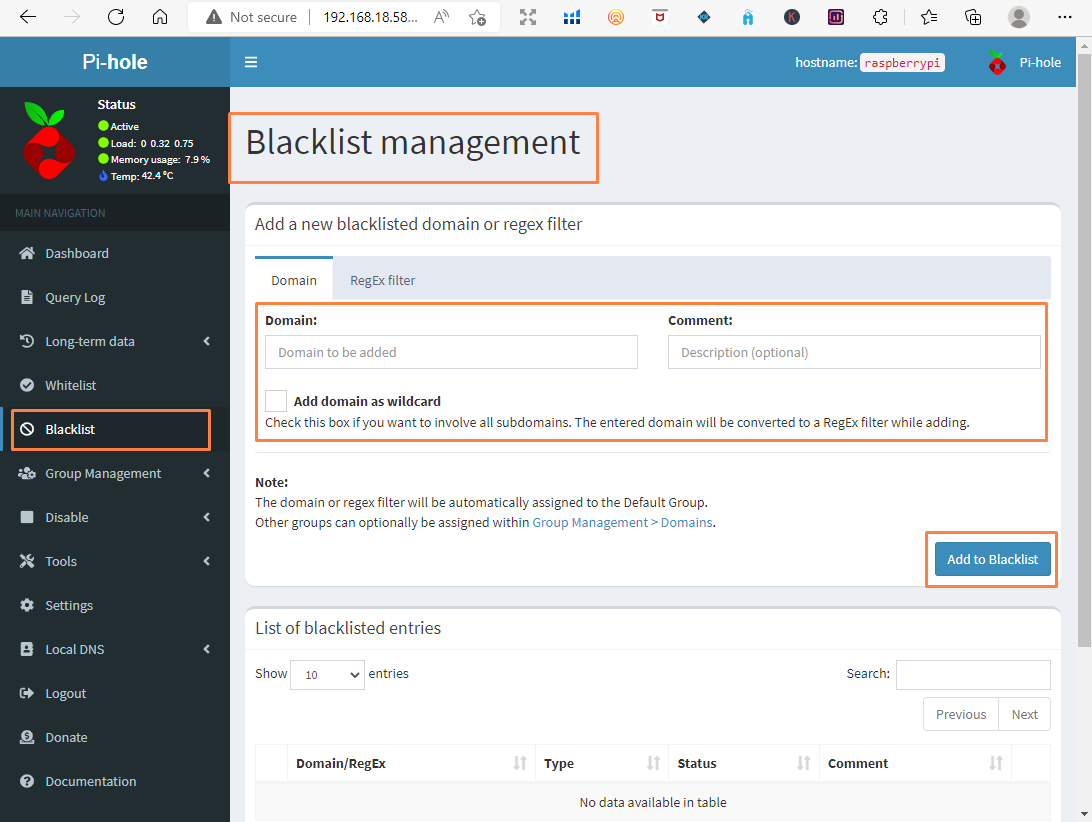
Now add the websites that you want that your kids cannot excess and for that click on the “Blacklist” option from the menu on the left, do the same process as described for adding URLS that cannot be accessed:
So, this is how you can add parental controls on your home network to refrain your kids from accessing any harmful content.
Conclusion
The most effective way to refrain kids from certain websites is to add restrictions on the home network. To accomplish that, the economical way is to use Raspberry Pi by installing Pi-hole on it. This way you can add which websites can be visited and which cannot be accessed. Install the Pi-hole using the apt, once the application is installed add the websites you want to allow and block for your kids.

