The LCDs are interfaced with Arduino to display the outputs on the screen of LCD and in this write-up, the method of interfacing the LCD with Arduino Nano has been explained.
How to interface the LCD with Arduino Nano
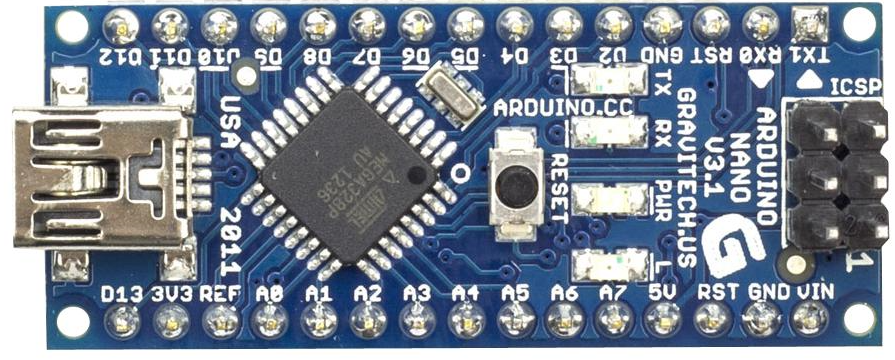
Any LCD can interface with the board of Arduino Nano, but in this article, we will interface the 16×2 LCD. The Arduino Nano is similar to Arduino Uno, the only difference between both of them is that Arduino Nano has no power jack. The Arduino Nano has a small mini USB port through which it can be connected with the computer for programming.
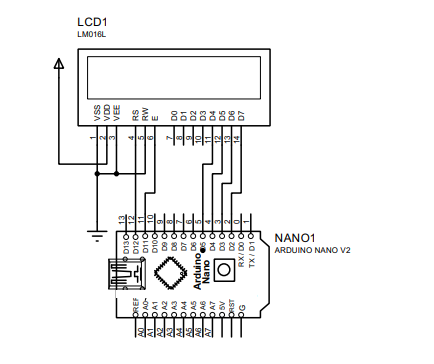
The rest of the pins are similar to Arduino Uno, now, we will interface the LCD of 16×2 with Arduino Nano, the connection of the pins of Arduino Nano with the LCD will be:
| LCD terminals | Arduino Nano pins |
|---|---|
| VSS | Ground |
| VDD | +5 volts |
| VO | Ground or output of potentiometer |
| RS | 12 |
| RW | Ground |
| E | 11 |
| D0 | – |
| D1 | – |
| D2 | – |
| D3 | – |
| D4 | 5 |
| D5 | 4 |
| D6 | 3 |
| D7 | 2 |
| A | +5 volts |
| K | Ground |
We are not using the D0, D1, D2, and D3 because we are using the 4-data lines so we can connect the RW pin of the LCD with the ground. The circuit diagram of the above connections will be like this:
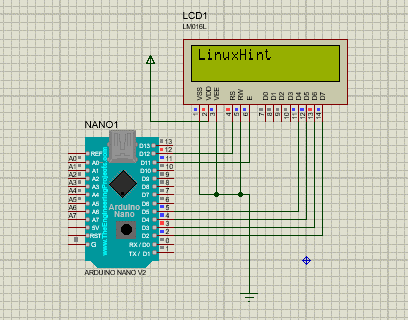
We will simply write a code for displaying “LinuxHint” on the LCD:
//we added the library so that we can use the LCD with Arduino
LiquidCrystal lcd(12,11,5,4,3,2);
//we initialized the variable “lcd” and assign lcd pins rs,E,D4,D5,D6,D7 to arduino pins 12,11,5,4,3,2
void setup(){
begin.lcd(16,2);
//declared the columns and rows of lcd
lcd.print(“LinuxHint”); //print the LinuxHint on lcd
}
void loop(){
}

Once the code is compiled successfully, we will export the compiled binary so that we can use its hex file in a simulation of Proteus.
Simulation
The simulation of the circuit using the above Arduino code is:
Conclusion
The LCD is an electronic module that can be interfaced with any board of Arduino to display the output of the code on its screen. There are different types of LCDs, the most commonly used LCD in Arduino projects is 16×2. In this write-up, the method of interfacing the LCD with Arduino Nano is discussed in detail.