This article presents a detailed guideline for installing RPi-Monitor on your Raspberry Pi so that you can easily monitor your device metrics on your browser.
Installing RPi-Monitor on Raspberry Pi
The developers of Raspberry Pi don’t include the RPi-Monitor repository in the official Raspberry Pi repository list; thus, you cannot install it directly on your device. To successfully perform the installation, follow the below steps:
Step 1: Update Raspberry Pi Packages
Initially, you must ensure the Raspberry Pi packages are up to date and to do this issue the following command in the terminal:
Step 2: Add GPG Key
Next, you will need to add a GPG key using the following command as this will help us to verify the packages in the RPi-Monitor repository.

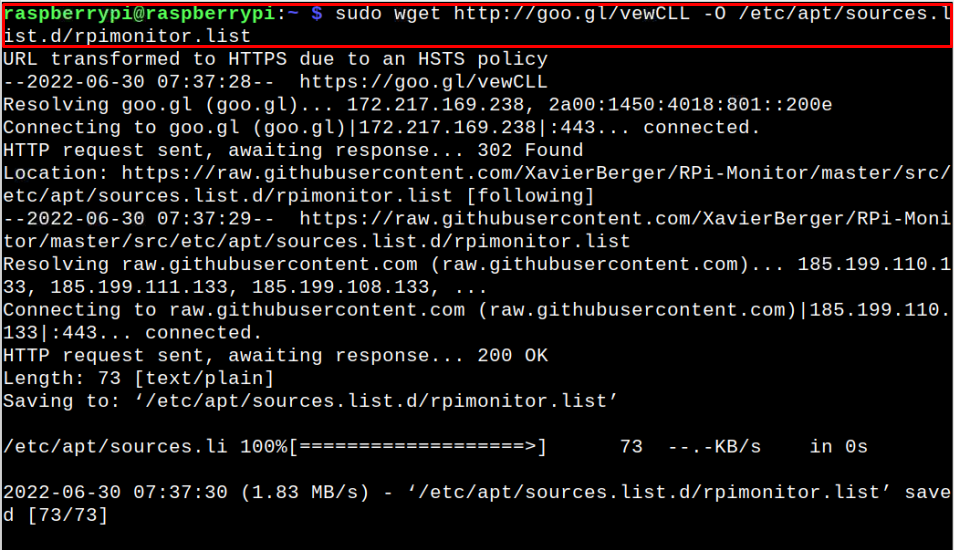
Step 3: Add RPi-Monitor Repository
After adding the key, you can now add the RPi-Monitor repository using the following command:
Step 4: Update Raspberry Pi Source List
After successfully adding the RPi-Monitor repository, you will need to update the Raspberry Pi source list using the following command:
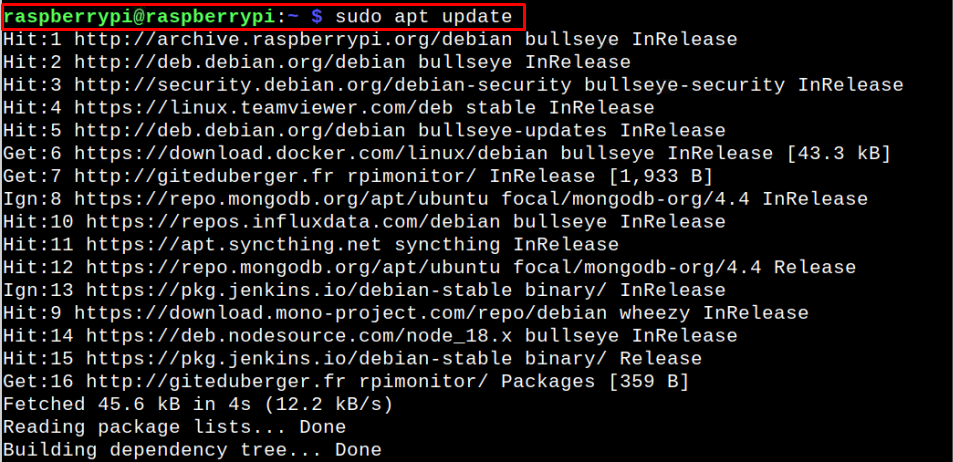
The above command will successfully update the repository list.
Optional Step: In case you encounter any error while updating the RPi-Monitor repository, you will then need to open the source list configuration file using the following command:
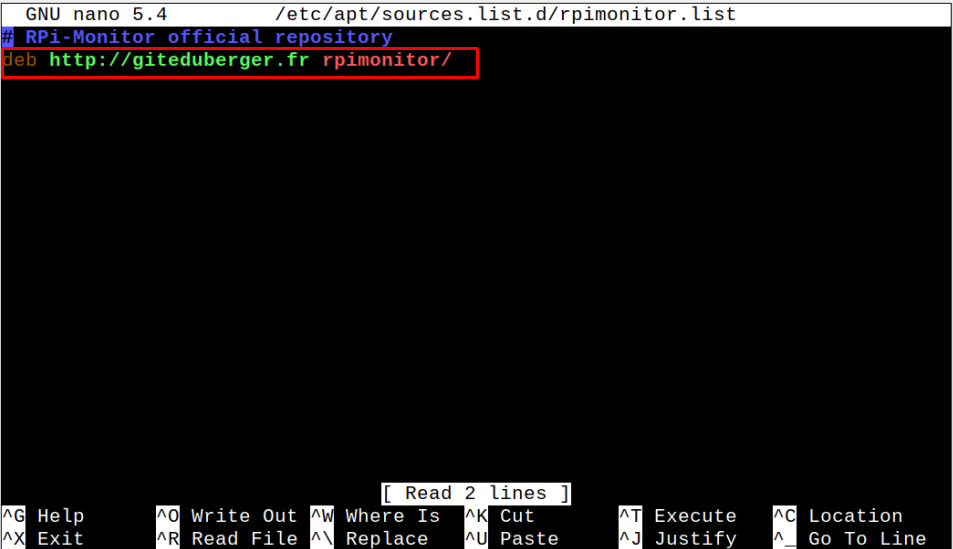
Then change the address “http://gitdeuberger.fr rpimonitor/” with “https://www.gitdeuberger.fr rpimonitor/”. Save the file and then perform an update again.
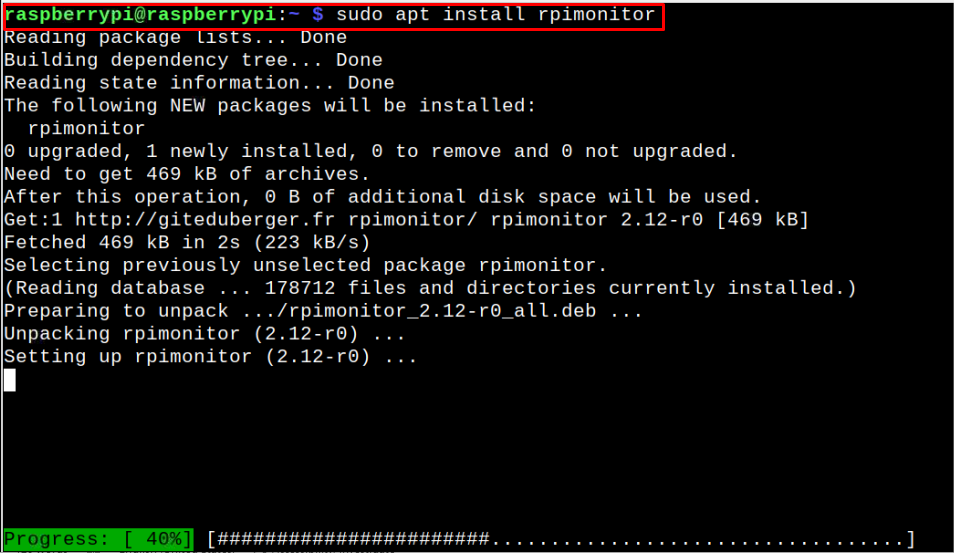
Step 5: Install RPi-Monitor on Raspberry Pi
After successfully updating the source list without an error, you can then apply the following command to install RPi-Monitor on your Raspberry Pi device:
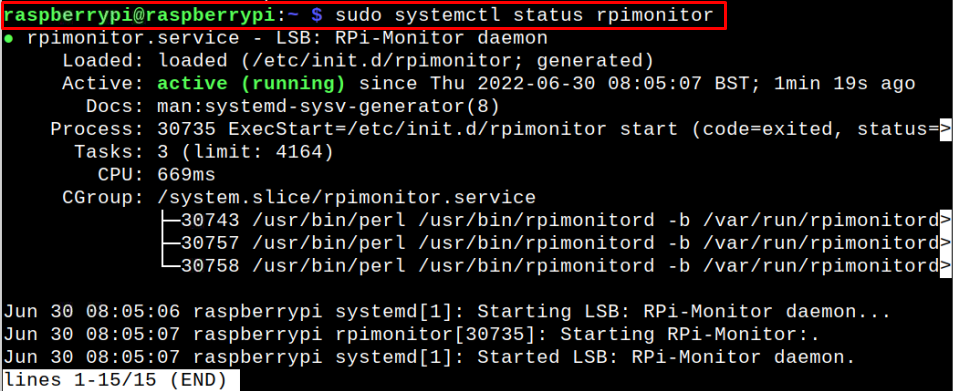
Step 6: Check Status of RPi-Monitor on Raspberry Pi
Once completing the RPi-Monitor installation, ensure that its service is running on your Raspberry Pi device using the following command:
Step 7: Accessing RPI-Monitor on Raspberry Pi
If the above step outputs an active running status of your RPi-Monitor service on your device, you can go to your browser and enter the address “http://192.168.100.43:8888” to access the RPi-Monitor web interface.
You will need to add your device’s IP address in place of “192.168.100.43” and you can find it easily using the “hostname -I” command in the terminal.
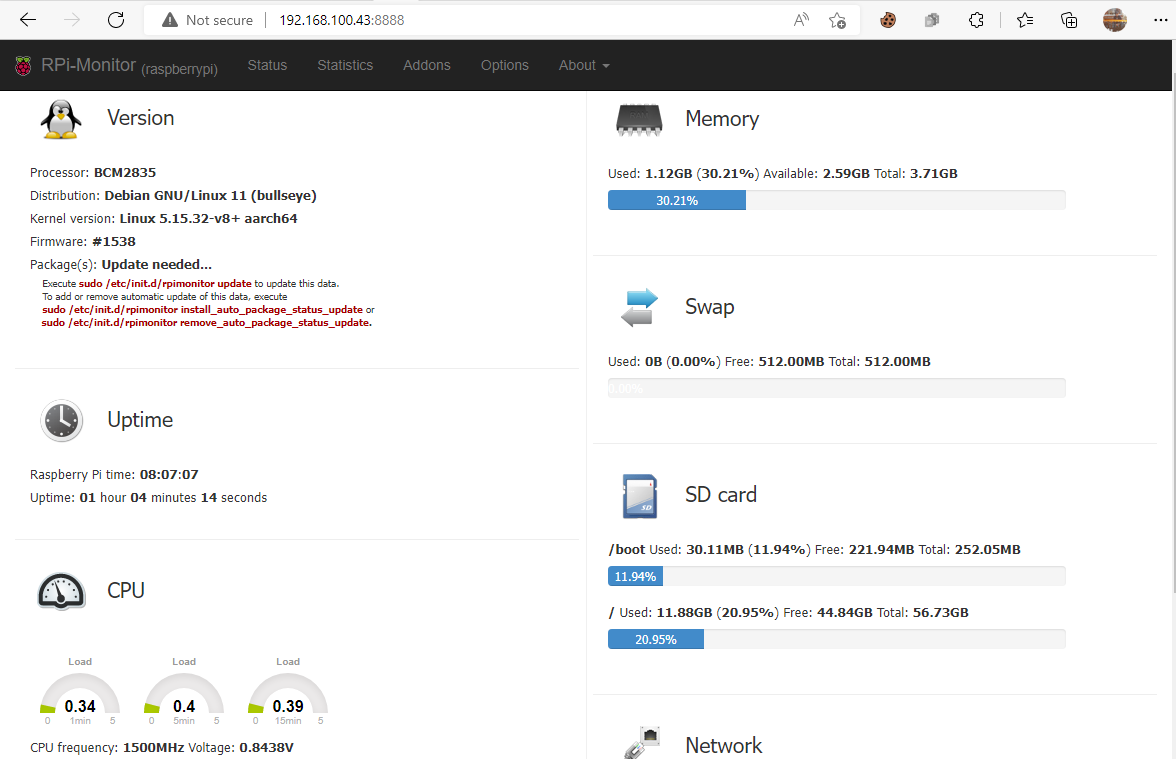
With the web interface now appearing on your browser, you can easily monitor several metrics related to your Raspberry Pi like device memory, SD card information and much more.
Conclusion
RPi-Monitor is a lightweight application that enables users to monitor the Raspberry Pi device information such as memory storage, temperature, and CPU resources. You can install this application on your Raspberry Pi device from the above-mentioned steps. Once the installation is completed, you can access the RPi-Monitor web interface to get the information related to your Raspberry Pi device.