The vnStat is a lightweight terminal-based network traffic monitoring tool that retrieves information from the network interface statistics provided by the kernel and shows the output on your terminal. This tool can monitor several network interfaces simultaneously and allows you to get hourly, daily and monthly network traffic updates on your Raspberry Pi terminal.
If you are interested in installing vnStat on Raspberry Pi, follow this article, where you will find step-by-step guidelines to install this tool on your system.
Monitoring Network Traffic using vnStat on Raspberry Pi
You can easily install vnStat on your Raspberry Pi system by following the steps mentioned below:
Step 1: Update Raspberry Pi Packages List
Before moving towards the vnStat installation on Raspberry Pi, you must ensure the packages installed on your Raspberry Pi system are up to date. The following command will help you check and update the packages on your Raspberry Pi system.
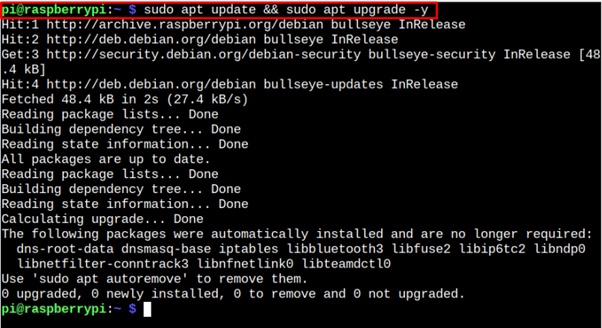
Although in our case, the packages are already updated.
Step 2: Install vnStat on Raspberry Pi
After updating the Raspberry Pi packages list, you can execute the following command to install vnStat on Raspberry Pi.
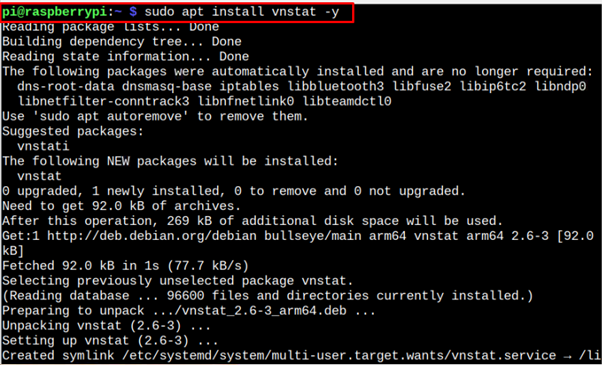
After the installation, you can confirm the vnStat installation through using the following command that outputs the vnStat version on your system.

Step 3: Configure vnStat on Raspberry Pi
Before running the vnStat on Raspberry Pi, you should provide your network interface information to the vnStat daemon so that it can monitor the network traffic around the interface. You can configure the network interface by opening the vnStat configuration file using the following command:
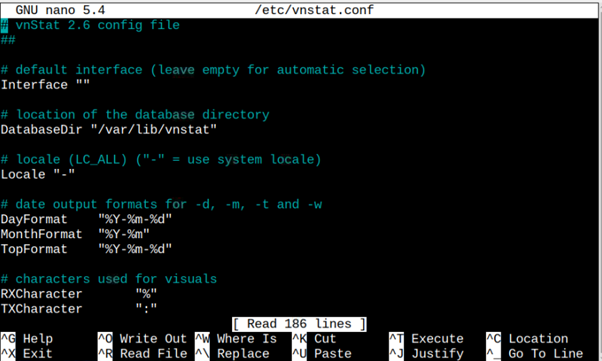
Within this file, you must provide your network interface, which you can find using the command “ifconfig”.
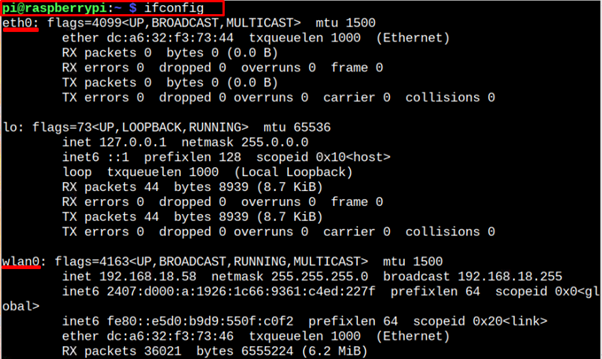
In our case we are using the wireless connection, so we must select “wlan0” network interface and insert this interface into the configuration file as shown below:
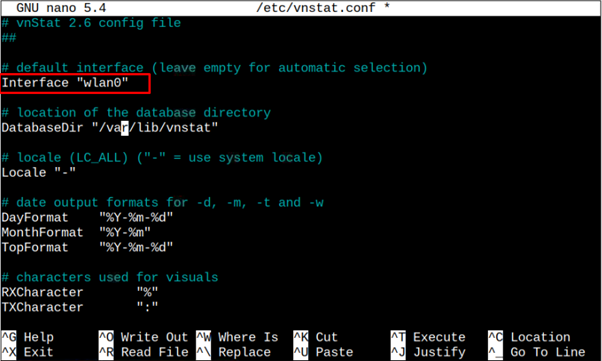
You should save this file using the “CTRL+X” keys.
Step 4: Run vnStat on Raspberry Pi
After completing the above network interface configuration, you can run the following command on the Raspberry Pi terminal to get the network information across the chosen “wlan0” interface.
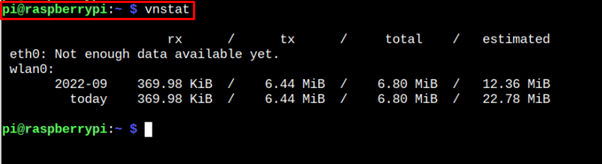
The above command outputs the network information for every second. To find network information of hours, you can use the following command:
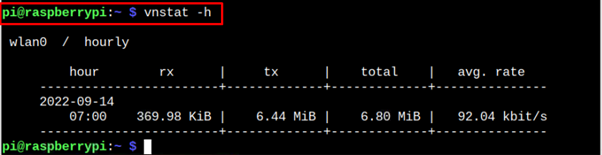
For monthly updates, replace “h” with “m” in the above command.

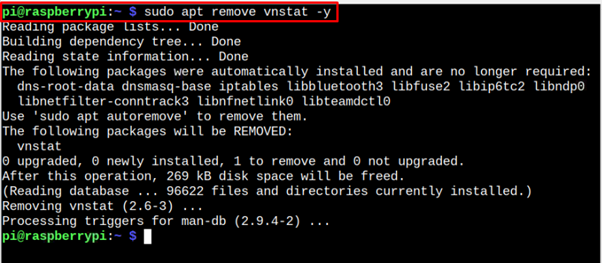
Remove vnStat From Raspberry Pi
If you want to use vnStat on Raspberry Pi, follow the below-given command to remove it from your system.
Conclusion
vnStat is a command-line utility for monitoring the network traffic on your Raspberry Pi system. You can install this utility directly from the Raspberry Pi source list through the “apt” installation command. You need to add your network interface within the vnStat configuration file. Once done, you can successfully run the command “vnstat” to get the network bandwidth information on your Raspberry Pi system.