How to merge objects in Inkscape using Union option
The “Union” option in Inkscape merges the selected objects into one unified object, and it also merges the object’s outlines and forms a single common closed path. So. If you want to merge your desired objects into a single object having a common path, go for the “Union” option of the Inkscape Path menu.
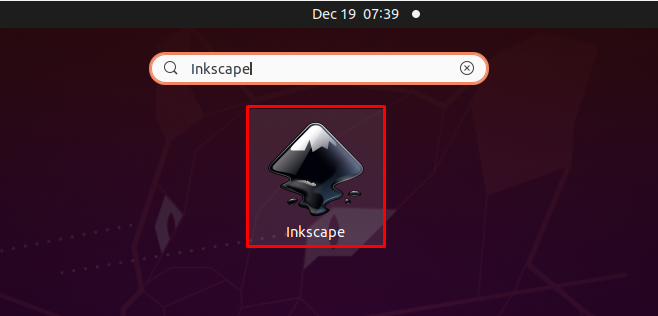
This section will teach you how to merge objects in Inkscape using the “Union” option. For this purpose, firstly, we will open up “Inkscape” by searching it manually in the system applications:
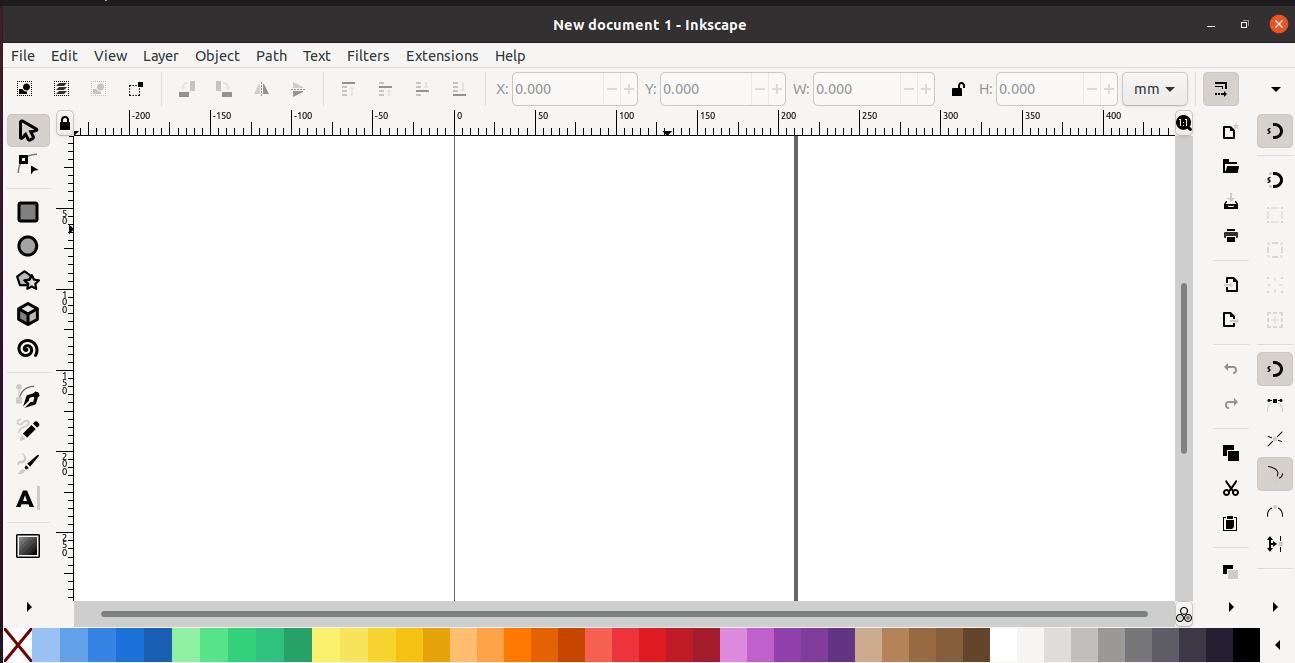
As you can see, we have created a new Inkscape document:
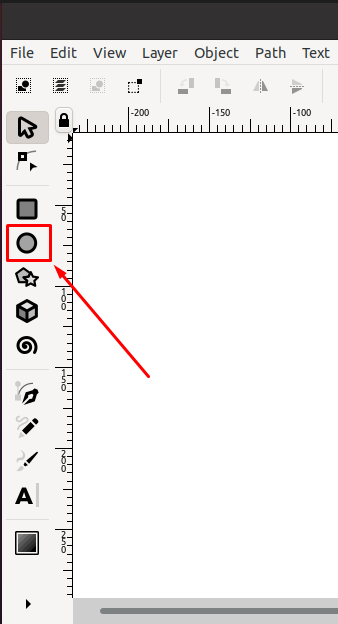
For the demonstration, we will add two circles to our Inkscape canvas. You can utilize the Inkscape toolbar, which is located at the left side of the window, to add the required objects:
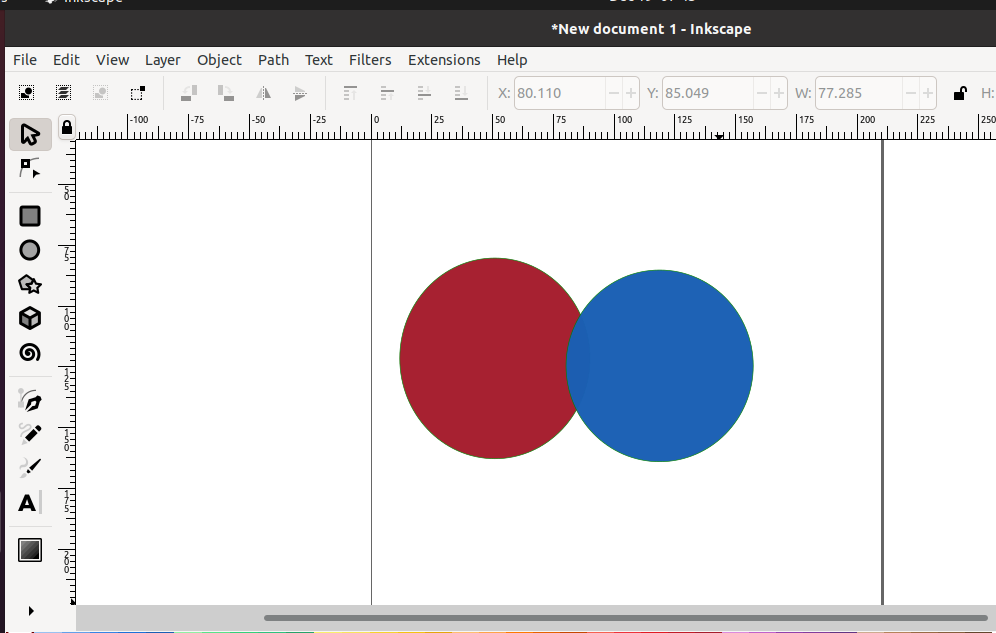
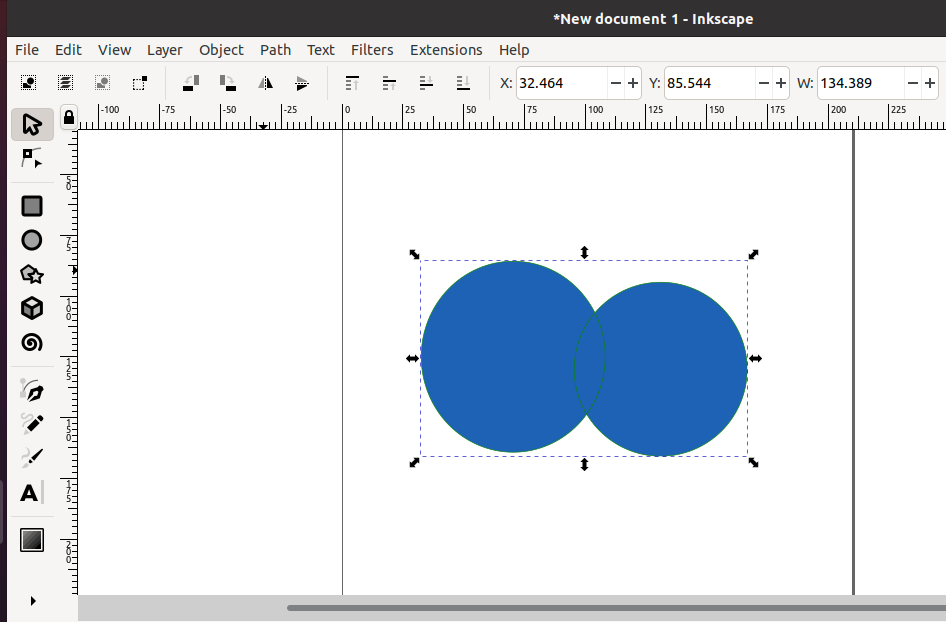
By using the “Circle” tool, we have added two circles in our Inkscape canvas and changed their color as well:
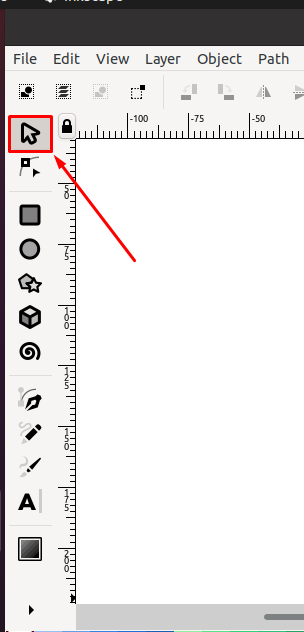
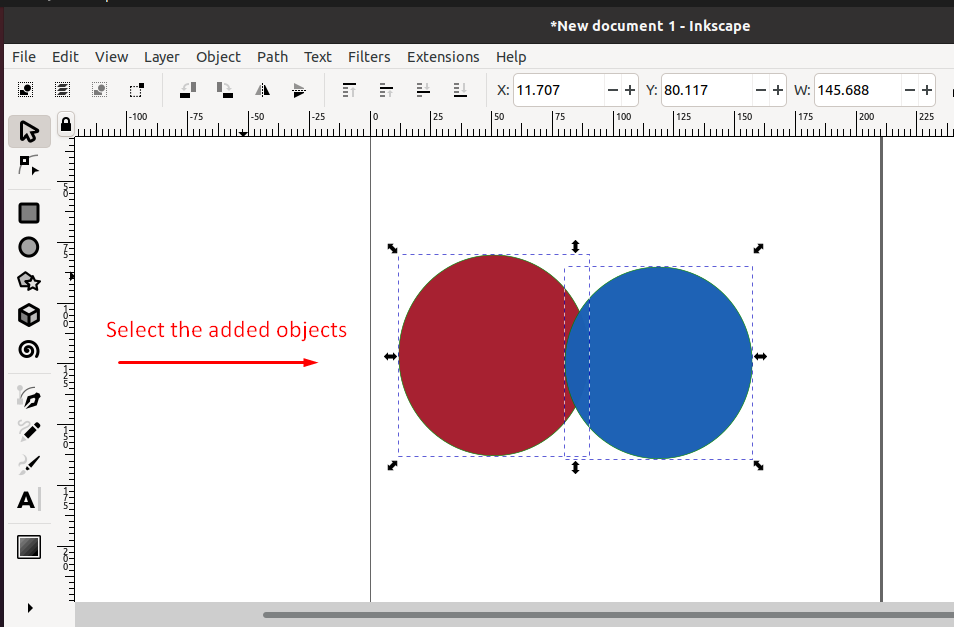
Now let’s move towards the main subject of this post. Before merging the objects through the “Union” option, the first you have to select the required objects with the help of the “Select and Transform” tool, present in the Inkscape toolbar:
After selecting the added objects, explore the “Path” menu:
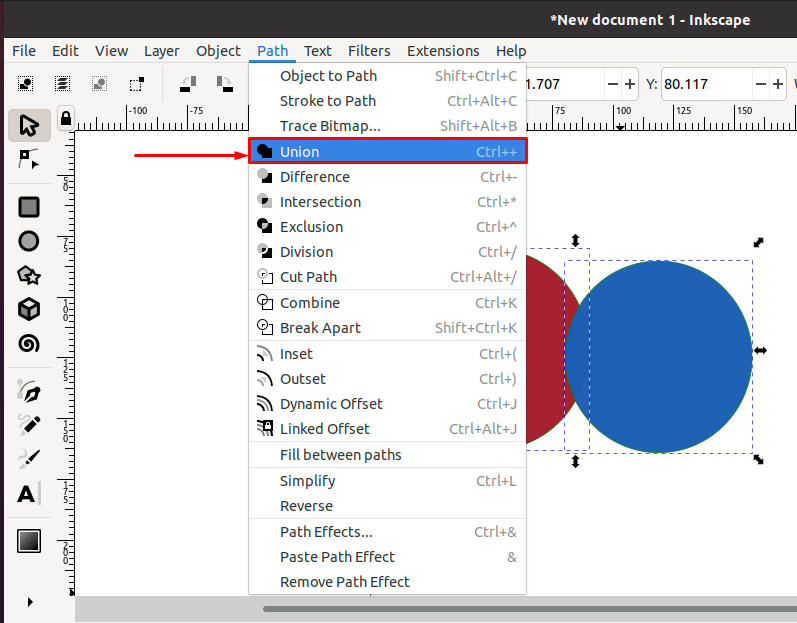
Click on the “Union” option from the drop-down “Path” menu. You can also press “CTRL++” for the same purpose:
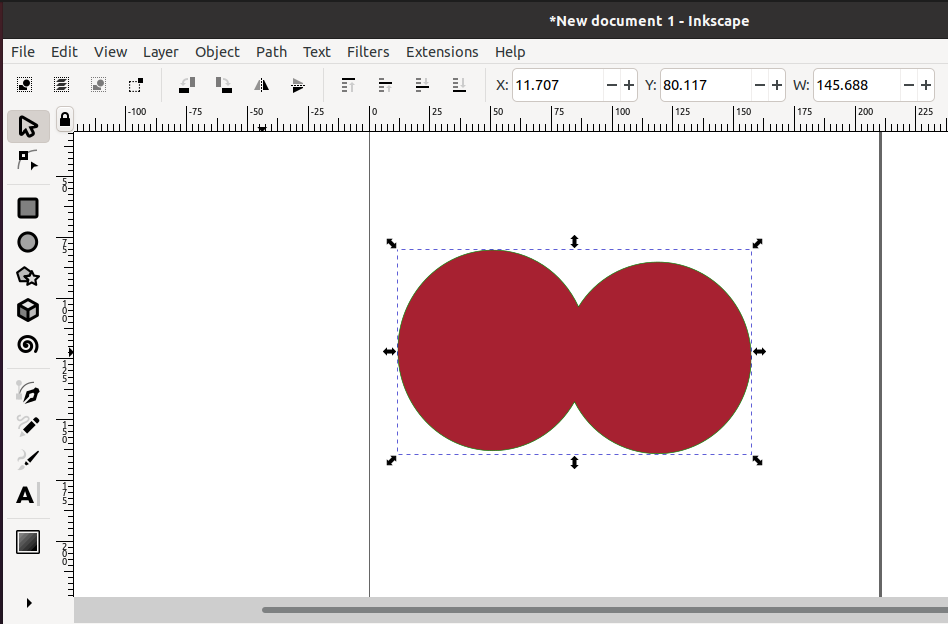
The “Union” option will merge the selected Inkscape objects in the following way:
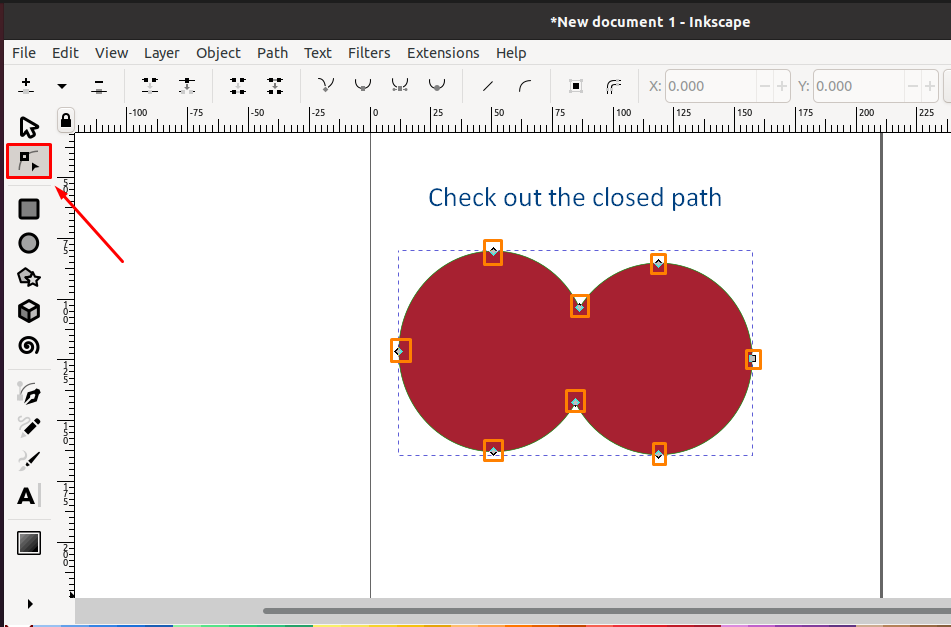
Now, click on the “Node” tool to check out the nodes of the common outline of the merged objects:
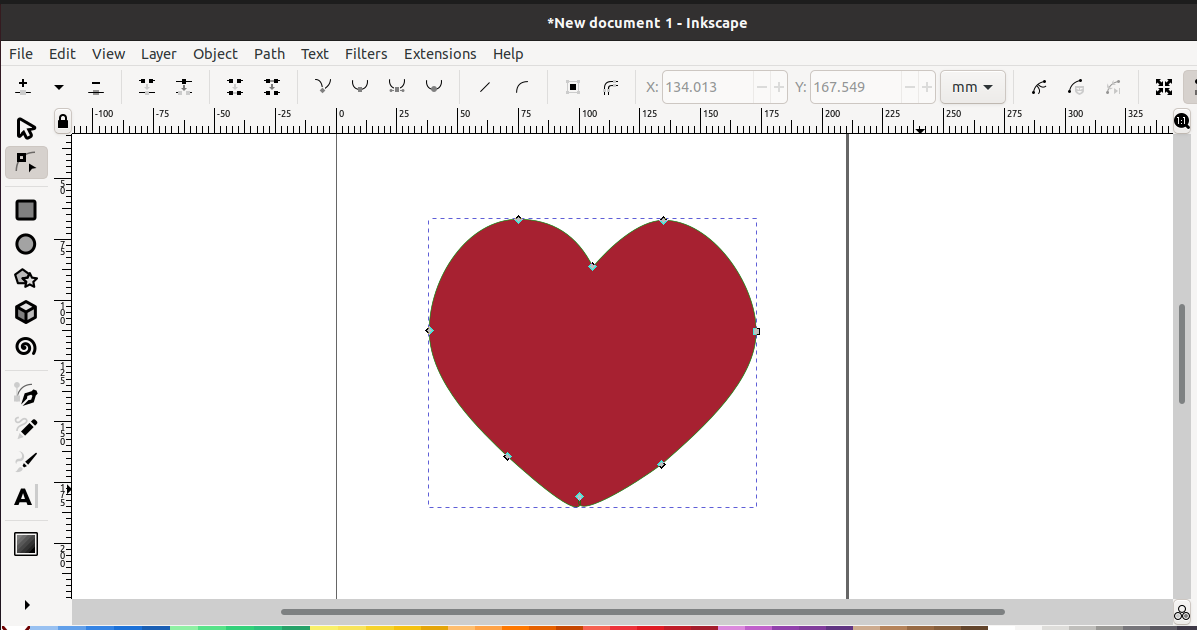
The part of the objects where their outlines overlapped will now have common nodes, and the merged objects will have a common closed path. You can reshape the merged object using the “Node” tool. For instance, we have transformed the merged circle objects into a heart:
How to merge objects in Inkscape using the Combine option
There is another option for merging objects in Inkscape: “Combine”. The “Combine” option merges the selected objects while keeping their paths separate. These paths can be open or closed. Also, the merged objects will have the same object properties, such as the same opacity, width, stroke, and color.
Both “Union” and “Combine” options are used for merging objects; however, if you want to edit the nodes of selected objects independently after merging, then utilize the “Combine” option.
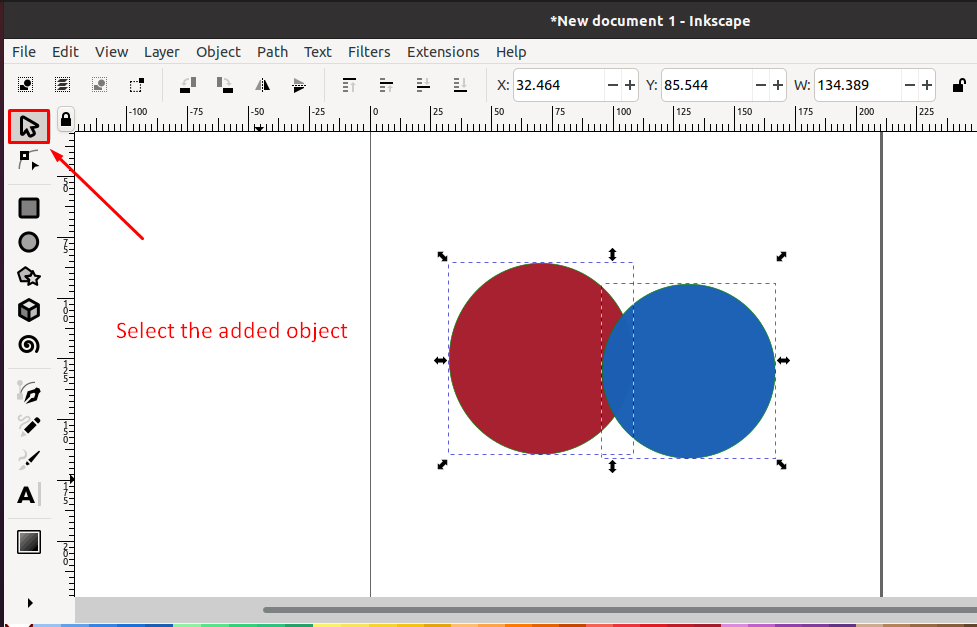
To demonstrate the method of merging objects using the “Combine” option, we will first select the added objects using the “Select and Transform” tool:
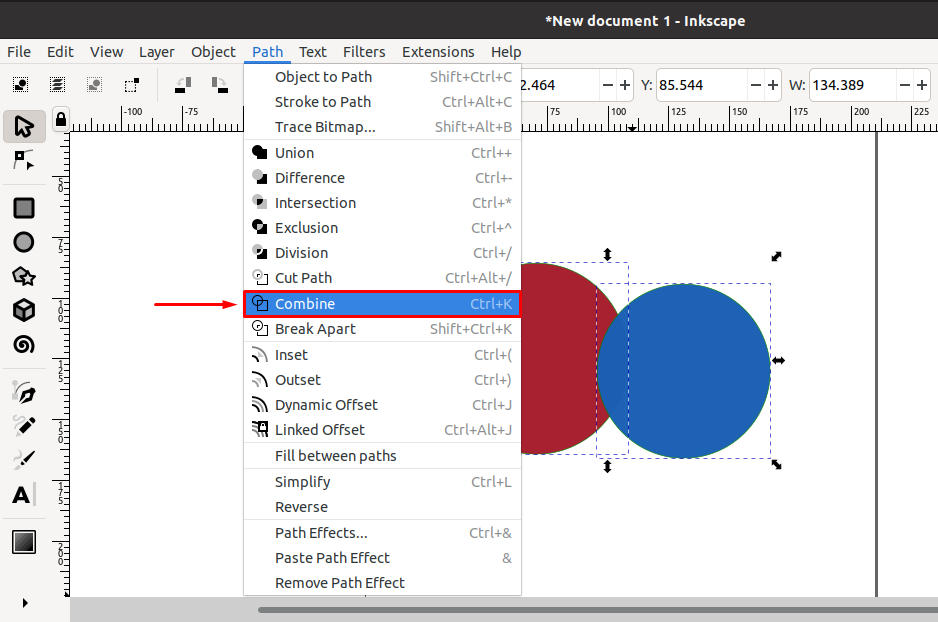
After selecting the desired objects, look for the “Combine” option in the “Path” drop-down menu and click on it. You can also press the “CTRL+K” for the same purpose:
If you have carefully the previously given instruction, then at this point, your selected objects will be merged:
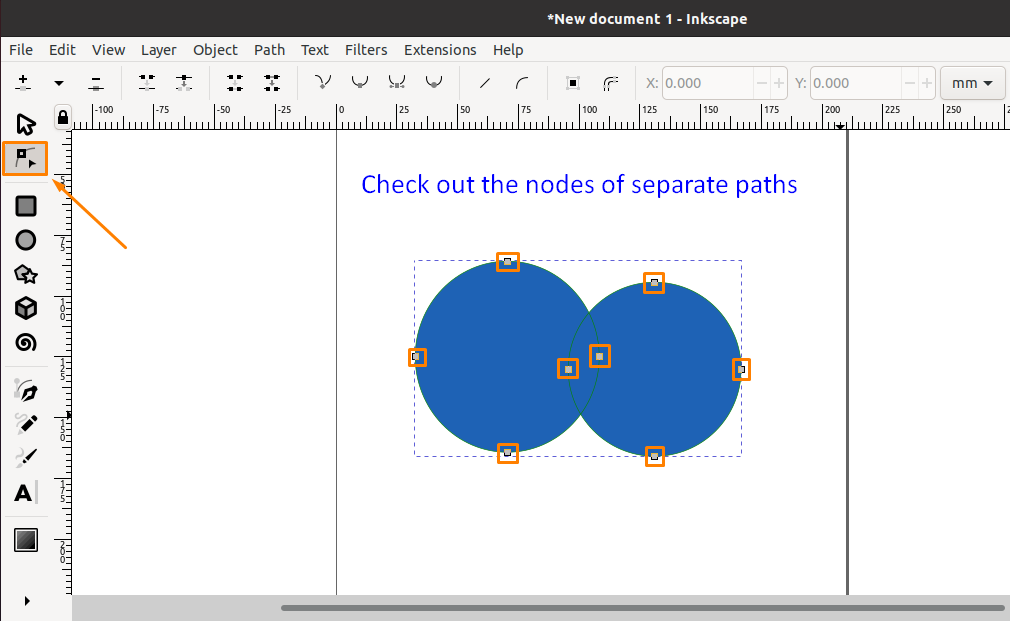
Next, click on the “Node” tool from the Inkscape toolbar. Upon doing so, you will find out the “Combine” option have merged the selected objects; however, you can alter their paths separately by changing the node position as shown below:
Conclusion
Merging objects permits Inkscape to define a single shape for the selected objects. By utilizing the “Union” option, your objects will be merged and have a single closed path, however if you use the “Combine” option, the merged objects will still have their separate paths. This write-up discussed how to merge objects in Inkscape using “Union” and “Combine” options. Moreover, we have also explained how to reshape the Inkscape merged objects by utilizing their paths.

