This article shows the process to make a Raspberry Pi calendar through a simple method.
How to Make a Raspberry Pi Calendar
Before proceeding to main steps, you need to understand the Kiosk mode for Raspberry Pi as it’s very helpful service that allows users to utilize the system for a single purpose. Since, here we are making Raspberry Pi calendar, we have to use the Kiosk mode. Follow the below-given steps to start making Raspberry Pi calendar:
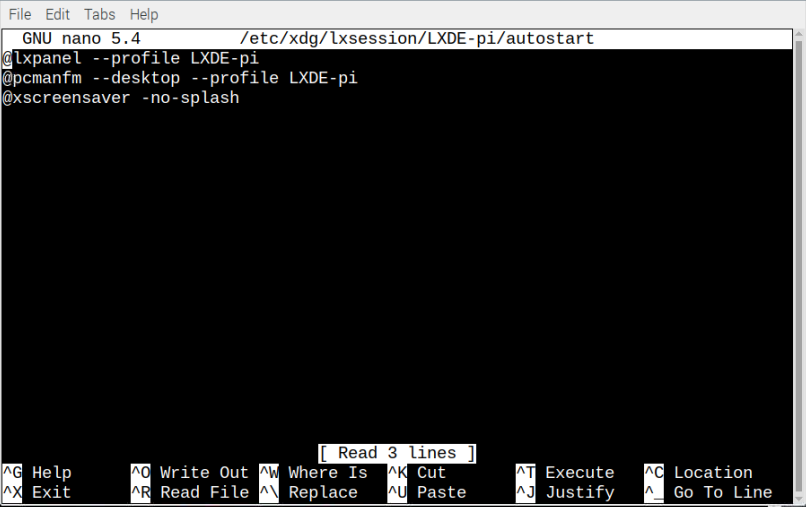
Step 1: First open the system startup file using the nano editor through following command:
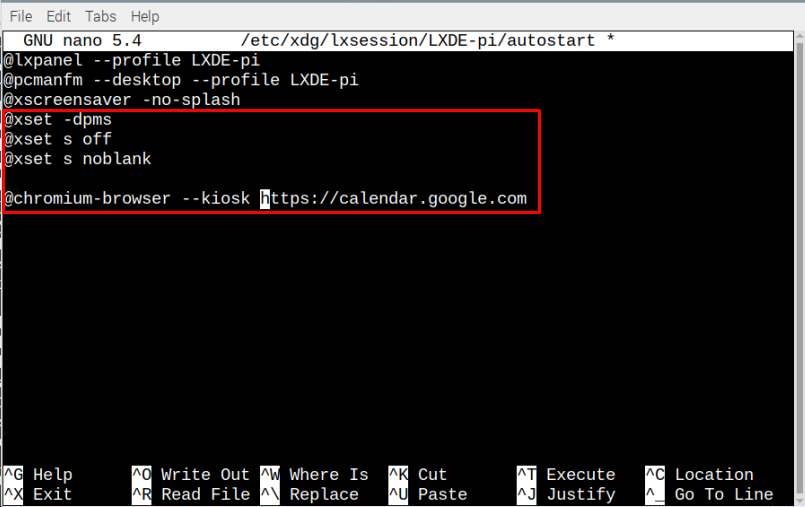
Now, time to modify by inserting following code lines right below the above-mentioned lines:
@xset s off
@xset s noblank
@chromium-browser --kiosk <Address-of-the-Calendar-website>
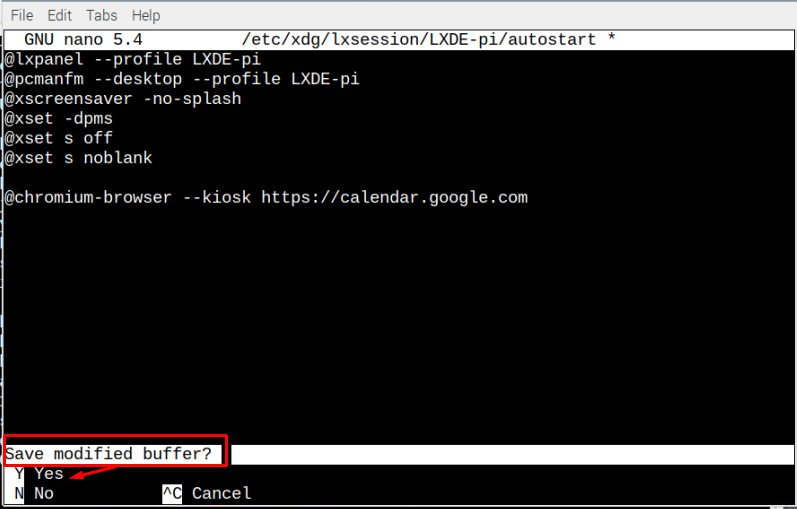
Save the file by pressing “CTRL + X” and add “Y”.
Reboot the system and after it reboots, you will see the Calendar opened on your system. Every time you reboot your system, you will see the similar screen.
To get rid of this Calendar anytime and want to use the Raspberry Pi for other purposes, simply use “CTRL + F4” buttons simultaneously.
Conclusion
Digital calendar plays important a role in the human life and it can easily be accessed from anywhere and displayed as wall mounted or even nightstands. To make a Raspberry Pi calendar, use the kiosk mode by doing some changes inside the autostart file. Once the changes are made, reboot the device to see the calendar on your Raspberry Pi screen display.


