In this write-up, we will not only learn about the default keyboard shortcuts of the Raspberry Pi but also learn the method of adding our own customized shortcuts.
What are the default keyboard shortcuts on the Raspberry Pi
There are some default keyboard shortcuts that are used to manage different actions of the Raspberry Pi operating system and some of these shortcut keys are explained in this section.
CTRL+ALT+T: This is the shortcut key to open the terminal of the Raspberry Pi operating system in order to manage different tasks through commands.
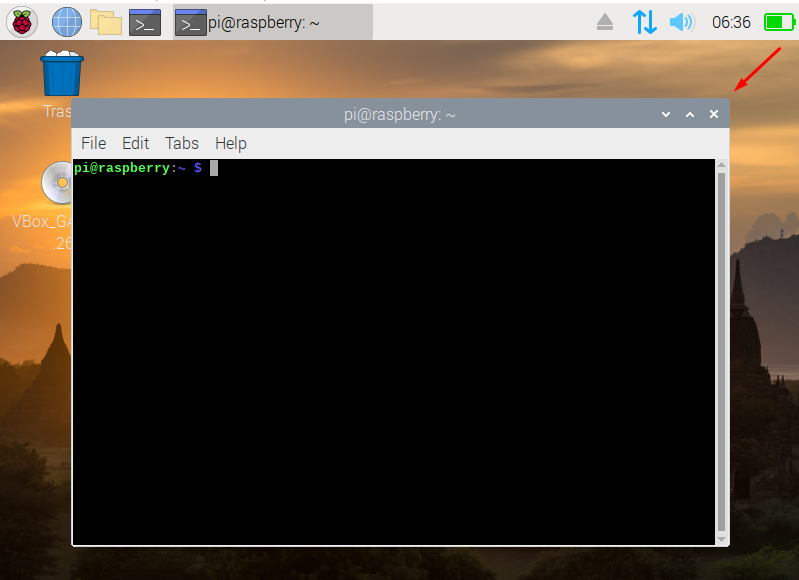
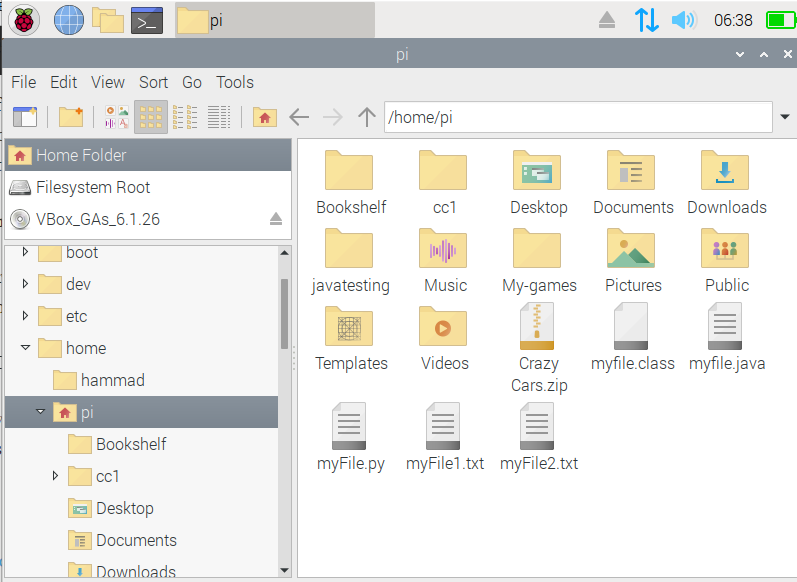
CTRL+Q: This shortcut key of the keyboard is used to close any window of the Raspberry Pi which is already opened, for example, we have opened a window:
Now we will close it by using the shortcut key of CTRL+Q:
The window has been closed.
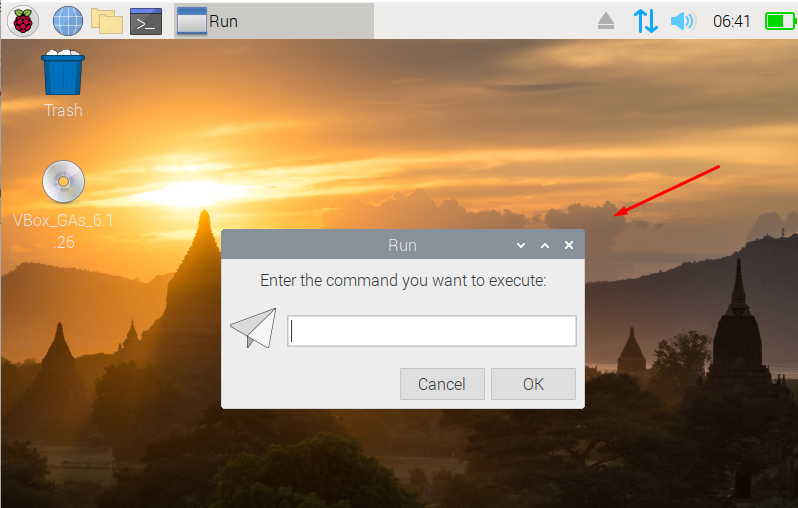
ALT+F2: This shortcut key of the keyboard is used to access the “Run” dialogue box of the Raspberry Pi to execute the different commands.
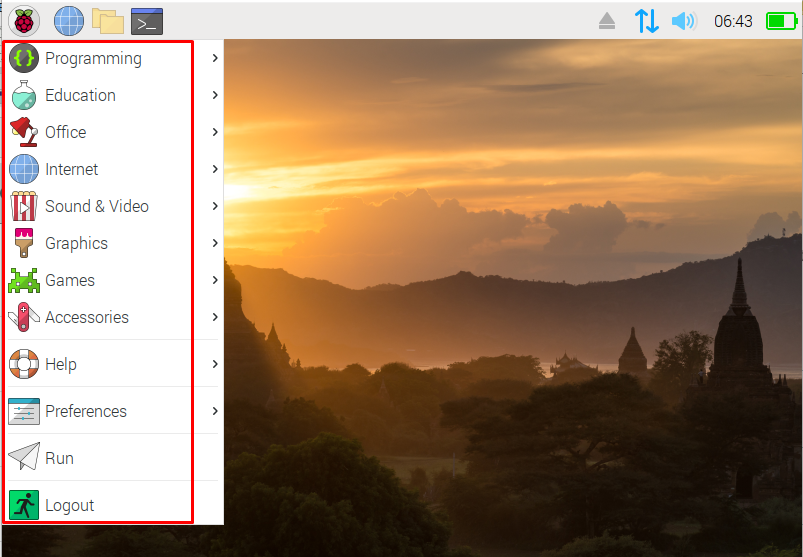
CTRL+ESC: This shortcut key is used to open the start menu of the Raspberry Pi operating system.
ALT+SHIFT: This shortcut key is used to switch between different open tabs of the Raspberry Pi operating system.
ALT+F11: This shortcut key is used to maximize the window size to the full screen in the Raspberry Pi, for example, we have opened a terminal window, on pressing the ALT+F11, we have changed the size of the terminal window to the full screen.
How to create customized shortcut keys on the Raspberry Pi
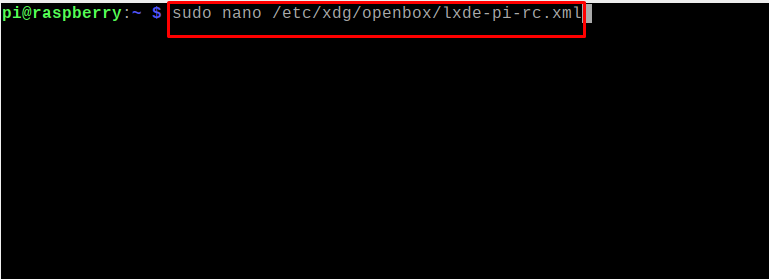
We have discussed the default keyboard shortcuts by using which we can perform different tasks on the Raspberry Pi. We can also create different customized keyboard shortcuts for different actions which can save our time. To do so, we have to open the file where all the configuration of the shortcut keys are present by using the command:
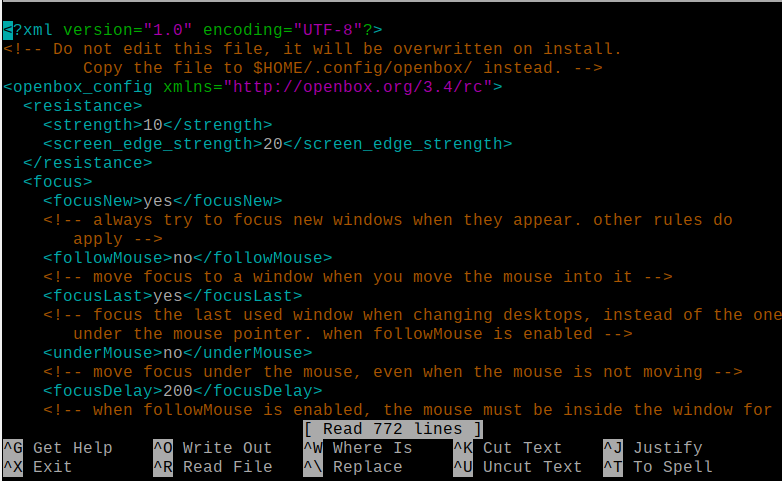
A file will open having some text like this:
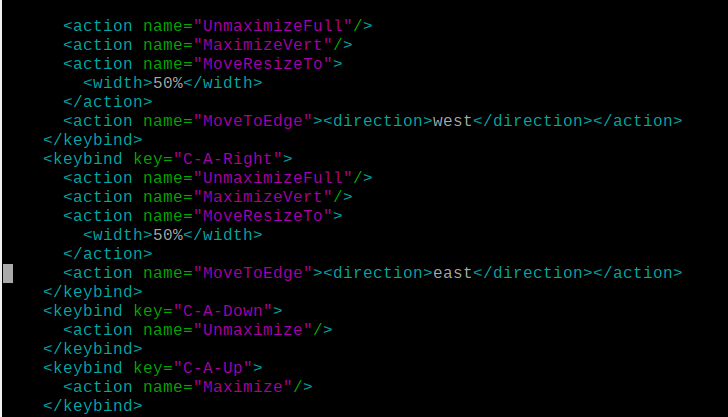
It has all the default keys configurations which include the actions and the keys by which these actions are performed:
When we have to add a customized shortcut key for some actions, we have to follow the following syntax:
<action name="operation">
<command>command_name</command>
</action>
</keybind>
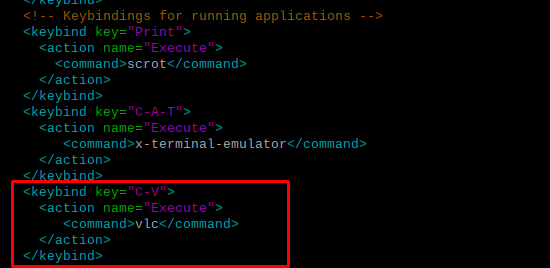
In the above syntax, we will replace the “custom_keyboard_shortcut” with the keys by which we want to perform the specific action, “operation” with the action you want to perform, and “command_name” with the command which you want to perform. For example, we want to open the vlc media player by using the shortcut key of “CTRL+v” so we will modify the above syntax like
<action name="Execute">
<command>vlc</command>
</action>
</keybind>
Add this script in the section of “<!– Keybindings for running applications –>” :
Save the file using the nano editor shortcut key of CTRL+S, exit the nano editor with shortcut key of “CTRL+X”, and reboot the Raspberry Pi using the command:
After rebooting the Raspberry Pi, use the shortcut key of “CTRL+V” to open the “VLC”:
Things to be remembered: There are some keys that are case-sensitive, if you are using them in the customized keyboard shortcuts, you should use the following letters against these keys:
| KEYS | Letters |
| Spacebar | space |
| Enter | Return |
| BackSpace | Backspace |
| CTRL | C |
| ALT | A |
| SHIFT | S |
Conclusion
Keyboard shortcuts provide ease of using the operating system: instead of opening the applications from the programs menu, you can press a combination of keys to launch a program or process. Moreover, the feature of the customized shortcuts of Raspberry Pi is also very much useful, as if any of our keyboard keys is not in working condition we can replace it with any other key. In this write-up, we have explained the procedure of using the default shortcut keys as well as the customized shortcut keys on the Raspberry Pi operating system.

