A buzzer is a small sound-producing device that can be used in alarm or to notify some person. In many projects, we need to interface a buzzer with Arduino to generate audible sound like in making a project of a digital clock and similarly for creating notifying tone.
This write-up is very useful for beginners who are learning Arduino because, in this, we will learn how to interface a buzzer with Arduino.
What is a buzzer
A buzzer is a small device that can be used to generate some sound at a specific frequency. The buzzer has different types depending on its construction:
- Piezoelectric buzzers
- Electric buzzers
- Electromagnetic buzzers
- Mechanical buzzers
- Electromechanical buzzers
In the next sections, we will consider the piezoelectric buzzer for further explanation of the interfacing of the buzzer with Arduino.
What is a piezoelectric buzzer
In the piezoelectric buzzer, two metal plates contain a piezoelectric crystal, when the voltage is applied the piezoelectric crystal starts to vibrate because of the attraction and repulsion of metal plates to each other. The piezoelectric buzzer has two legs; one leg is short which is connected to the ground and the other leg, larger in size, is connected to the input voltage.
What are the functions used in Arduino for a buzzer
The built-in functions of Arduino which can be used with the buzzer to produce audible tone and to stop the tone are:
tone(): This function is used to produce a sound wave of a specified frequency, the function is useful only with the PWM pins 3 and 11 on all Arduino boards except Arduino mega.
Syntax: tone(output, frequency, duration), tone(output, frequency)
It uses two or three parameters; one is for the output pin, the other is for frequency, and the third parameter is duration till when the buzzer should produce sound.
noTone(): This function is used to stop the sound wave produced by the tone() function.
Syntax: noTone(output)
It takes only one parameter that is of the output pin number, where the buzzer is connected.
What are the methods to generate sound from the buzzer
There are two methods of using the buzzer to produce sound; one is by manually using digitalWrite() function and the other method is by using the functions of tone() and noTone().
Producing sound using the digitalWrite(): Use the code to generate the sound by simple switching the states of output on a pin with digitalWrite():
pinMode(11,OUTPUT);
}
void loop(){
digitalWrite(11,HIGH);
delay(500);
digitalWrite(11,LOW);
delay(500);
}
Producing sound using the tone() and noTone(): We can also produce sound using the functions of tone() and noTone(), consider the code:
}
void loop(){
tone(11,200);
delay(500);
noTone(11);
delay(500);
}
Hardware and Simulation
We will design a circuit for a better understanding of the buzzer use but we will be using the LED along with the buzzer so the output of the buzzer can be visualized from the simulation. For this we need the components:
- LED
- Piezoelectric buzzer
- Connecting wires
- Breadboard
- Arduino Uno
The circuit diagram will be:
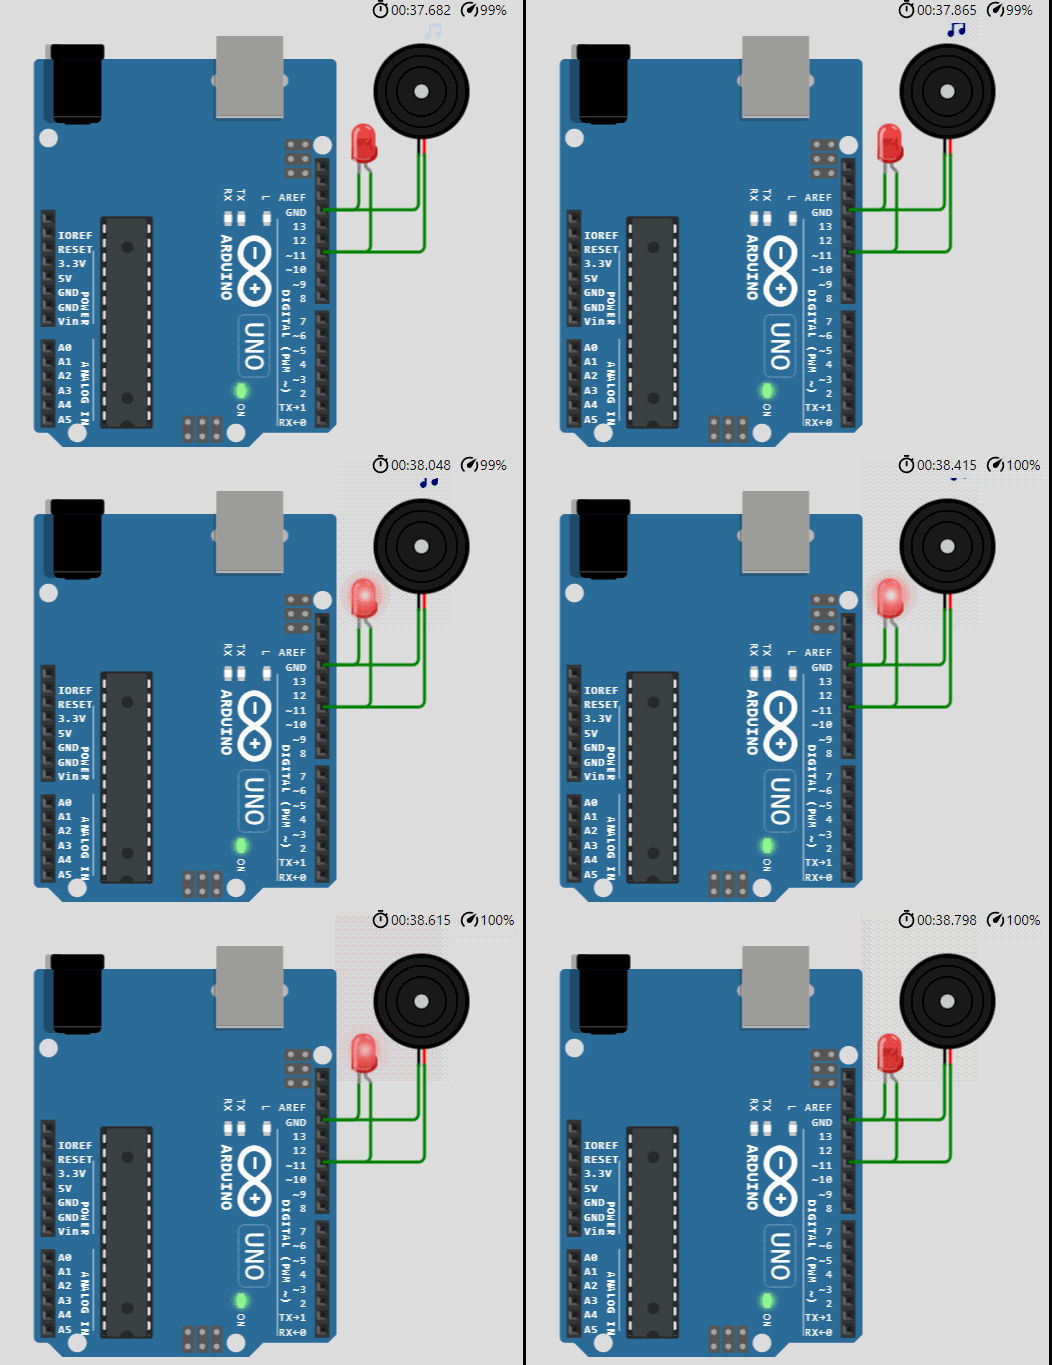
In the above circuit diagram, we have connected a buzzer, one leg of the buzzer to D11, the other with the ground, and the LED is connected parallel to the buzzer. The simulation will be:
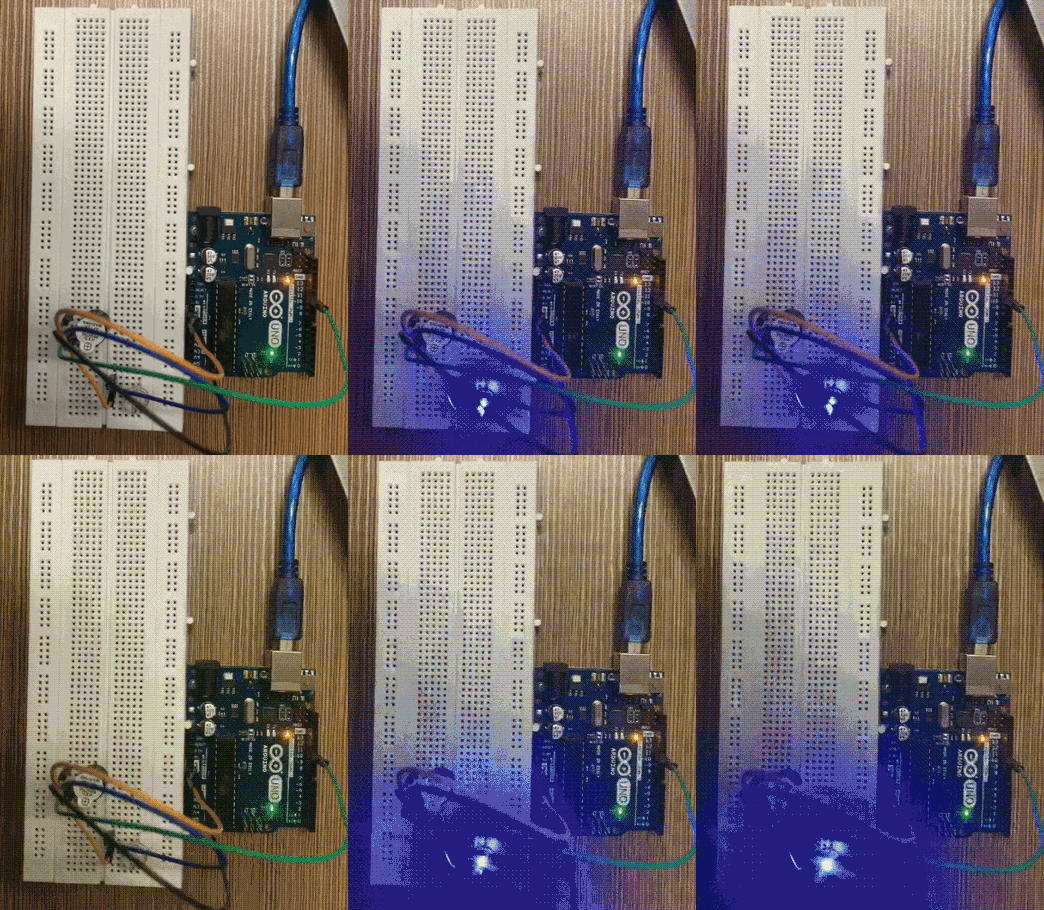
The hardware configuration of the above circuit is:
Conclusion
The buzzer can be interfaced with Arduino in different projects to produce an audible sound for example in the fire alarm, it is used to generate an alarm sound. The connection of the buzzer is very simple as it has two legs; one leg is connected to the ground and the other is either to 5 volts or from where you are taking the input. In this write-up, the method of interfacing the buzzer with Arduino is mentioned by two different methods and we used a piezoelectric buzzer.


