How to use 4×4 membrane keypad
This keypad comes with 8 pins in total and the first four pins are for the rows and the next 4 pins are for the columns. The keypad has 16 push buttons connected in such a way that one pin of each button is commonly connected row wise, and the other pin is commonly connected column wise.
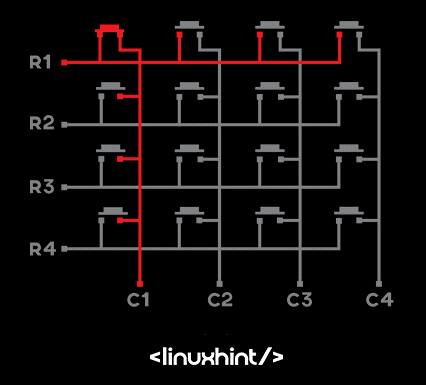
Similarly, there are 4 rows and 4 columns and all of the four can be considered as the input because the keypad supports the bidirectional flow of current through the buttons.
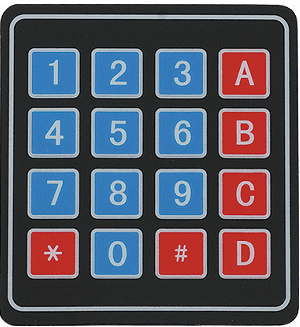
The generic keypad available is shown in the figure above but we can configure the buttons according to our desire. For instance, if we need more alphabetic characters, we can assign the keys to those characters simply by changing the key bindings of the desired key when initializing the keypad in the Arduino code.
Interfacing the keypad with Arduino
To interface the keypad with Arduino we need the following items that are:
- 4×4 Keypad
- Arduino Uno
- Connecting wires
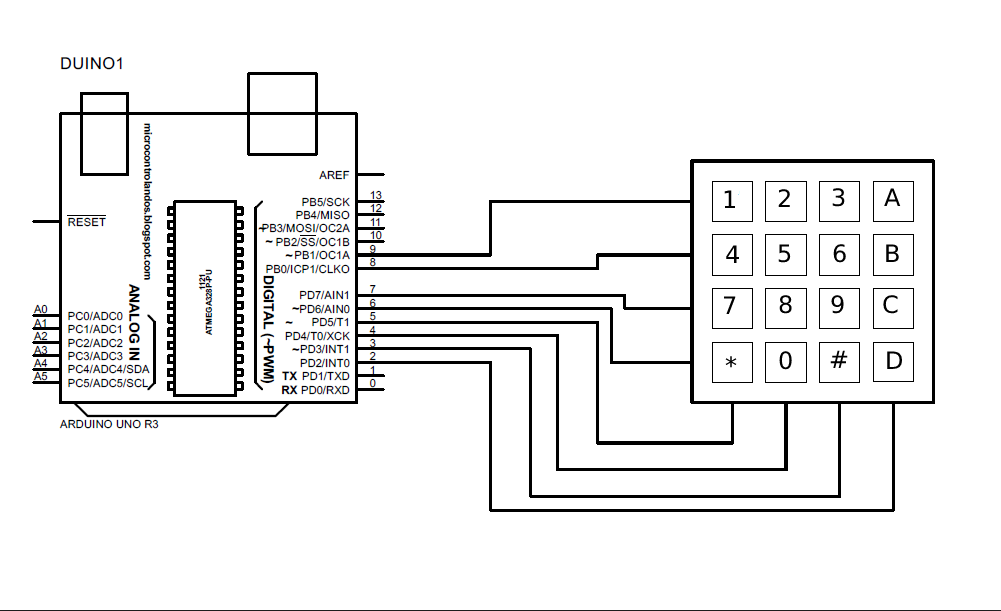
The schematic for the interfacing of the keypad is:
The Arduino code compiled for interfacing the keypad is given below:
//defining the rows and columns of the keypad
const byte ROWS = 4;
const byte COLS = 4;
/* assigning values for each key of the keypads */
char Keys[ROWS][COLS] = {
{'1','2','3','A'},
{'4','5','6','B'},
{'8','9','A','C'},
{'*','0','#','D'}
};
// defining the pins of Arduino for the keypad
byte rowPins[ROWS] = {9,8,7,6};
byte colPins[COLS] = {5,4,3,2};
// creating a function for keypad
Keypad myKeypad = Keypad(makeKeymap(Keys), rowPins, colPins, ROWS, COLS);
void setup(){
Serial.begin(9600);// starting the serial communication
}
void loop(){
char Key = myKeypad.getKey(); // to detect the keypad input when key is pressed
if (Key){ // if the key is pressed then display its value in serial monitor
Serial.println(Key);
}
}
To interface the keypad first the library of the keypad is downloaded using the Arduino IDE software:
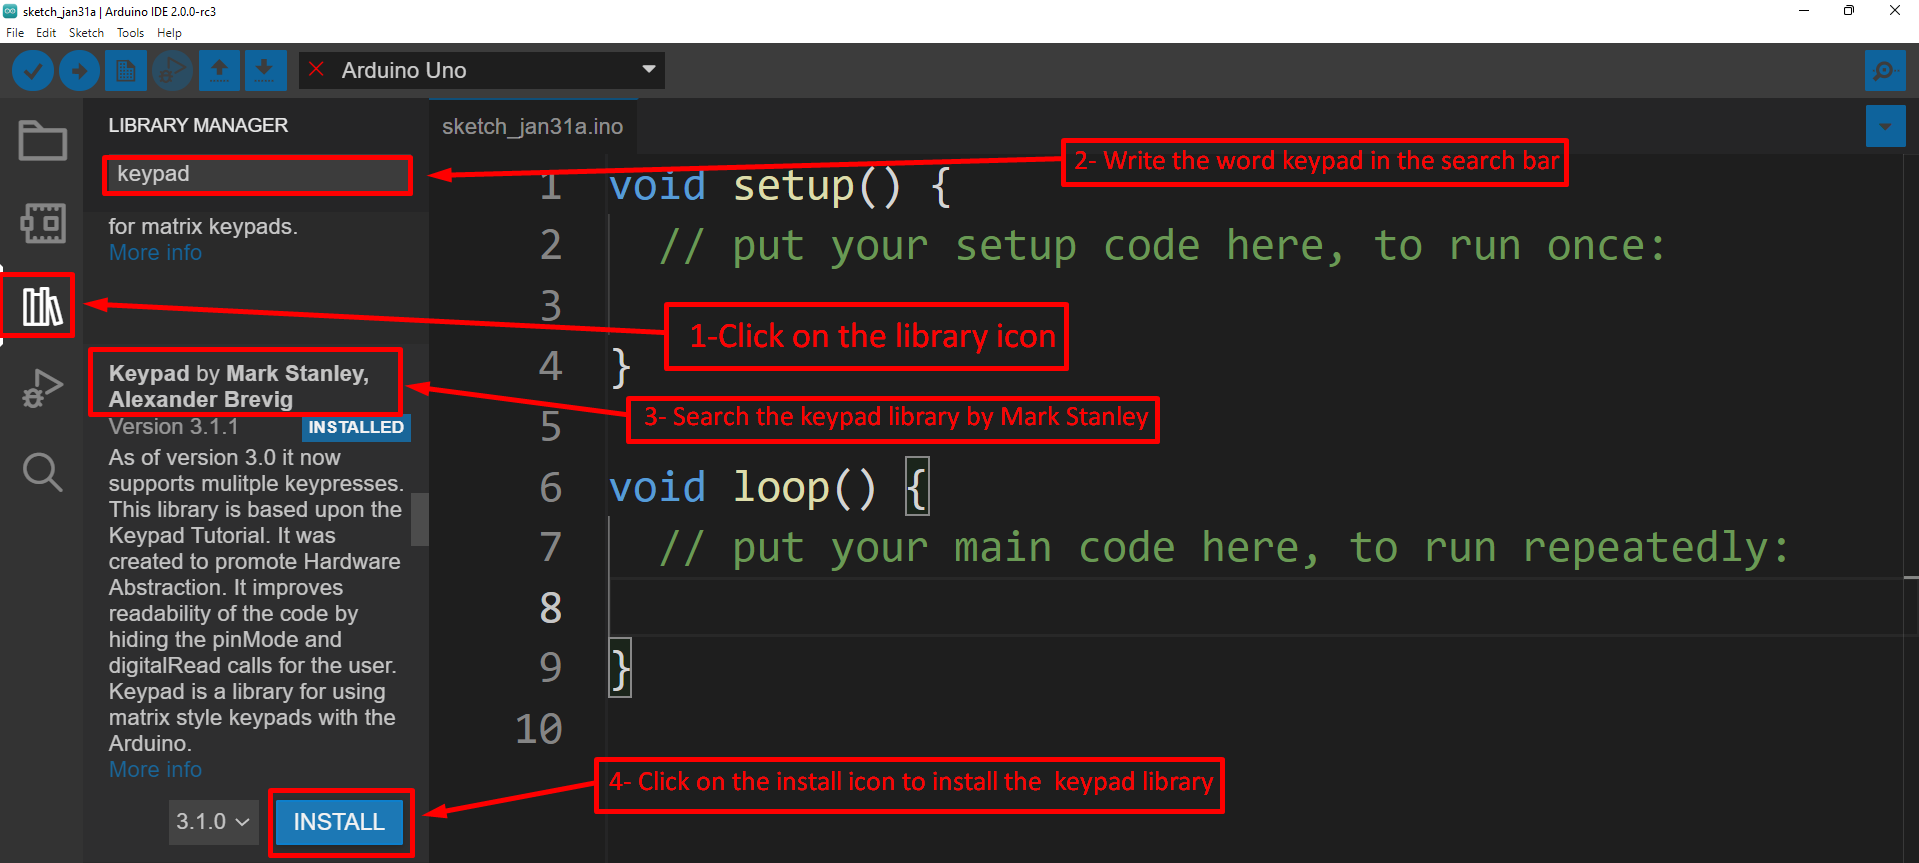
After installing the library first, the library of the keypad is defined as <keypad.h> with the “include” keyword and then rows and columns are defined. Next the pins of Arduino are assigned to the keypad then the function for the keypad is created which maps the values assigned to the keys of the pad.
This mykeypad function is called whenever the key is pressed and by using the serial.print() function the value assigned to the respective key is displayed in the serial monitor of Arduino IDE.
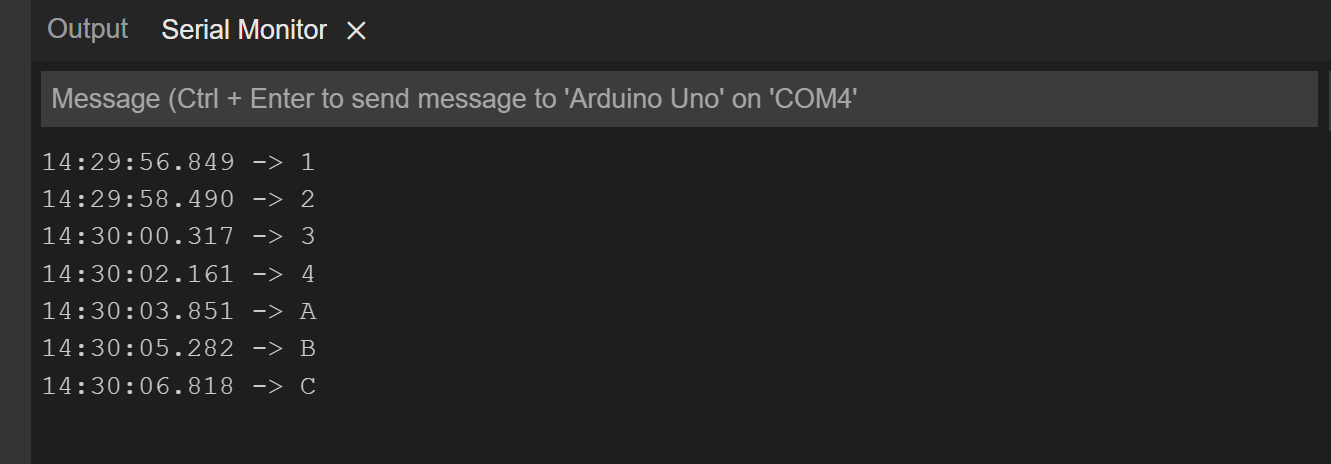
Output

When a button of the keypad is pressed the value given to that respective button will be displayed on the serial monitor. For example, if the first button is pressed that is 1 and the the key has the value of one 1 it will be displayed on the Serial monitor like this:
Conclusion
Keypads are mostly used in the projects or applications where the input to the device or application is to be given manually. The keypads come in two sizes one is 3×3 and the other is 4×4 and these keypads are configurable like we can customize the keypads or give the desired values to each button. In this write-up we have interfaced a 4×4 keypad with Arduino Uno board and the inputs from the keypad are displayed on the serial monitor.