All the commands in this article will be run in the terminal window. So first, you will need to open the terminal on your system. To do this, click on Activities in the left corner and click on the Terminal icon from the left sidebar of your CentOS 8 desktop.
Installing Postfix on CentOS 8
Follow these next steps to install Postfix on your CentOS system:
1. Remove Sendmail
Check whether Sendmail is installed on your system by using the following command:
If Sendmail is already installed, then the Sendmail version will show in your output. If it is not installed on your system, you will not see any output on the terminal, and you can skip this step.
You can remove Sendmail from CentOS 8 by using the following command:
Or
2. Update System
Once Sendmail MTA is removed, update your system by running the following command:
3. Install Postfix
After verifying that there is no other Mail Transfer Agent (MTA) running on your CentOS system, now you will install the postfix server on your system by using the following command:
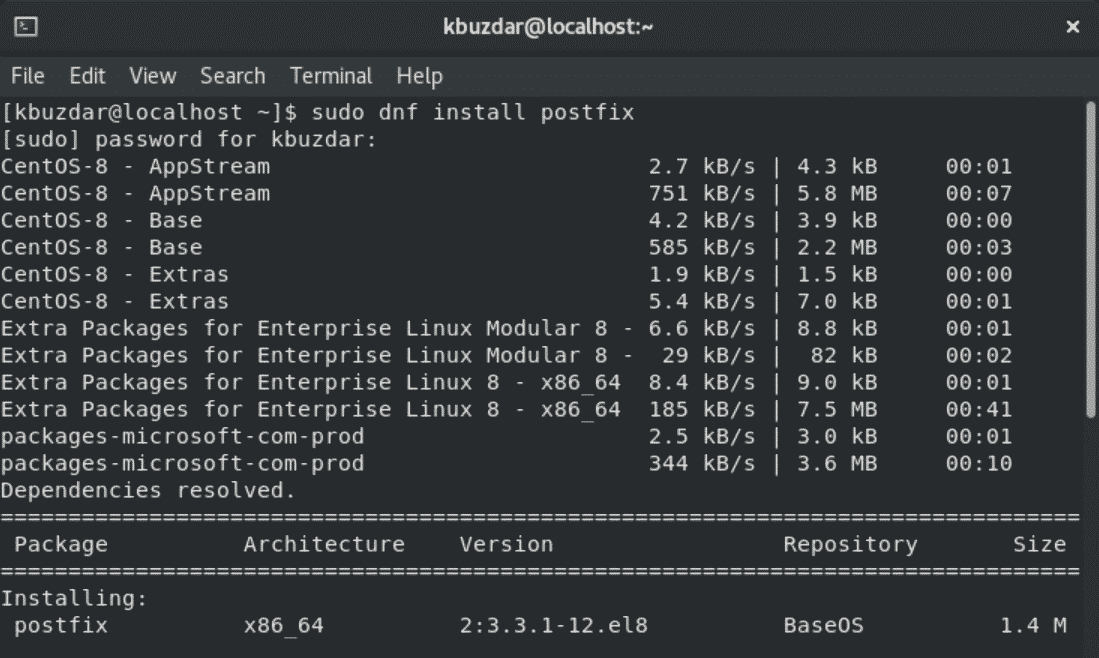
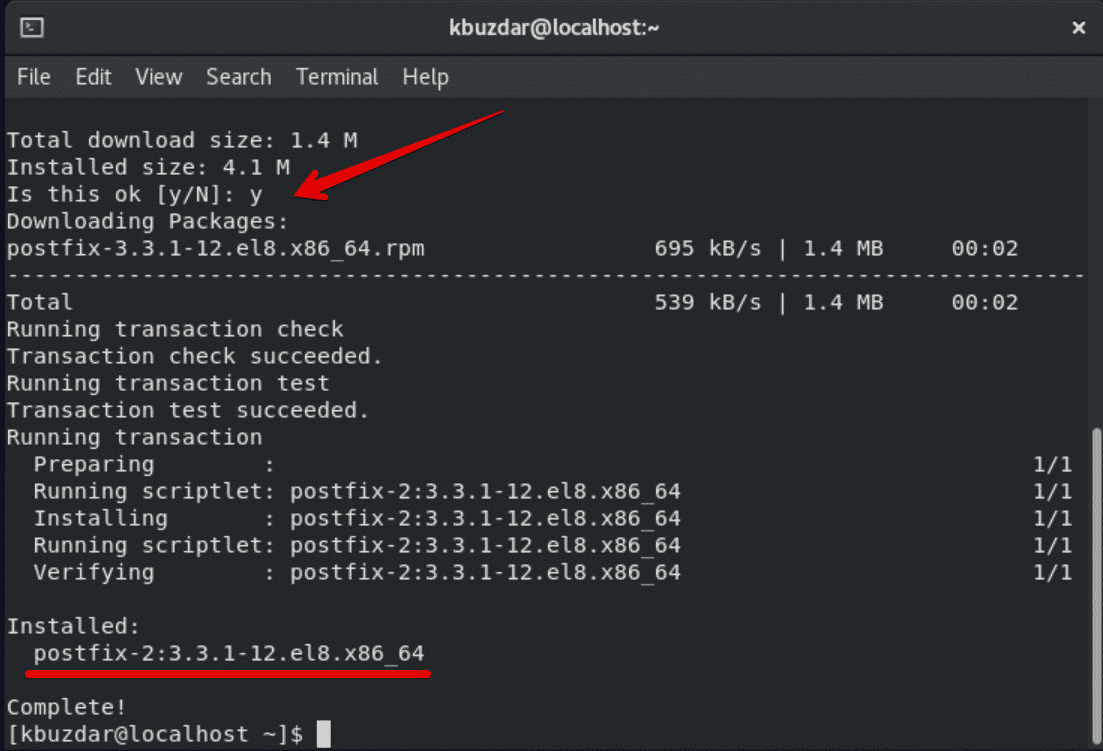
During the installation, you will be asked whether you would like to continue the installation of the Postfix server on your system. To continue, press ‘y’ and hit ‘Enter’ to complete the installation.
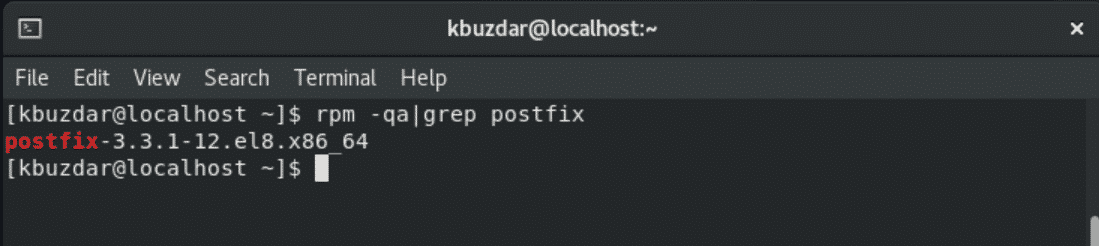
Now, check whether Postfix is installed on your system by executing the following command:
4. Enable Postfix Services
Once the installation of the Postfix server is completed, enable and start the postfix services on your CentOS 8 system by executing the following command:
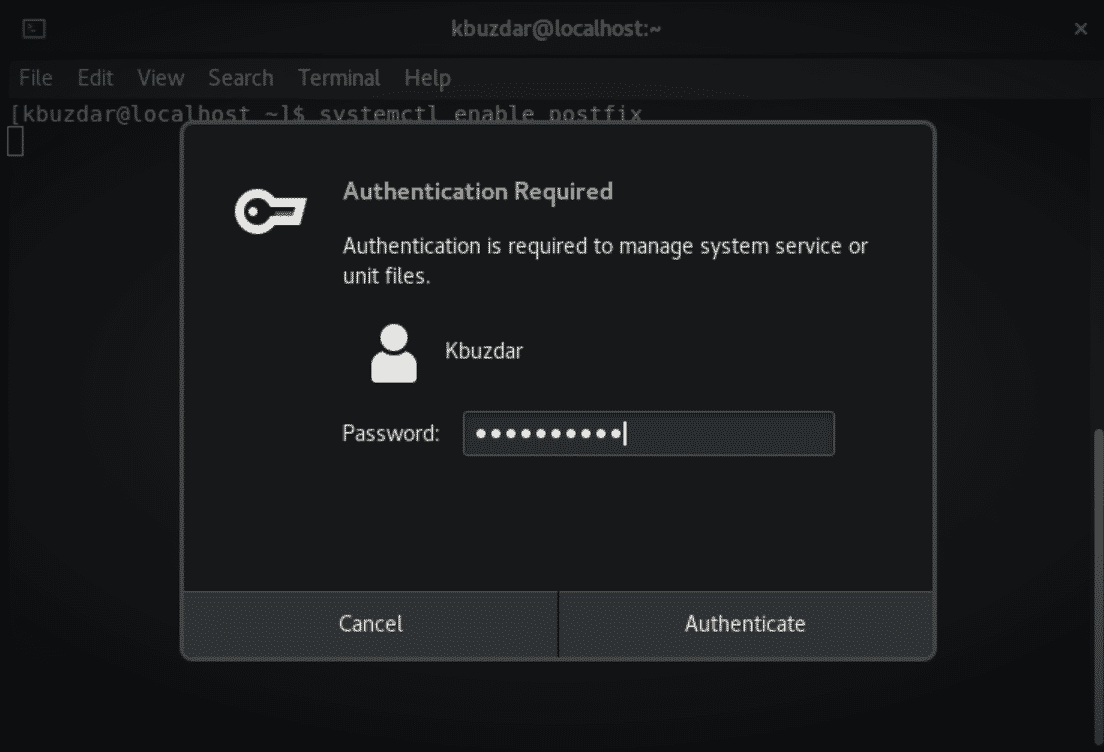
If you are not logged in as a root user, after executing the above command, the user authentication prompt will display on your system. Enter the user password and the following output will be displayed on the terminal with symlink creation.

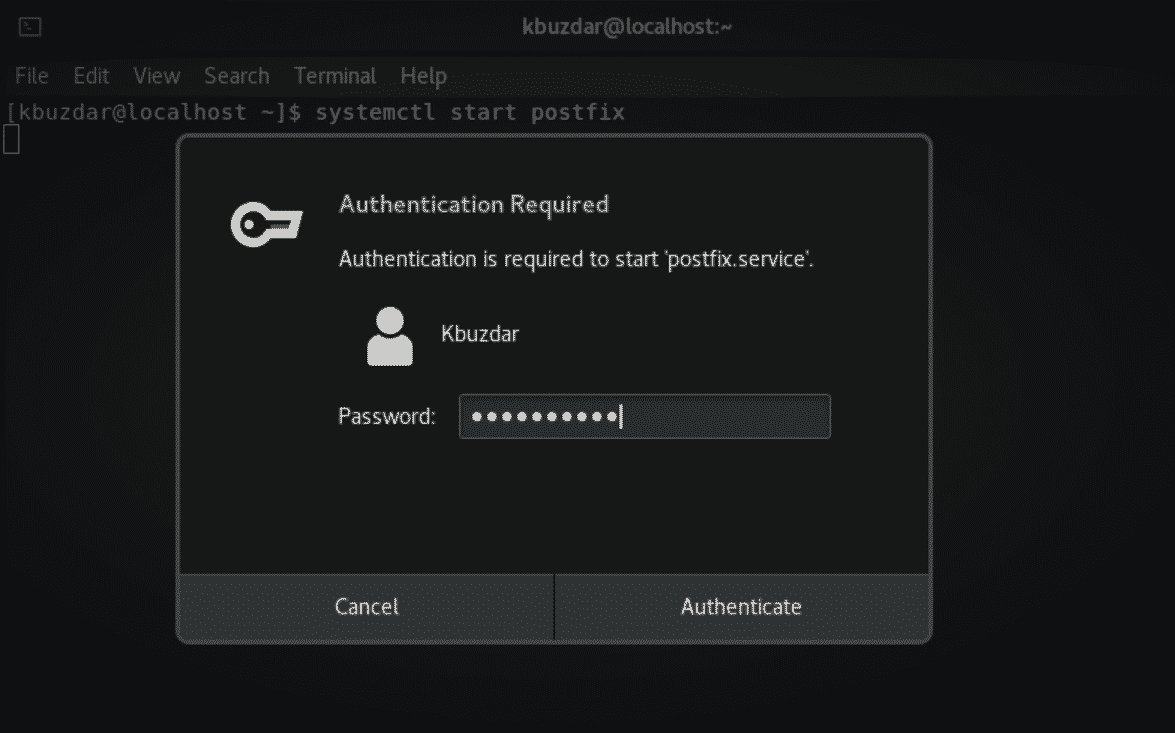
After completing the above step, running the following command start the Postfix services:

Again, you will need to complete the authentication process, as follows:
To check the running status of the Postfix service, enter the following command:
The following output should display on your terminal window:
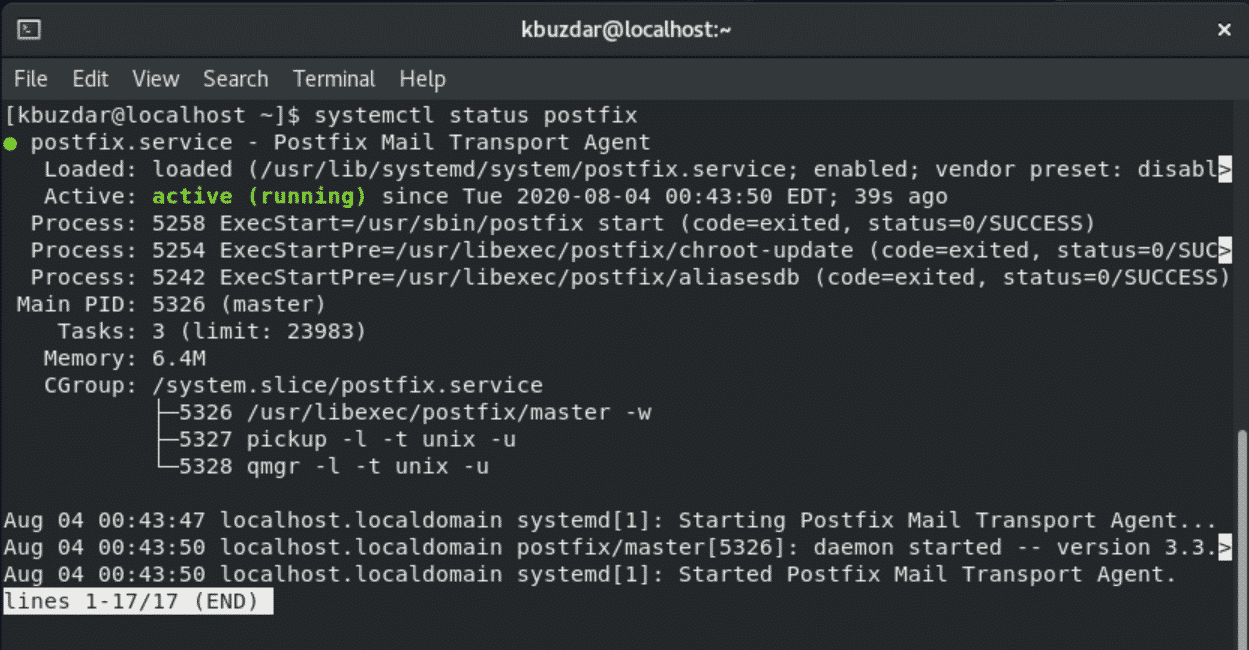
The Postfix service is now running on your system.
Next, you will need to configure the Postfix server to send emails to your local server.
Press ‘Ctrl + c’ to exit from the current displaying window.
5. Install mailx Email Client
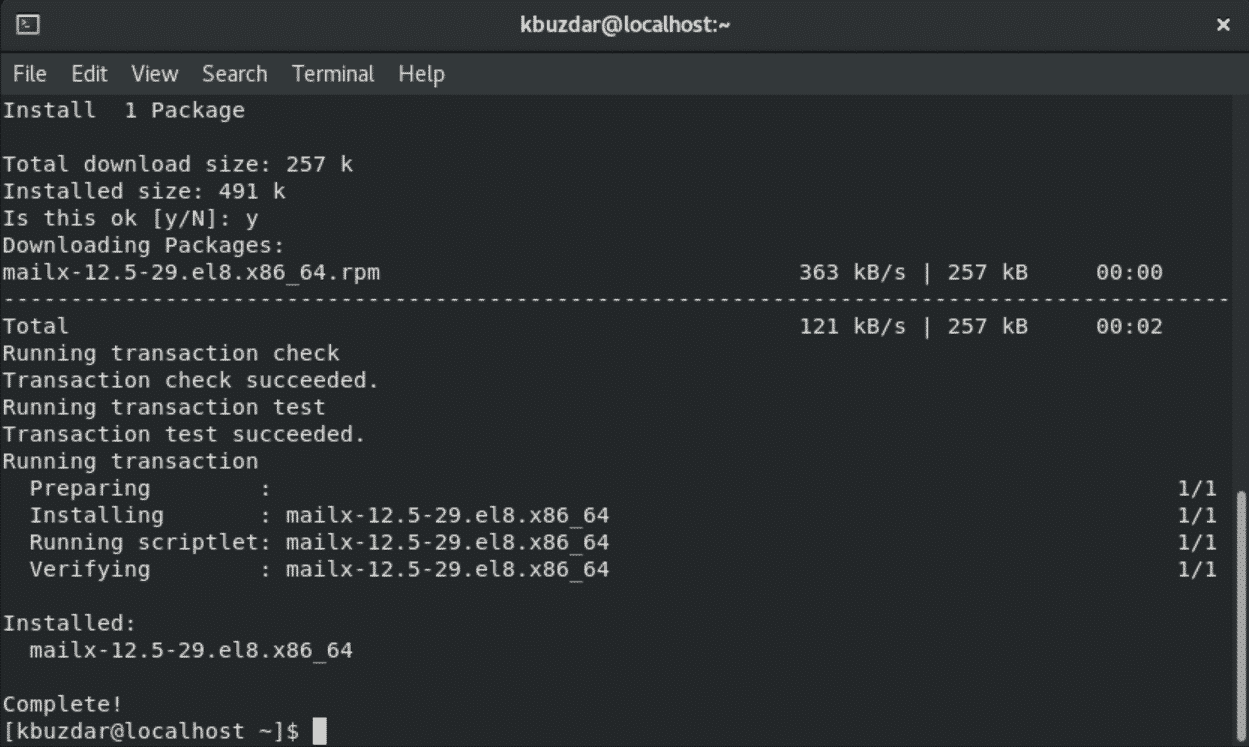
Before configuring your Postfix server, install the mailx email client package on your system by entering the following command:
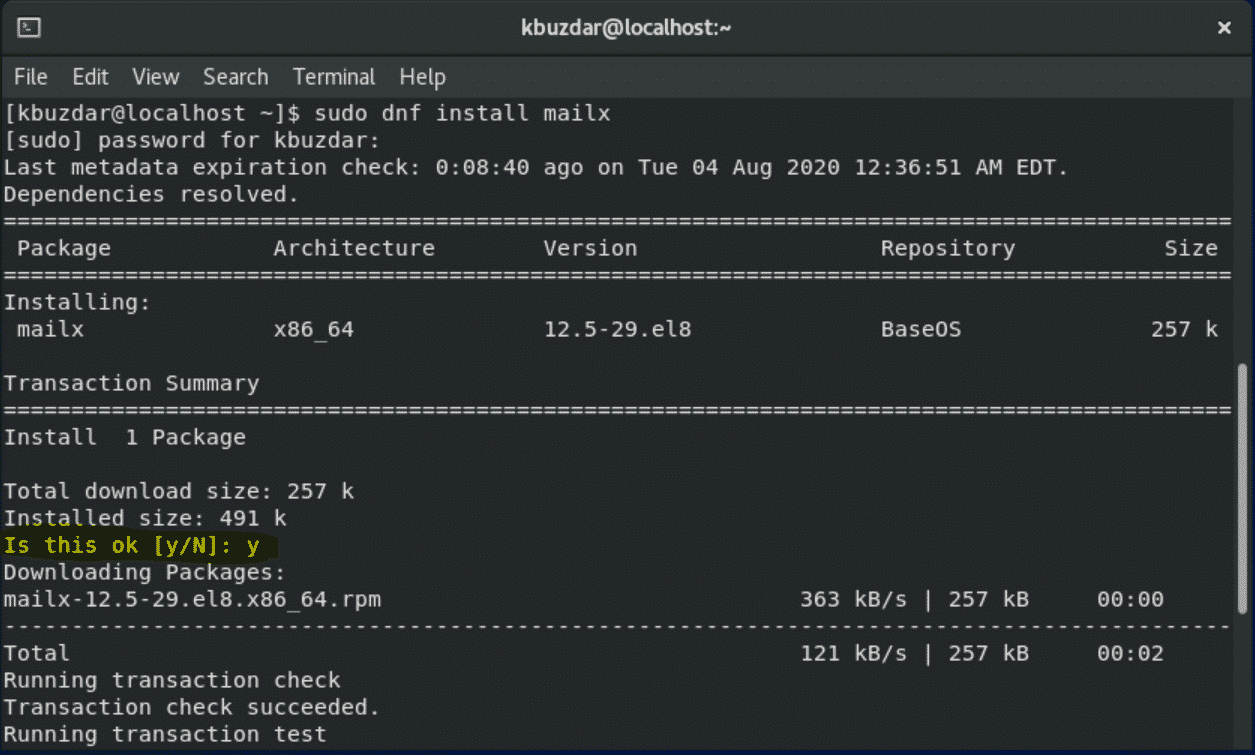
Here, you will need to confirm the installation of the mailx package. Press ‘y’ and hit ‘Enter’ to continue the installation process.
After a while, you will see the completed installation status displayed on the terminal, meaning that mailx has been installed on your system.
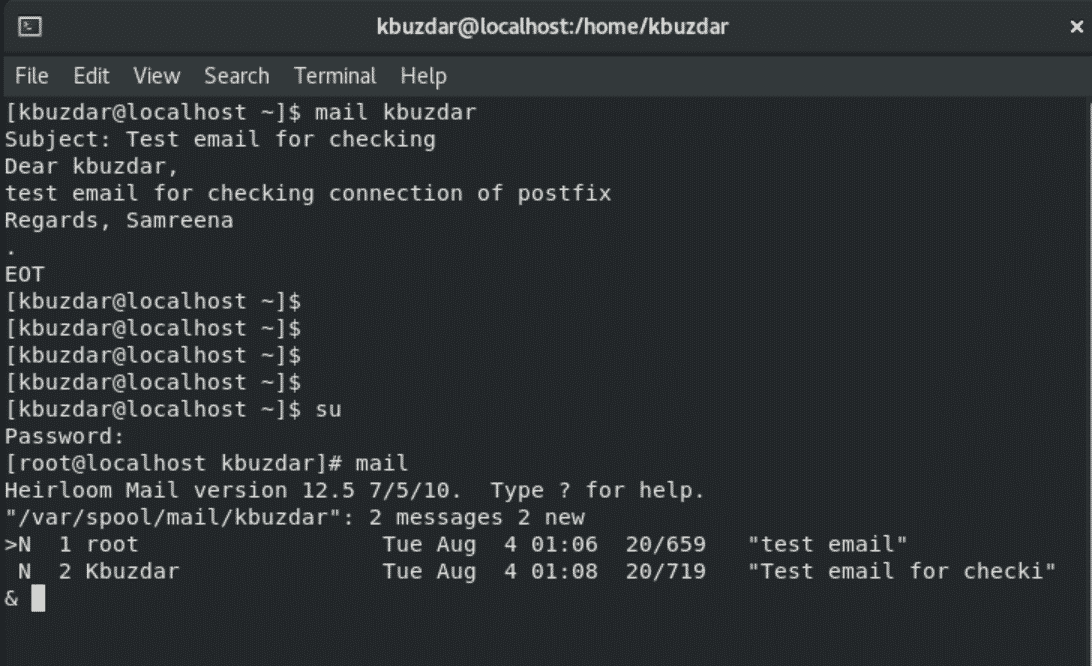
Now, we can send an email to our local server. For example, we will send a test email to the system admin user ‘kbuzdar.’ We will type the following command on the terminal to do so:
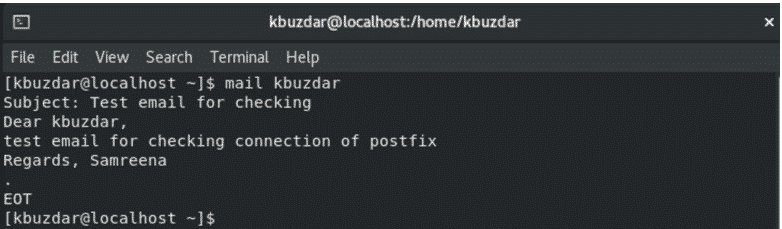
In the above command, the mail is a client and ‘kbuzdar’ is a recipient. At the end of the email, the ‘.’ will generate a signal to the mail client that it is the end of the email and that it will now be handed to the postfix server for delivery.
To check whether the email has arrived at its destination, log in as root from the recipient side, and type ‘mail’ in the terminal.
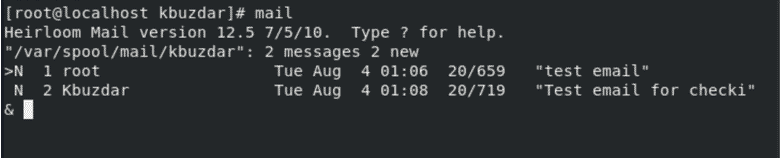
You will see the following list of emails, including the last email to which a message was sent in the last step.
Congratulations! Postfix has been successfully installed on your CentOS 8 system.
Conclusion
In this article, you learned how to install the Postfix server on CentOS 8 using the command line. You also learned how to send emails to your local server through Postfix services. Furthermore, you can also send emails to specific domains by changing the hostname name of your system, and you can edit the configuration file content and send emails to a particular domain. I hope this article will help you in installing and using the Postfix server on your system.