Blender is a cross-platform tool that’s available for Windows, Linux and Mac. Thanks to OpenGL, Blender is capable of offering a consistent experience. In this article, we’ll be checking out how to install Blender on Linux Mint.
Blender on Linux Mint
Blender is quite a popular software. Because of its popularity, it’s available on the package server of all the major Linux distros. Linux Mint, being an Ubuntu-based distro, also contains Blender in the official package server. Thankfully, Blender also comes as a snap package.
If you’re feeling a bit adventurous, then you may also try building Blender from the source by yourself. Of course, it’s a bit difficult path to follow than just installing and using Blender.
Ready? Let’s see how to install Blender!
Install Blender on Linux Mint
Install Blender using APT
In this method, we’ll be grabbing Blender directly from the official package server. All we need to do is tell APT to grab Blender.
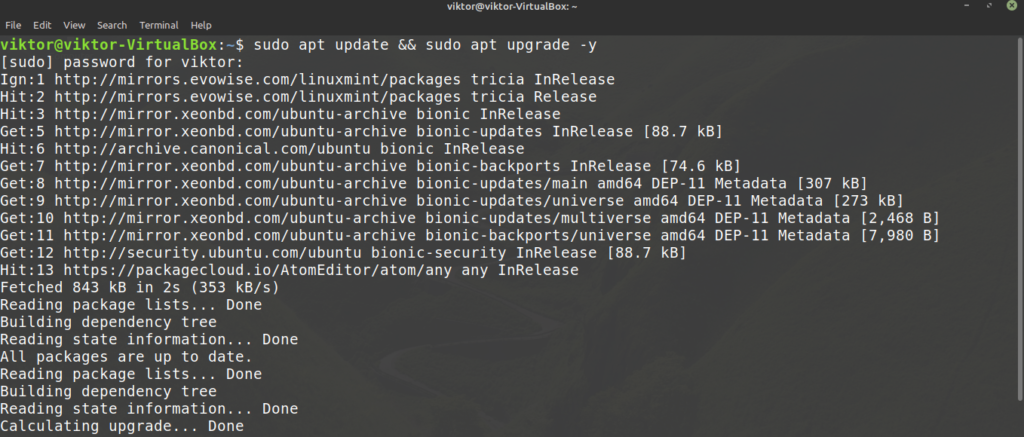
Fire up a terminal. First, update the APT cache and package updates (if available).
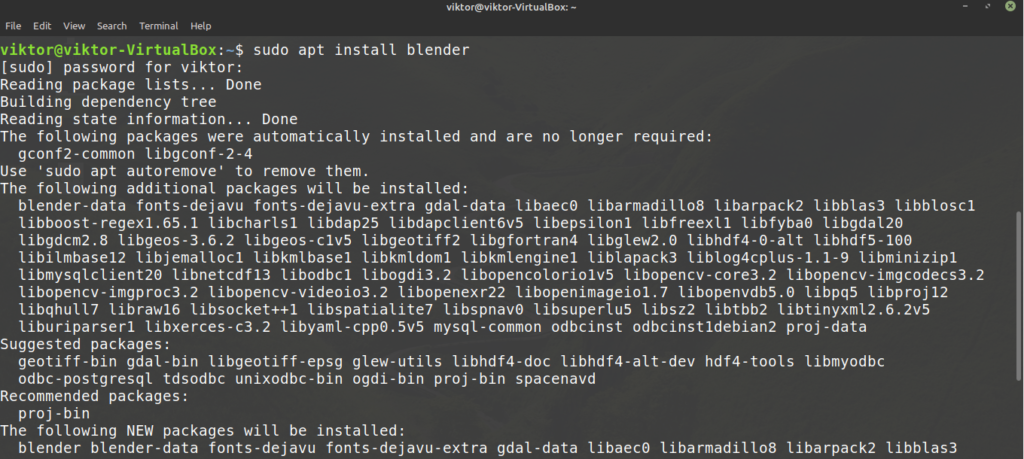
Now, tell APT to install Blender.
Install Blender using snap
Blender is also available as a snap package. The benefit of the snap package is, as long as the snap package manager is installed in the system, you can enjoy almost any snap package irrespective of the Linux distro.
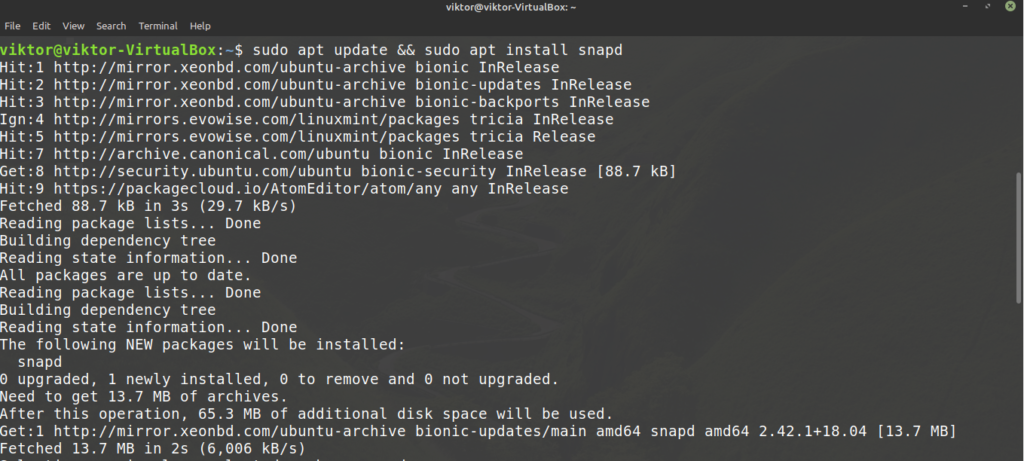
Linux Mint doesn’t come with snap pre-installed. To install the snap package manager, run the following commands.
Now, the snap package manager is ready to install additional snap packages. Tell snap to install Blender. Check out Blender on the Snapcraft store.
Install Blender from source
This is, by far, the most difficult method of installing Blender in this entire guide. Unless you need to, I recommend using other methods of installing Blender. Blender is a big project and compiling it will be a time-consuming process.
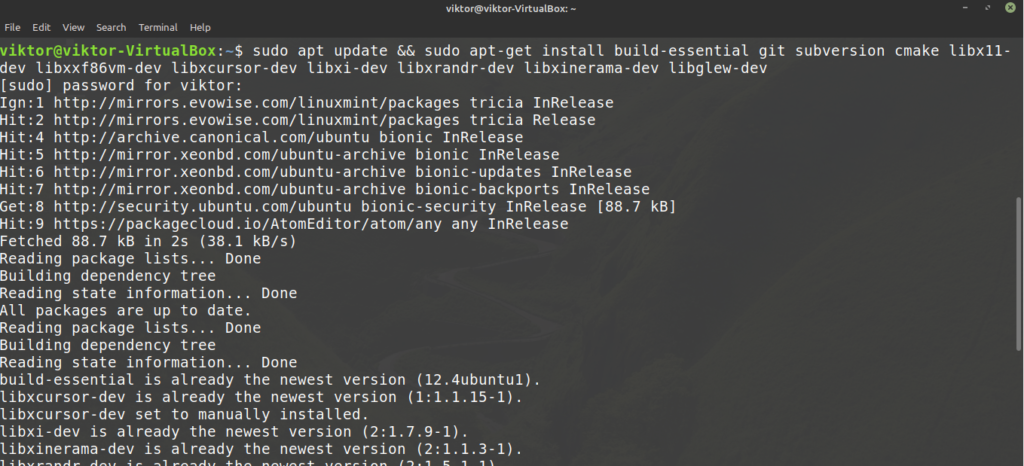
First, install the essential packages to compile Blender.
libx11-dev libxxf86vm-dev libxcursor-dev libxi-dev libxrandr-dev
libxinerama-dev libglew-dev
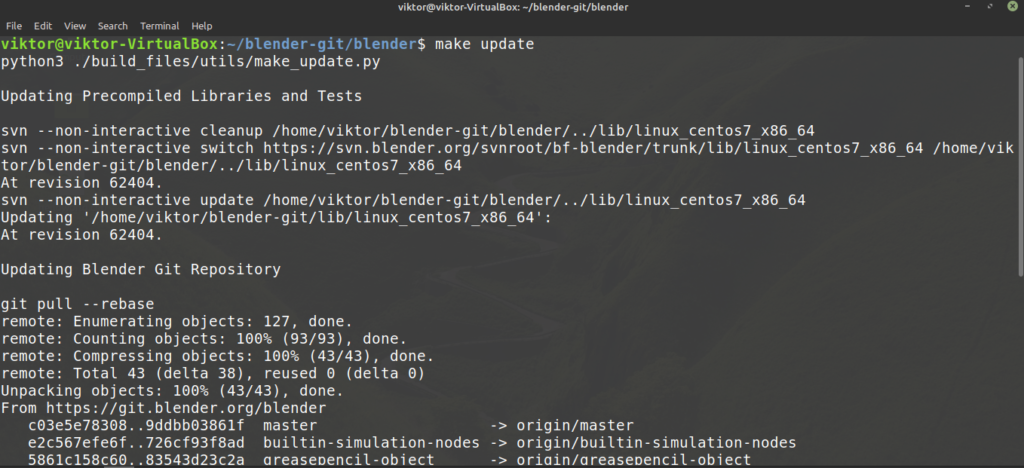
Now, we’re ready to grab the latest source code of Blender from Blender official git. Grab the source code.
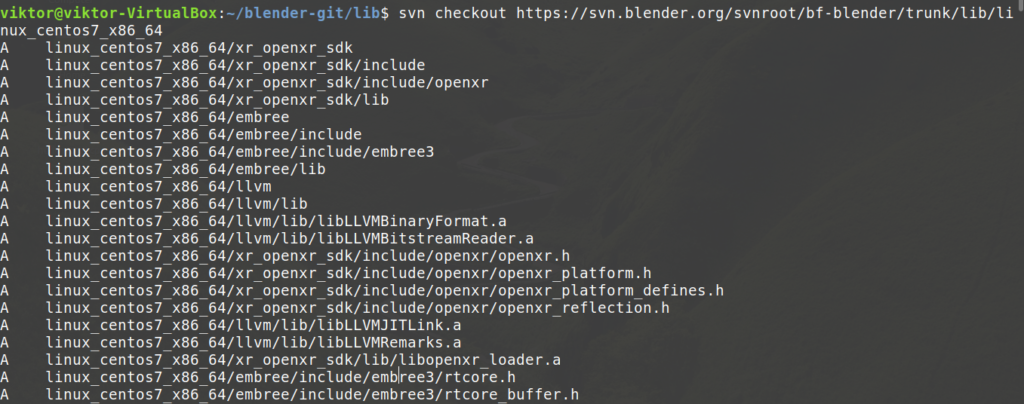
If you’re using Intel/AMD X86-64 platform, then grab the pre-compiled library dependencies Blender offers. This will save up a lot of hassle. To grab them, run the following command.
If you’re using a system other than Intel/AMD x86-64, then there’s a script available for automatic dependency installation.
$ sudo ./blender/build_files/build_environment/install_deps.sh
To learn more in-depth about the install_deps.sh script, check out the official Blender wiki.
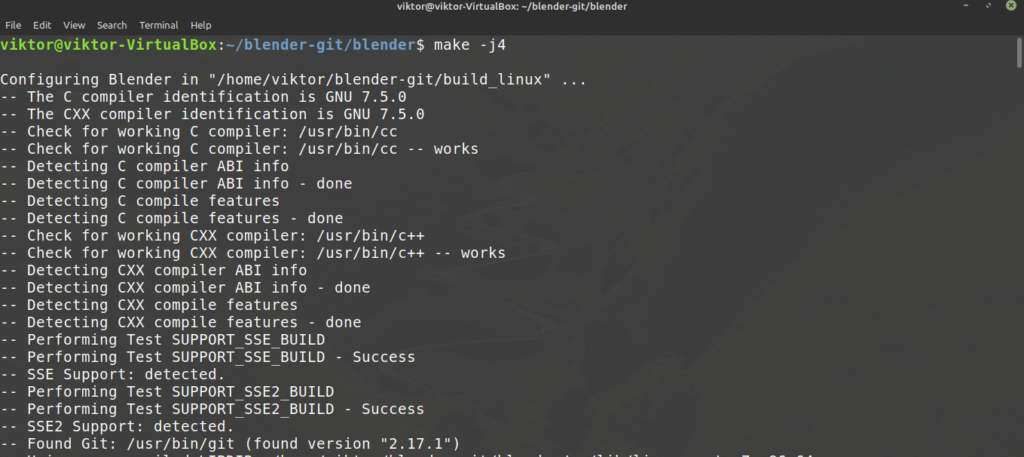
Finally, it’s time to compile Blender. Run the following commands.
Now, you can directly run Blender from the following location.
Using Blender
Now that Blender is installed, launch it from the menu.
Blender will start a mini quick-setup dialog box. Select the options you feel necessary.
In the next step, Blender will offer to create a new project or opening an existing one.
If nothing selected, Blender will start a starter project with only one cube in it.
If you’re interested, Blender also offers a number of demo files for free! Check out the Blender demo files.
Final thoughts
Blender is a powerful tool. Your imagination is the only limiting factor. Well, your hardware as well. For simple projects, you can get away with normal hardware. However, for big projects, you need good hardware (powerful CPU, GPU and lots of RAM/VRAM).
Blender comes up with tons of features. Naturally, that increases the complexity of the tool. Thankfully, there are plenty of tutorials online where you can learn how to properly take advantage of different Blender tools and features. YouTube is a good place to start.
Enjoy!

