If you have learned how to make a 3D animation in Blender, then it’s time to export it. This article focuses on exporting Blender animations that include selecting render engine, resolution, quality, codec, etc.
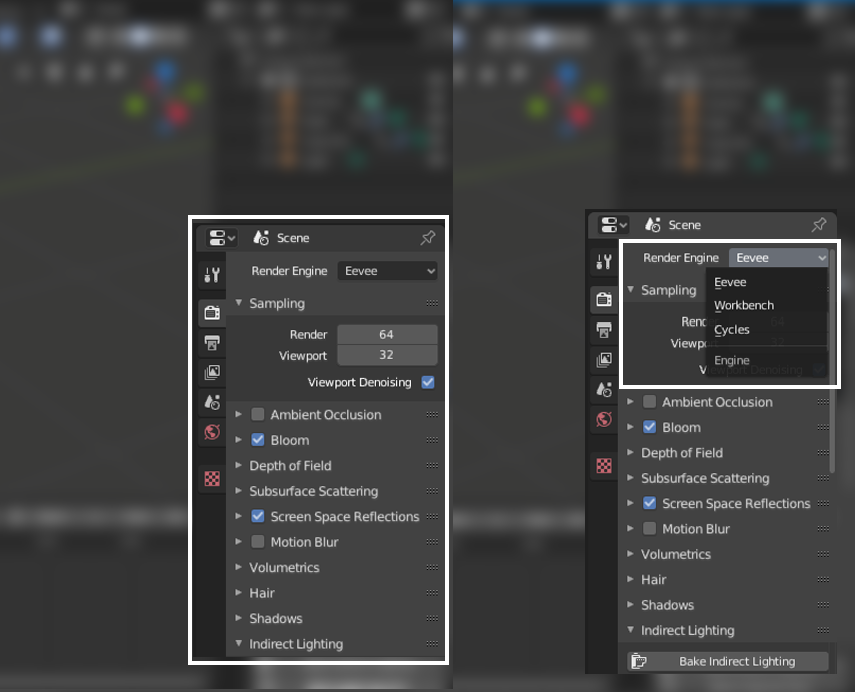
Before making your animation, select a render engine; Blender offers two rendering engines, “Cycles” and “Eevee”, which have their own settings. For example, in “Cycles” you need to set the number of samples, light bounces, etc. On the other hand, the “Eevee” needs you to enable a few options if you are using some particular shader, for example, emission shaders, then you must enable “Bloom” in settings:
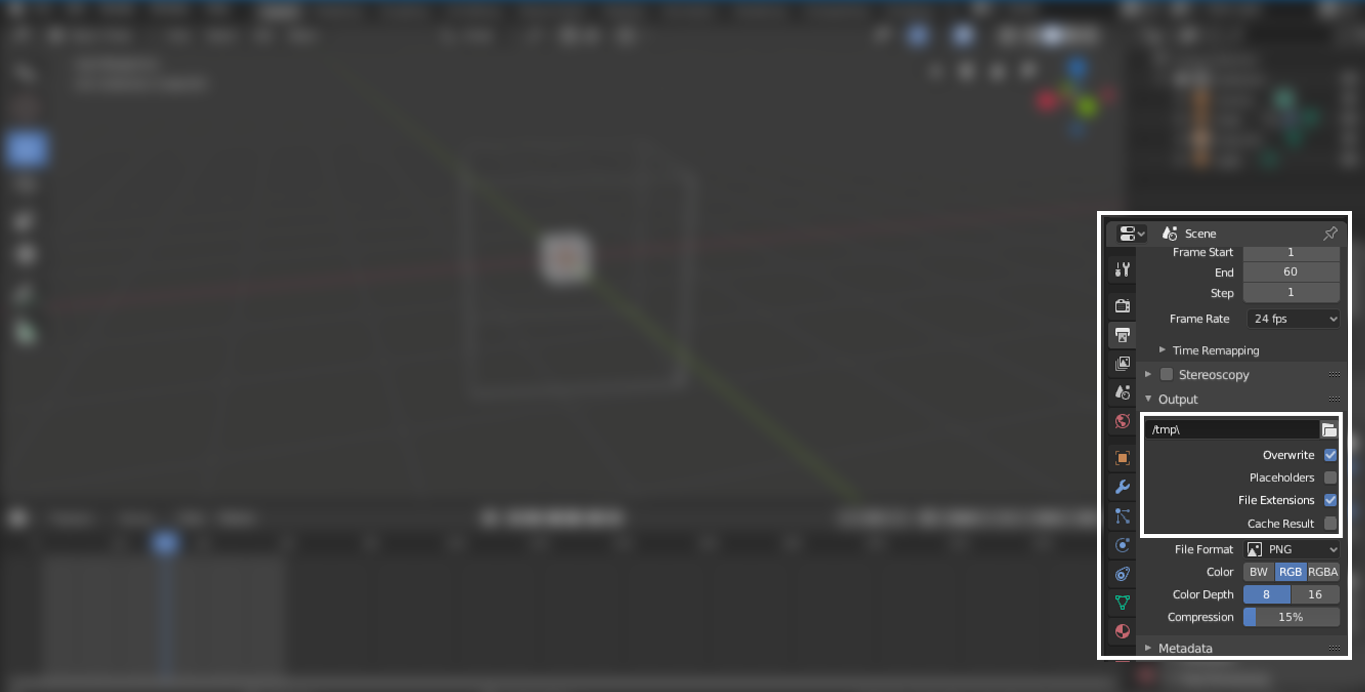
After selecting the render engine and setting it up, it’s time to look at the output setting. The output panel can be seen in the image below:
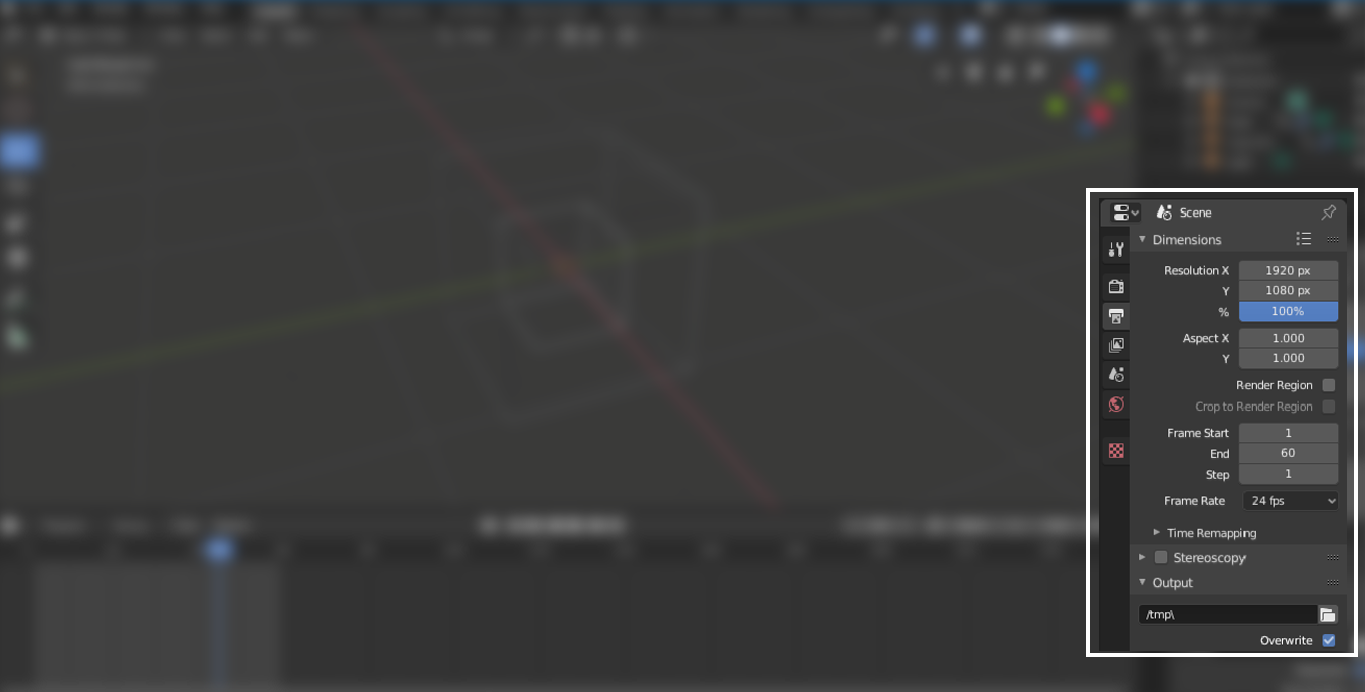
The first setting is the resolution. Set the resolution manually or select from the presets by clicking on the “Render Preset” button, as shown in the following image:

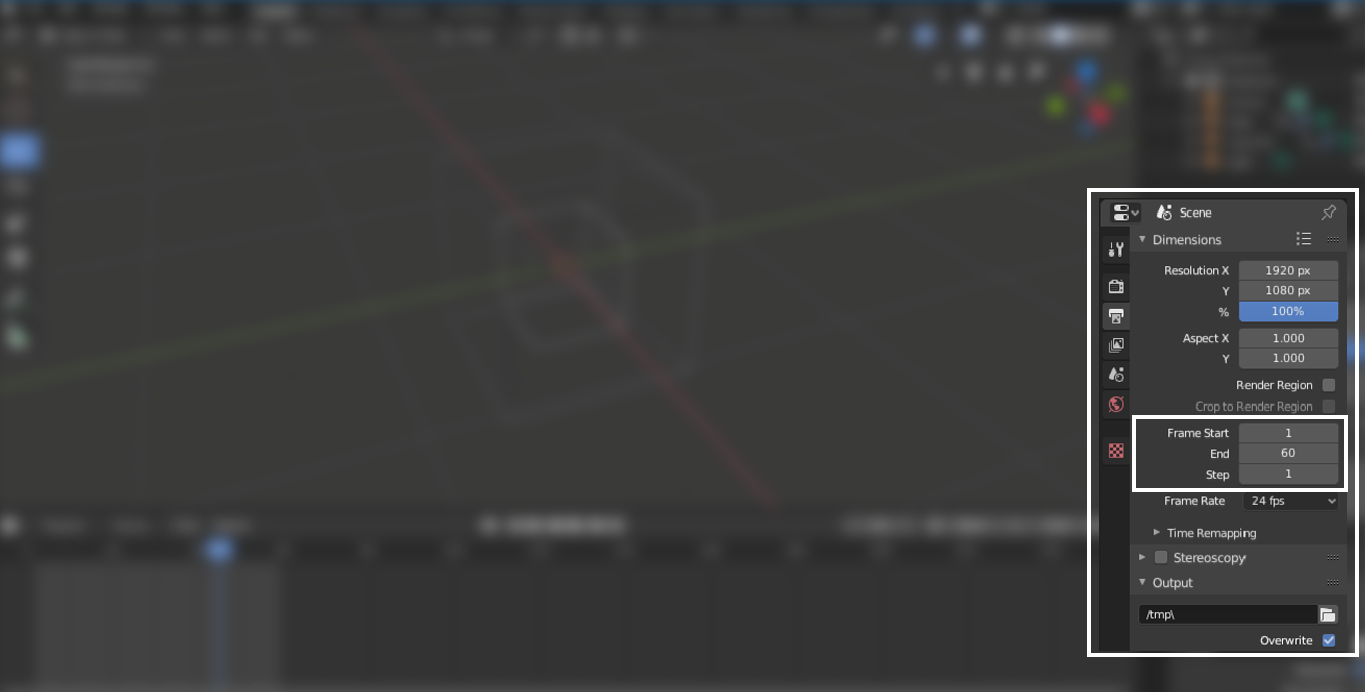
After setting up the resolution, it’s time to set the number of frames; starting and ending frame, as shown in the following image:
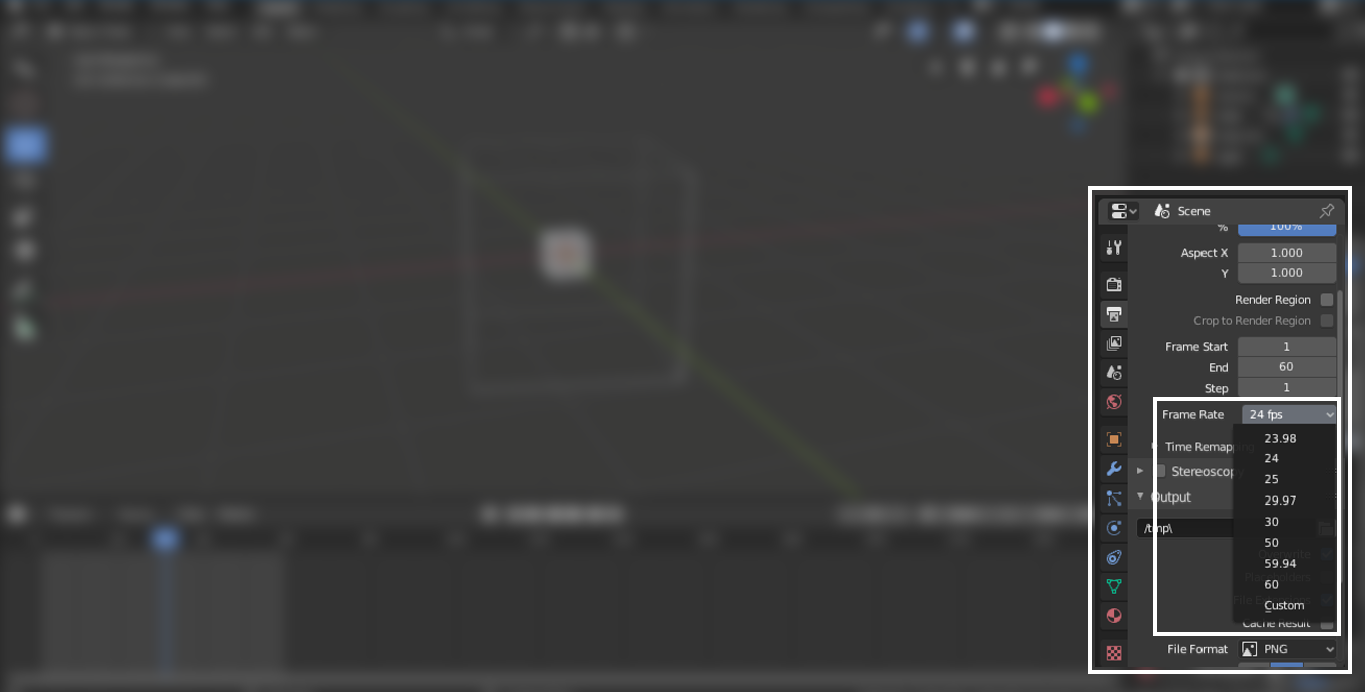
Set the frame rate of animation. If by default it is 24, but you will get several options in the drop-down menu as shown below:
Now, select the output folder where you want to render out your animation. There are few more checkboxes under it:
- Overwrite: To overwrite the existing file
- Placeholders: While rendering frame, it keeps empty placeholder files
- File Extensions: Enabling it will add a file extension to the rendered video/images
- Cache result: Render cache result in EXR file
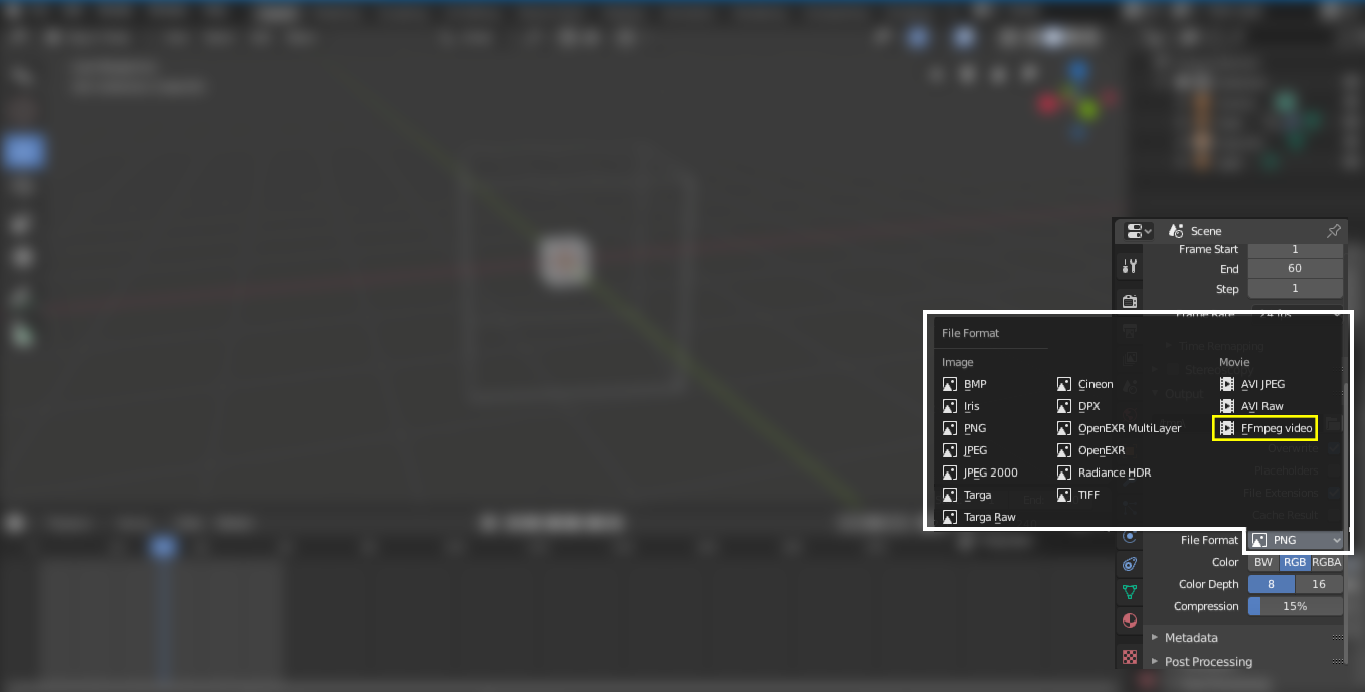
Time to choose one more important setting, the “File Format”. Click on the button, and it will reveal multiple options. Select the “FFmpeg Video” option, as shown in the image below:
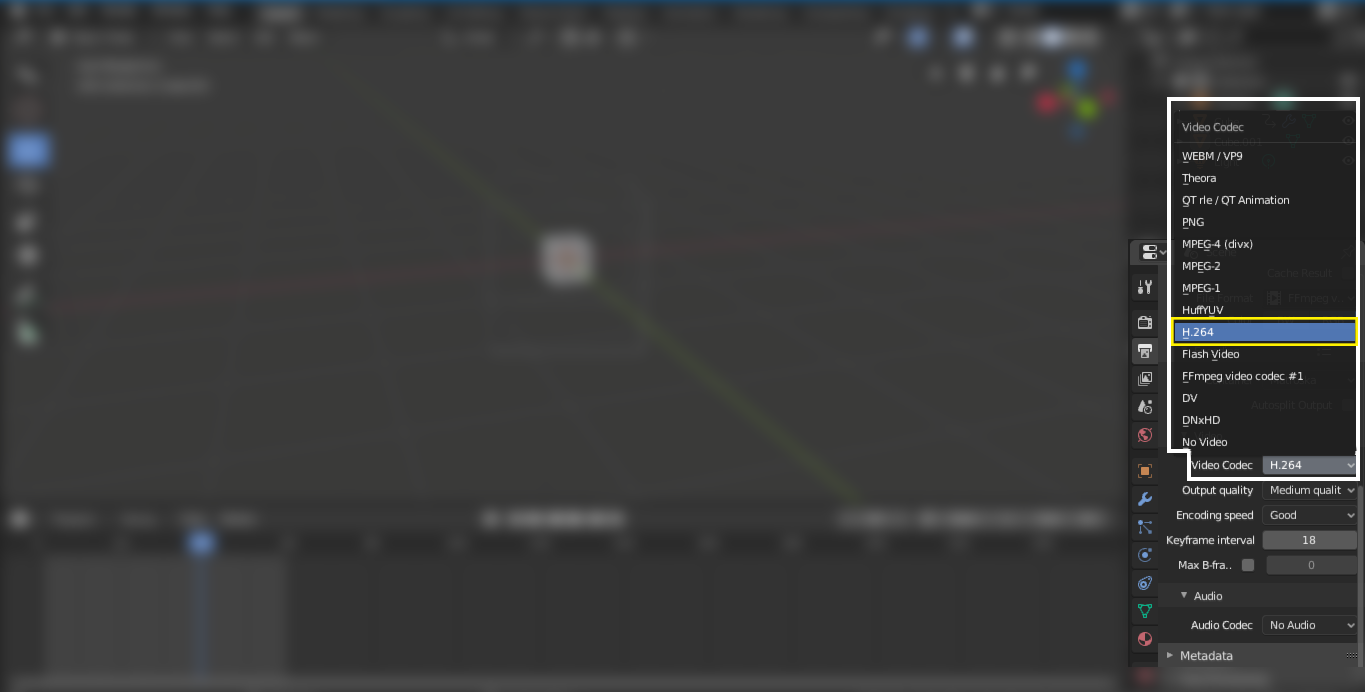
Blender will reveal a few more options (codecs) after selecting the “FFmpeg Video” option. The next essential setting is “Codec Setting”. Click on the codec option, there will be multiple options, select H.264 codec because it takes less space and gives output in mp4 format, as shown below:
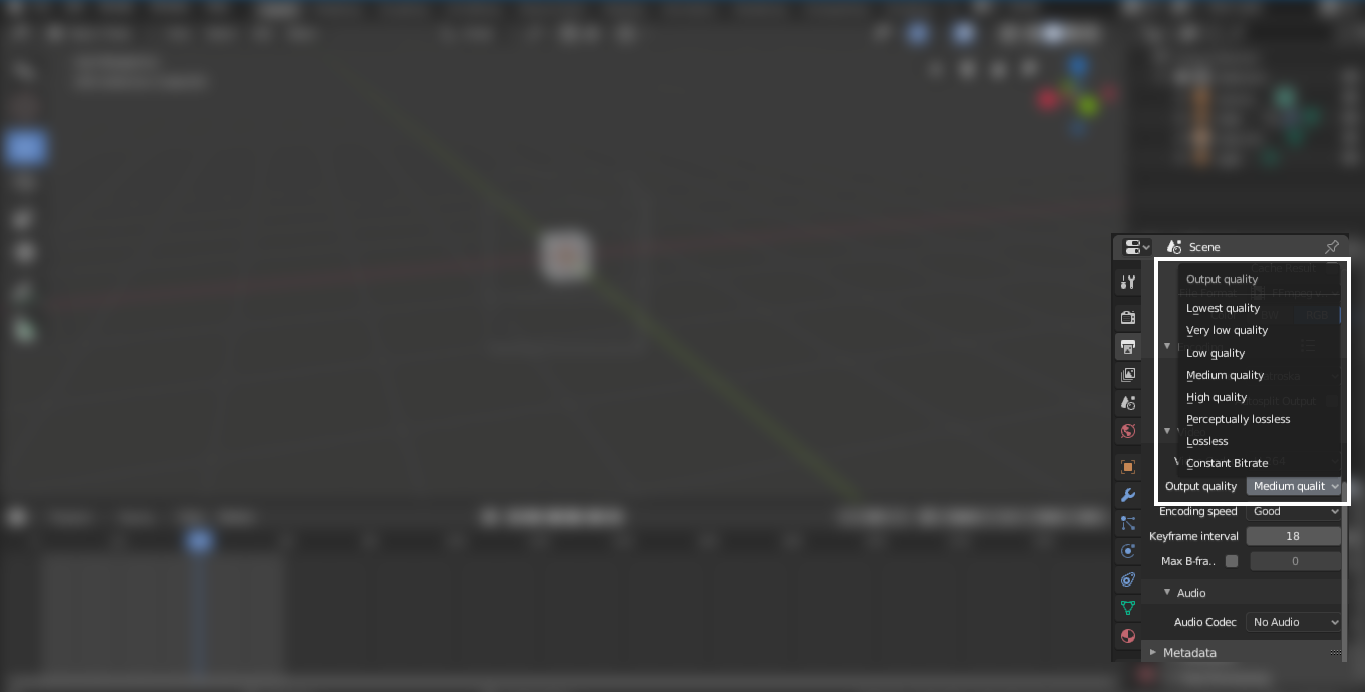
Select the output quality as you required. Medium and high quality gives a decent result, as shown in the following illustration:
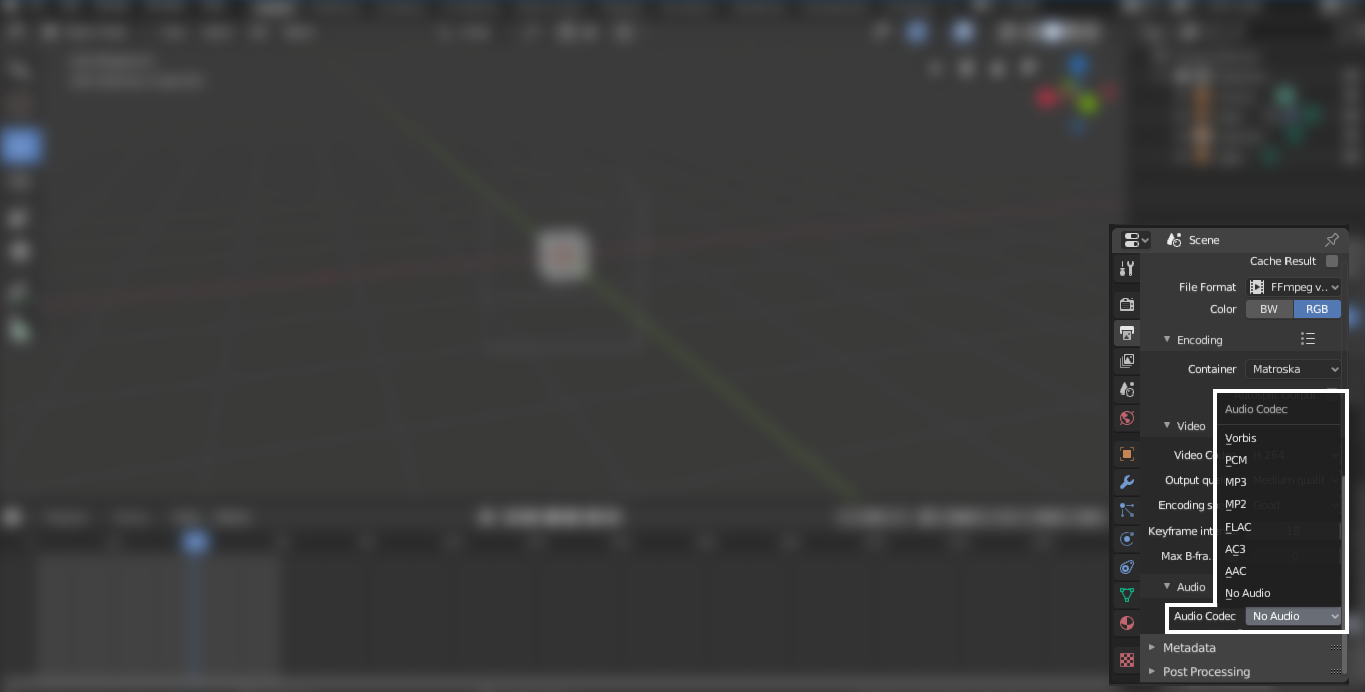
If there is audio in the scene, you need to select the audio codec, as shown in the image below:
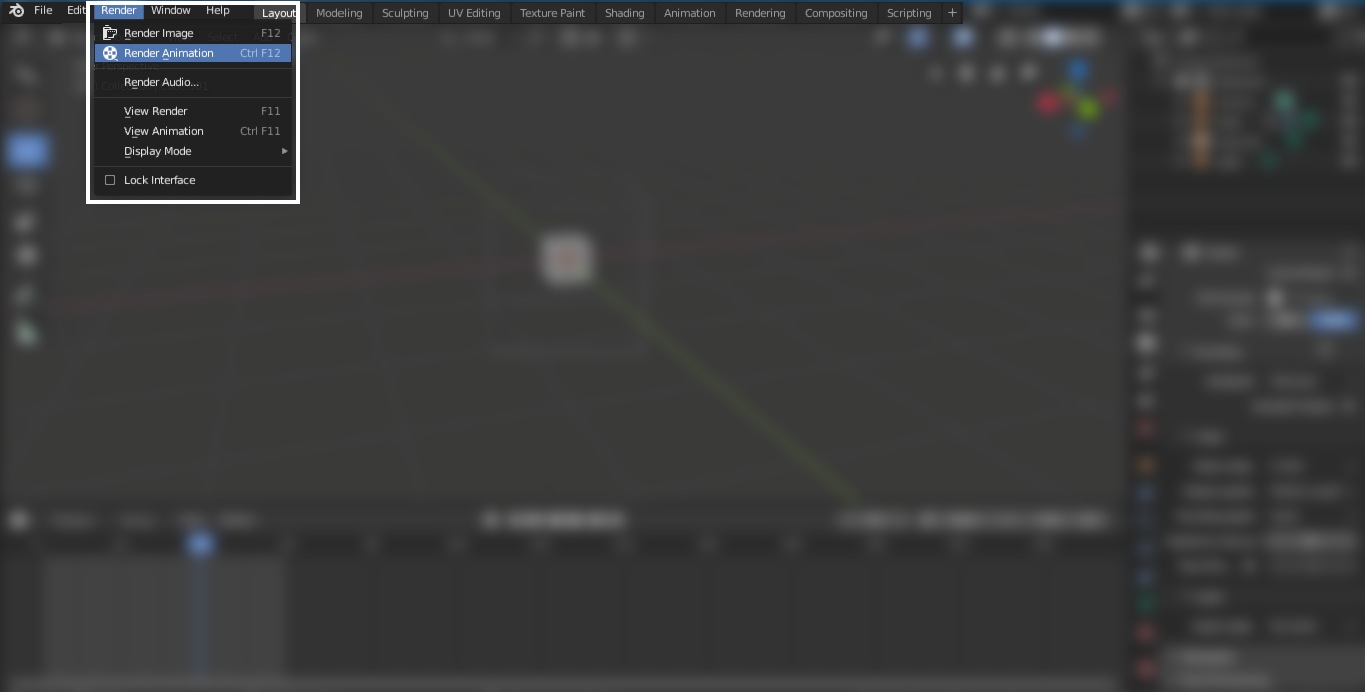
Now click on the “Render” button on the navigation bar at the top, and then “Render Animation”. It is done!
It is recommended to render an animation in frames to avoid any mishap during the rendering process. Blender could probably crash while rendering high definition animations due to hardware limitations or a program bug. So, to keep away from any accident, prefer to render animations in frames. If Blender crashes somewhere during the rendering process, you could start it from the frame where it crashed. After the rendering frame, you can join all the frames in Blender since it also has a video editing feature.
Conclusion
Blender is a free and powerful tool to make 3D animations. If you are new to Blender and still learning it, then knowing the exporting process is very essential since it is not simple. In Blender, many settings/options can be confusing.
This article tells the entire process of exporting animations. First, select the render engine, and then from the output panel, choose the resolution, quality, output folder, and video/audio codecs. Now, render animation and get it from the selected output folder.