In this write-up, we will explore the method of installing the zsh on the Raspberry Pi operating system using the terminal.
How to install zsh on the Raspberry Pi operating system
We will install the zsh on the Raspberry Pi operating system by using the available package of zsh in the default repository of the Raspberry Pi using the apt package manager:

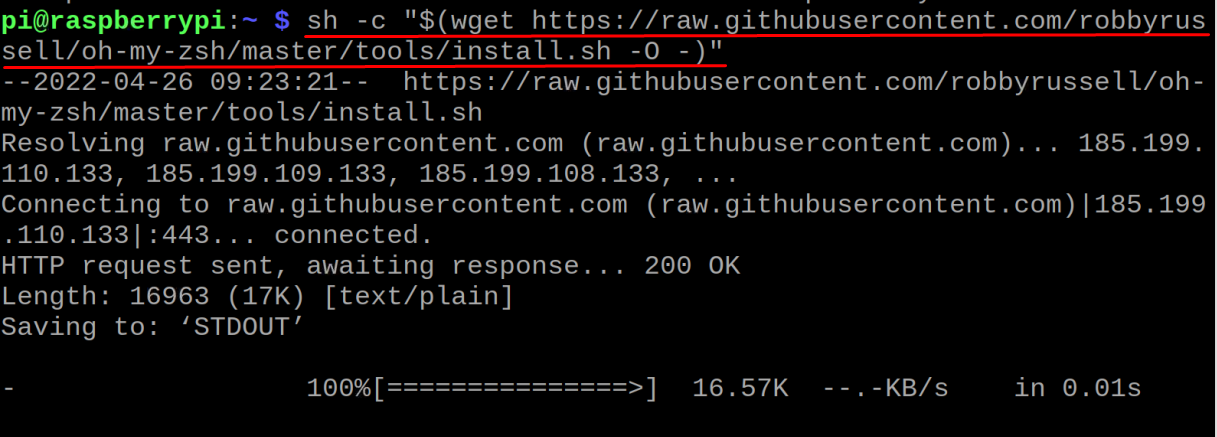
After installing the zsh, we will install the oh-my-zsh, which is the configuration tool to configure the zsh:
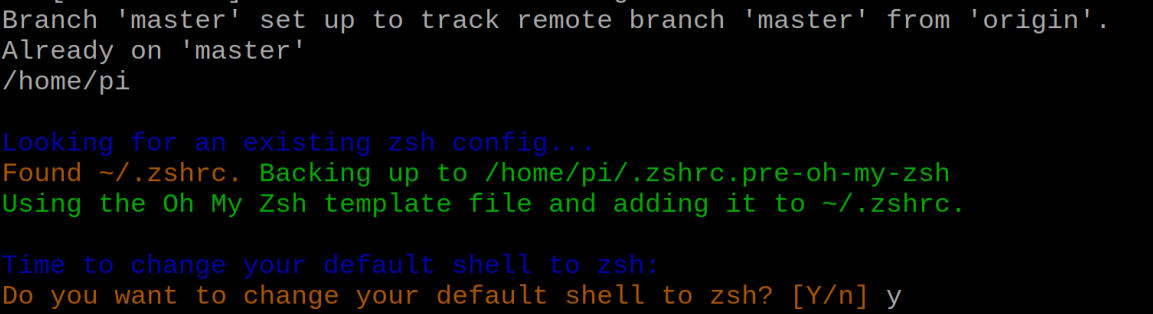
It will ask you to change the default shell to zsh, type “y” to make the zsh default shell:
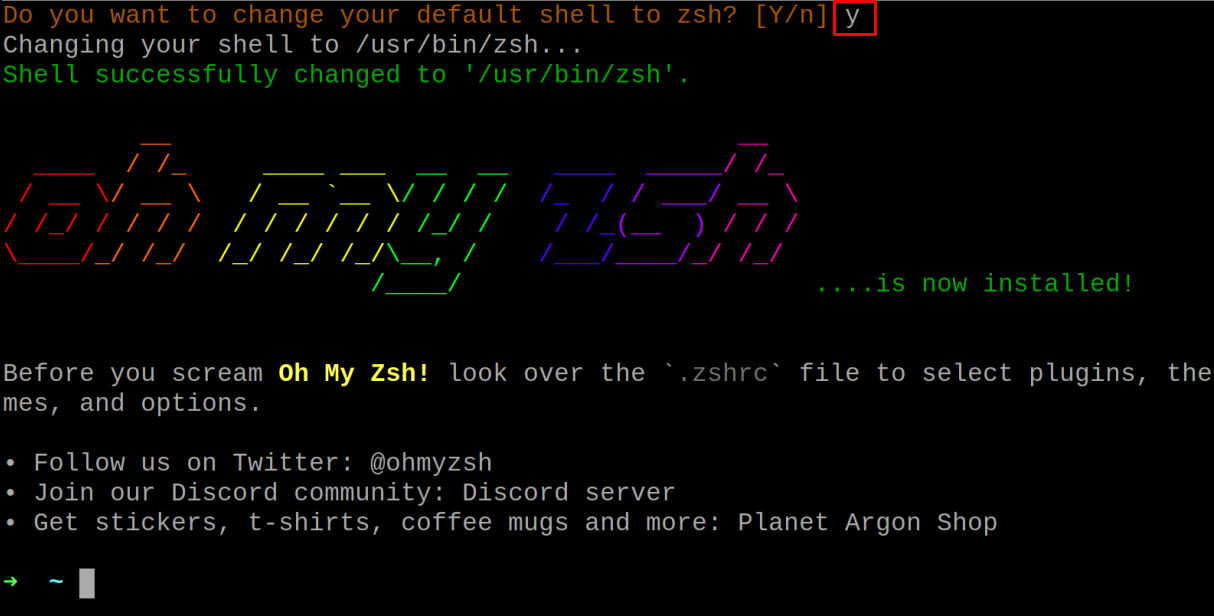
The zsh shell is installed and set as a default shell on the Raspberry Pi operating system and if you answer “n” in the above question of setting zsh as the default shell, then don’t worry, because you can set zsh default later on, for that we will find out the path of the installed zsh:

The path of the installed zsh is /usr/bin/zsh by using the command, we can set the zsh as default shell:

Sometimes it does not allow you to proceed, in that case, we will open the configuration file of chsh:
![]()
And modify the “auth” line with:

After making all the settings, restart the terminal:

We are in the zsh terminal, but it is displaying notification to install the “zsh-autosuggestions” and “autojump not found”, for this, we will set them first:
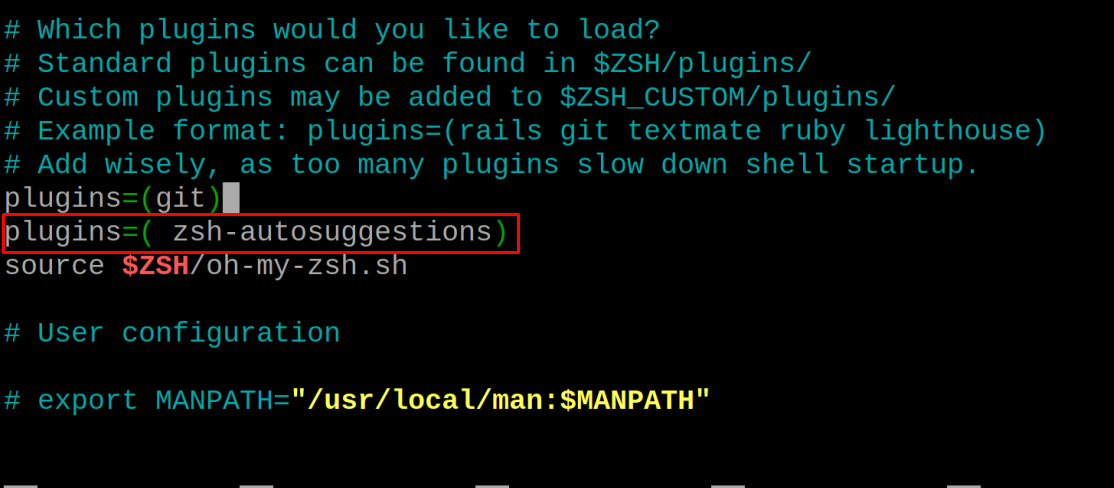
Next we will open the “~./zshrc” using the nano editor:
![]()
And add the following line of plugins of autosuggestions:
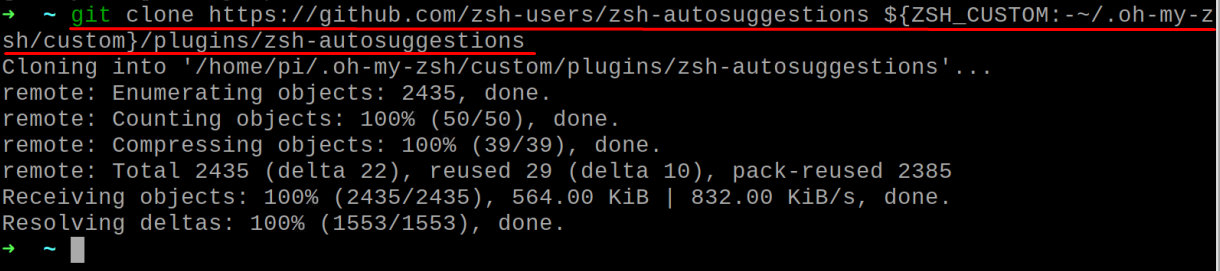
Next we will clone the plugins of “syntax-highlighting” using the command:
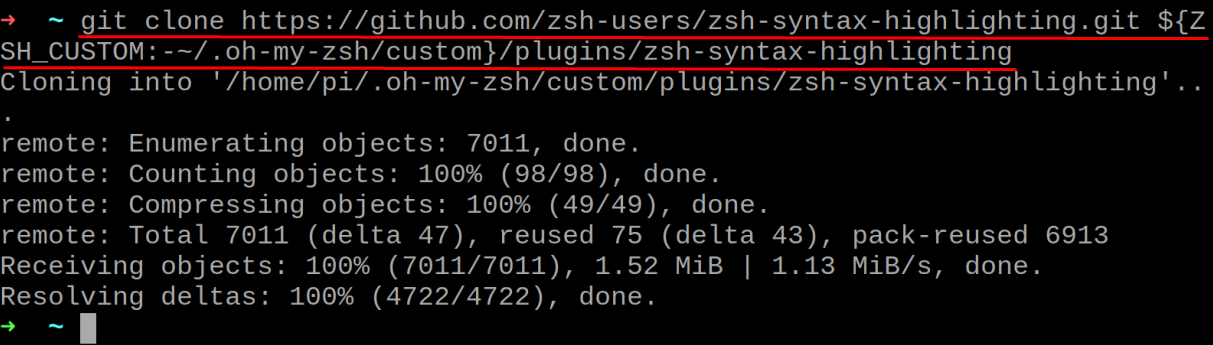
Again we will open the “~./zshrc” file and add plugins of syntax-highlighting by adding the line:

To use the new shell, we will list down its directories:

Then we will navigate to the Desktop directory without the cd command:

Conclusion
The shell is the most important part of any operating system. The zsh is the extended form of the Bourne shell, and also it comes with more advanced features than the bash shell. In this write-up, the zsh shell has been installed on Ubuntu and also set as a default shell.