
To run Windows 11 on the system without affecting the Host OS, virtual machines are the best option. Virtual machines can install and run multiple OS by using system virtualization support.
This post will cover:
- Prerequisites
- How to Download Windows 11 ISO Image
- How to Install Windows 11 on VirtualBox
- Conclusion
Prerequisites:
Before starting the installation of Windows 11 in VirtualBox, the user must fulfill the following prerequisites:
- Hardware Support: To install Windows 11 on a virtual machine, the system must have “4 GB” of RAM, support TPM version 2.0, and the user must enable Hardware virtualization. To enable the system virtualization, go through the “Enable Hardware Virtualization Feature” article.
- VirtualBox: The VirtualBox is a hypervisor tool that permits us to execute the virtual machines on the system. To install Windows 11 in VirtualBox, the user must have VirtualBox version 7 or more. Additionally, to install VirtualBox on the system, follow the “Install VirtualBox 7 on Windows” article.
- Windows 11 ISO Image: An ISO image of Windows 11 is required to install it in VirtualBox’s virtual machine.
To download the ISO image and install Windows 11 in VirtualBox, follow the below-given sections.
How to Download Windows 11 ISO Image?
The ISO image helps us to install different software on the system. Microsoft also provides us with Windows 11 ISO to make the USB bootable or to install Windows 11 on a virtual machine. To download the ISO, check out the following procedure.
Step 1: Open the Microsoft Official Website
Visit the official website of Microsoft by opening the following link:
https://www.microsoft.com/software-download/windows11

Step 2: Download Windows 11 ISO
Scroll down to the Windows 11 Download section, select the edition from the dropdown, and click on the “Download Now” button:

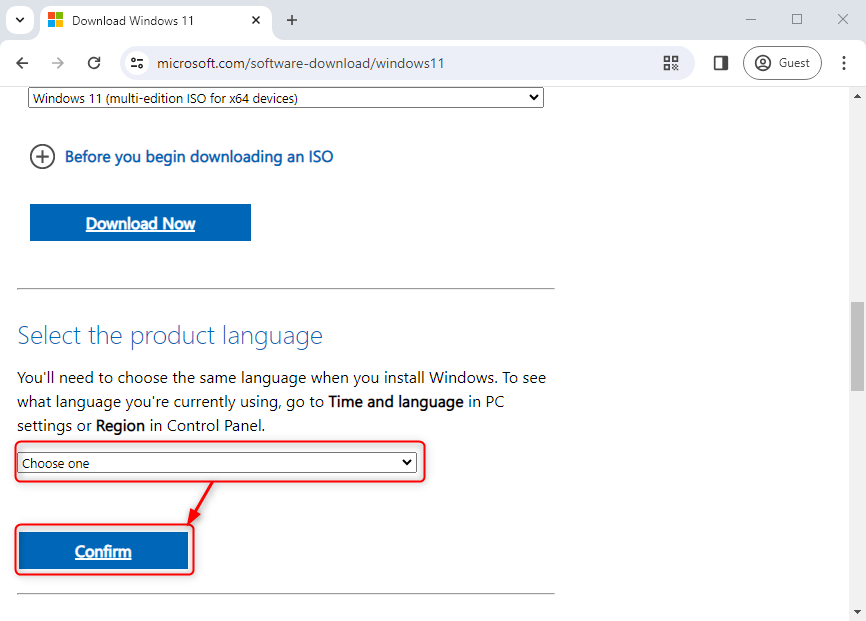
Step 3: Choose Language
It will ask to choose the language of Windows 11 ISO Image. Select the language from the drop-down and click “Confirm” to proceed forward:
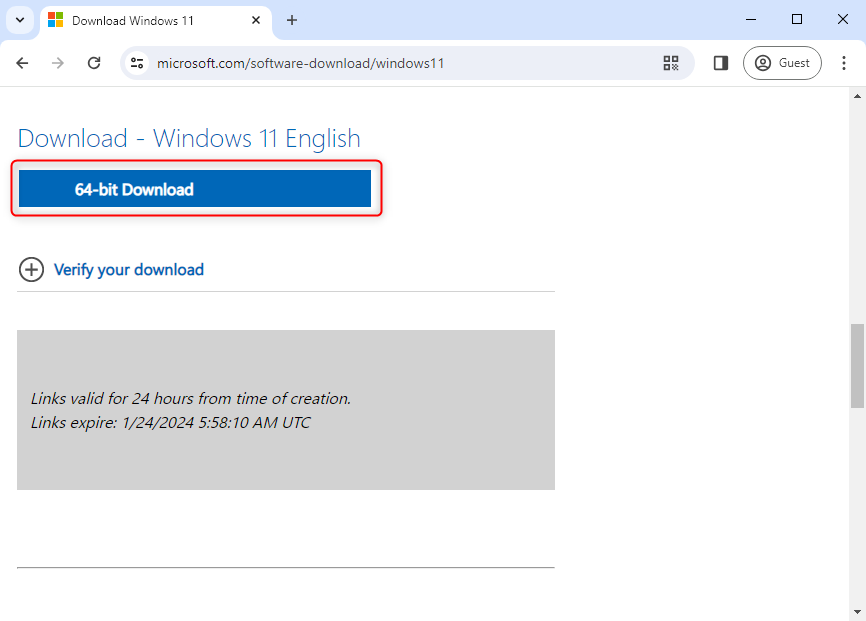
After selecting the product language, it will show up the download button to download 64-bit Windows 11 ISO Image. Click on the “64-bit Download” button to begin the downloading of Windows 11 ISO Image:
It will start to download and complete the downloading process in a while(based on your internet connection):
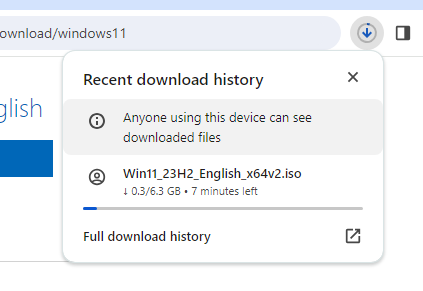
By default, the Windows 11 ISO file will be downloaded in the “Downloads” directory.
How to Install Windows 11(Virtual Machine) on VirtualBox?
To run Windows 11 on VirtualBox, follow the below demonstration.
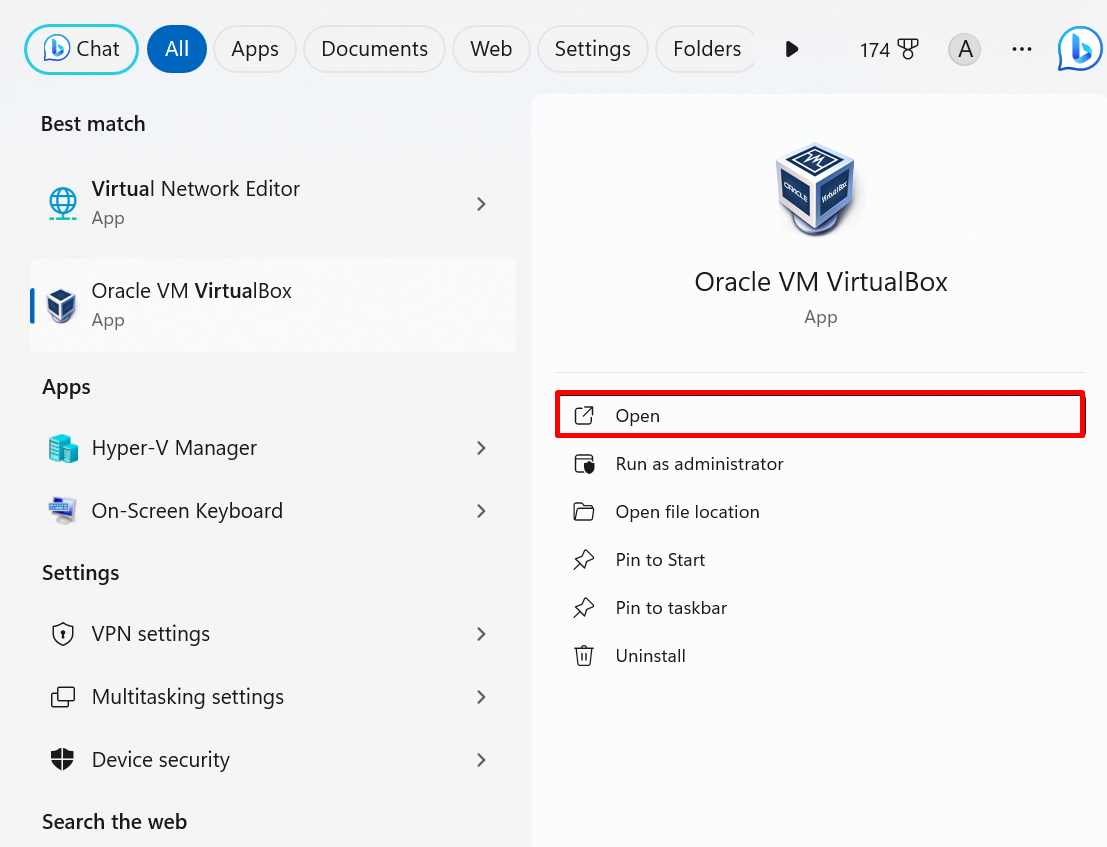
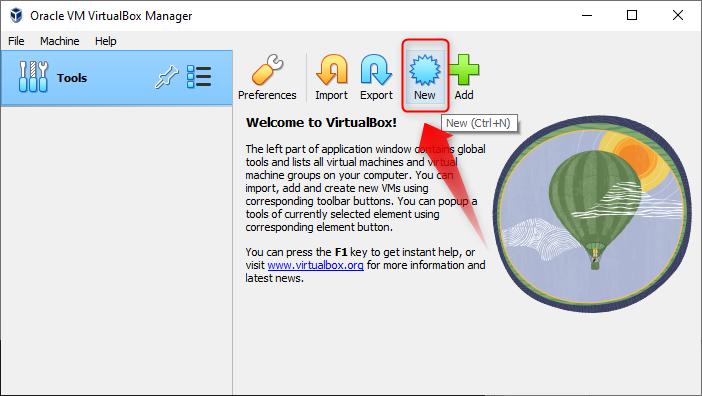
Step 1: Open VirtualBox
Open up the VirtualBox from the Windows Start menu:
Step 2: Create a Virtual Machine
To install Windows 11 on VirtualBox, we first have to create a new Virtual machine. To do so, click on the “New” button as highlighted in the screenshot below:
Step 3: Provide Windows 11 ISO Image
Provide the name of the machine in the “Name” field, the folder where virtual machine data will be stored, and provide the ISO image that is downloaded in the above section. After that, press the “Next” to proceed:
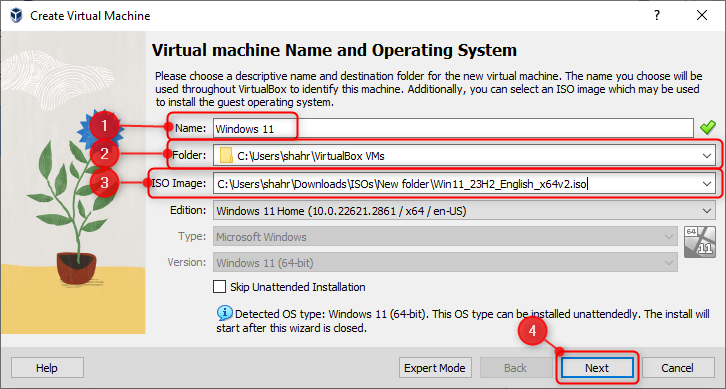
To avoid creating an Unattended guest, mark the below-pointed checkbox:

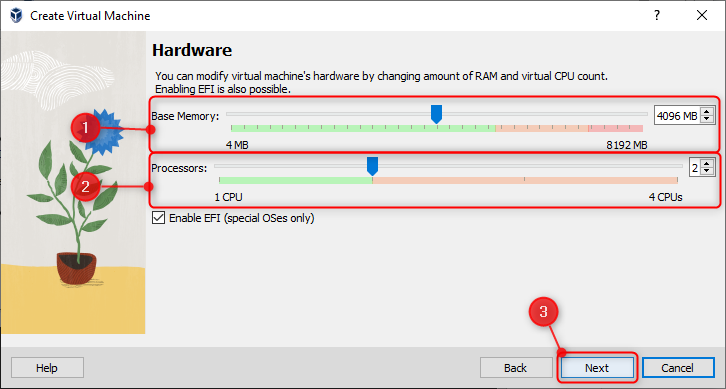
Step 4: Configure Additional Settings
From the next wizard, set the basic hardware settings such as allocating the RAM and and number of processors to the virtual machine. We have assigned “4 GB” of RAM and “2” processors to the Windows 11 virtual machine:
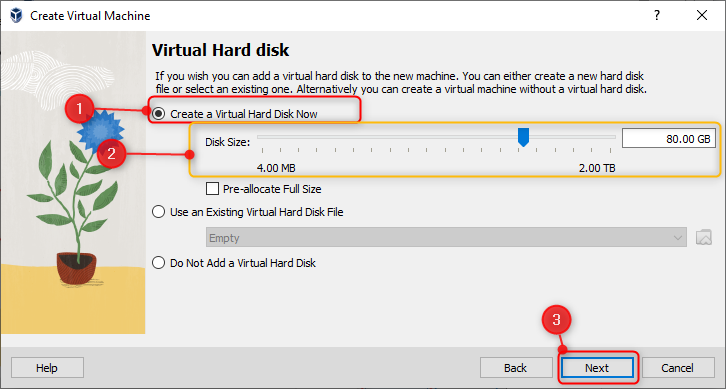
From the “Virtual Hard Disk” settings, first mark the “Create Virtual Hard Disk” radio button, assign the hard disk space to Windows 11, and press the “Next” to proceed:
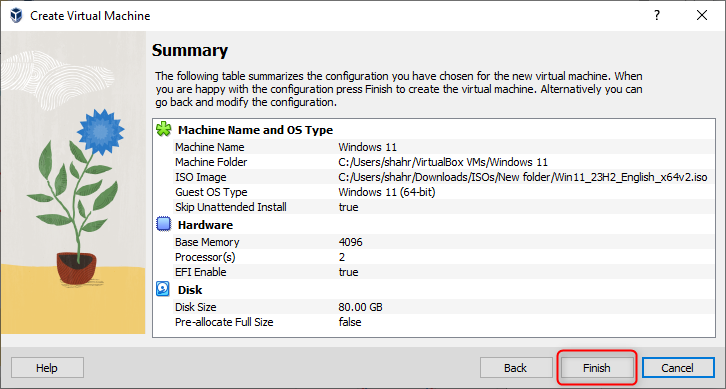
Review the short summary of the Windows 11 virtual machine and press the “Finish” to complete the virtual machine creation process:
Step 5: Start Windows 11 Virtual Machine
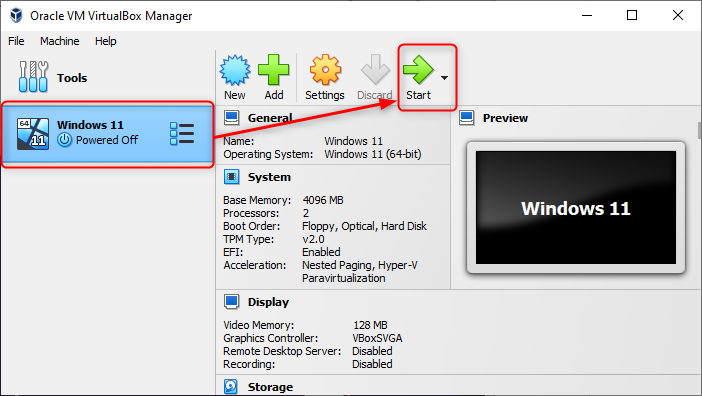
Start the Windows 11 virtual machine to begin the installation process. For this purpose, select the virtual machine and press the “Start” button:
Press any key to boot the Windows 11 configuration for ISO image:
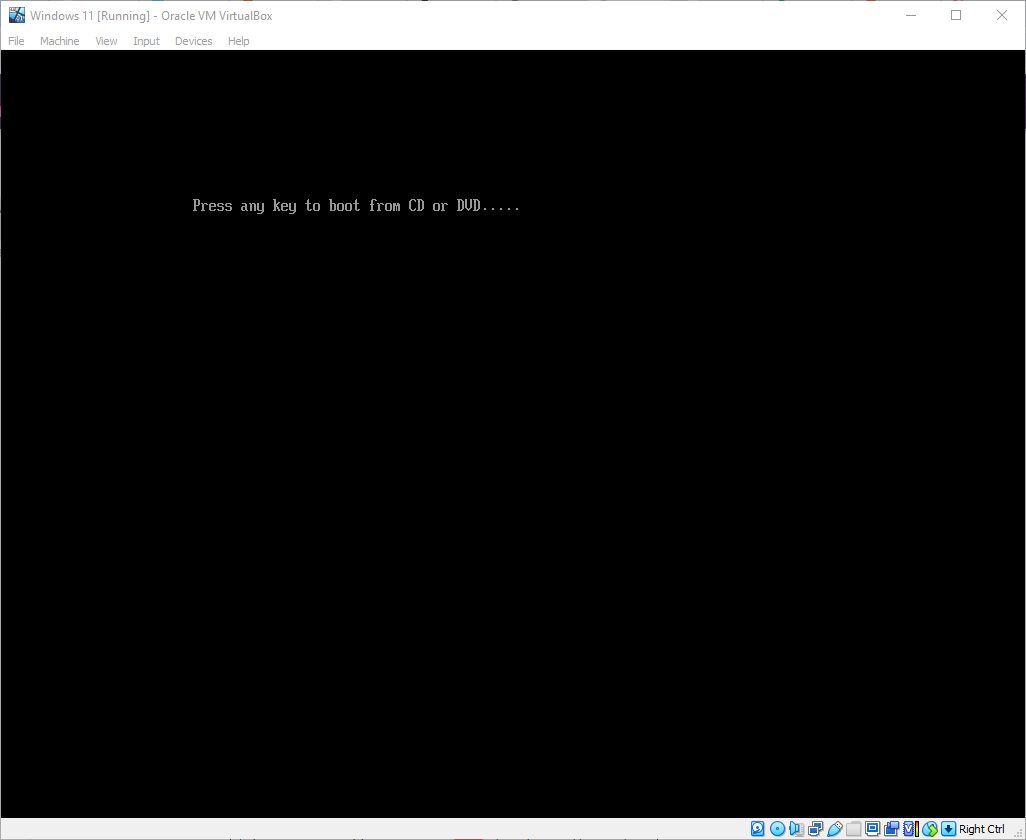
This will start booting the configuration from VirtualBox:

Step 6: Set the Language, Region, and Keyboard Settings
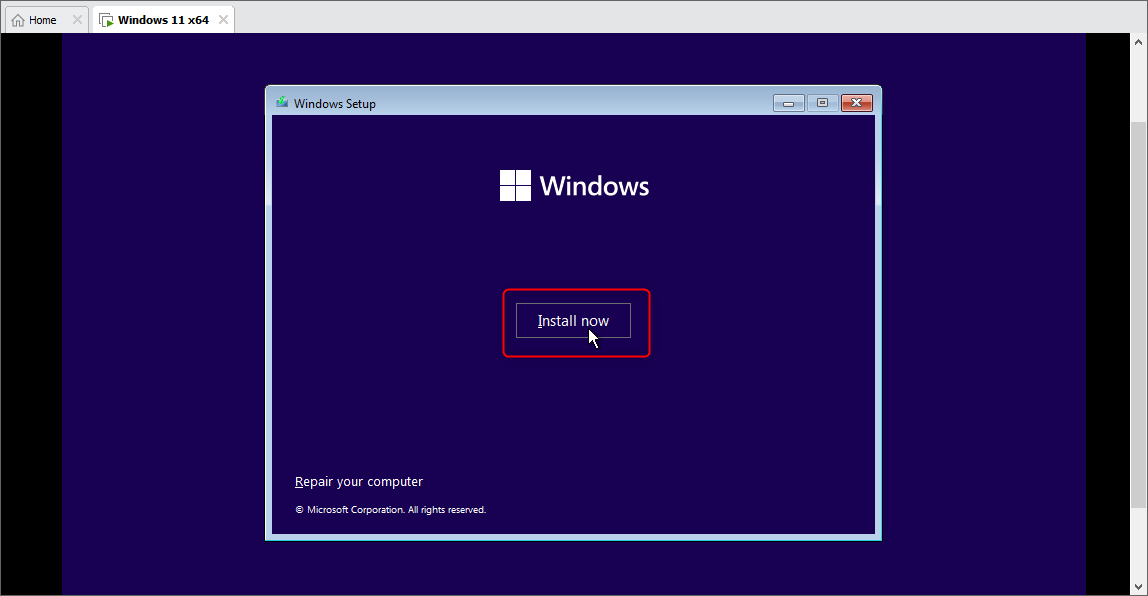
From the “Windows Setup” wizard, first select the language in which you want to install Windows 11. Then, select the time zone by selecting the region and keyboard to give input. Then, press the “Next” to move to the next step:

Now, press the “Install now” button to start installation of Windows 11:
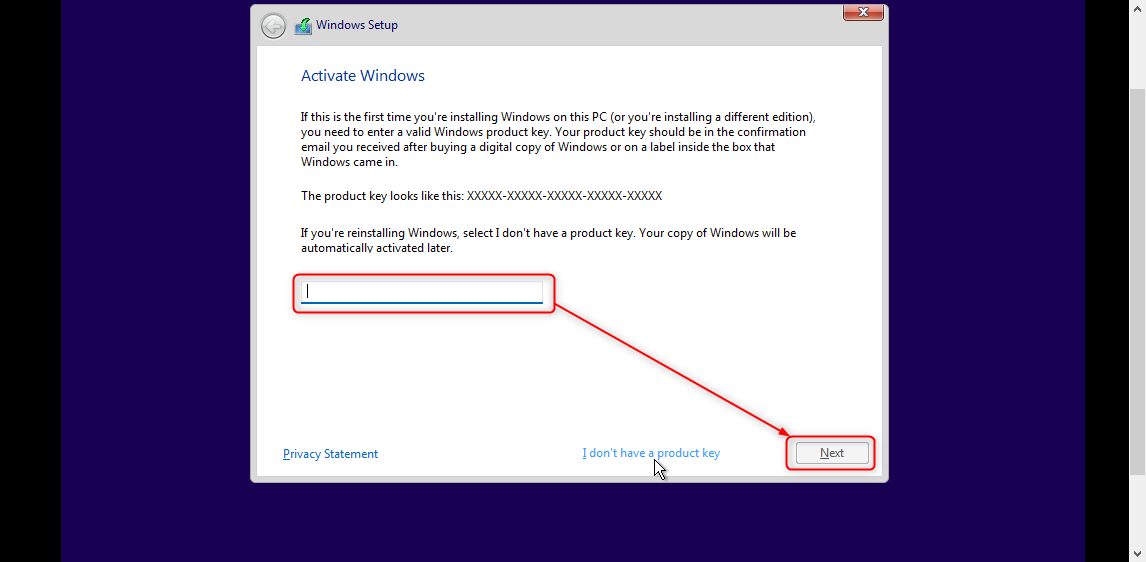
Step 7: Add Windows 11 Product Key
Next, type the valid product key for Windows activation and press “Next”. If you want to continue using Windows 11 without a product key, press the “I don’t have product key” link:
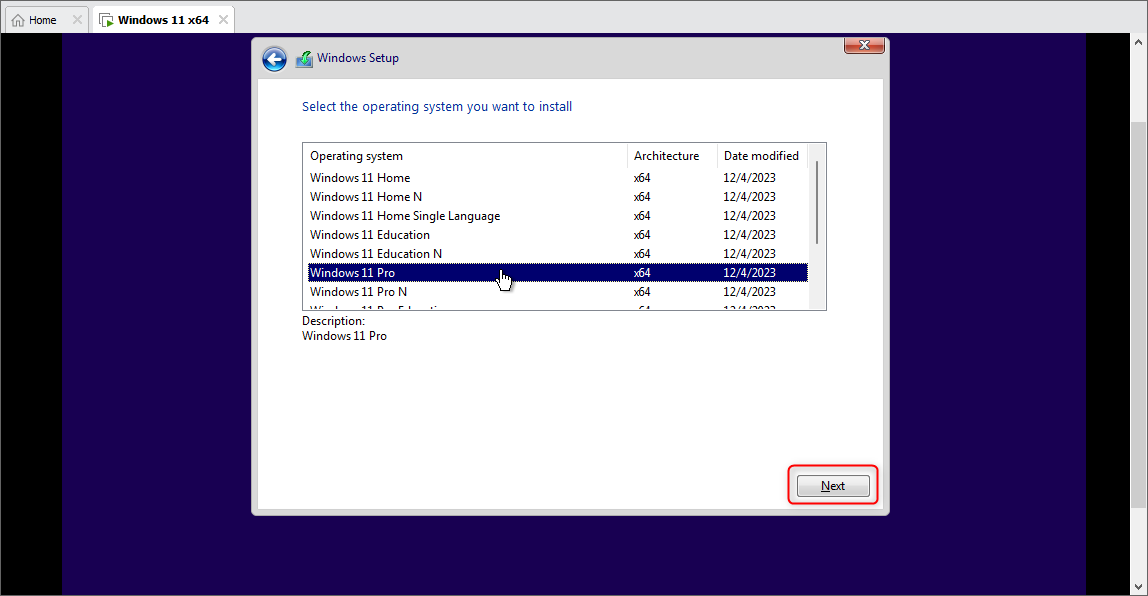
Step 8: Select the OS version
From the next Windows, select the Windows 11 version according to your preferences and hit “Next”. For instance, we have selected the “Windows 11 pro” version:
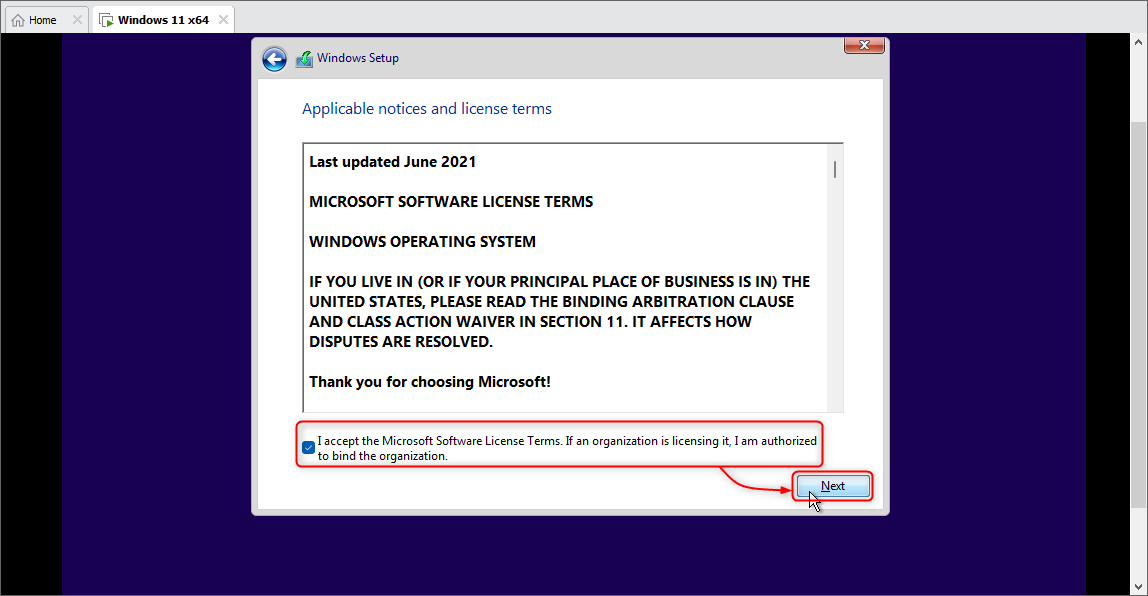
Now, accept all the license agreements of the Microsoft community by marking the below-pointed checkbox and hitting “Next”:
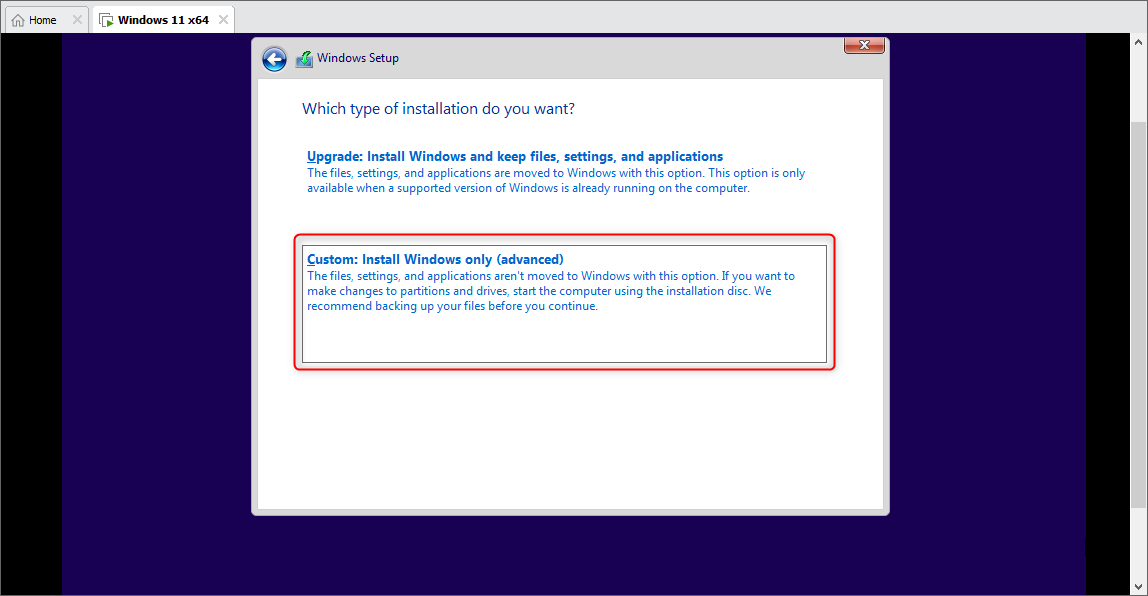
To install the Windows with advanced options, select the below pointed “Custom” option:
Step 9: Configure Disk Partition Settings
The next wizard will ask you to specify the Windows installation disk. To create the new disk, first, click on the “New” option, allocate the size to partition, and press the “Apply” button:

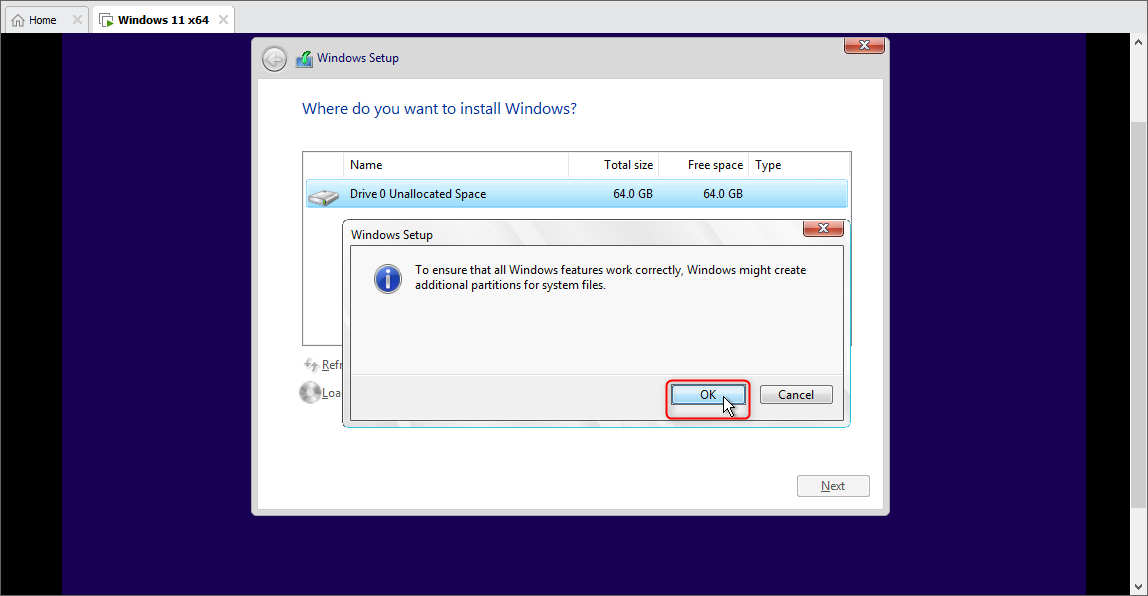
The “Windows Setup” confirmation box will pop up. Press the “OK” to proceed:
Now, select the Disk partition in which you want to install Windows 11 and press the “Next” button:

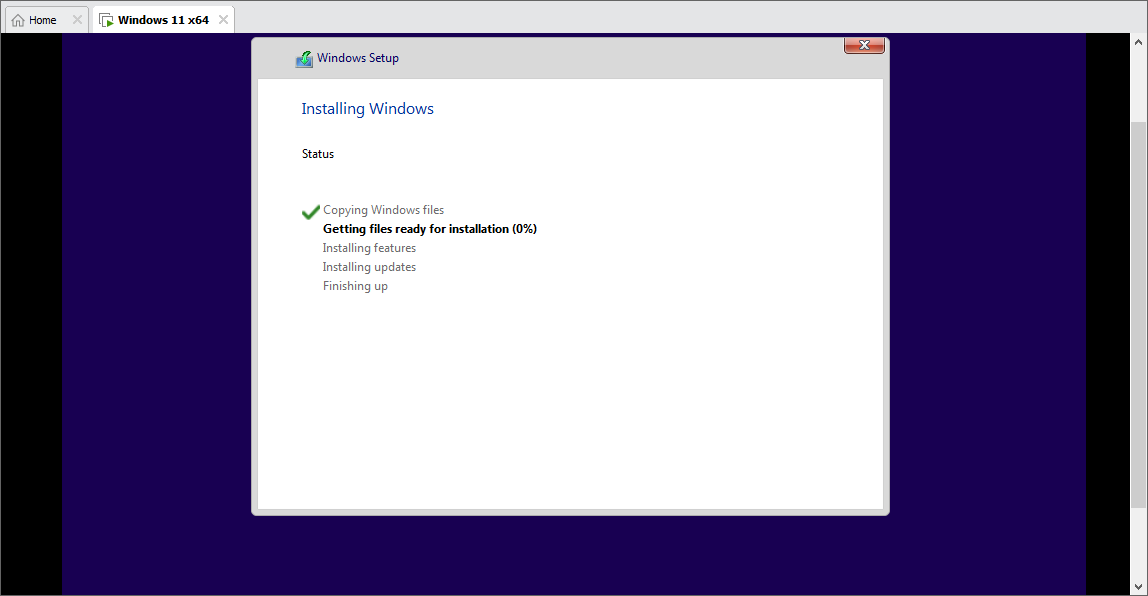
This will start installing Windows 11 on VirtualBox:
Step 10: Set the Timezone
After installing the Windows, set the timezone or region to access the correct time on the system and press the “Yes” button:

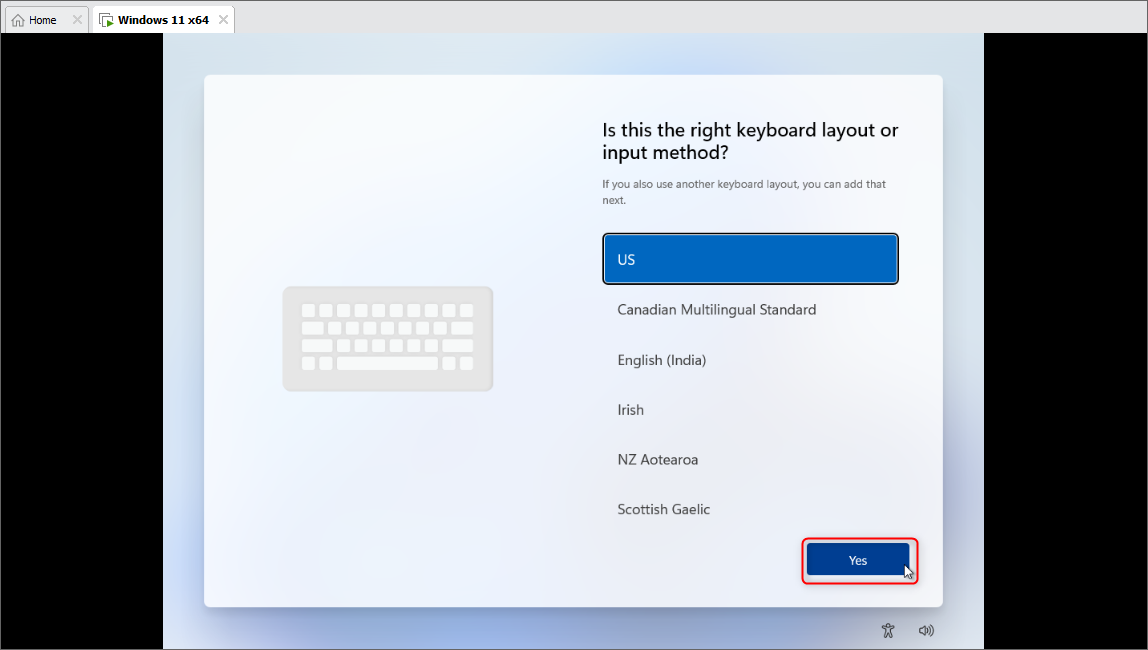
Next, set the Keyboard of your choice and press the “Yes” button:
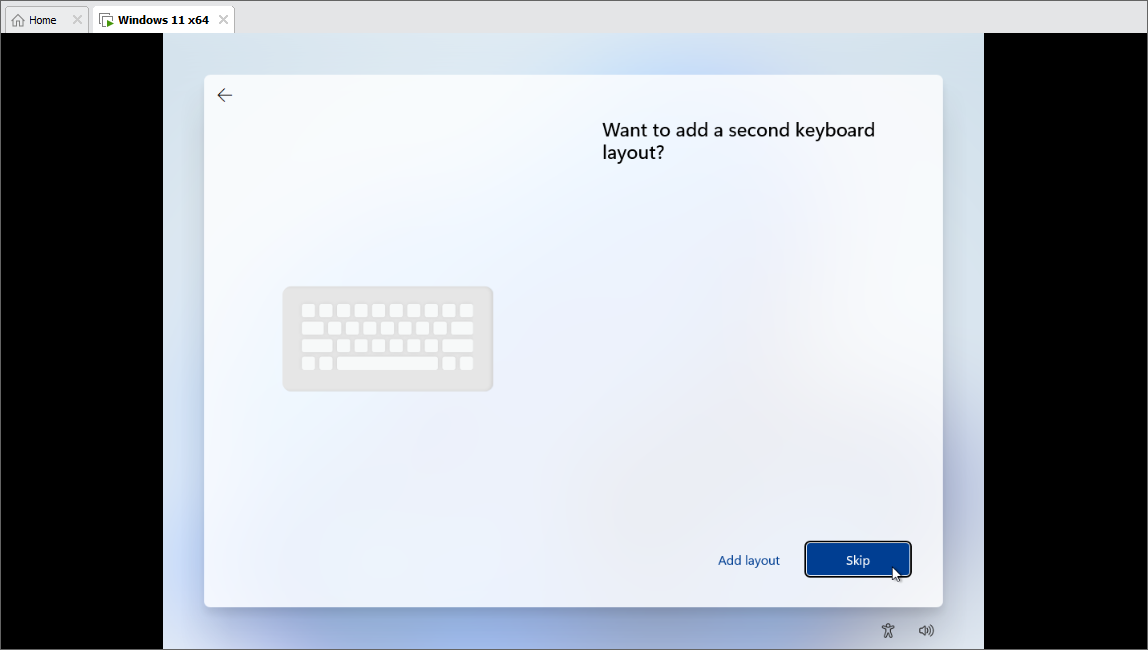
This will ask you to set the second layout of the Keyboard, and press the “Skip” to skip the step:
Step 11: Set Device Name
Now, set the name of your Windows 11 device and press the “Next”:
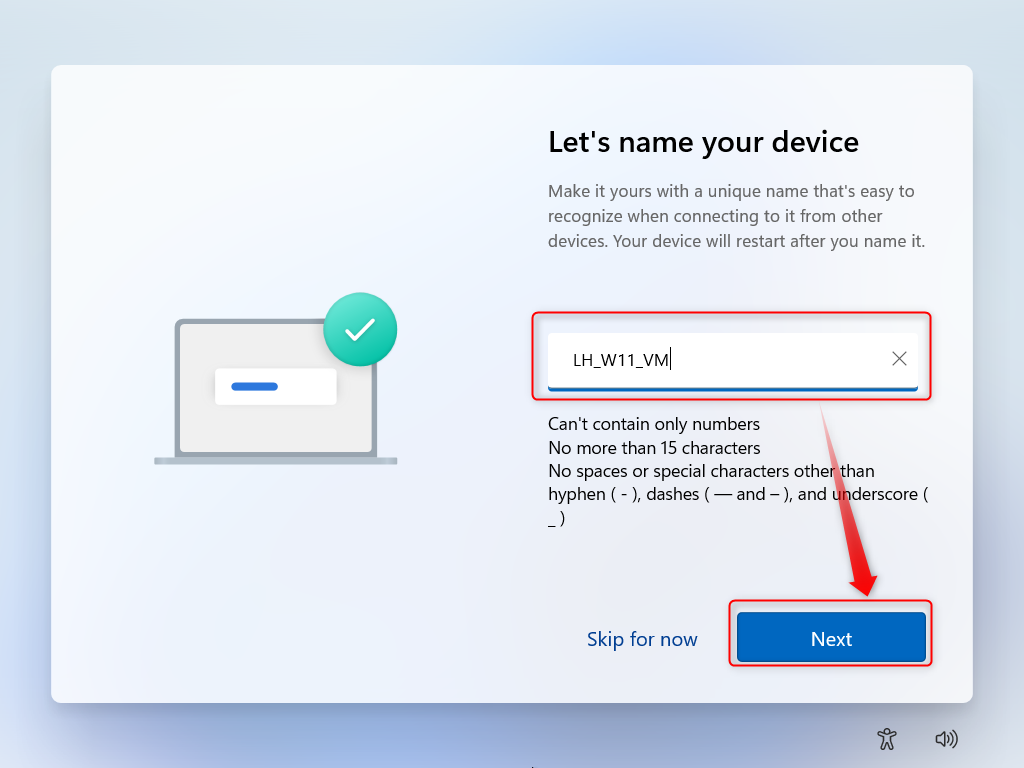
After that, Windows will be restarting to configure and implement the changes.
Step 12: Setup Your Windows 11 Machine
Now, to set up a Windows 11 machine for personal use, select the first option and hit “Next”. Users can set the Windows 11 for work or school as well:

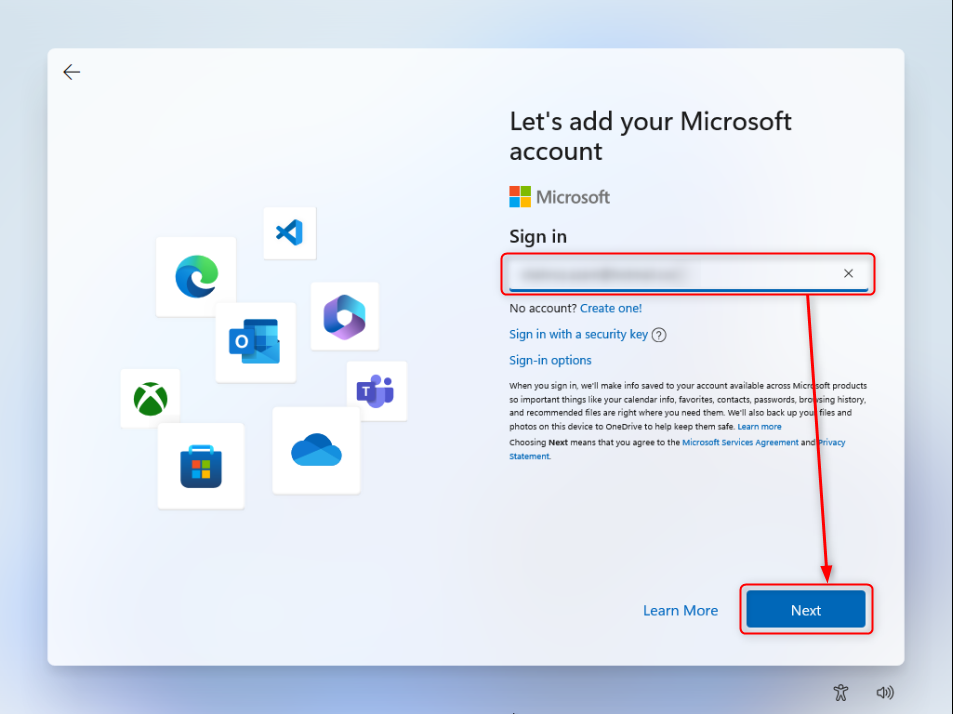
Step 13: Log In to Microsoft Account
To unlock other Microsoft features and applications, log in to your Microsoft account by pressing the “Sign in” button:

Provide the email to access your Microsoft account and press the “Next”
After that, type in your Microsoft password and hit the “Sign in” button:

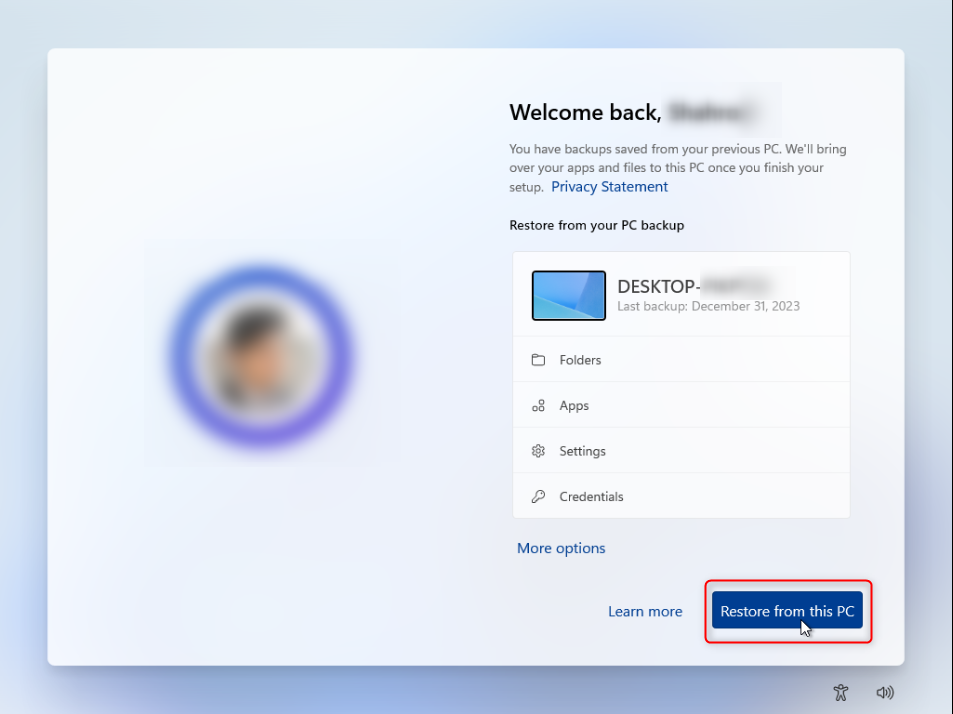
Now, press the “Restore from this PC” button to restore the backup that is saved in your Microsoft account:
Step 14: Set up the System Pin
From the next window, create a system PIN by pressing the “Create PIN” button:
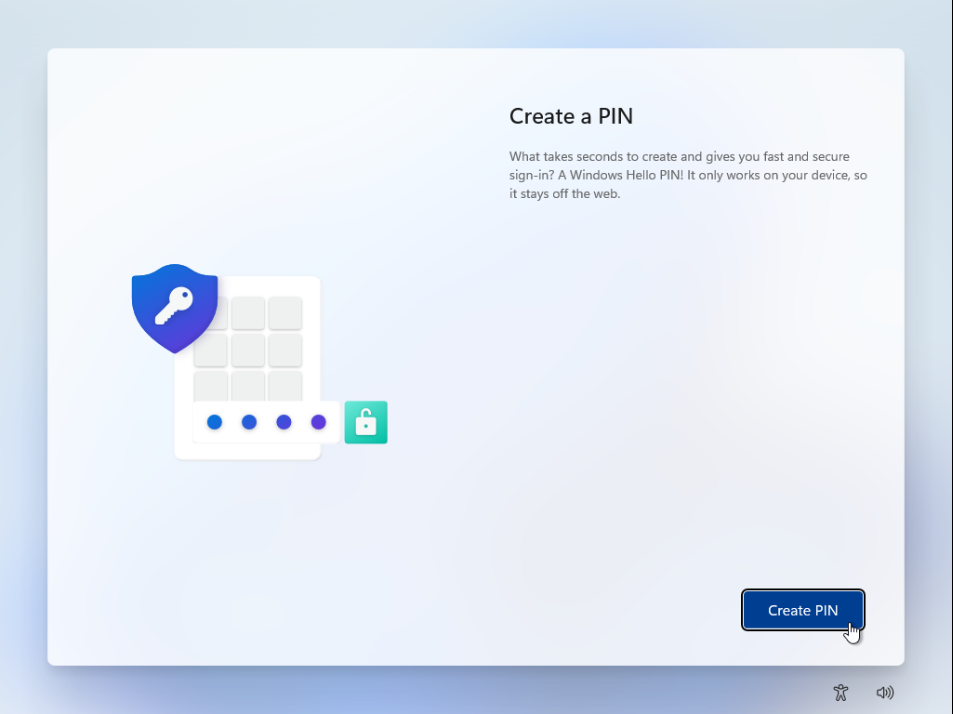
Type in the pin and verify the pin. Then, press the “OK” button to save the pin:

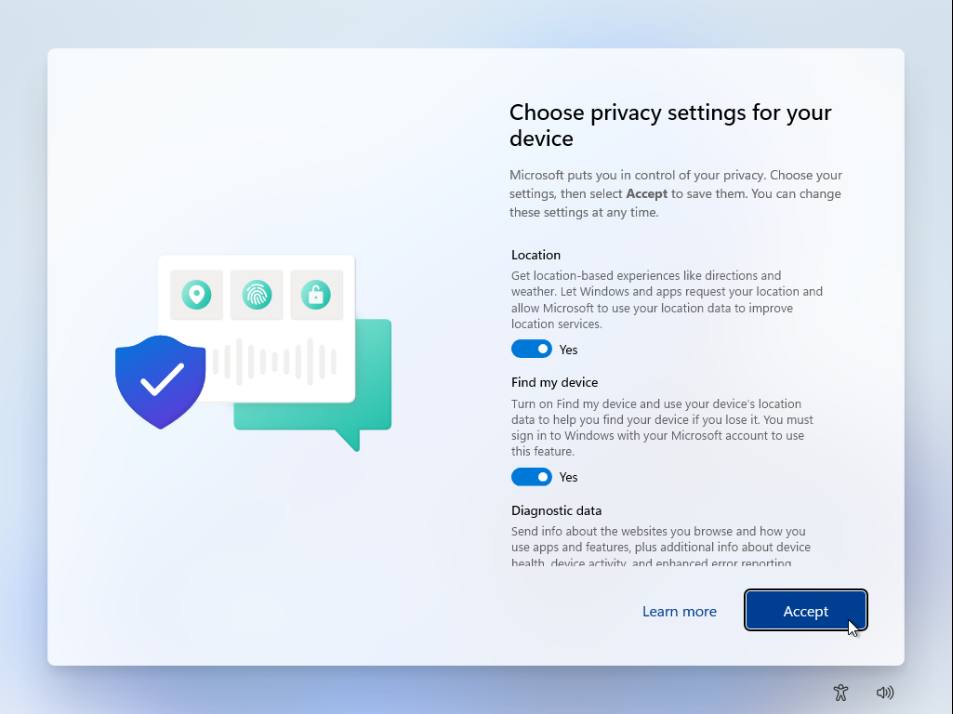
Step 15: Customize the Privacy and Other Settings
Next, customize the privacy settings. For this purpose, first, turn on the location and find my device settings option by turning on their respective toggles. After that, press the “Accept” button:
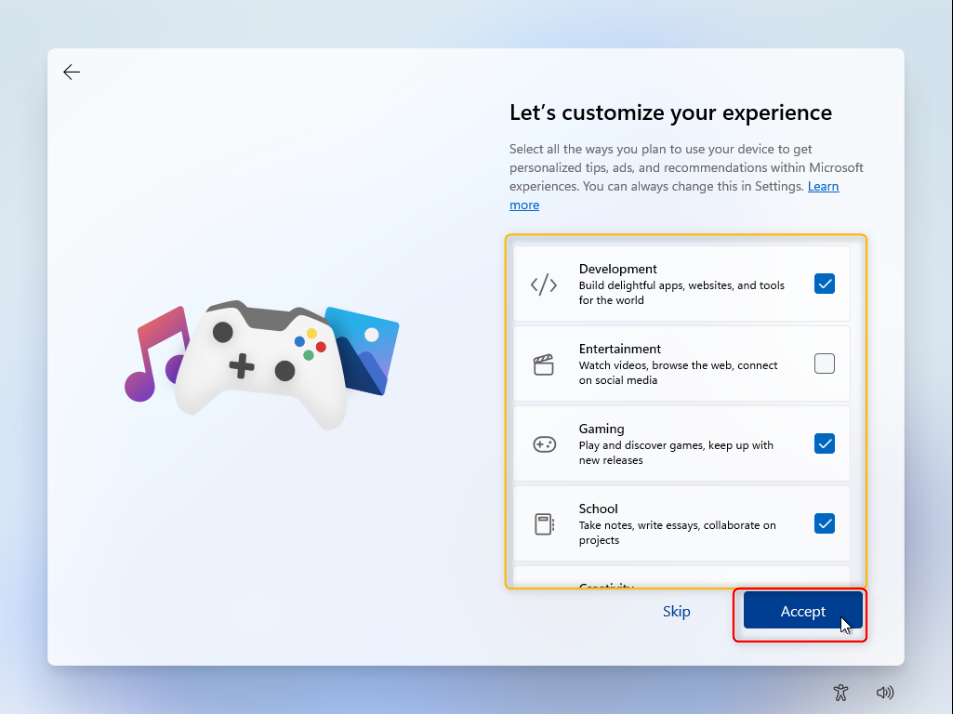
Customize the additional on-screen options or continue with the default selected options and press the “Accept” button:
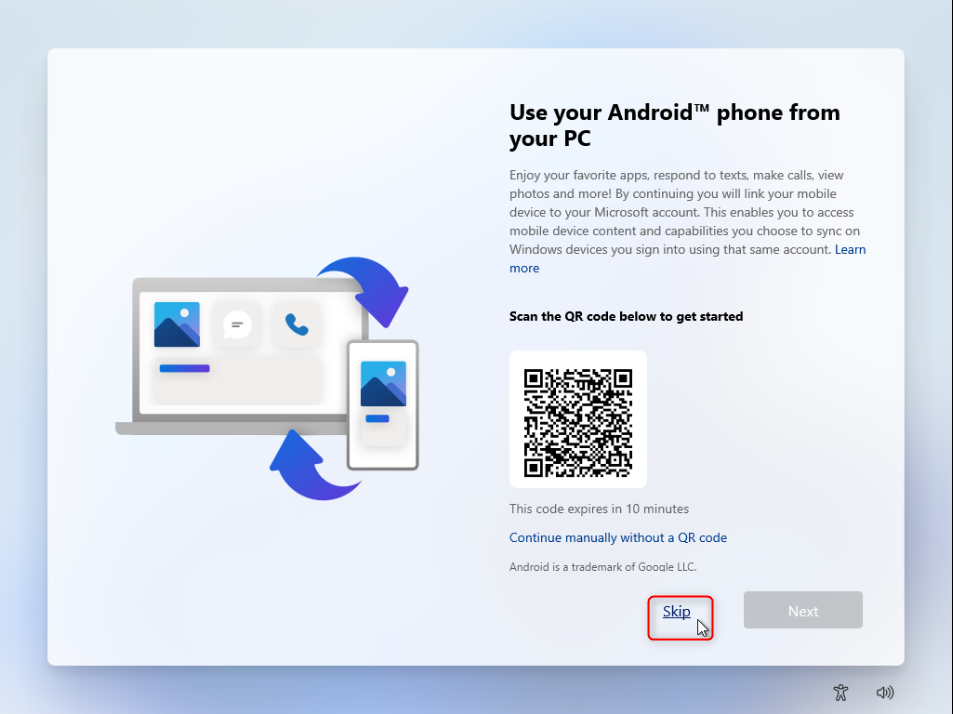
The next wizard will ask you to scan your phone to connect your phone to Windows 11. This feature is new in Windows 11. Click on the “Skip” button to skip this step:
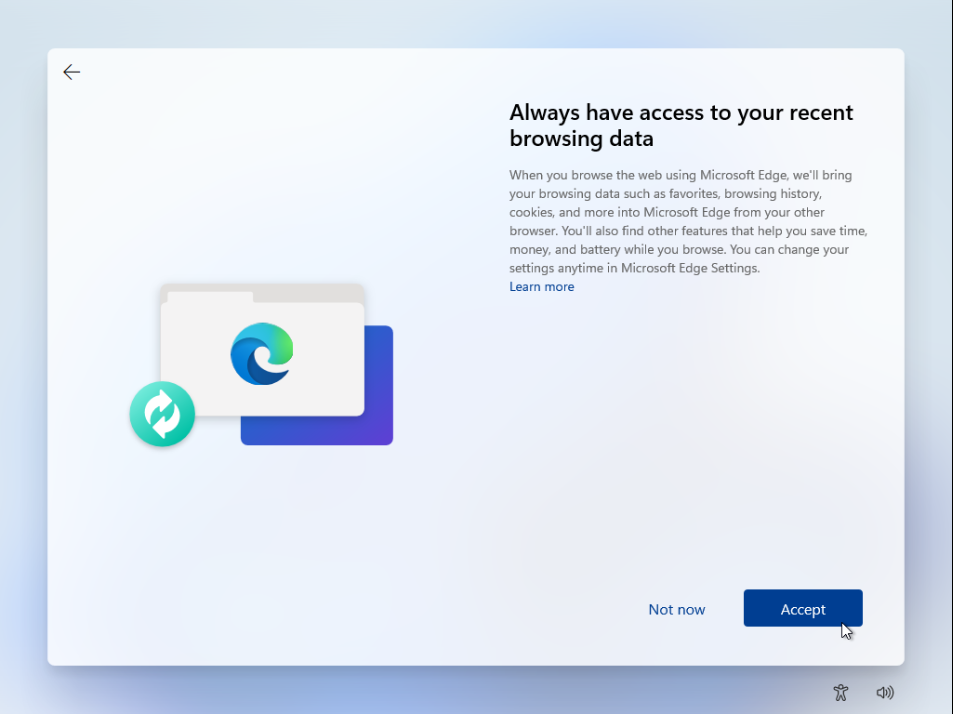
To save and access the browsing history, press the “Accept” button:
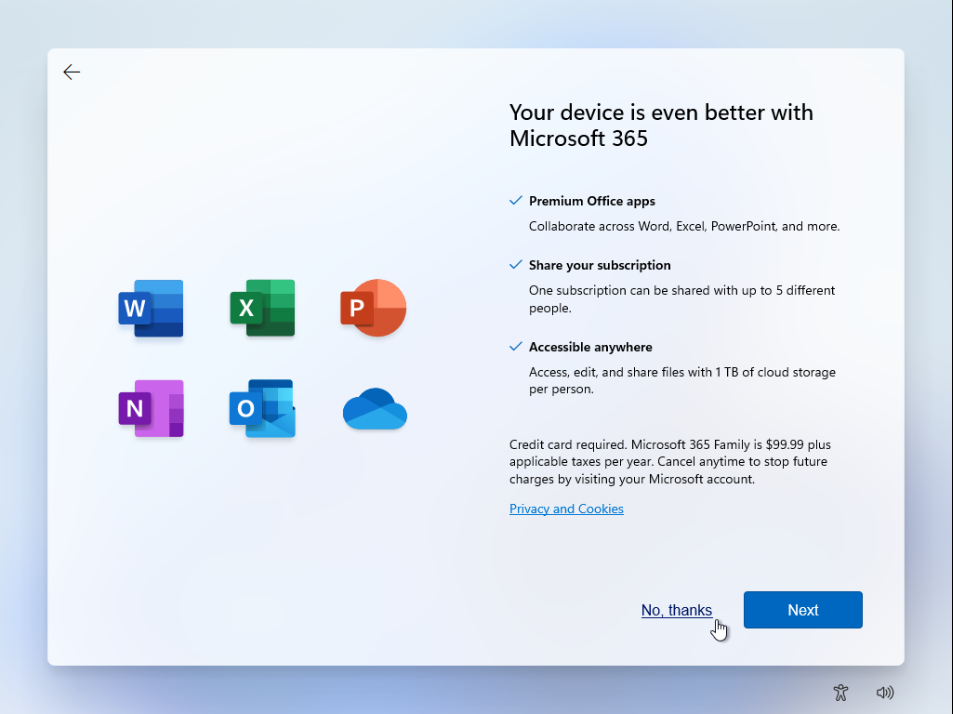
From the next few windows, some Microsoft products will be visible on the screen. To avoid installing them, press the “No, thanks” link and proceed to next step:
Again, press the “Skip for now” link button and proceed:

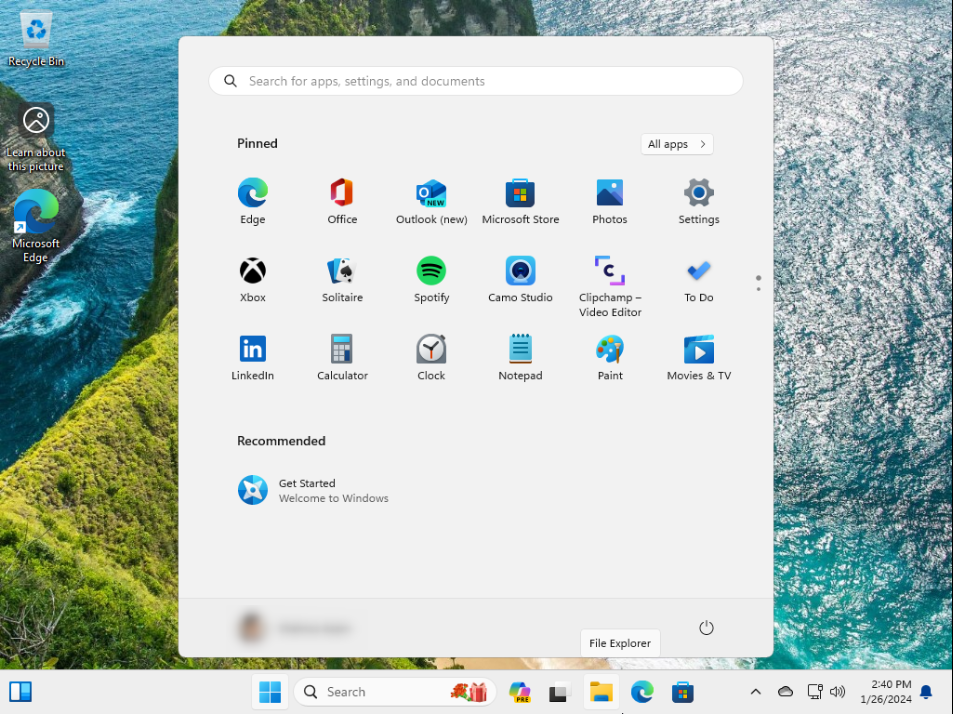
This will start saving your settings and booting the Windows 11 in Virtual machine:

Here, you can see we have effectively installed the Windows 11 in VirtualBox:
We have covered the procedure to install Windows 11 on VirtualBox.
Conclusion
To install Windows 11 in VirtualBox, first, download the ISO image from Microsoft’s official website. After that, create a new virtual machine in VirtualBox, provide the Windows 11 ISO, set up the Hardware, processor, and RAM settings, and create a machine. Next, start the virtual machine and start the installation of Windows 11 in a virtual machine. Provide the legal product key Windows activation, language, timezone, disk partition, and many other essential on-screen settings. After completing the installation step, the virtual machine will load Windows 11.