In this article, we will show you how to install the Oracle VirtualBox 7 on the Windows 10/11 operating system.
Topic of Contents:
- Enabling the Hardware Virtualization on Your Computer
- Checking If the Hardware Virtualization Is Enabled from Windows 10/11
- Downloading the Oracle VirtualBox 7 Installer for Windows 10/11
- Downloading the VirtualBox Extension Pack
- Installing the Oracle VirtualBox 7 on Windows 10/11
- Running the Oracle VirtualBox 7 on Windows 10/11
- Installing the VirtualBox Extension Pack on Oracle VirtualBox 7
- Conclusion
Enabling the Hardware Virtualization on Your Computer
For the VirtualBox virtual machines to perform well, you must enable the hardware virtualization on your computer from the BIOS/UEFI Firmware of the motherboard. How you enable it on your motherboard depends on the vendor of the motherboard that you’re using on your computer.
If you need any assistance in enabling the hardware virtualization from the BIOS/UEFI Firmware of your computer, read the article on How to Enable the VT-x/VT-d/AMD-v Hardware Virtualization Feature from the BIOS/UEFI Firmware of Your Motherboard.
Checking If the Hardware Virtualization Is Enabled from Windows 10/11
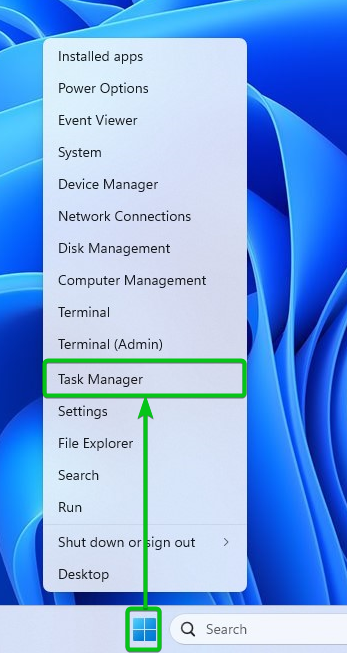
To check if the hardware virtualization is enabled from the Windows 10/11 operating system, right-click on (RMB) on the start menu icon and click on the “Task Manager”.
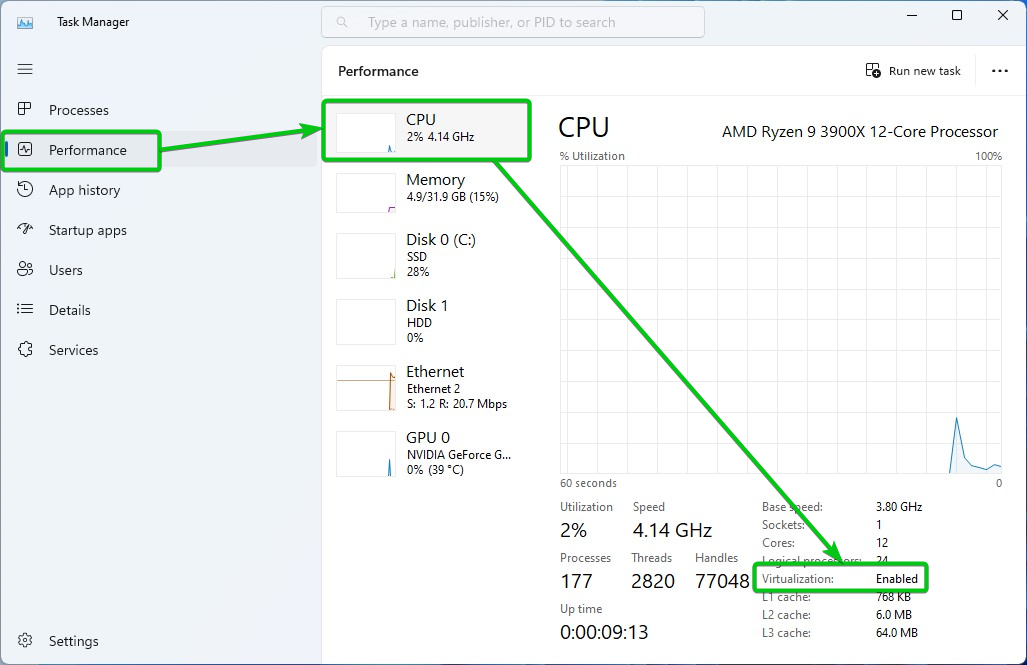
Once the Task Manager app is opened, navigate to Performance > CPU and you should see that the CPU Virtualization feature is Enabled. It means that the hardware virtualization CPU feature is enabled.
Downloading the Oracle VirtualBox 7 Installer for Windows 10/11
To download the Oracle VirtualBox 7 Installer for Windows 10/11, visit the official Oracle VirtualBox Downloads page from your favorite web browser.
Once the page loads, click on “Windows hosts” from the “VirtualBox 7.x.y platform packages” section.

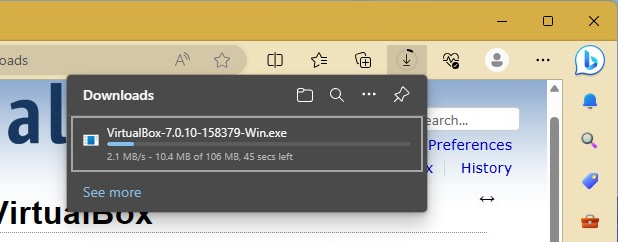
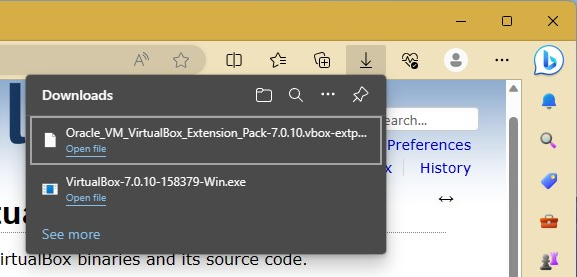
Your browser should start downloading the Oracle VirtualBox 7 installer for Windows 10/11. It takes a few seconds to complete.
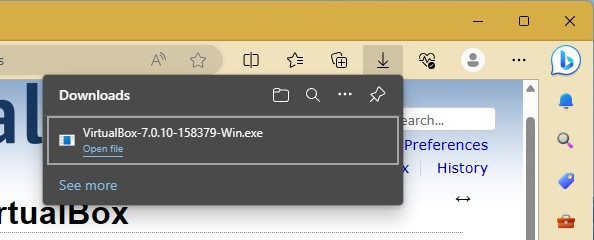
At this point, the Oracle VirtualBox 7 installer for Windows 10/11 should be downloaded.
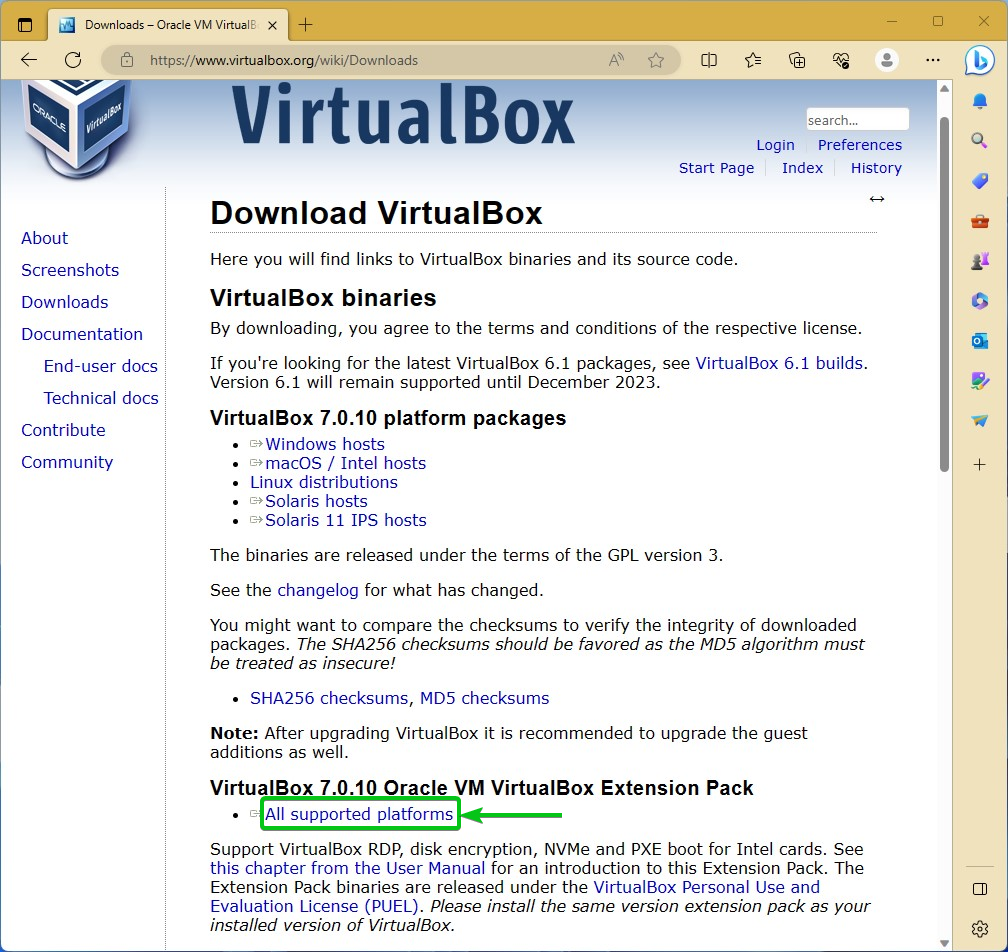
Downloading the VirtualBox Extension Pack
The VirtualBox Extension Pack adds a lot of advanced features to Oracle VirtualBox. These features make your Oracle VirtualBox experience a lot better.
To download the VirtualBox Extension Pack, visit the official downloads page of Oracle VirtualBox.
Once the page loads, scroll down to the “VirtualBox Oracle VM VirtualBox Extension Pack” section and click on “All supported platforms”.
NOTE: Make sure to download the same version of the VirtualBox Extension Pack as the version of the Oracle VirtualBox that you’re downloading. Since you are downloading Oracle VirtualBox and VirtualBox Extension Pack at the same time, the version number will most likely match.
Your browser should start downloading the VirtualBox Extension Pack file. It takes a few seconds to complete.
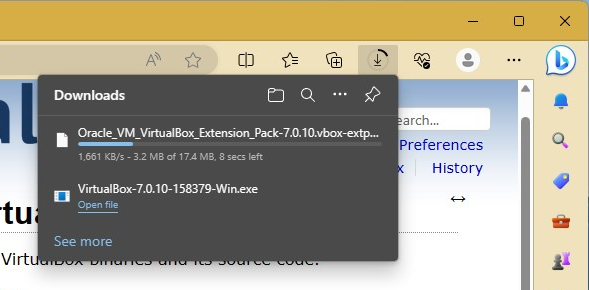
At this point, the VirtualBox Extension Pack file should be downloaded.
Installing the Oracle VirtualBox 7 on Windows 10/11
The downloaded Oracle VirtualBox 7 installer for Windows 10/11 should be found in the “Downloads” folder of your Windows 10/11 operating system.
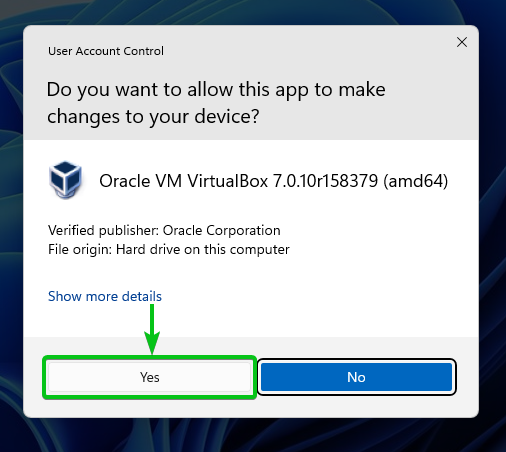
To install the Oracle VirtualBox 7 on Windows 10/11, double-click (LMB) on the Oracle VirtualBox 7 installer file as marked in the following screenshot:

Click on “Yes”.
The Oracle VirtualBox 7 installer window should be displayed.
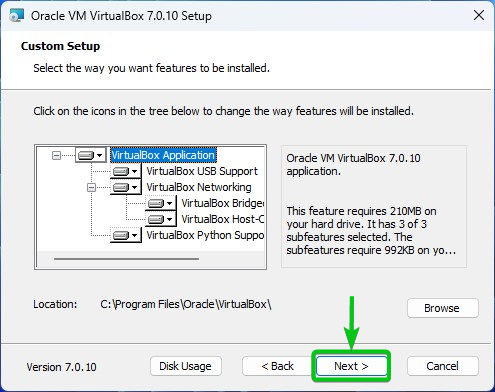
Click on “Next”.

Click on “Next”.
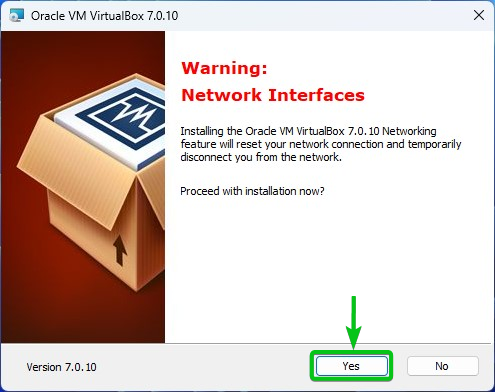
Click on “Yes”.
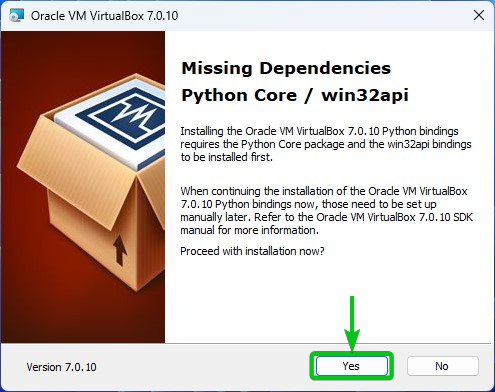
Click on “Yes”.
Click on “Install”.
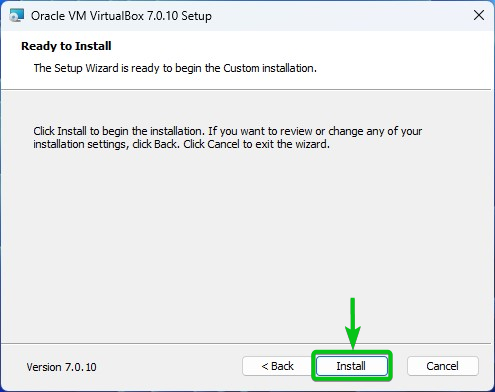
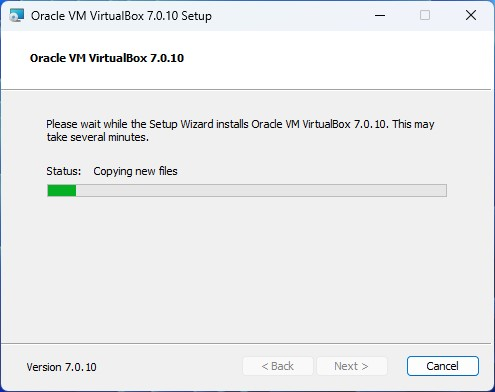
Oracle VirtualBox 7 is being installed on Windows 10/11. It takes a while to complete.
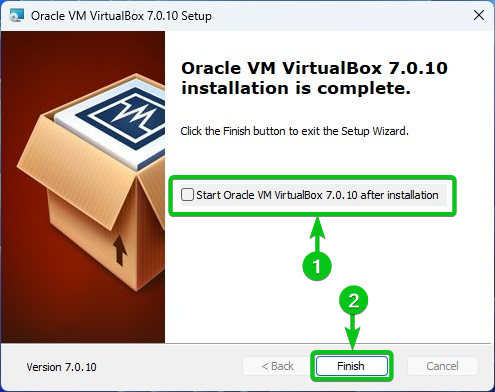
At this point, Oracle VirtualBox 7 should be installed on Windows 10/11.
Uncheck the “Start Oracle VM VirtualBox 7.x.y after installation”[1] and click on “Finish”[2].
Running the Oracle VirtualBox 7 on Windows 10/11
Once Oracle VirtualBox 7 is installed, you can find it in the “Start” menu of Windows 10/11. To start the Oracle VirtualBox 7, just search for “Apps: virtualbox” in the start menu[1] and click on the Oracle VM VirtualBox icon[2].

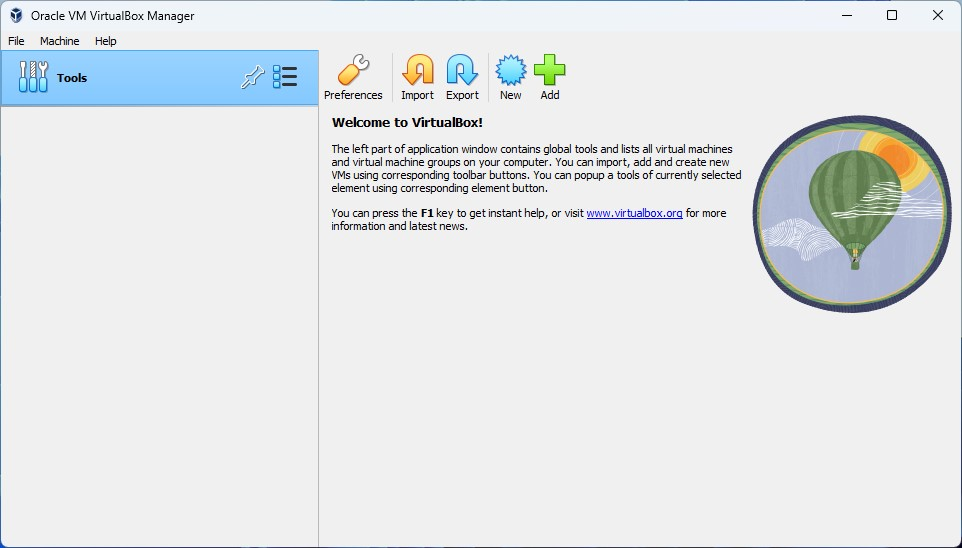
Oracle VirtualBox 7 should be opened. You can use it to create new virtual machines and install your favorite operating systems on them.
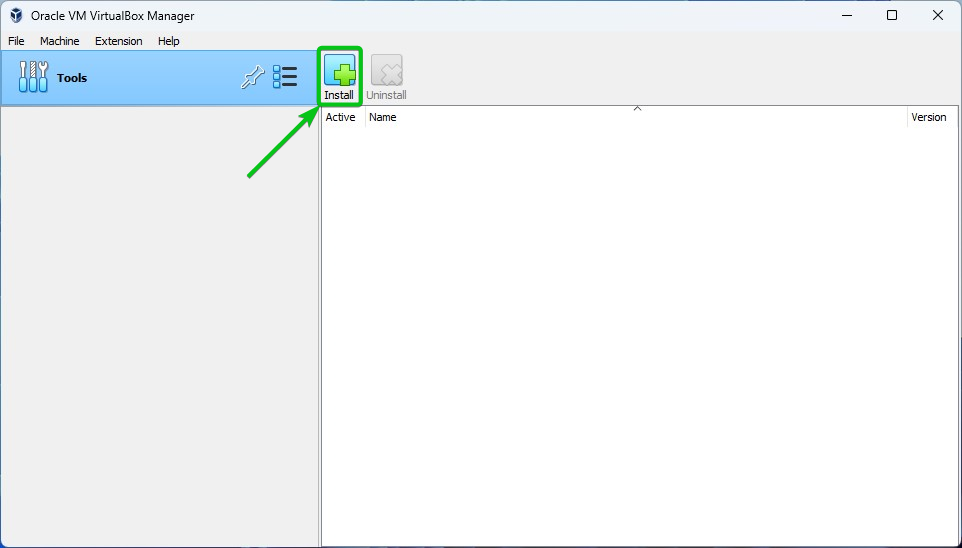
Installing the VirtualBox Extension Pack on Oracle VirtualBox 7
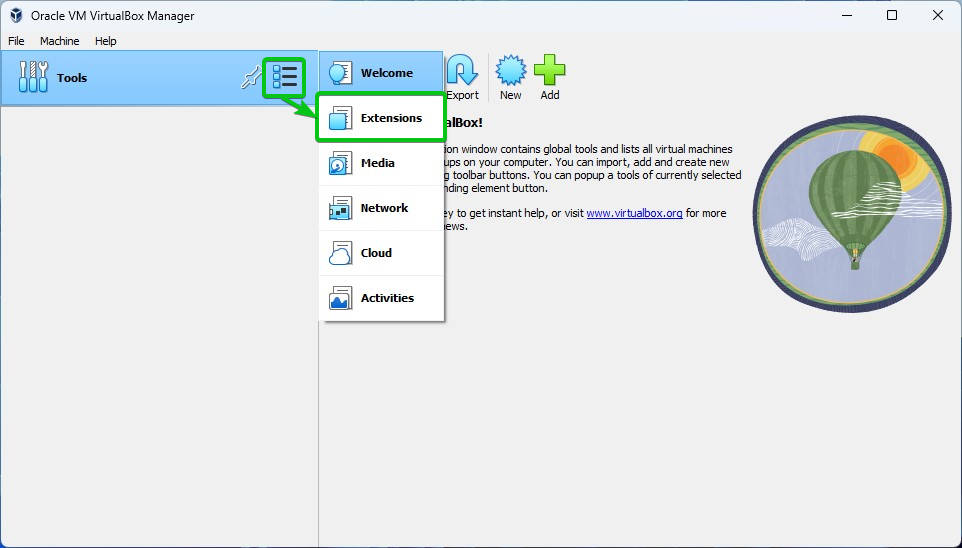
To install the VirtualBox Extension Pack on Oracle VirtualBox 7, open VirtualBox 7 and click on
![]()
> Extensions as marked in the following screenshot:
Click on “Install”.
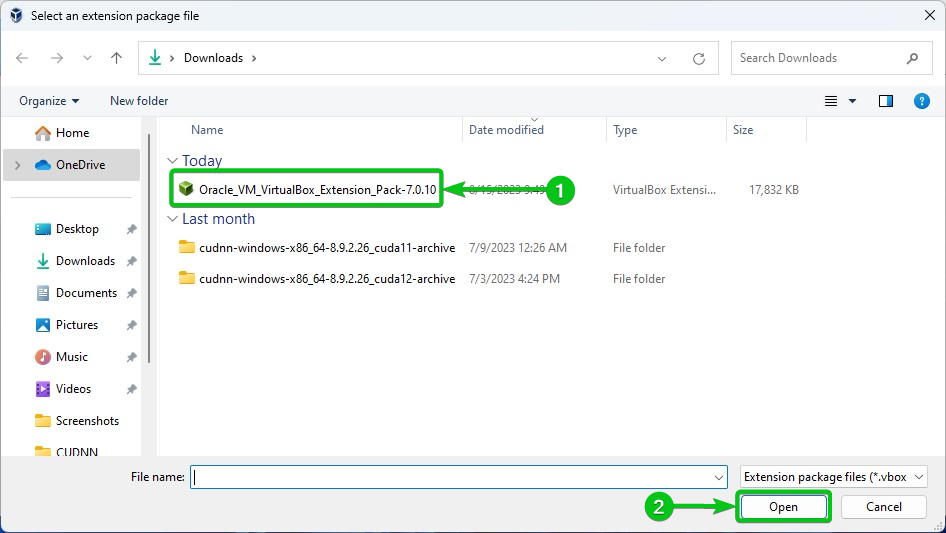
Select the VirtualBox Extension Pack file that you just downloaded[1] and click on “Open”[2].
Click on “Install”.
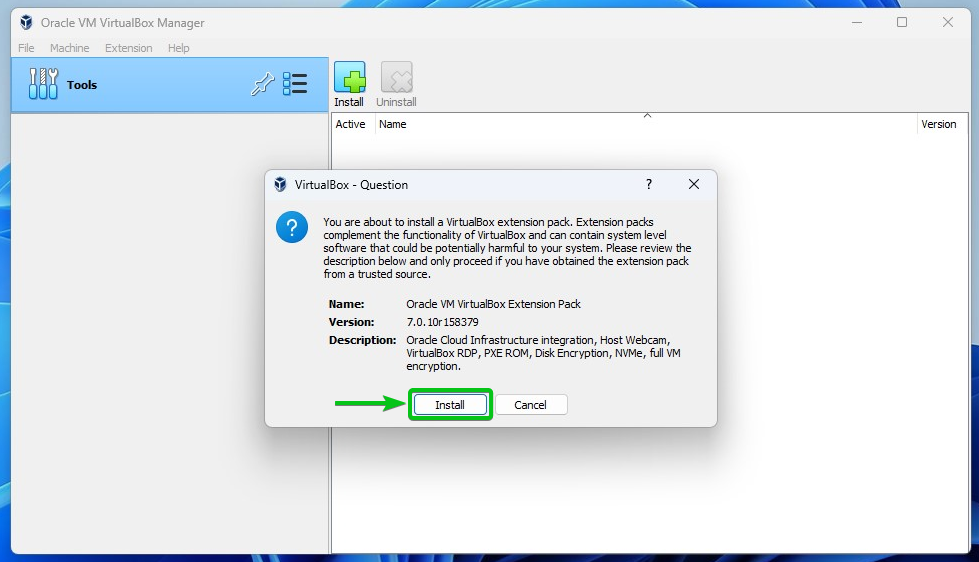
You will see the Oracle VirtualBox License agreement. Scroll all the way down and click on “I Agree”.

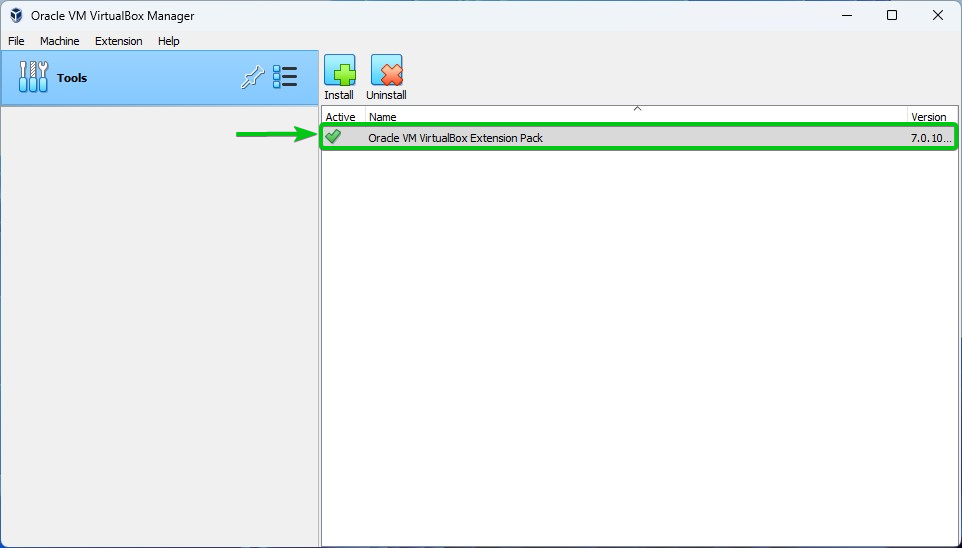
The VirtualBox Extension Pack should be installed.
Conclusion
We showed you how to download the Oracle VirtualBox 7 installer for the Windows 10/11 operating system. We also showed you how to download the VirtualBox Extension Pack file for Oracle VirtualBox 7 and how to install the Oracle VirtualBox 7 on Windows 10/11 as well as run it on Windows 10/11. Finally, we showed you how to install the VirtualBox Extension Pack on Oracle VirtualBox 7.