
This article will contain a profound step-by-step guide to:
Let’s start with the Windows Operating System.
How to install Guest Addition Image in Windows(VM)?
To install VirtualBox Guest Addition Image in a Windows Virtual Machine. Make sure you have a running Virtual Machine of Windows in Virtual Box.
Follow the steps to install the guest addition image.
Step 1: Start the VM
Open the VirtualBox, select the virtual machine(Windows 10), and start it.

Step 2: Log In to the VM’s OS
To login, enter the password and press Enter:

Step 3: Insert the Guest Additions Image
Once, the machine has started and the operating system has successfully booted; insert the Guest Addition from the “Device” menu of the VM as shown below:

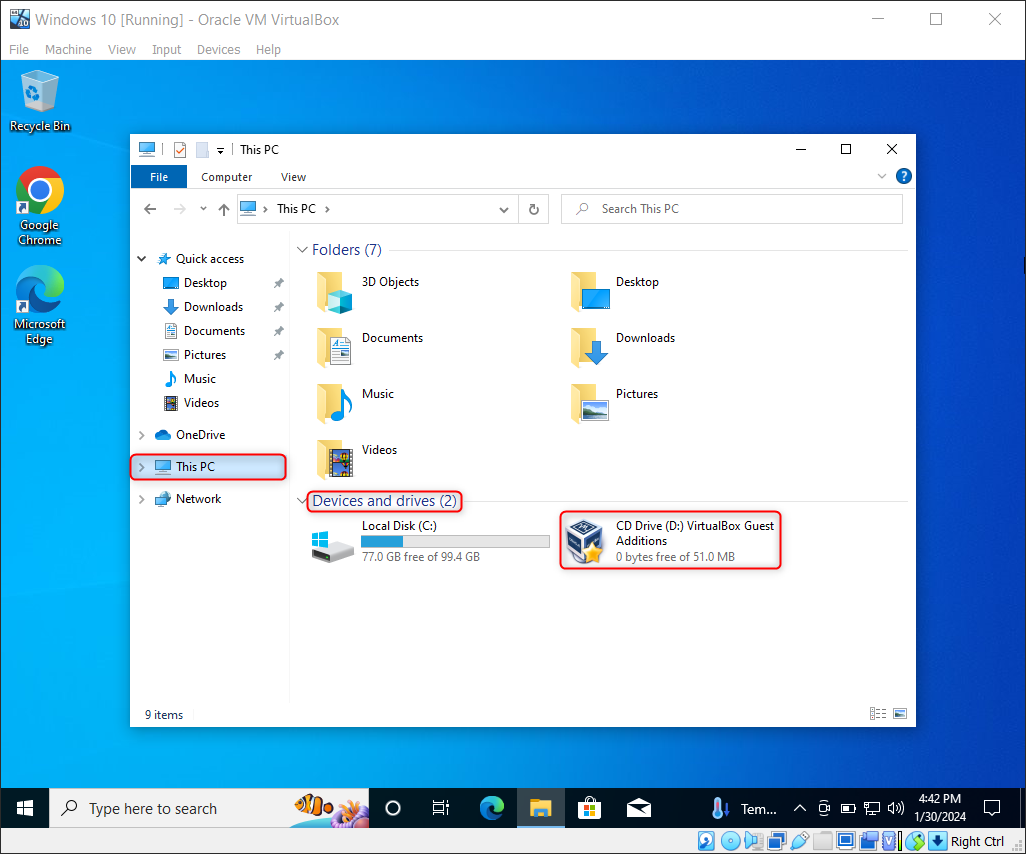
Step 4: Open the “VirtualBox Guest Additions” Disc
In the file explorer and “My PC”, open the “VirtualBox Guest Additions” disc under the “Devices and Drives” section:
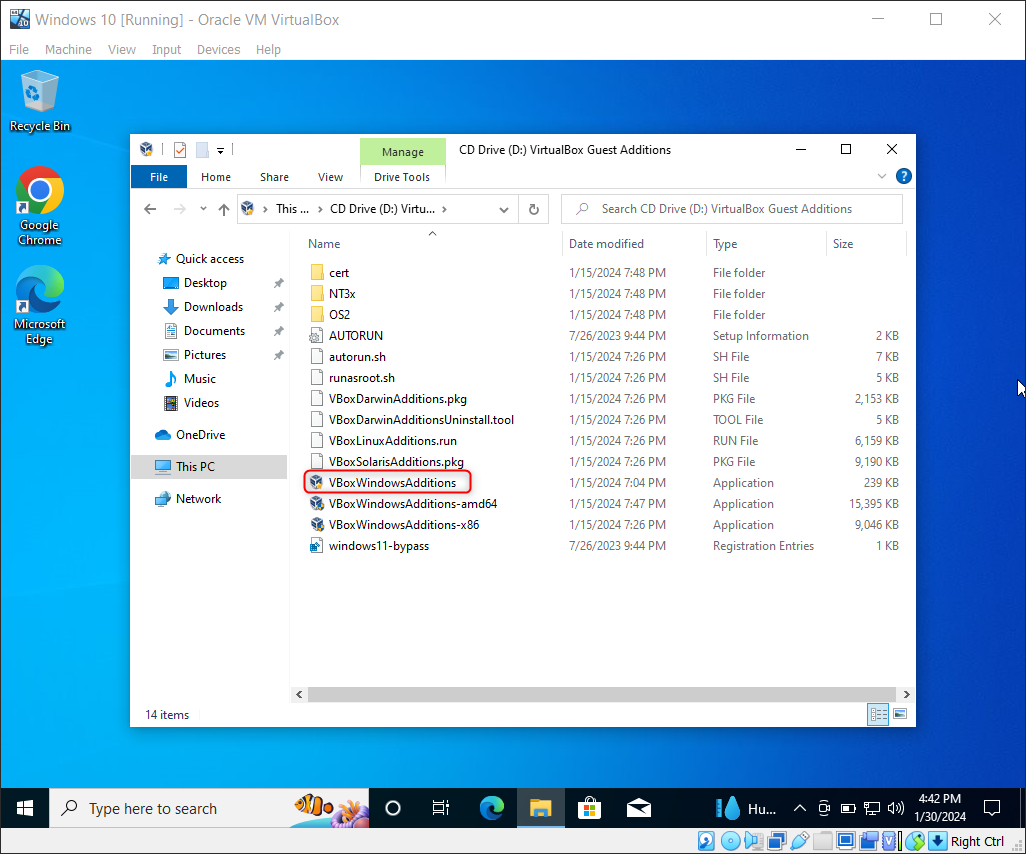
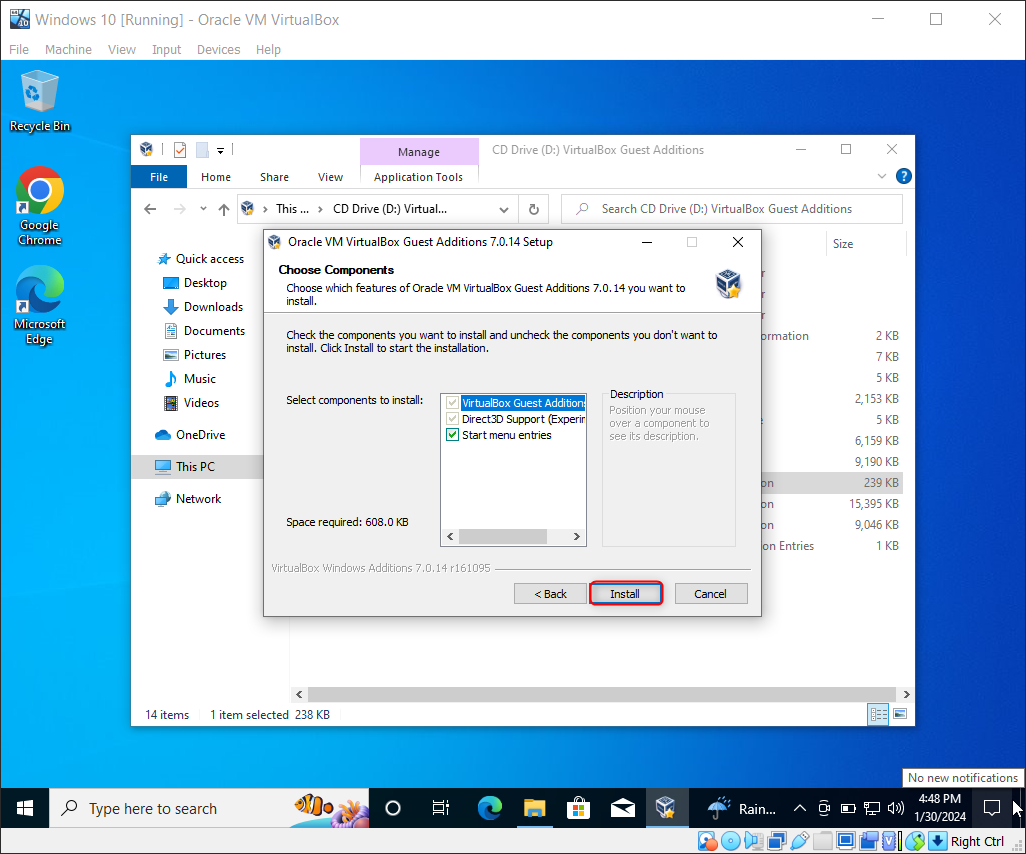
Step 5: Launch the “VBoxWindowsAdditions.exe” file
From a list of software that appeared, run the “VBoxWindowsAdditions.exe” file:
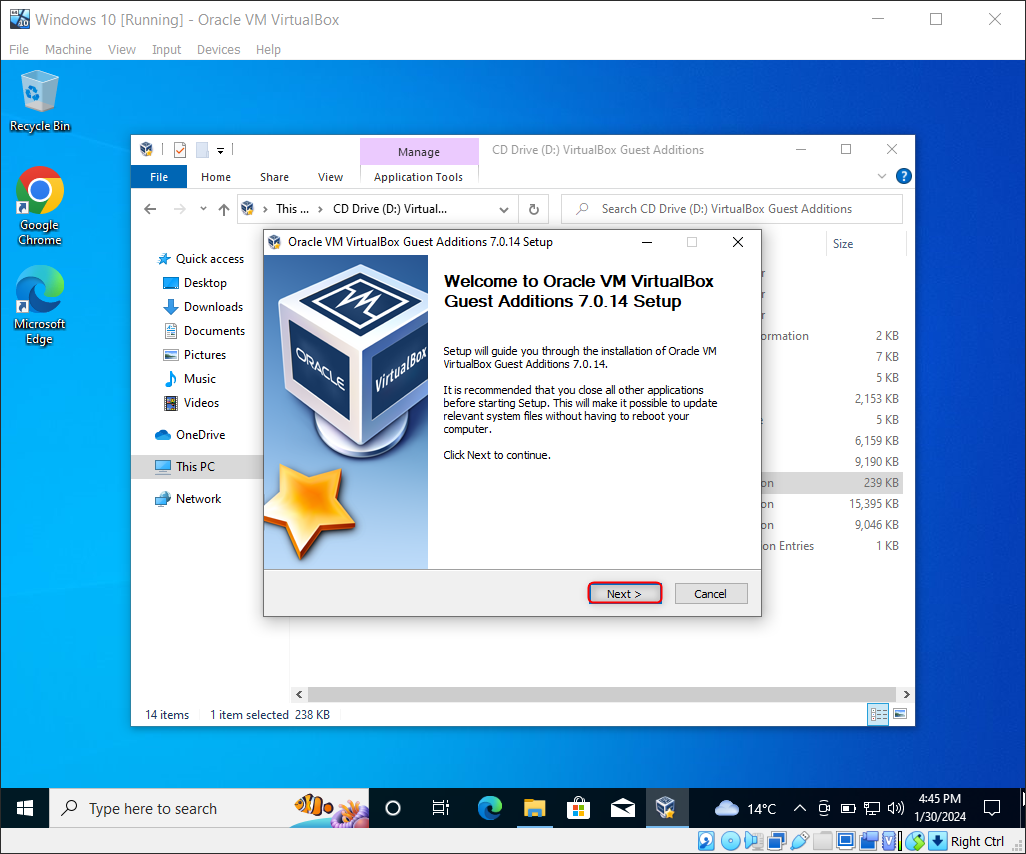
Grant access to the application and then click on the “Next” button.
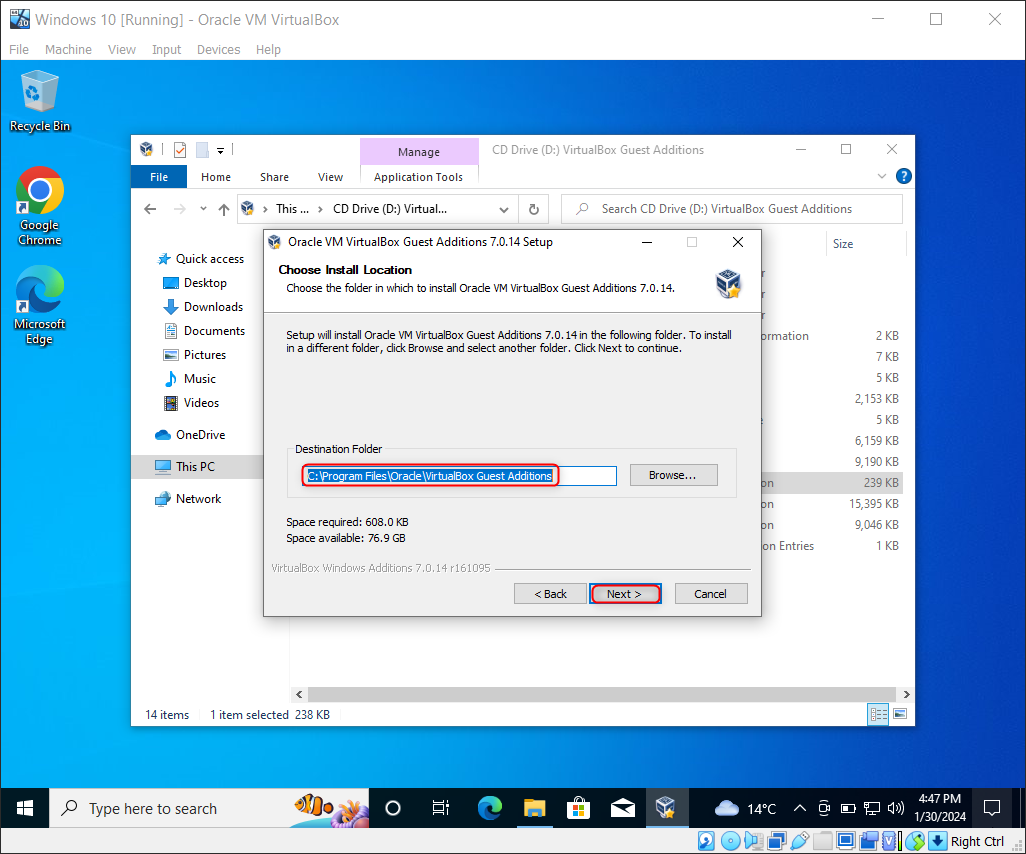
After this, the installer would ask for the location where the guest additions are to be installed, go with the default location, and click on “Next”:
Finally, click the “Install” button.
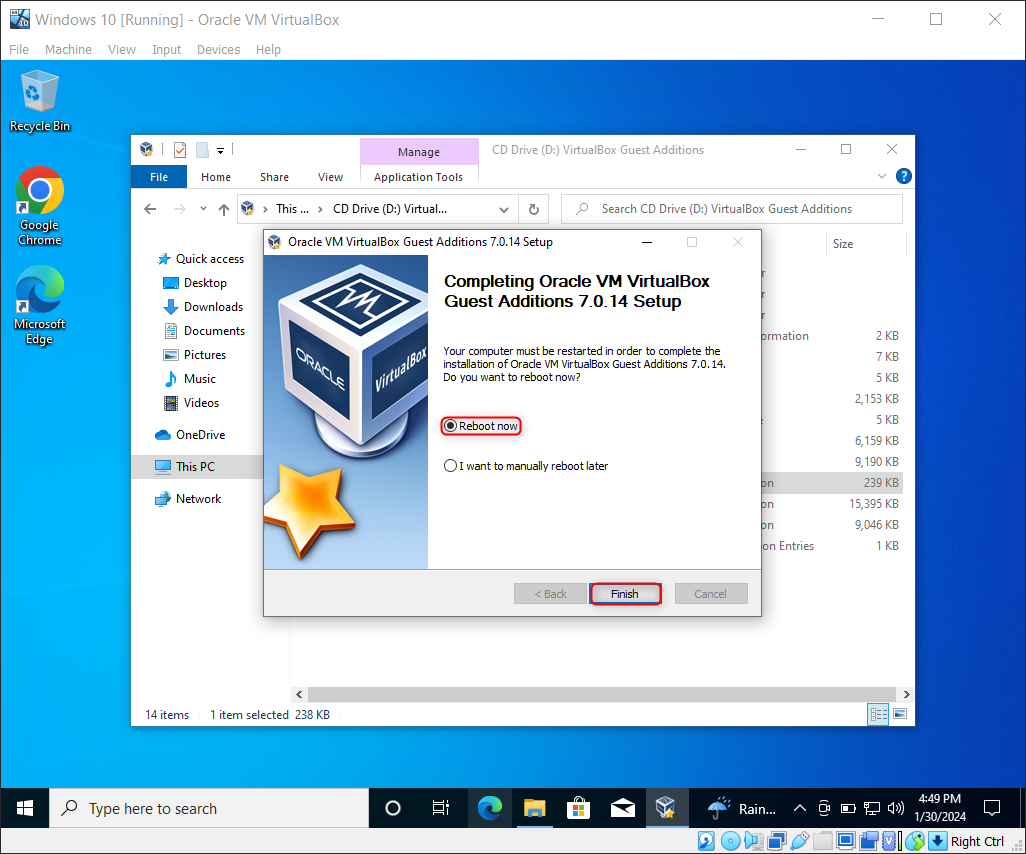
Step 6: Reboot the System
Lastly, restart the virtual machine for the changes to take place:
That’s all about installing the guest addition image on Windows in a Virtual Machine.
How to install Guest Addition Image in Linux?
To install VirtualBox Guest Addition Image in a Virtual Machine having Linux installed in it. Make sure you have a running Virtual Machine of Linux in Virtual Box.
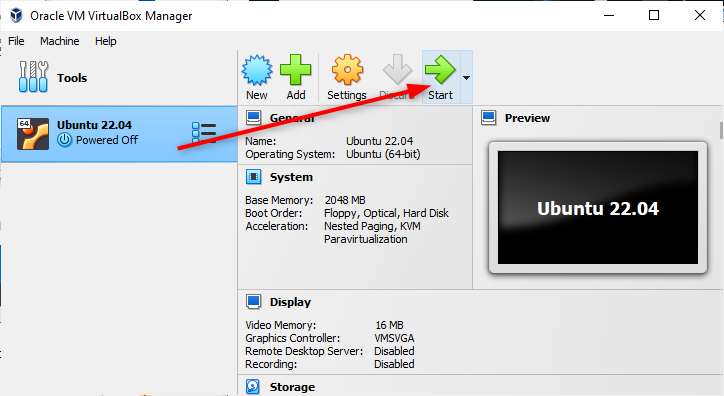
Step 1: Start the VM
Open the VirtualBox and power on the Ubuntu virtual machine:
Step 2: Log In to the VM’s OS
Authenticate the account by entering the password and log in:

Step 3: Update the repository
Update and upgrade the system’s repository by using the following command:

Step 4: Install Linux Kernel headers
To compile the VirtualBox guest additions, you need to install the required package modules. Use the command typed below to install the Linux Kernel headers:

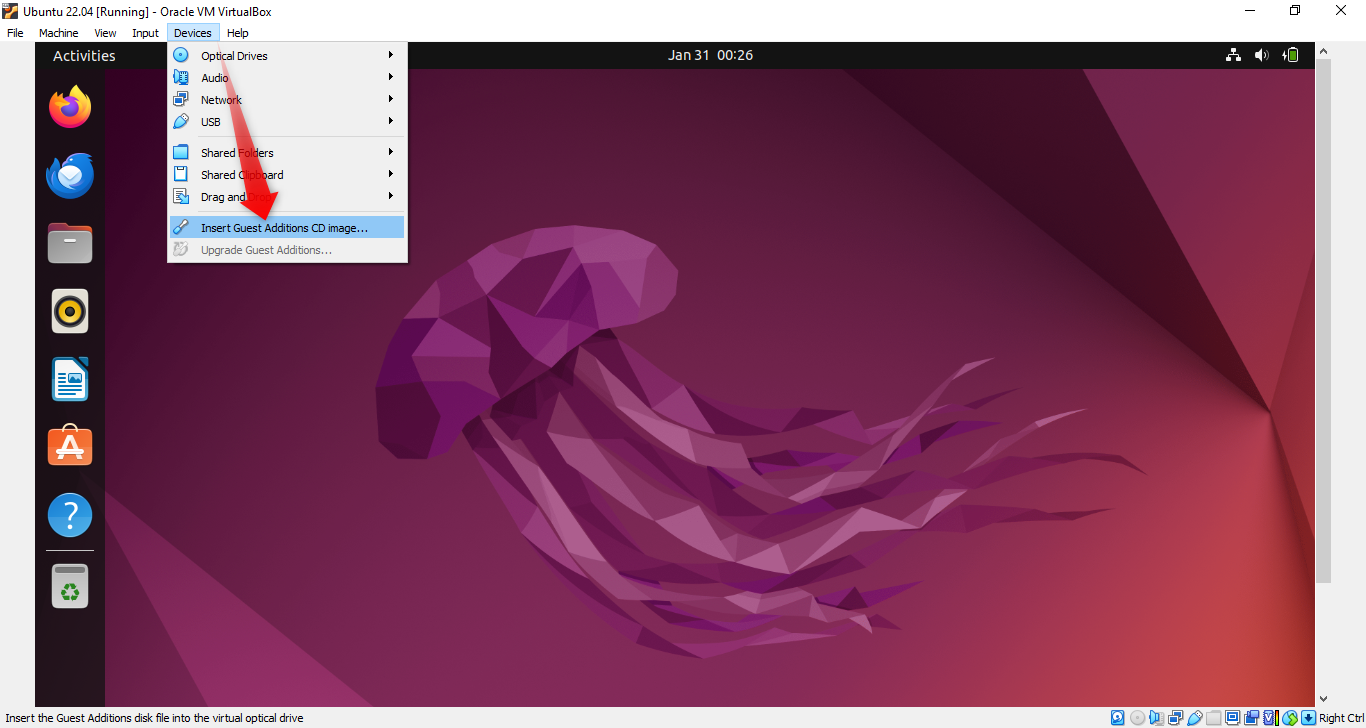
Step 5: Insert the Guest Additions Image
To insert the guest addition ISO image, click on the Devices tab in the top navigation bar, and from the menu select the “Insert Guest Additions CD Image” option:
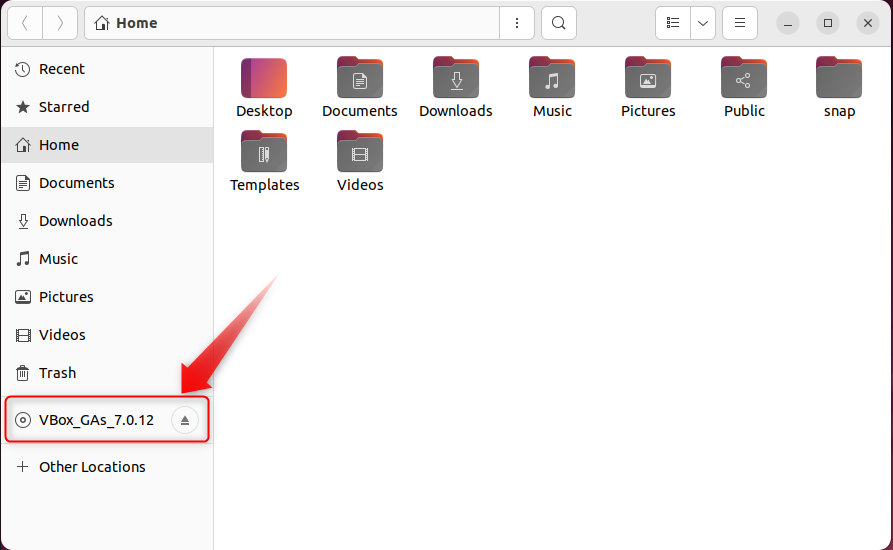
You can verify from the file explorer as well as shown below:
Step 6: Move to the inserted “VBox Guest Additions Image” Directory
In the following step, the username e.g. “user”(in our case), and the VBox version could be different in the /media/ directory. So, the user should first know the right names of directories using the “ls” command as shown in the screenshot below, and then move to the directory where the “VBoxAdditions.run” file is located:

Step 7: Install Virtual Box guest Additions for Linux
Lastly, execute the command typed below to install the VirtualBox Guest Additions in Linux Operating systems:

Step 8: Reboot
Finally, reboot the machine to ensure the respective changes have taken place using the “reboot” command.
That’s all about installing the VirtualBox Guest Additions in a Virtual Machine running with a Linux Operating system.
Conclusion
To install the guest addition image in a virtual machine start the VM and insert the Guest Addition Image from the “Device” menu of the VM. Afterwards, install it by running the respective file according to the Operating system running inside the Virtual Machine and you will have a clean installation of VirtualBox Guest Additions. This article demonstrated the installation of VirtualBox Guest Additions in Virtual machines including Windows as well as Linux.