Follow this simple tutorial to install VokoscreenNG on a Raspberry Pi system.
Install VokoscreenNG on Raspberry Pi
You can install VokoscreenNG on Raspberry Pi through the following steps:
Step 1: Update Raspberry Pi through the following command:
Step 2: Then install some dependencies on your Raspberry Pi system through the command given below:
Step 3: Now you can install VokoscreenNG on your Raspberry Pi system by entering this command on your Pi Terminal.
Run VokoscreenNG on Raspberry Pi
You can use two methods to run VokoscreenNG on Raspberry Pi, which are:
Method 1: Run VokoscreenNG Through Terminal
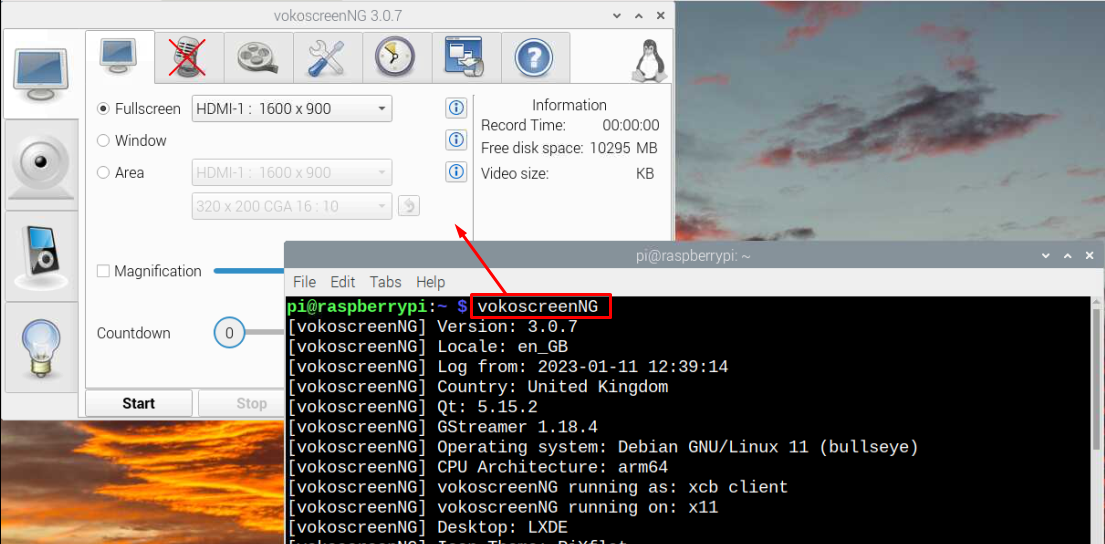
The following command will run VokoscreenNG on the Raspberry Pi system:
Method 2: Run VokoscreenNG Through GUI
To run VokoscreenNG from GUI, open the Raspberry Pi’s application menu, select “Sound and Video” option, and then select the VokoscreenNG app.
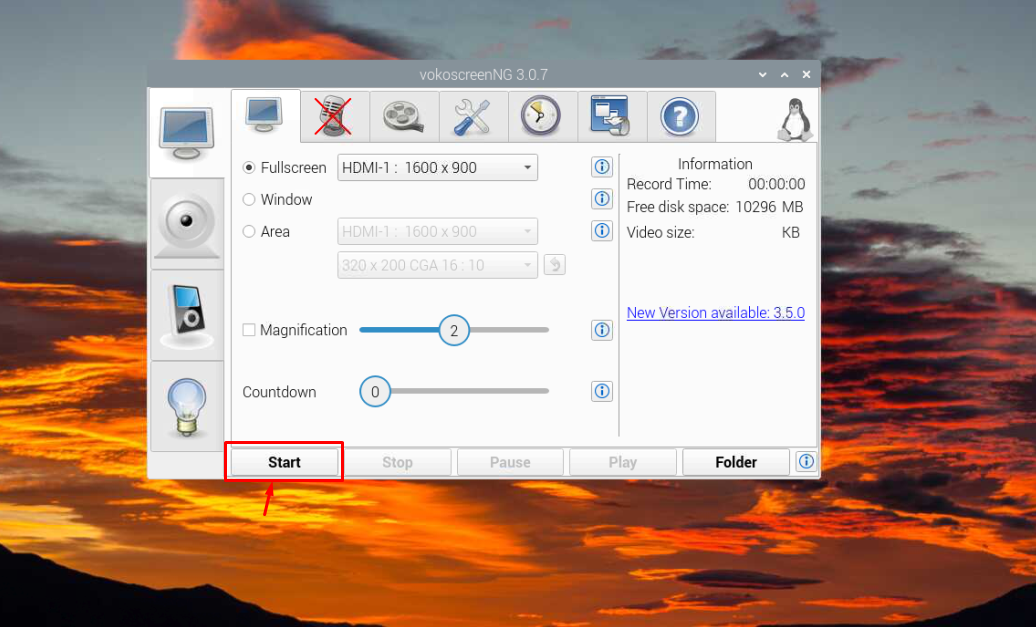
Now, to begin screen recording in full screen mode, the user should go with the “Start” button.
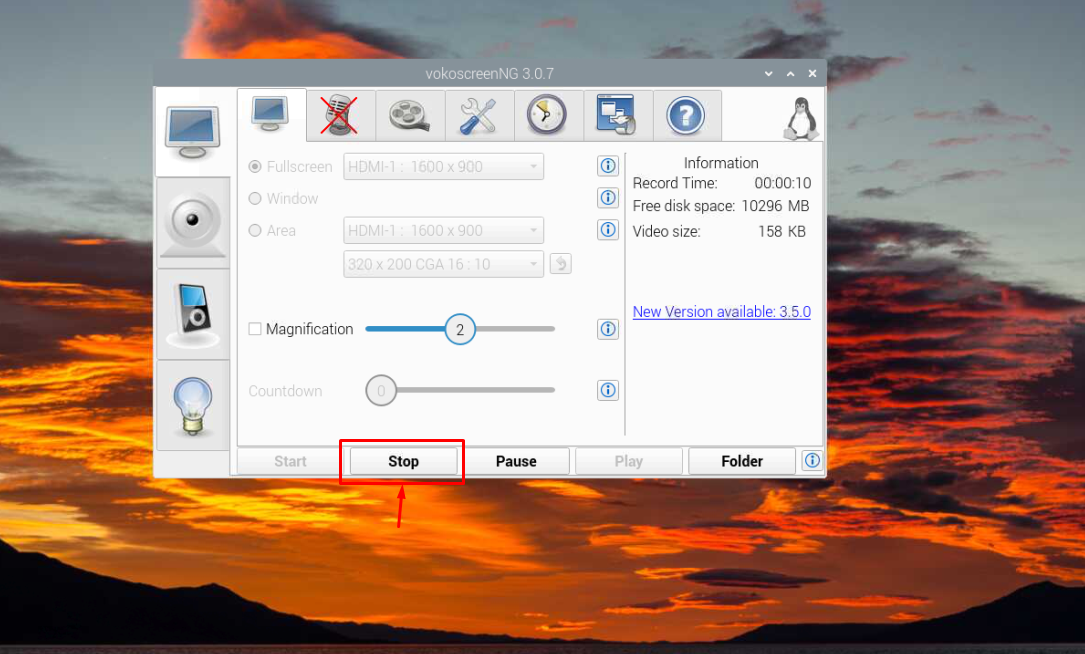
To stop the recording, the user must select the “Stop” button anytime.
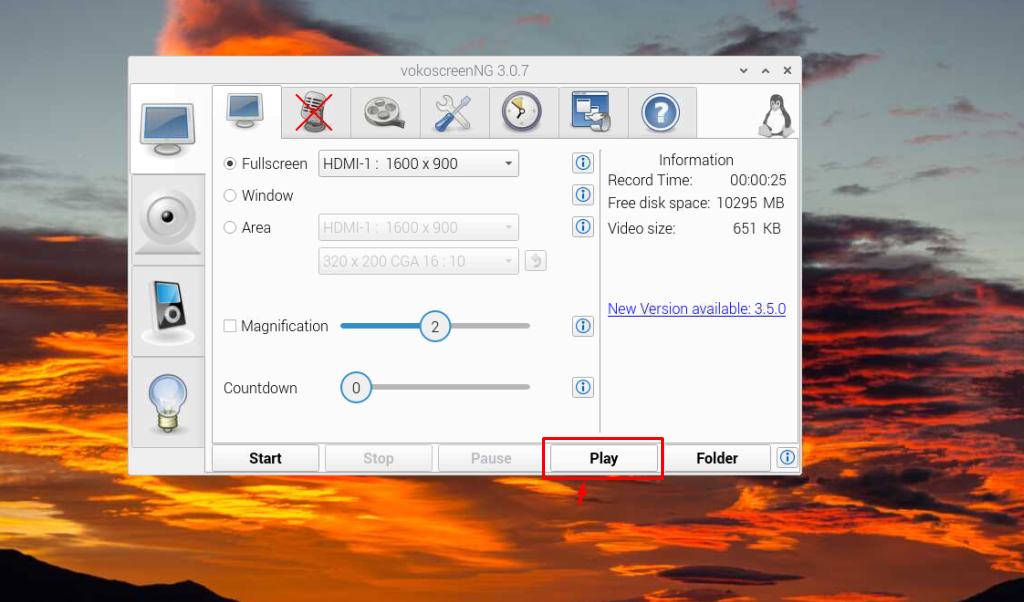
To play the recording, select the “Play” button.
Remove VokoscreenNG from Raspberry Pi
Enter the following command in the terminal to remove VokoscreenNG from Raspberry Pi:
Conclusion
Raspberry Pi users can easily perform video recording on their system by installing VokoscreenNG tool through “apt” command. Once the installation finishes, the users can open the application from the terminal using “vokoscreenNG” command or run it from GUI through “Sound and Video” option. Afterward the users can start screen recording in full screen mode, windowed mode or choose the desired area for screen recording on Raspberry Pi system,


