This tutorial guides you in installing and setting up ZeroTier on Raspberry Pi.
Install and Setup ZeroTier on Raspberry Pi
To use ZeroTier on Raspberry Pi, you will need to perform the following steps:
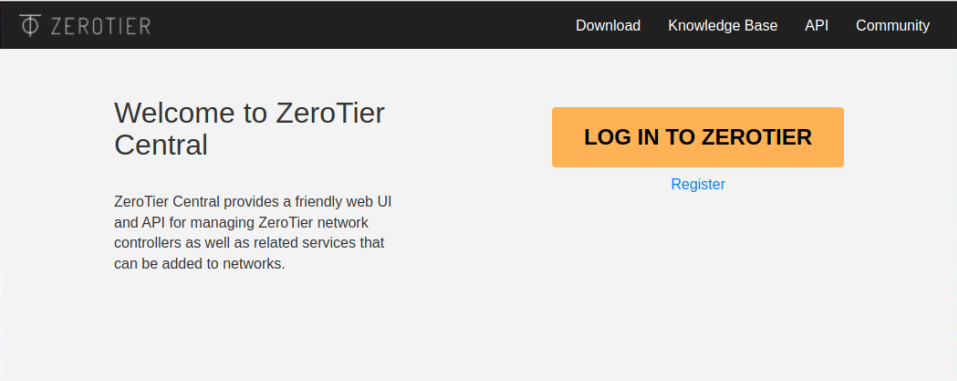
Step 1: First, visit the ZeroTier website on your Raspberry Pi.
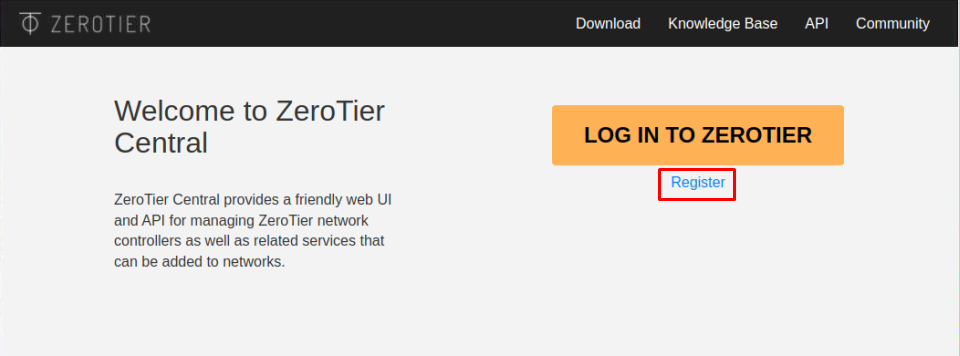
Step 2: Create an Account there by clicking on the “Register” option.
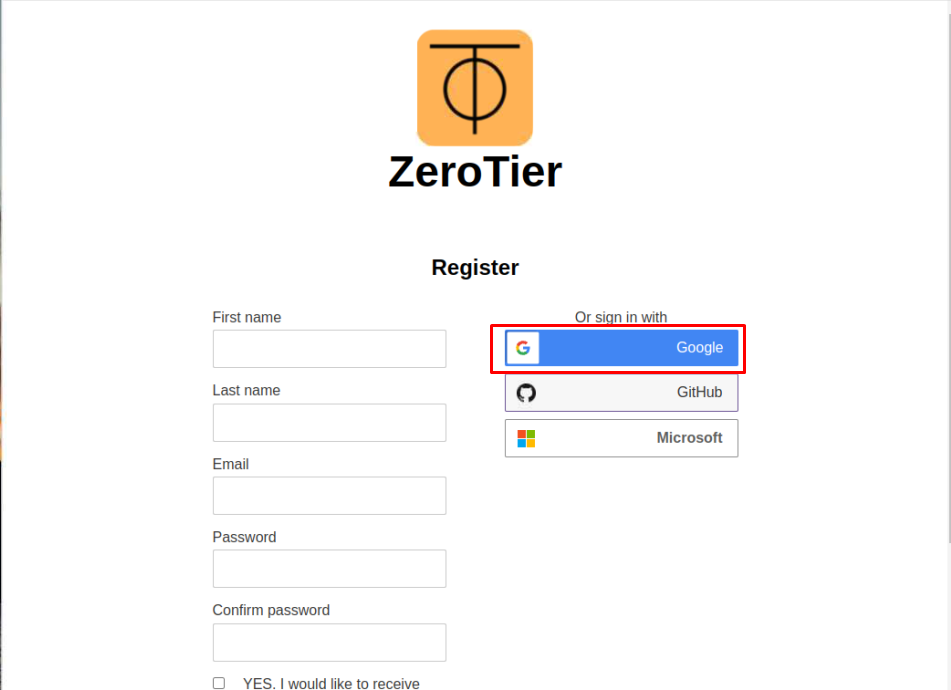
Step 3: Select any account to Register or you can create a new one as well.
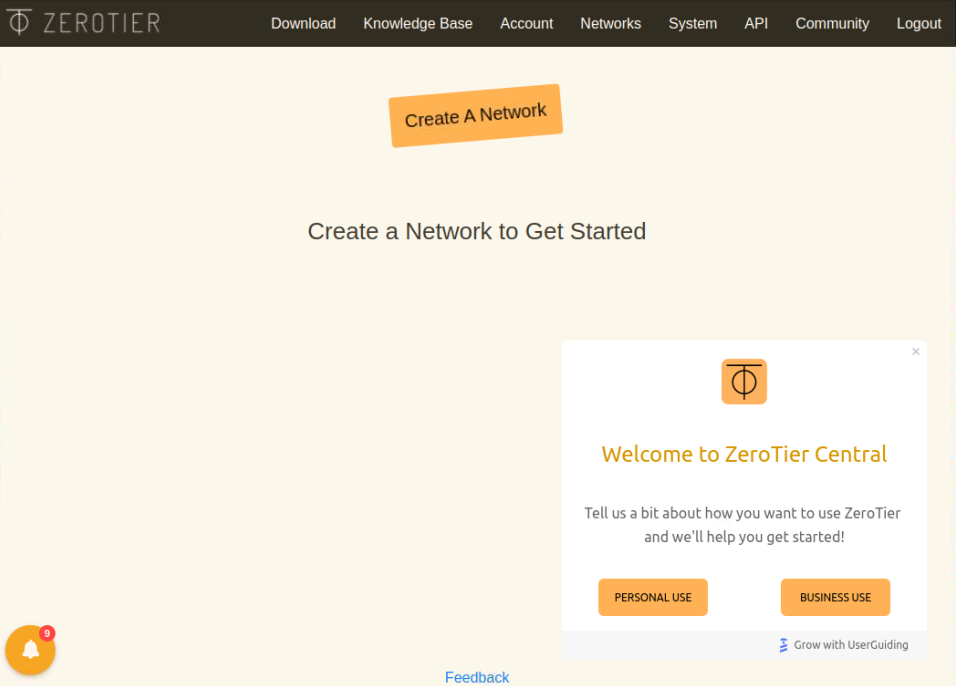
Step 4: Click on the “Create a Network” button.
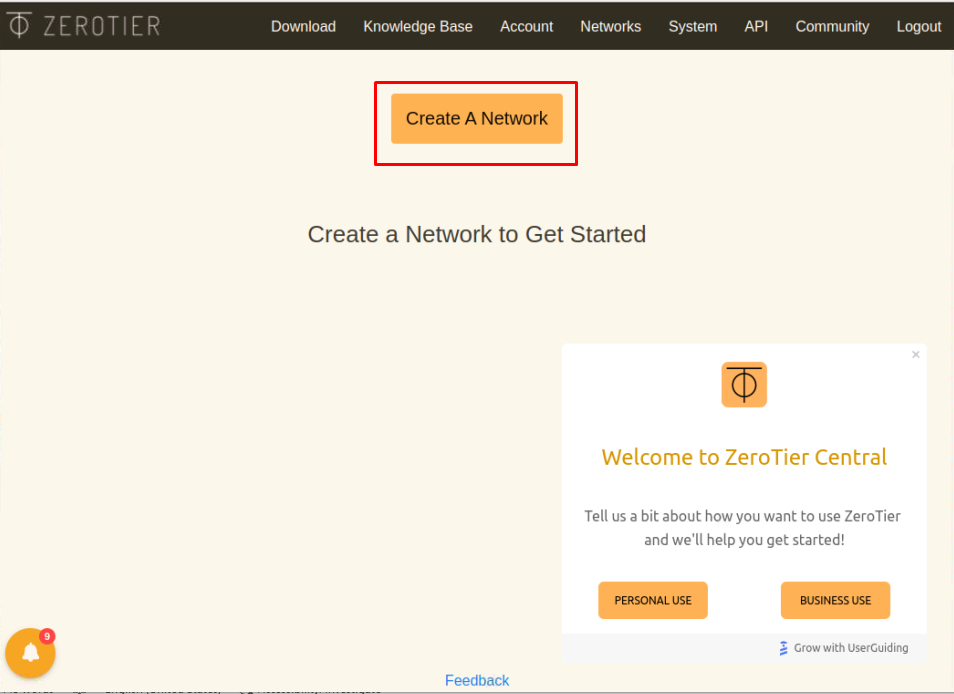
This creates a network on the Raspberry Pi.
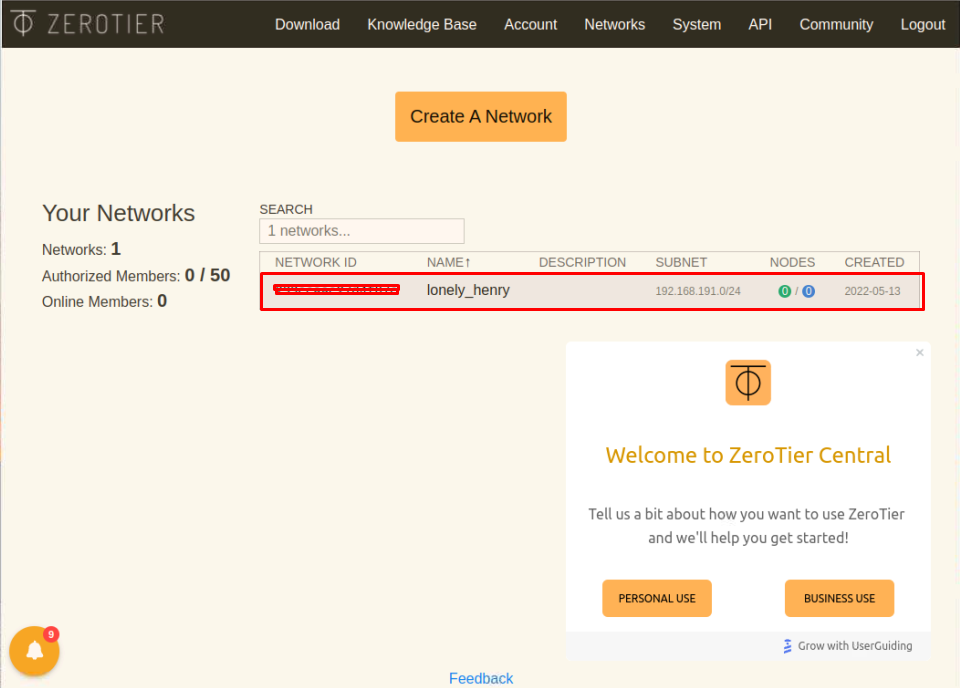
Remember the network ID as it will be used later on.
Step 5: Now, open the Raspberry Pi terminal and issue the below-mentioned commands to update the packages.
$ sudo apt upgrade

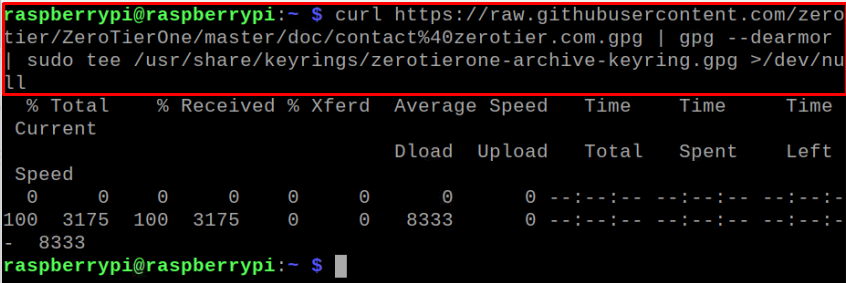
Step 6: Next, download the GPG key from GitHub repository using the following command:
Step 7: Then store the correct codename for your OS in a shell variable named as “RELEASE” using the following command:

The above command will help us in building the correct URL for ZeroTier.
Step 8: Now add the ZeroTier repository using the following command:

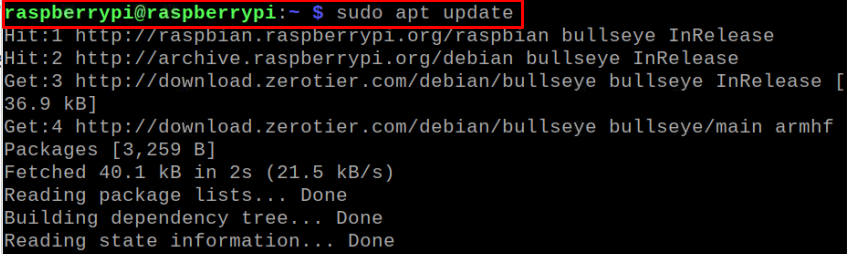
Step 9: After adding the repository update the Raspberry Pi packages list through below-given command:
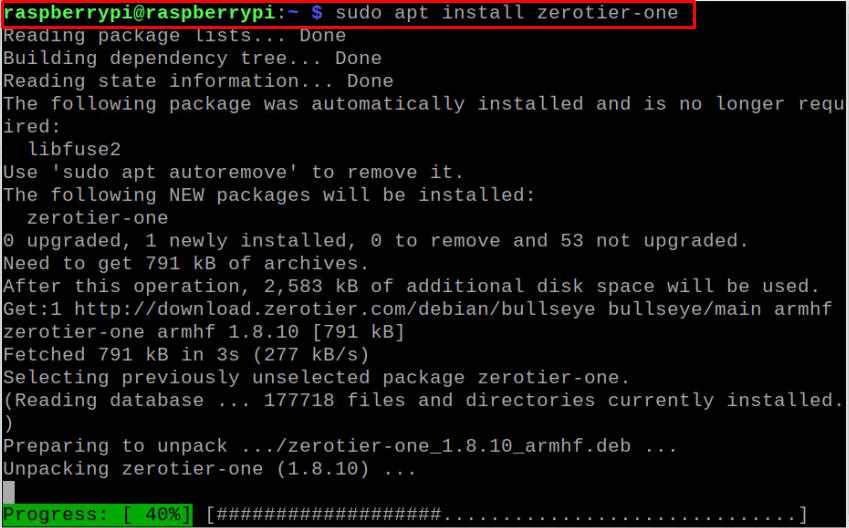
Step 10: After the update, run the following command to install ZeroTier on Raspberry Pi.
Step 11: Now join the network on Raspberry Pi through Network ID using the following command:

The above output shows that your Raspberry Pi joins the network successfully. See Step 4.
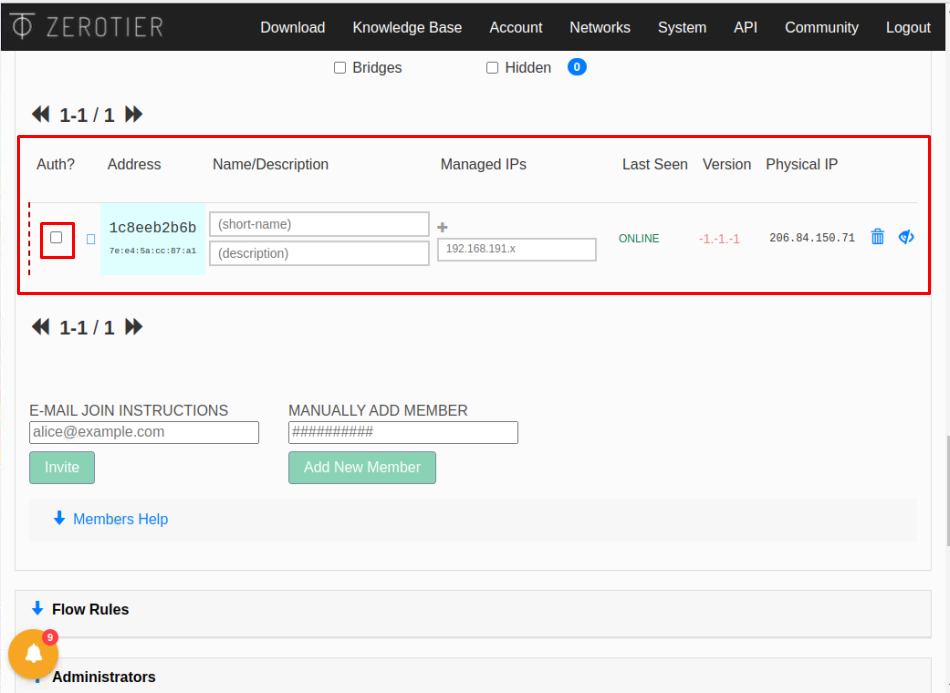
Step 12: Although the device successfully joins the network, you will still require to authenticate the device. Visit the address “ https://my.zerotier.com/network/<NETWORKID>”

Find your device identity and checkbox the Auth option.

To check your Raspberry Pi connection information, use the below-given command:

To check the list of networks on ZeroTier, you can use the following command:

The above output ensures that your Raspberry Pi joins the ZeroTier network and is online now. You can now easily connect with other devices that become part of your created network. For further assistance, get guidance from the manual.
Conclusion
ZeroTier is a pretty straightforward network solution allowing user to make its own virtual private network. It enables you to directly control your network settings through its web interface. The above step-by-step instructions are useful in setting up ZeroTier on Raspberry Pi by first creating an account on the official website and then installing the software through its repository. After the installation, you can then be able to control your networking settings such as blocking the traffic or other services that use your network.