In this tutorial, we will provide you with a detailed guideline of how to install and use NEMS on Raspberry Pi.
How to install and Use NEMS Linux on Raspberry Pi
The installation of NEMS on Raspberry Pi is pretty straightforward that only requires an SD card, an image file, imager tool and a Raspberry Pi device. The following step-by-step guidance will assist in you in installing:
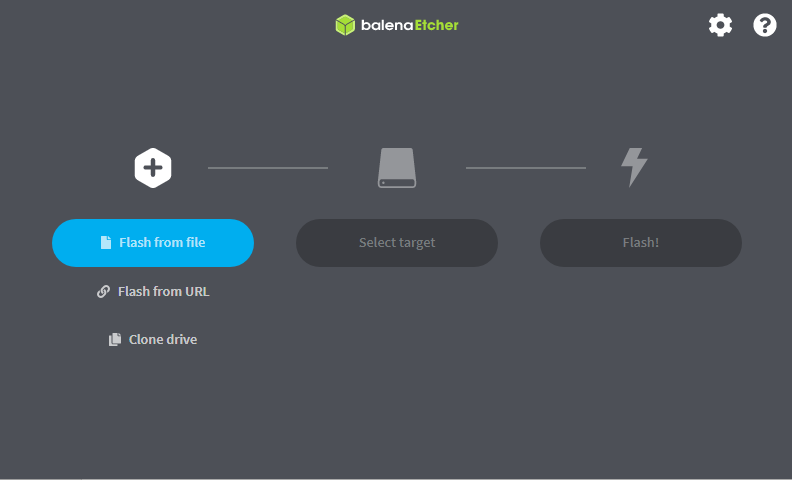
Step 1: Install BalenaEtcher application from the website and open it on your desktop.
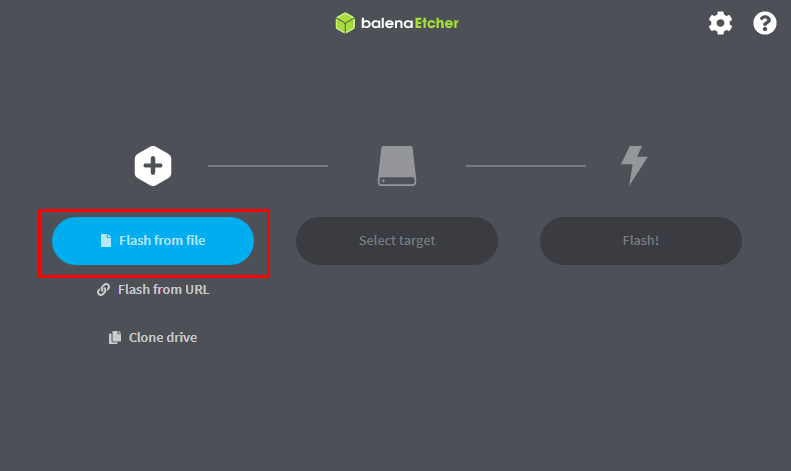
Step 2: Load the NEMS zip file by picking the “Flash from file” option.

Step 3: Pick the “Select target” button.
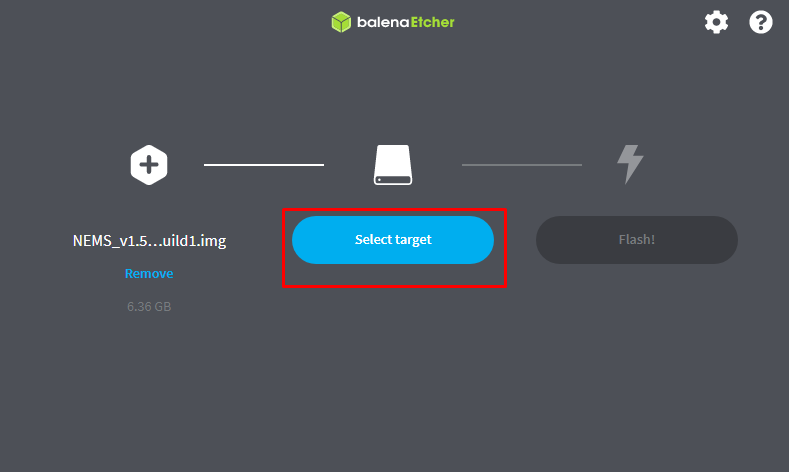
Choose your SD card storage.

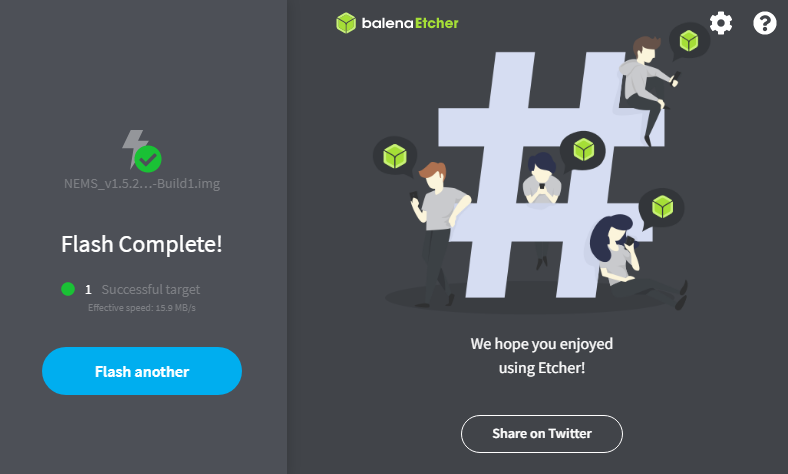
Step 4: Select the “Flash!” option to begin the image installation process.
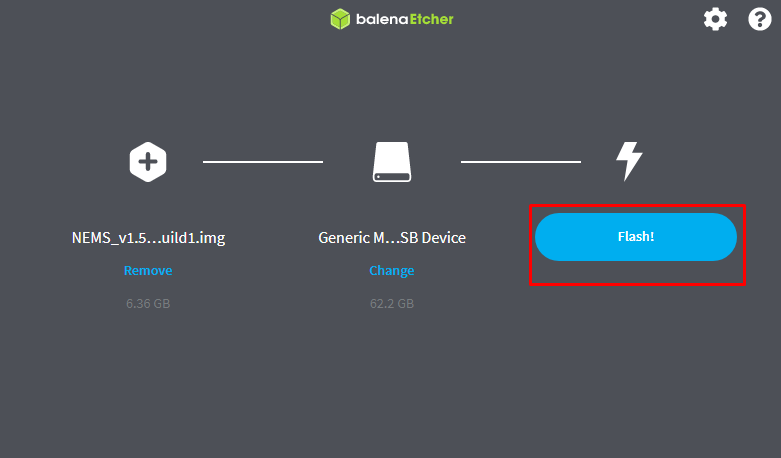
This takes time depending on your SD card transfer speed.

Wait till the flash is complete.
Step 5: Now, start your Raspberry Pi device and put the SD card in it. This loads up the NEMS setup screen which requires running a command-line terminal to configure NEMS on Raspberry Pi. The first thing you have to do after this step is to connect your device to the WIFI network. You cannot use the “sudo raspi-config” command to set up WIFI on NEMS. However, you can enable SSH through the config command. The below guidelines will help you setting up WIFI on NEMS:
Setting Up WIFI on NEMS
To set up WIFi on NEMS, use “CTRL+ALT+F2” to access the terminal. However, before that you will need to provide login detail. Use Login as “nemsadmin” and password as “nemsadmin”.
Then use the following command to enable WIFI on NEMS:

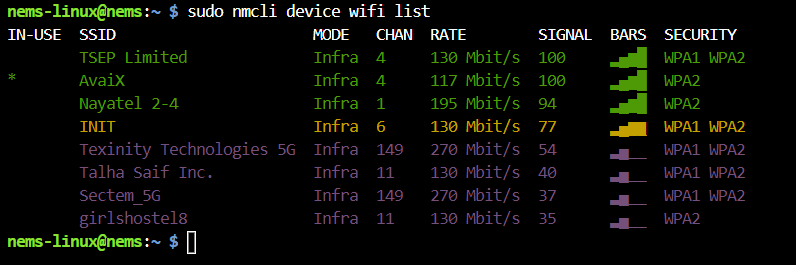
Next, scan for the available list of WIFIs using the following command.
Connect to your WIFI network through below-mentioned script:
In the above script, replace the <SSID> with your WIFI name and write password in place of <password>.

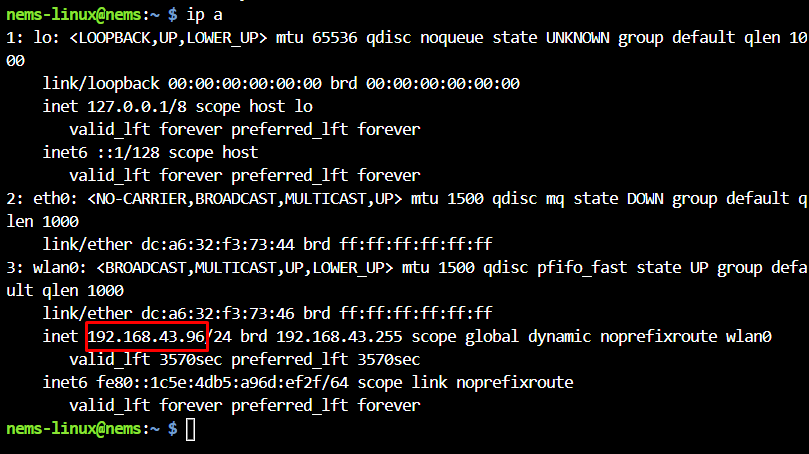
After successful connection, check your IP address using the following command:
Configure NEMS
Now, go to the browser tab and enter the address http://IP_Address.
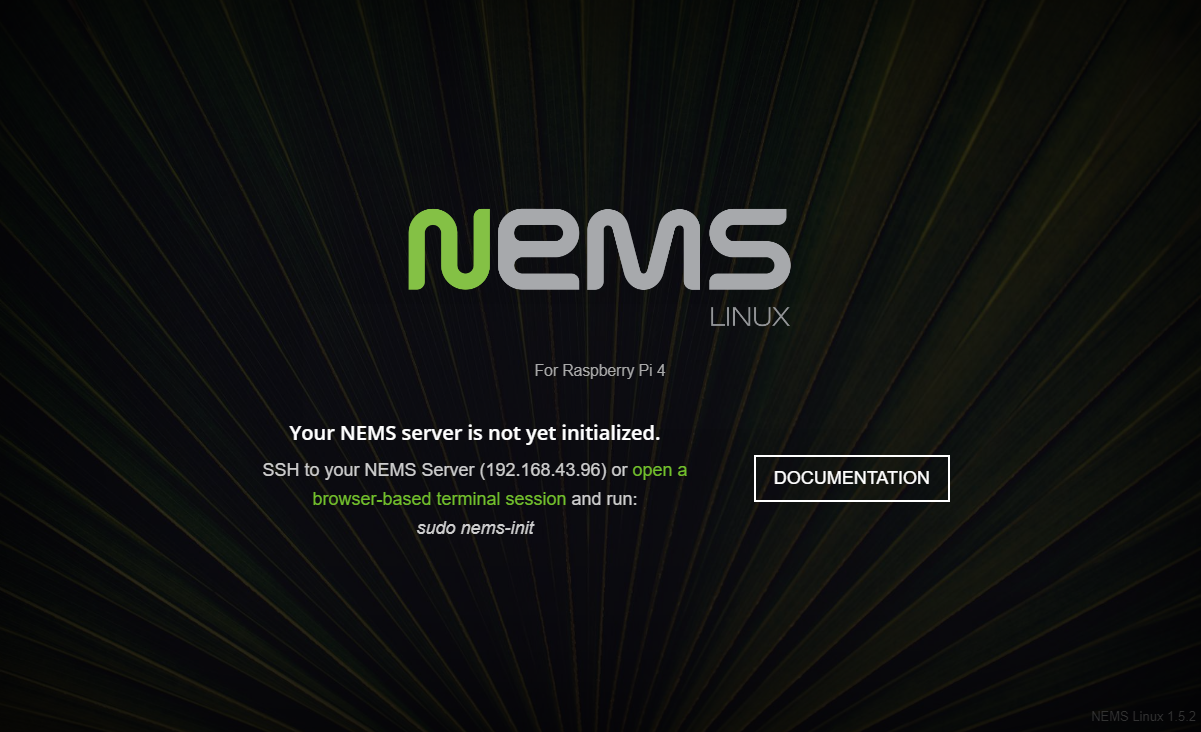
In the above screen, you will get to know that your NEMS server isn’t initialized yet and for this reason, you will have to execute the following command in the NEMS terminal or you can use this command by accessing the NEMS terminal from PuTTY.
The above command will first open up a screen where you will need to provide your Geographical data. Choose your area according to your choice.

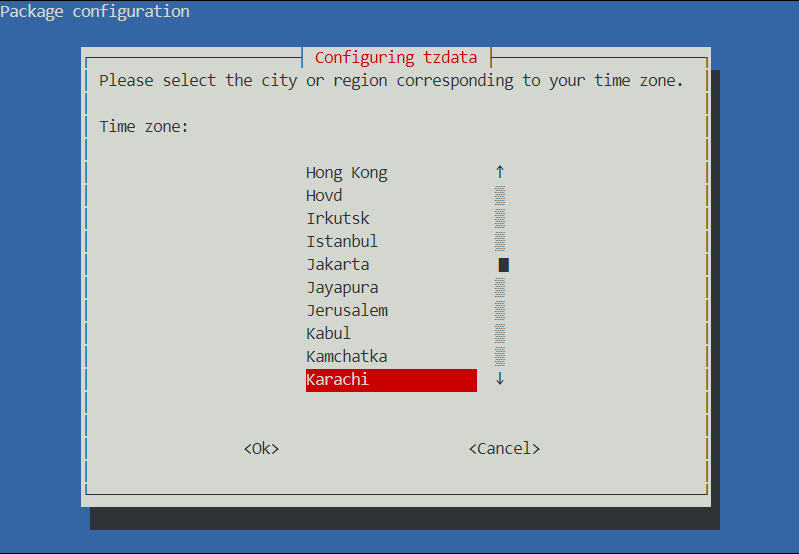
Then select your city.
Go with the default choice in the next screen.
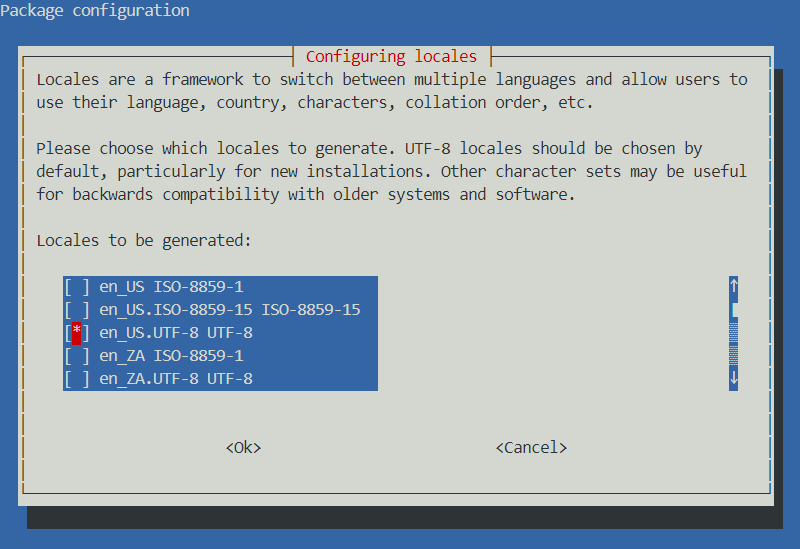
Press Enter again.

This finalizes the local settings.
Now select the model of the keyboard.

Select Keyboard layout.
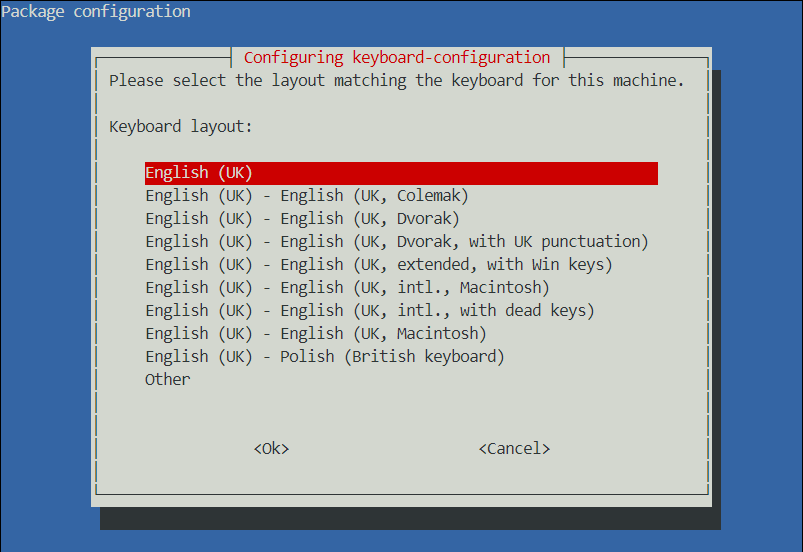
Go with the default option.
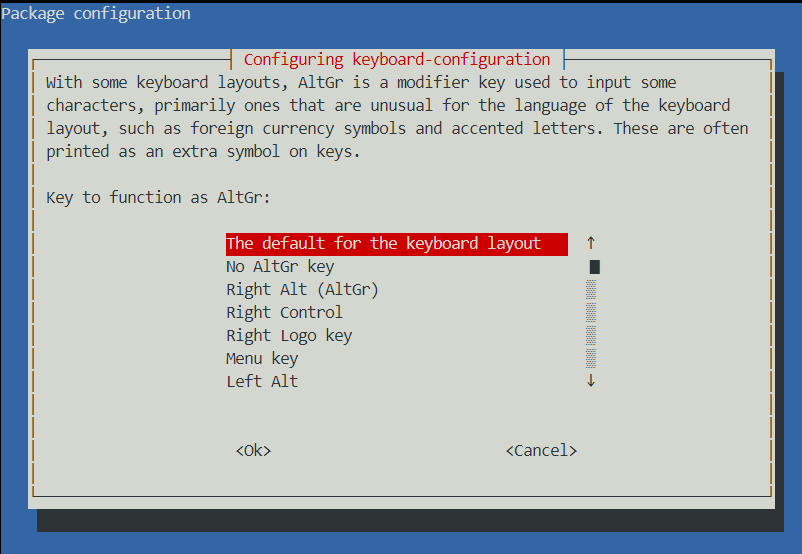
Follow the default option.

Now, in the next step, you will require to provide your username. Use root or admin as a username.

Next, enter the password for the username you already set in the above step.
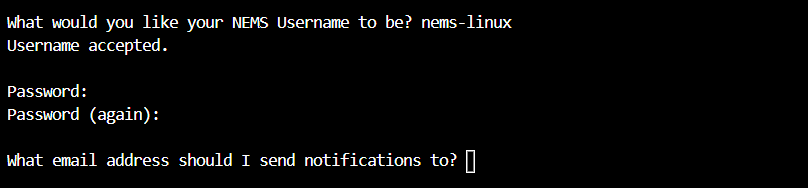
Next, provide your email address so that you will get notifications.
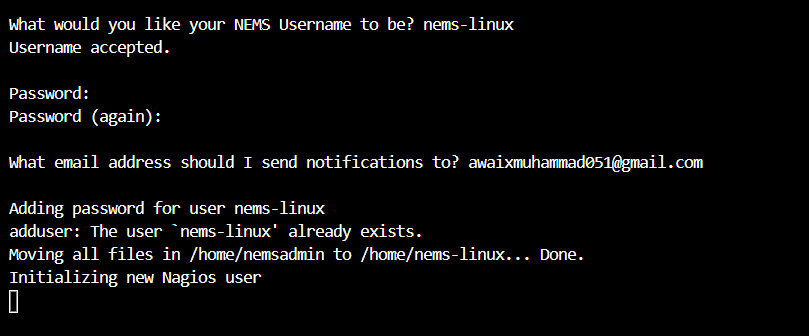
This begins initializing the Nagios user.

Once the process completes, reload the address again in the browser and this time it opens the NEMS Linux dashboard on the browser.
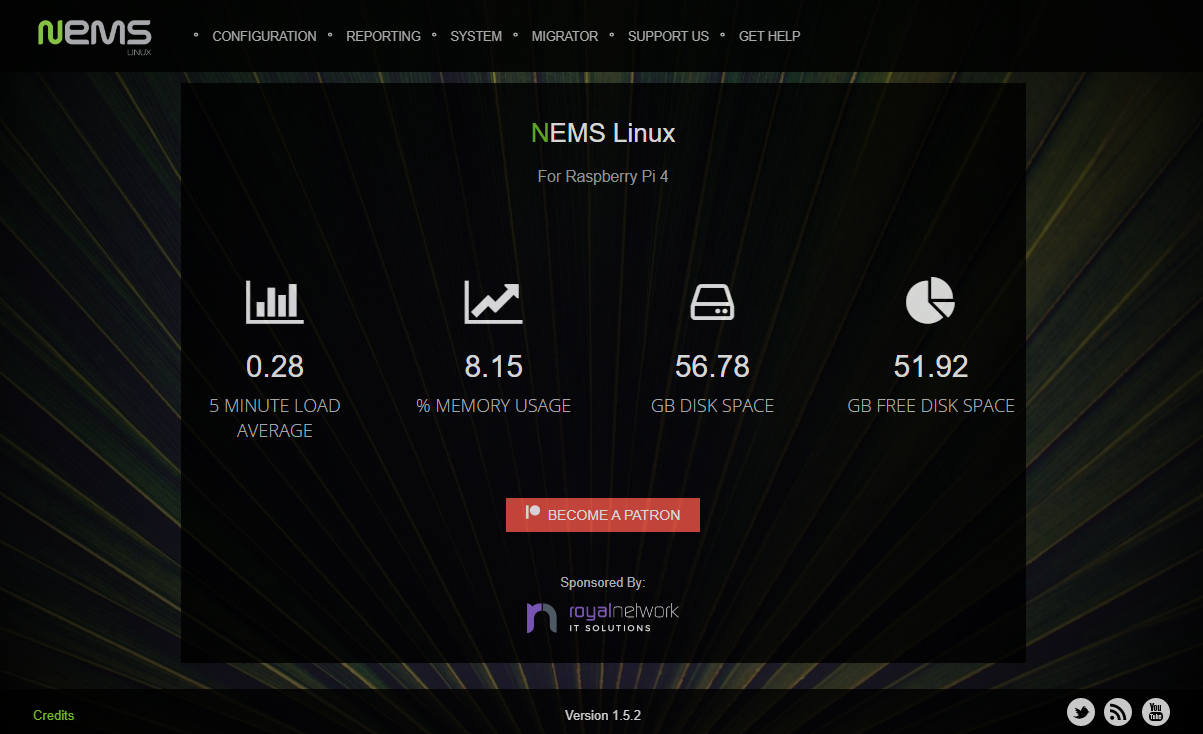
You will see various options there. Go to the “SYSTEM” option and select CockPit that will allow you to perform tasks on NEMS through a web interface.
Click on the option and use your username and password to login.

This opens up the NEMS monitoring server where you can easily perform various tasks without going back to your Raspberry Pi system. This provides you several options for monitoring like storage monitoring, network monitoring and so on.

You can even execute various commands using the terminal option in the dashboard.

Conclusion
NEMS is an ideal choice to monitor your Raspberry Pi network status, storage information as well as control Raspberry Pi terminal from your browser tab. The above guide will assist you in installing NEMS on Raspberry Pi via image file which can easily be loaded onto Raspberry Pi SD card through imager tool. After the setup, you will then be able to use the command-line terminal to set up WiFi settings for NEMS and control it on your browser tab via the Raspberry Pi IP address.