In this write-up, we have explored the steps by which we can use Dropbox on Raspberry Pi and upload the data on it.
How to install Dropbox on Raspberry Pi
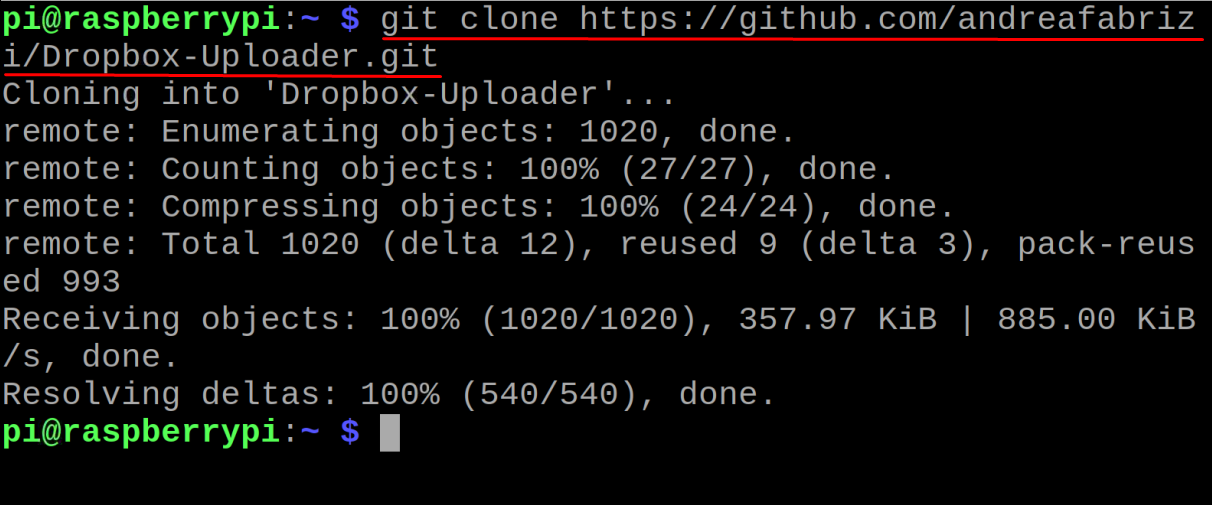
We know that the Raspberry Pi has the ARM (Advanced RISC Machine) processor type and for this type of processor, Dropbox has not been released. We will install Dropbox on the Raspberry Pi by cloning the uploader script of Dropbox from the GitHub repository by using the command:
After cloning, we will navigate to the “Dropbox-uploader” directory by using the command:

After navigating to the directory of the Dropbox-Uploader, we will change the privileges of the .sh file to make it executable by using the command:

When the privileges of the executable file (sh) have been changed, we will run the file by using the command:
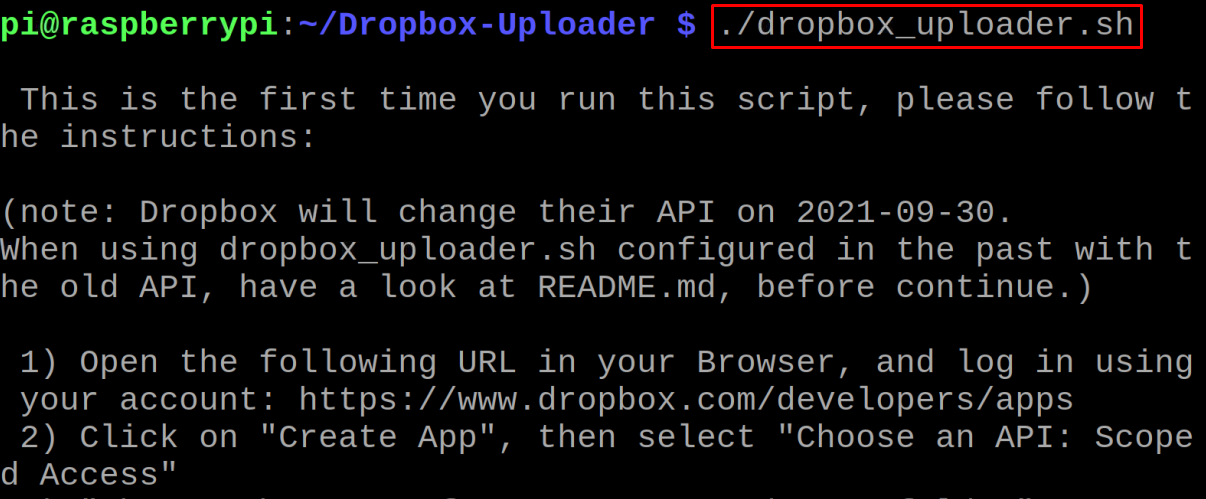
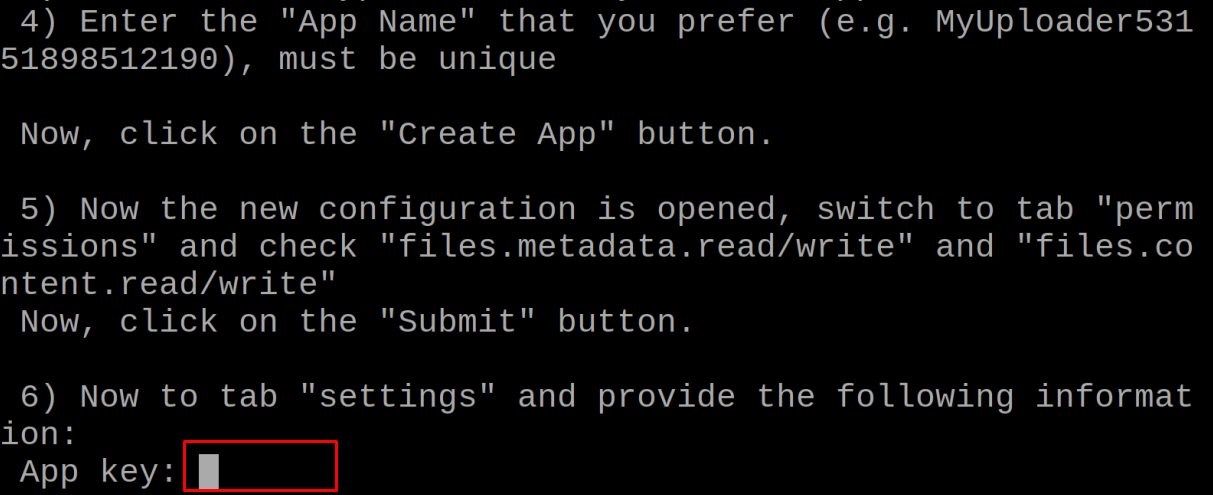
At the end of the output of the above command, it will ask for the “App key”:
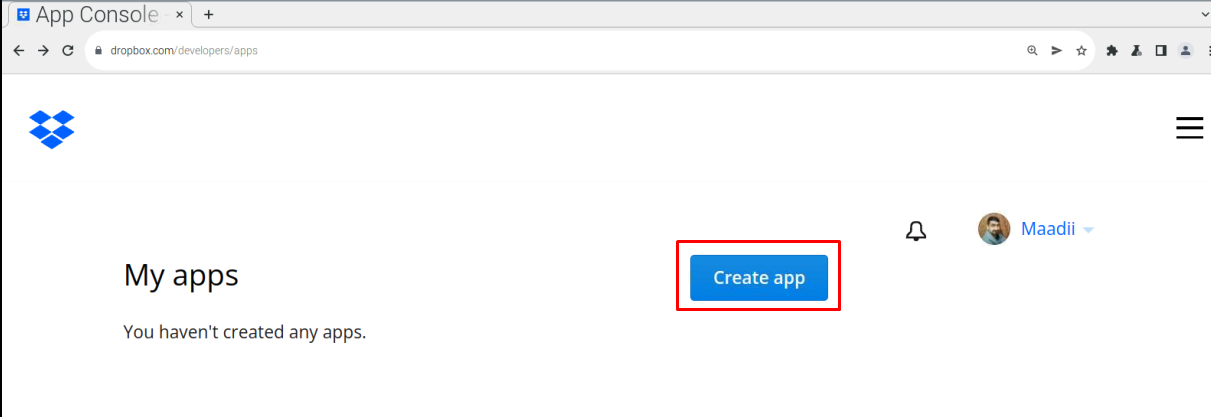
Now hold on here, and open the chromium-browser to go to the Dropbox app developer url and login with your Dropbox account, a screen will appear having a “Create an app” button, click on it:
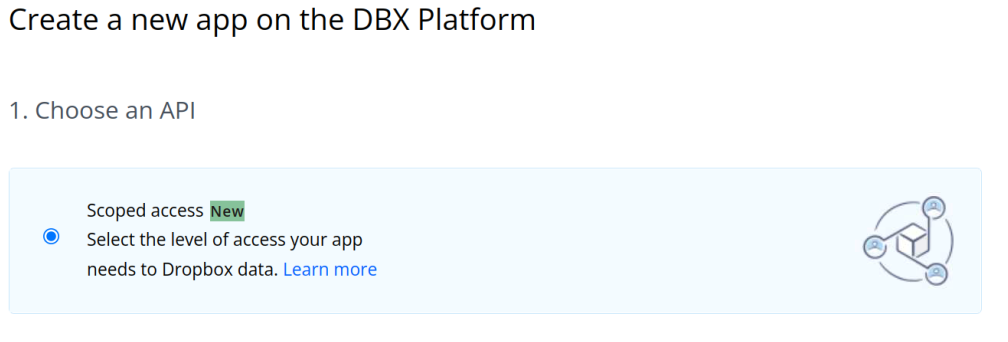
Then we will choose the API, in our case, it is providing only one option of “Scoped access” so we will choose it:
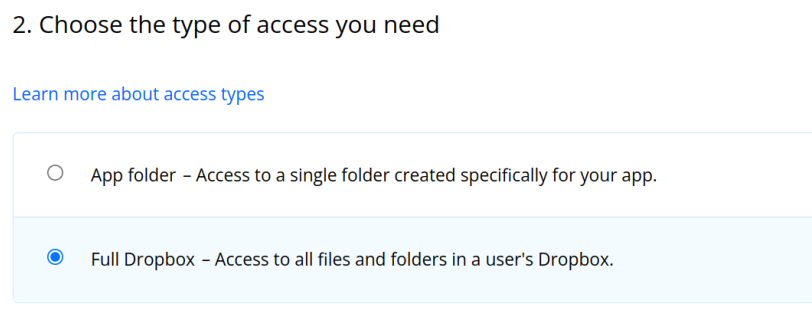
Next select the option of “Choose the type of access you need”, here choose the “Full Dropbox”:
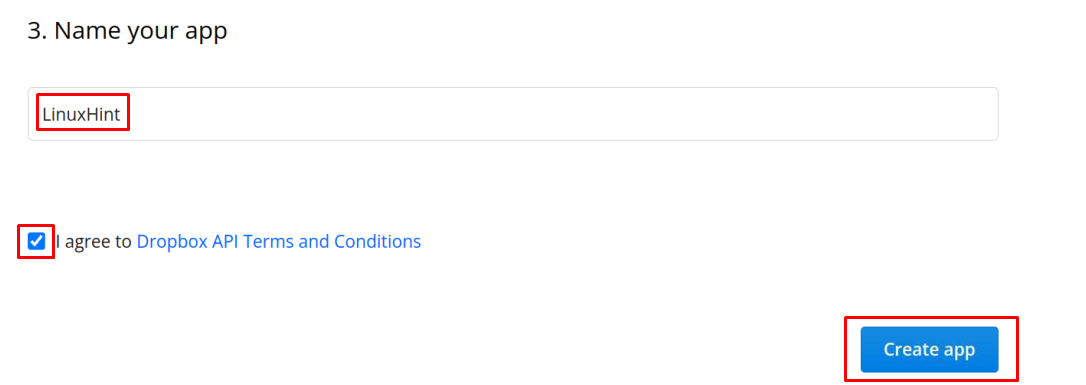
And in the last section, assign a name to the application, we are assigning “LinuxHint”, then check in the agreement box to accept and finally, click on the “Create app” button:
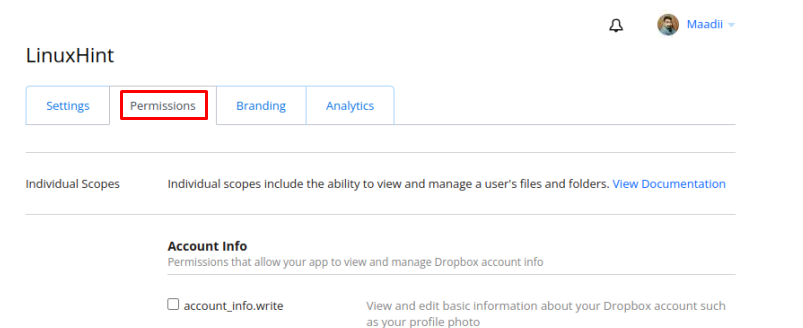
Now click on the new app created with the name of “LinuxHint” and click on the “Permission”:
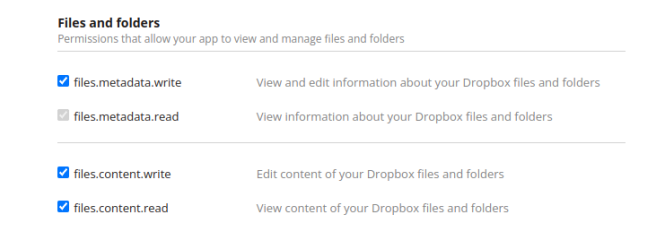
Scroll down the “Permissions” section and check the four options which are shown in the image below:
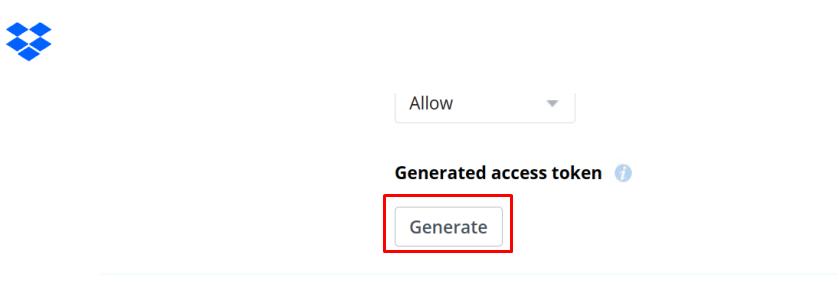
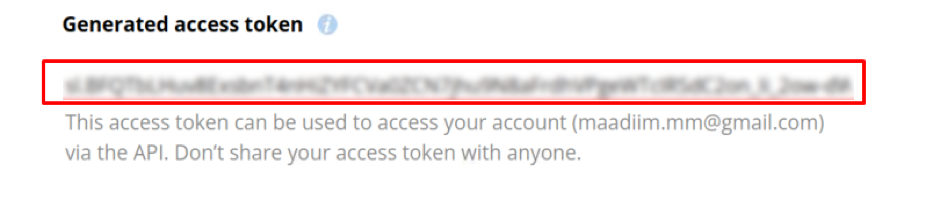
A token link will be generated, copy it and save it:
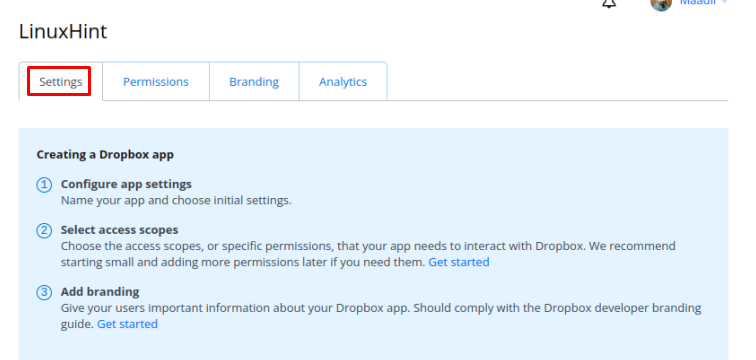
Then click on the “Settings” option again:
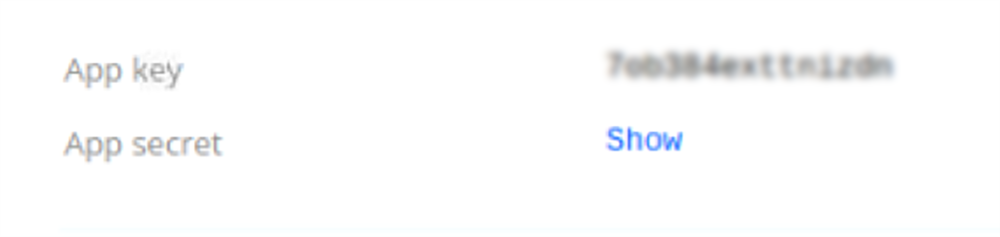
Scroll down and you will find the “App key” and “App secret”, note down them and return back to the terminal:
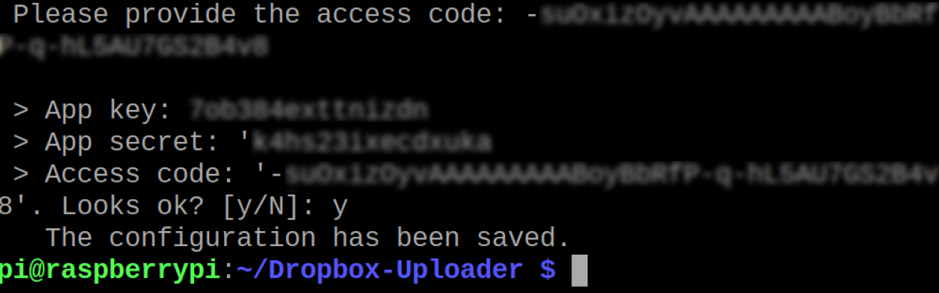
In the terminal enter all the codes, (when you enter the “App secret”, then it will give you a link, visiting it, you will get the “Access code”), once all the information is provided you will link with your dropbox cloud:
How to use the dropbox on Raspberry Pi
We will learn the usage of the basic commands to manage the Dropbox from the terminal of Raspberry Pi, so first we will list down the contents of our dropbox cloud by using the command:
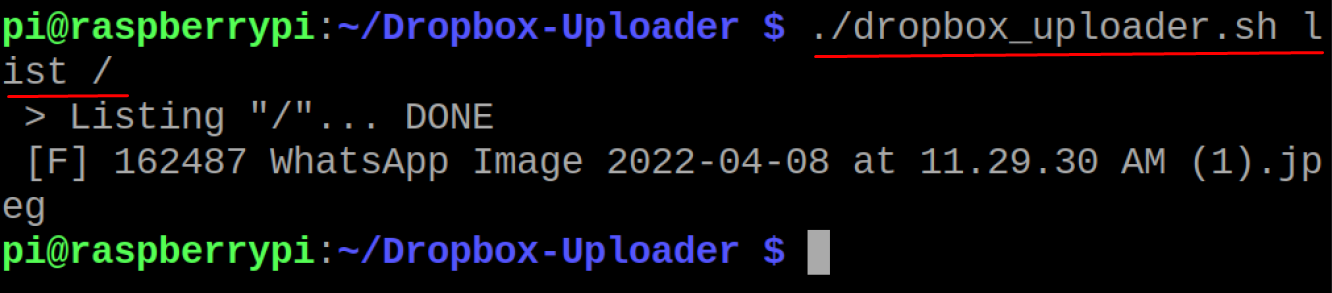
In the above output, we can see a file with the name of “WhatsApp Image”, similarly, if we want to upload a file, for example , we will upload a file “myfile.txt” using the command:

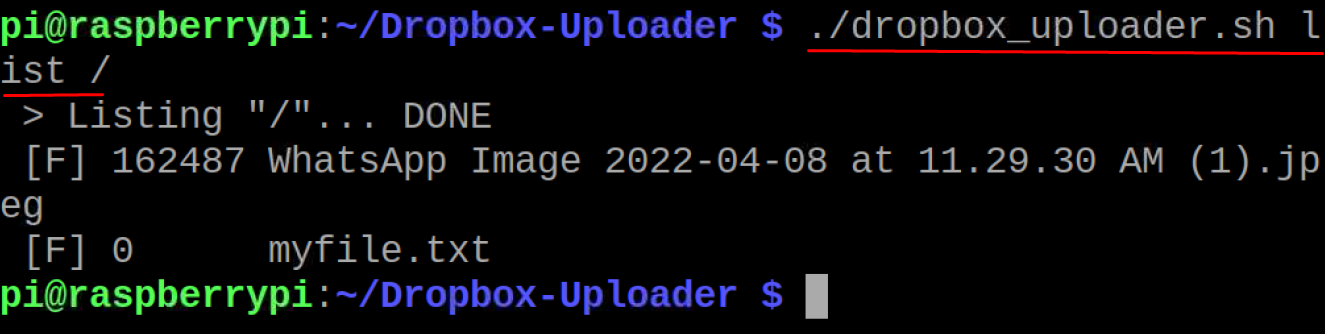
To confirm the file has been uploaded, we will list the contents of th dropbox cloud by using the command:
If we want to delete the file from the dropbox cloud, we will use the delete command, for example, we will delete the uploaded file:

Again we will list down all the contents of the dropbox cloud to confirm the deletion of the file:

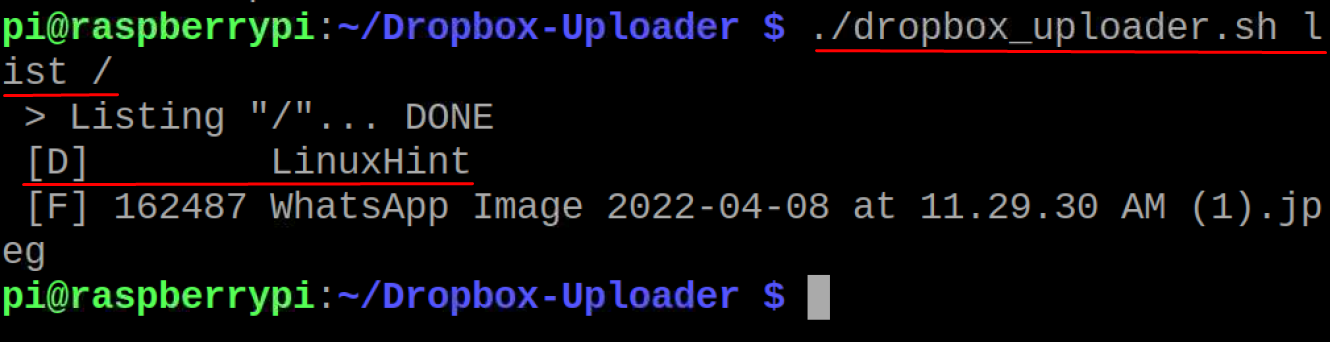
Similarly, if we want to create a directory on the cloud, we will use the command:

To confirm the creation of the Directory, “LinuxHint”, we will use the list command:
Finally, to unlink the dropbox cloud account from the terminal, we will use the command:
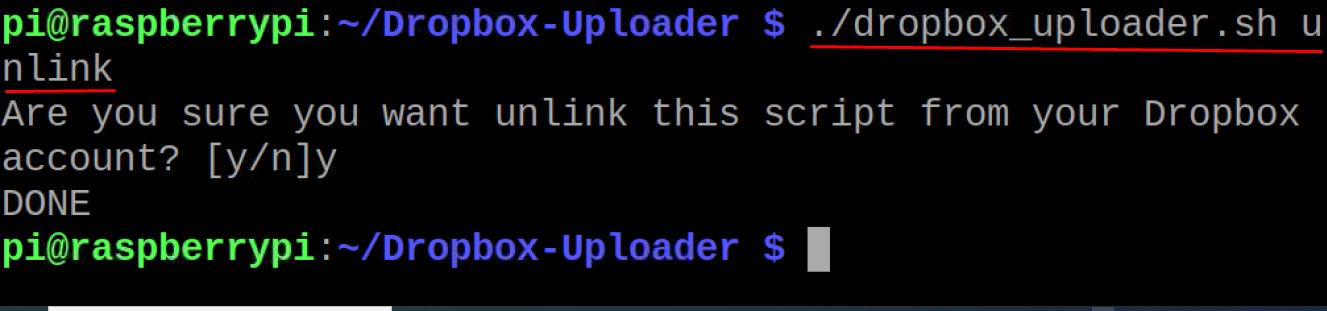
It will confirm before unlinking the account, type “y” and press the ENTER key so it will unlink the account.
Conclusion
People nowadays, prefer to store their files and documents on the cloud servers instead of the portable storage devices so they can access their data from anywhere. Dropbox provides cloud storage services to store the data so you can access it as well as share it with others easily all around the world. In this write-up, the installation of the Dropbox package with its configuration has been explained with a brief description of its basic usage from the terminal of Raspberry Pi OS.