In this tutorial, you will find the guideline to setup ThingsBoard on Raspberry Pi.
Install and setup ThingsBoard on Raspberry Pi
As ThingsBoard uses the Web interface for performing various tasks, you will require the server-side configuration to set up ThingsBoard on Raspberry Pi. The following step-by-step guidelines will assist you in installing and setting up ThingsBoard on Raspberry Pi:
Step 1: Install Java
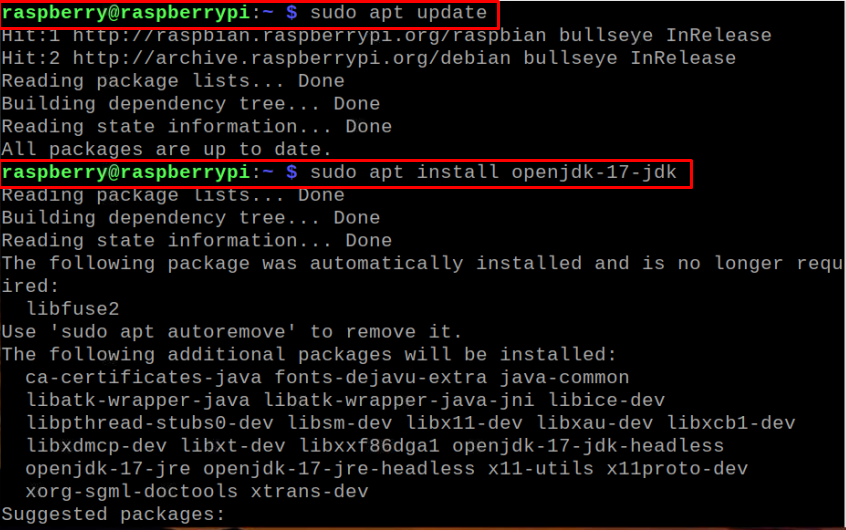
ThingsBoard service requires Java on Raspberry Pi. If the Java isn’t installed, issue the following commands to install it:
Step 2: Install ThingsBoard
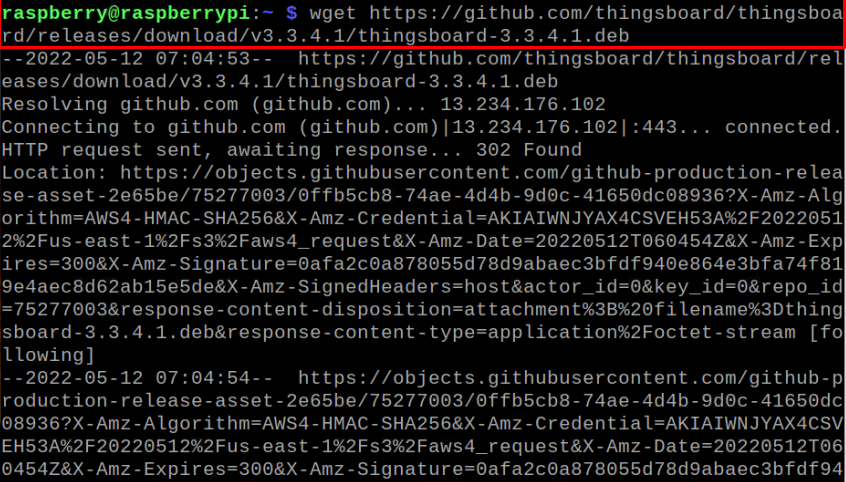
Now, to install ThingsBoard on Raspberry Pi, you will first need to download its deb package using the following command:
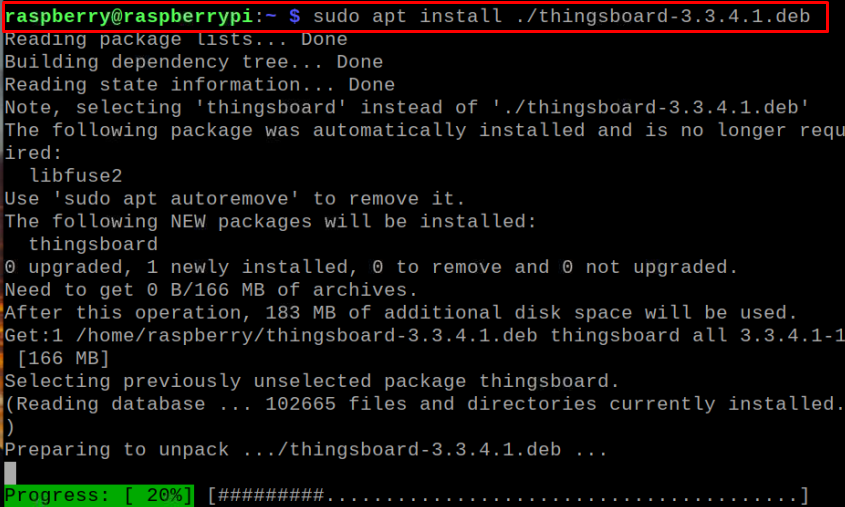
Then use the following apt command to install it on your Raspberry Pi:
The above command will install the Thingsboard deb package on Raspberry on Raspberry Pi.
Step 3: CreatingThingsBoard Database using PostgreSQL
After the successful installation of ThingsBoard on Raspberry Pi, it’s now time to configure its database. The team of ThingsBoard recommends the use of PostgreSQL because it’s the most cost-effective solution for several ThingsBoard instances.
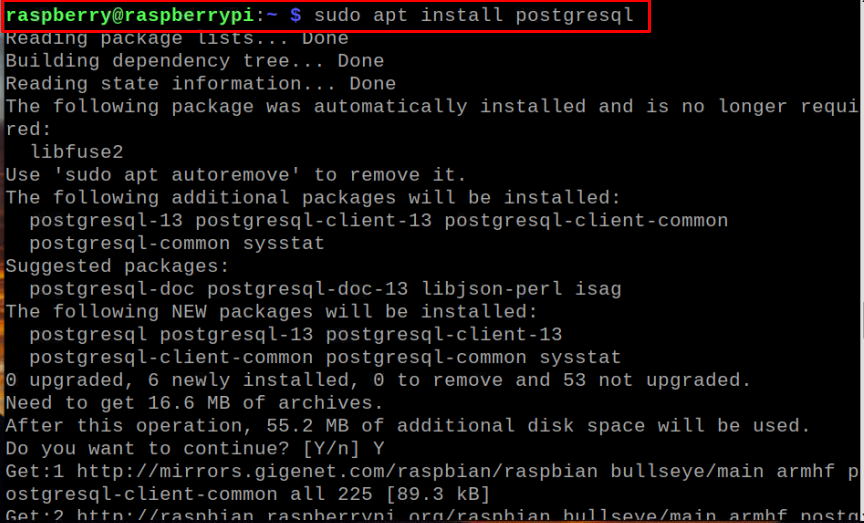
To install PostgreSQL on Raspberry Pi, use the following command:
After the installation, set the password for the existing default user “Postgres” by issuing the following command:
Then use the following statement to enter the postgres workspace:
Next, type in the following statement to add the new password for the user:
Then use “\q” to quit.
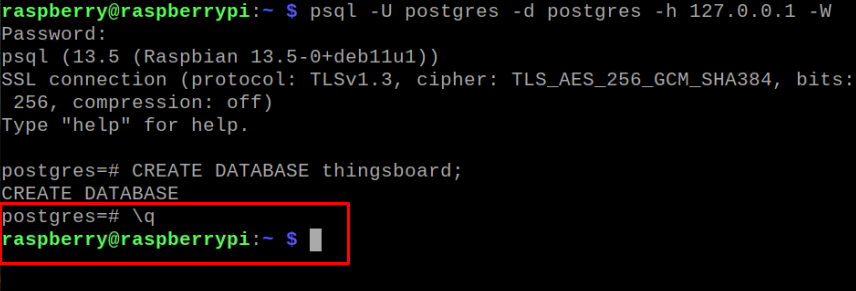
Now, use “CTRL+D” to return to the main user. Then run the below-given command to connect to PostgreSQL for creating the ThingsBoard database.
Type password, you have set before.
Now, create ThingsBoard database through following statement:
Then use “\q” to go back to the main user.
Step 4: Configure ThingsBoard on Raspberry Pi
After creating the database, it’s now time to configure ThingsBoard on Raspberry Pi. For that, open the configuration file via below-given command:
Now, paste the following lines in the file.
export DATABASE_TS_TYPE=sql
export SPRING_JPA_DATABASE_PLATFORM=org.hibernate.dialect.PostgreSQLDialect
export SPRING_DRIVER_CLASS_NAME=org.postgresql.Driver
export SPRING_DATASOURCE_MAXIMUM_POOL_SIZE=5
export SPRING_DATASOURCE_URL=jdbc:postgresql://localhost:5432/thingsboard
export SPRING_DATASOURCE_USERNAME=postgres
export SPRING_DATASOURCE_PASSWORD=
export SQL_POSTGRES_TS_KV_PARTITIONING=MONTHS
Save the file by using the “CTRL+X” buttons, press “Y” and enter.
Step 5: Optional Step for Low Memory Machines
If you have a device having 2GB of RAM, you can add the following line in the configuration file to update the ThingsBoard memory usage by restricting it to the value of your choice.
Step 6: Execute installation script
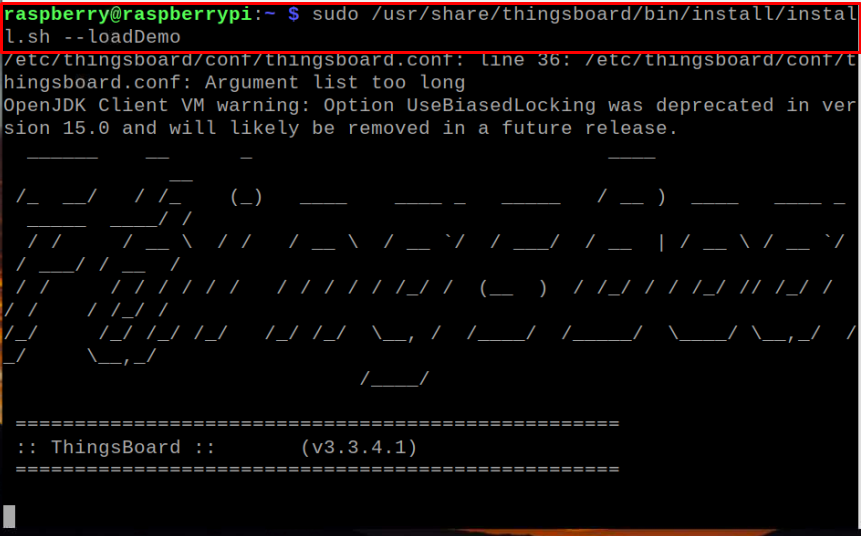
After completing the above step, you are now good to run the following ThingsBoard installation command on your Raspberry Pi terminal:
Step 7: Start ThingsBoard Service
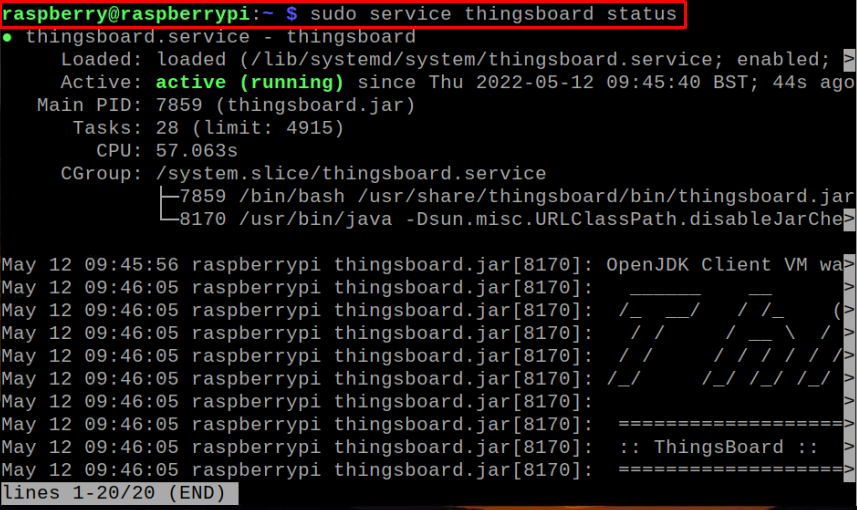
After the installation, you can start ThingsBoard service using the following command:
To check the status, use the following command:
Step 8: Opening Web Interface
Now, go to your browser tab and use the address “http://localhost:8080/” to open the ThingsBoard web interface.
You can find the IP address of Raspberry Pi via issuing the below-given command:
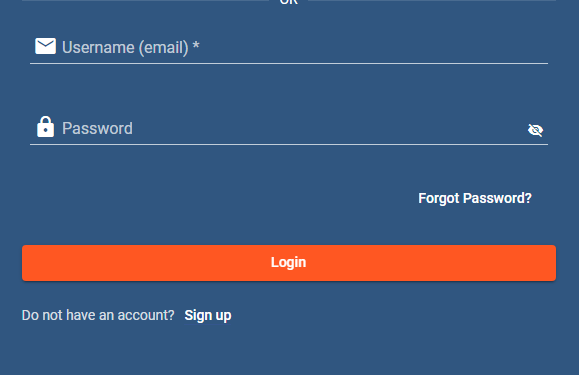
This will open the ThingsBoard login screen. You can use the default login credential if you have specified –loadDemo during the script execution.
- Tenant Administrator:
Email: [email protected]
Password: tenant - System Administrator:
Email: [email protected]
Password: sysadmin - Customer User:
Email: [email protected]
Password: customer
Conclusion
ThingsBoard is a robust and scalable IoT platform used to collect data and manage the devices from a remote location. It helps to enhance the performance of both software and hardware as well as includes several other features that make your IoT experience well above your imagination. The above setup guide will assist you in installing and setting ThingsBoard on Raspberry Pi by creating a database through PostgreSQL so that you will be able to access the ThingsBoard dashboard right onto your browser tab.

