In this article, you will learn how to install and set up the MariaDB server on your Raspberry Pi system.
How to Install and Setup MariaDB Server on Raspberry Pi
You can install and set up the MariaDB server on your Raspberry Pi system through the following steps:
Step 1: Update Raspberry Pi Repository
The Raspberry Pi system does include a MariaDB server repository, which makes it simple for the users to install it. However, to ensure an updated version of MariaDB, you must update the repository through the following command:
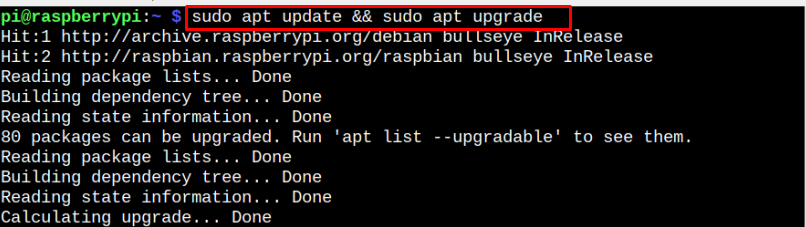
The first part of the command checks for package updates, while the second part installs the updates on your Raspberry Pi system.
Step 2: Install MariaDB Server
Once the Raspberry Pi repository is updated, follow the below-given command to install the MariaDB server:

The above command installs the MariaDB server. In my case, it’s already installed on Raspberry Pi.
Step 3: Configure MariaDB Server
Before creating your first MariaDB database, you must secure the MariaDB server.
For this purpose, you must execute the following command to enter the MariaDB configuration.
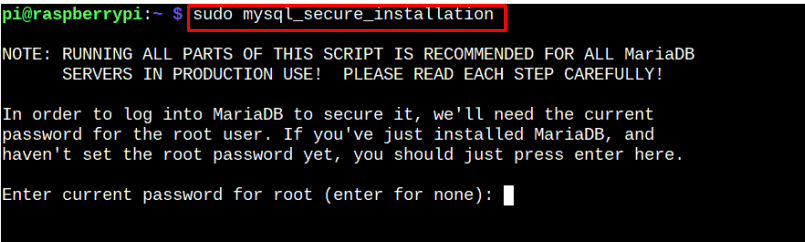
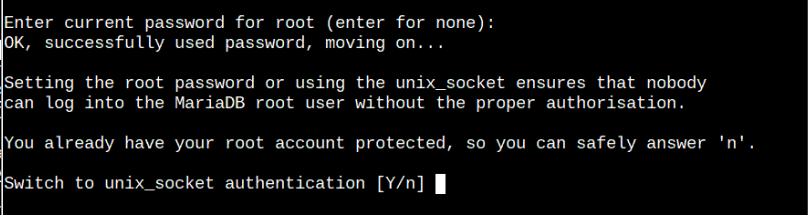
You must enter your system password to log in to the MariaDB database. After login, you can safely reply with “n” to stay with the root account protected option.
Remove the anonymous users by replying with the “Y” option.

Disable the root login remotely by replying with the “Y” option.

You can remove the test database using the “Y” option.

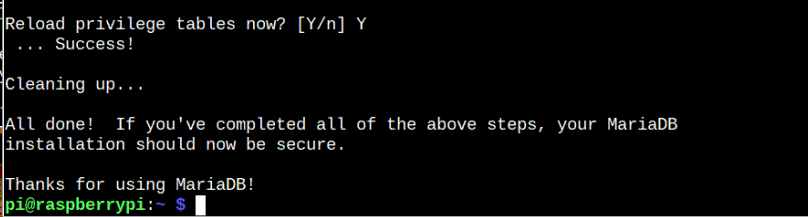
Reload the privilege tables with the “Y” option to apply the changes you made earlier. This completes the configuration of the MariaDB server on your Raspberry Pi system.
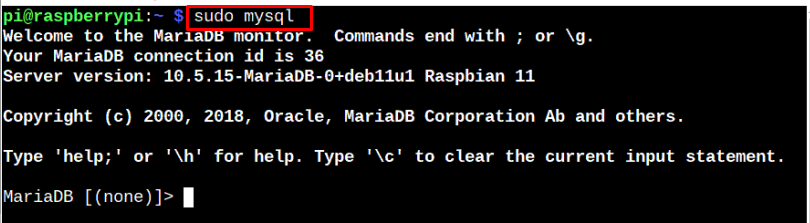
Step 4: Create a Database Via MariaDB Monitor
To start learning how to create your first MariaDB database, execute the following command to enter MariaDB monitor.
Enter the following command to create a database for the MariaDB server.
Replace the <database_name>:

Remember, you can name your database according to your choice.
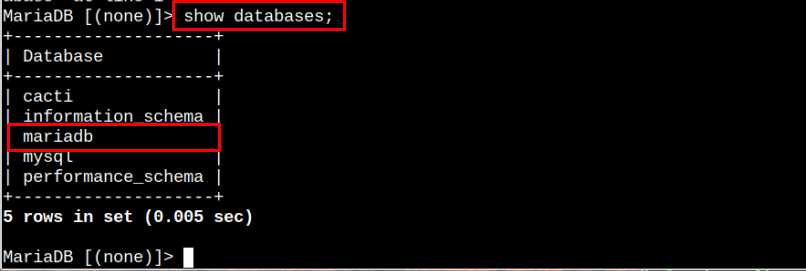
To confirm the database is created, you can use the following command:
Now set a username and password for the database you created earlier and for this reason, you have to use the following command:

Replace the <user_name> and <passoword> in the above command.
You have to enter your database name, username, and password in the above command and then you can apply the changes by flushing the privileges table through the following command:

After the changes are applied, you can quit the MariaDB setup using the following command:

At this moment, you have successfully created your first database using the MariaDB server. In this way, you can create any database you want or access other databases with the help of MariaDB.
Conclusion
MariaDB is a simple and easy-to-use relational database server. You can install this database server on Raspberry Pi directly from the official repository and then use the “my_secure_installation” command to secure your database. Later, you can create your database by login into the MariaDB monitor through the “mysql” command.