If you want your Raspberry Pi device to be a part of a noble cause, you will need to set up Boinc on your device so that you will be able to donate your Raspberry Pi computational resources to the scientific community. This article will present you with the necessary guidance to set up Boinc on Raspberry Pi.
Setting Up Boinc on Raspberry Pi
Installing Boinc on Raspberry Pi isn’t a hard job even for the beginner and you just need to follow the below-mentioned steps to successfully install Boinc on Raspberry Pi.
1: Update Raspberry Pi Packages
Before moving towards the Boinc installation, it’s must to update packages on your Raspberry Pi device through following command:
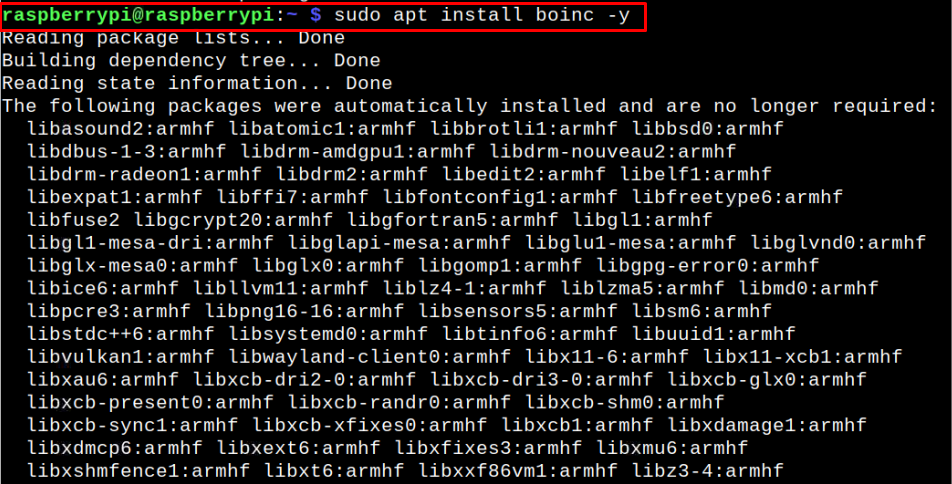
2: Install Boinc on Raspberry Pi
After completing the Raspberry Pi packages update, you can run the following command to install Boinc on Raspberry Pi:
After the installation of Boinc on Raspberry Pi, you will also be able to use Boinc manager which is extremely useful in managing all your tasks on your device.
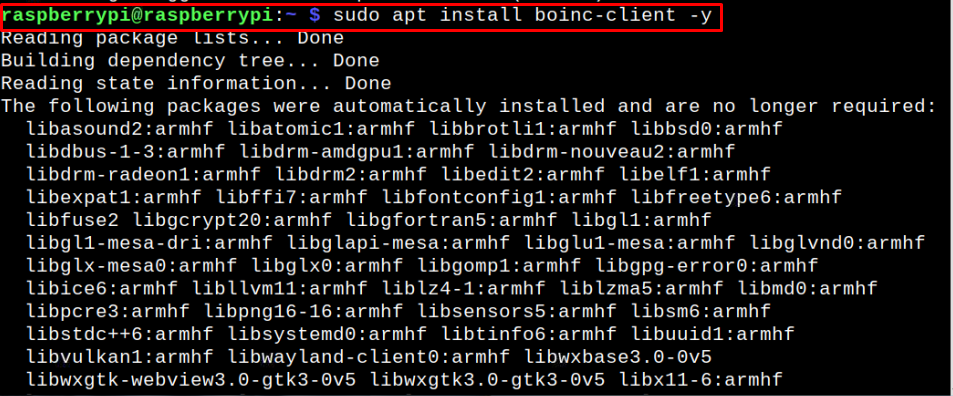
3: Install Boinc Client
You will also require to install Boinc client on your Raspberry Pi device using the following command:
4: Start Boinc Client on Raspberry Pi
After the installation, start Boinc client on your Raspberry Pi using the below-given command:
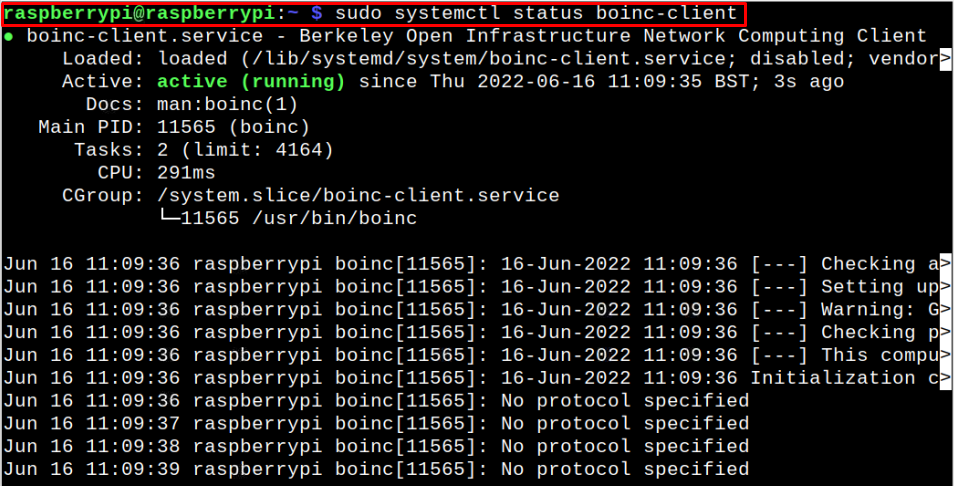
5: Check Boinc Client Status on Raspberry Pi
You will also need to check the status of Boinc client on Raspberry Pi through the following command:
The above command ensures that the Boinc client is successfully running on your Raspberry Pi device.
To enable the Boinc server, use the below-given command:
6: Open Boinc Manager
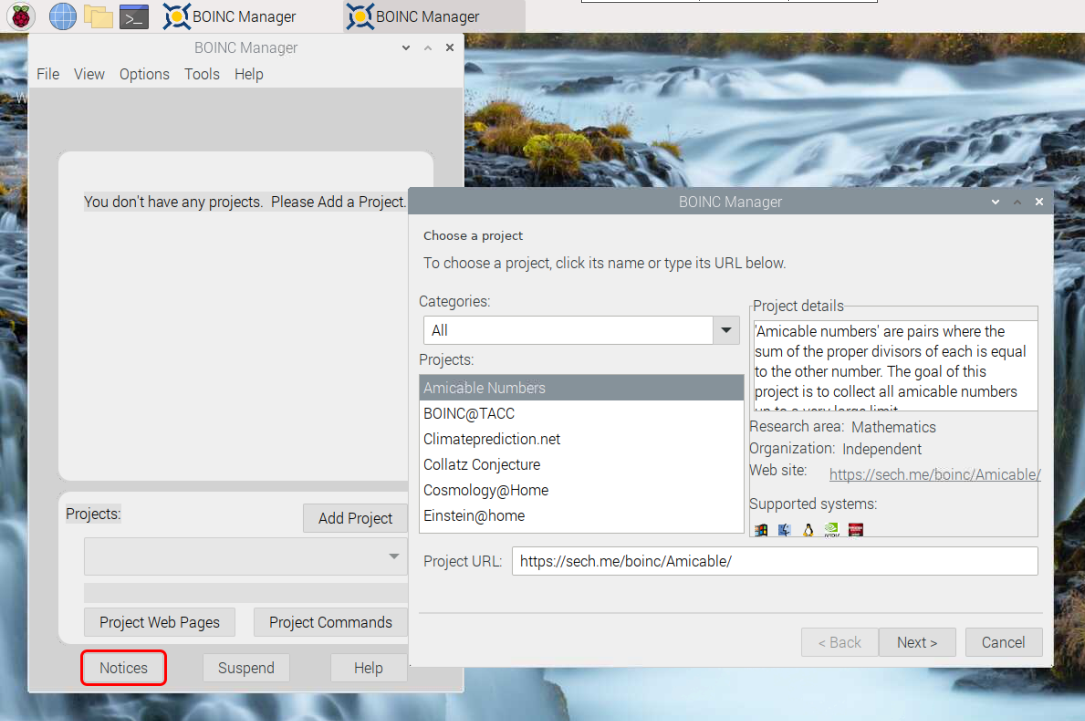
Now, open Boinc manager on your Raspberry Pi device from the main menu option as shown below.
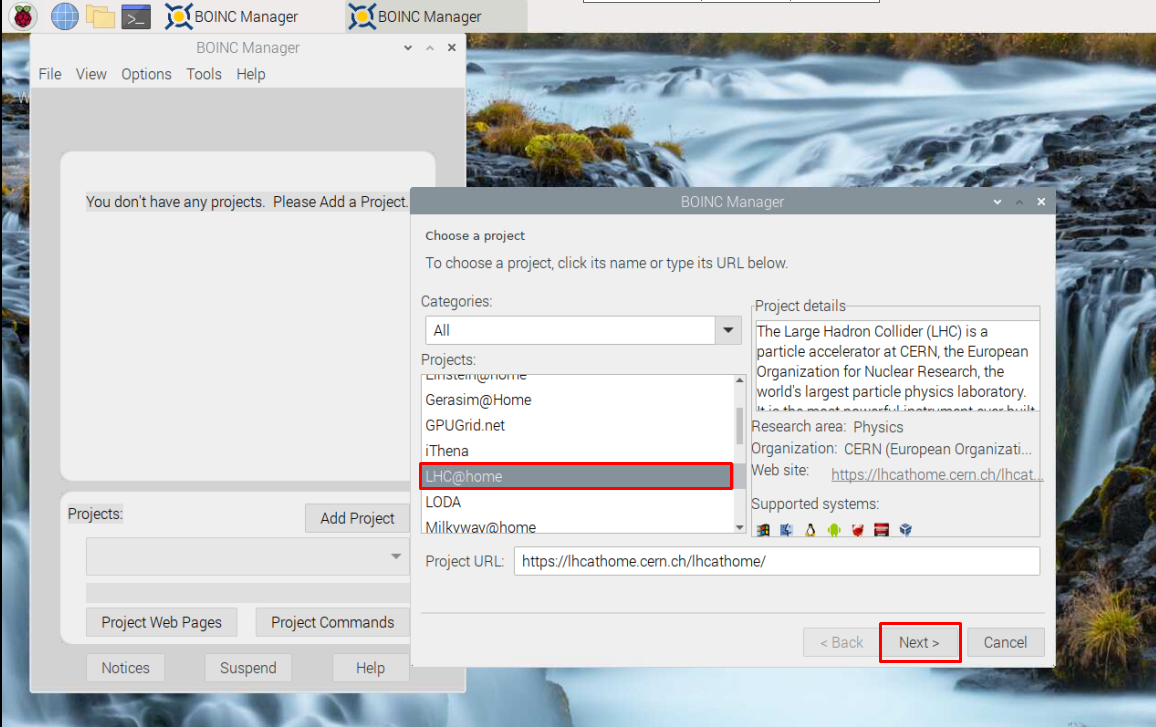
Now pick your project according to your choice as this selection will ensure that you are transferring your resources to the selected project. Here we are choosing the LC@home project. Click on the “Next” option to navigate to the next step.
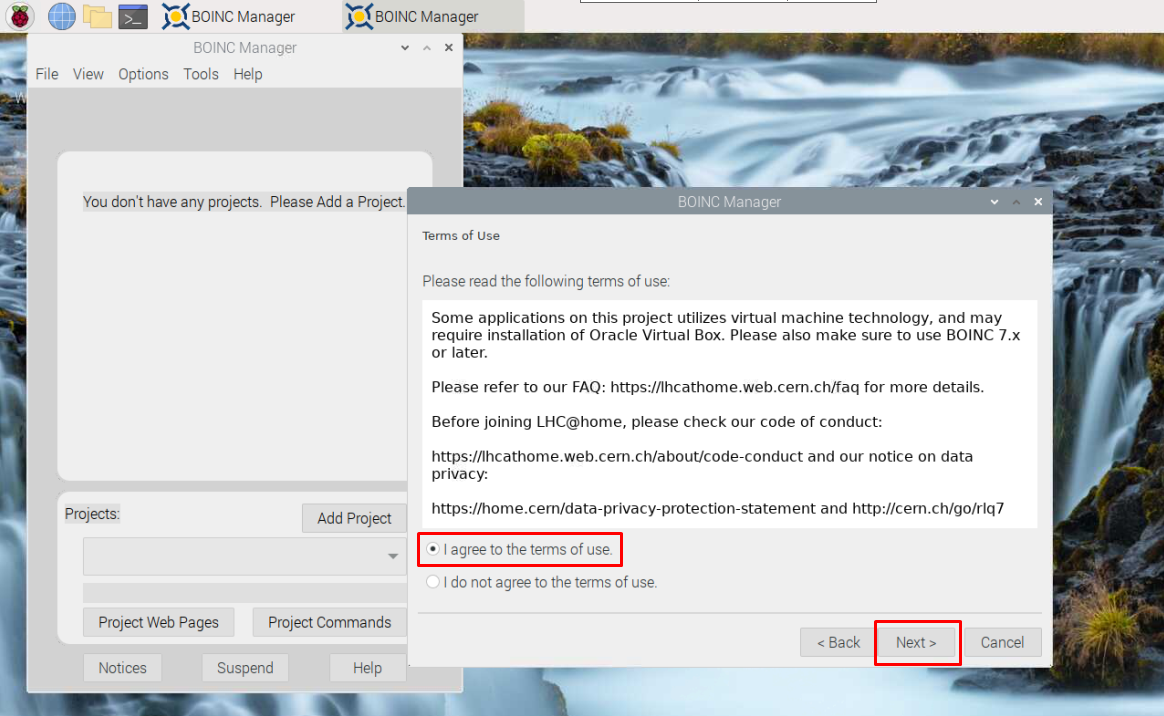
Follow the highlighted option as shown below.
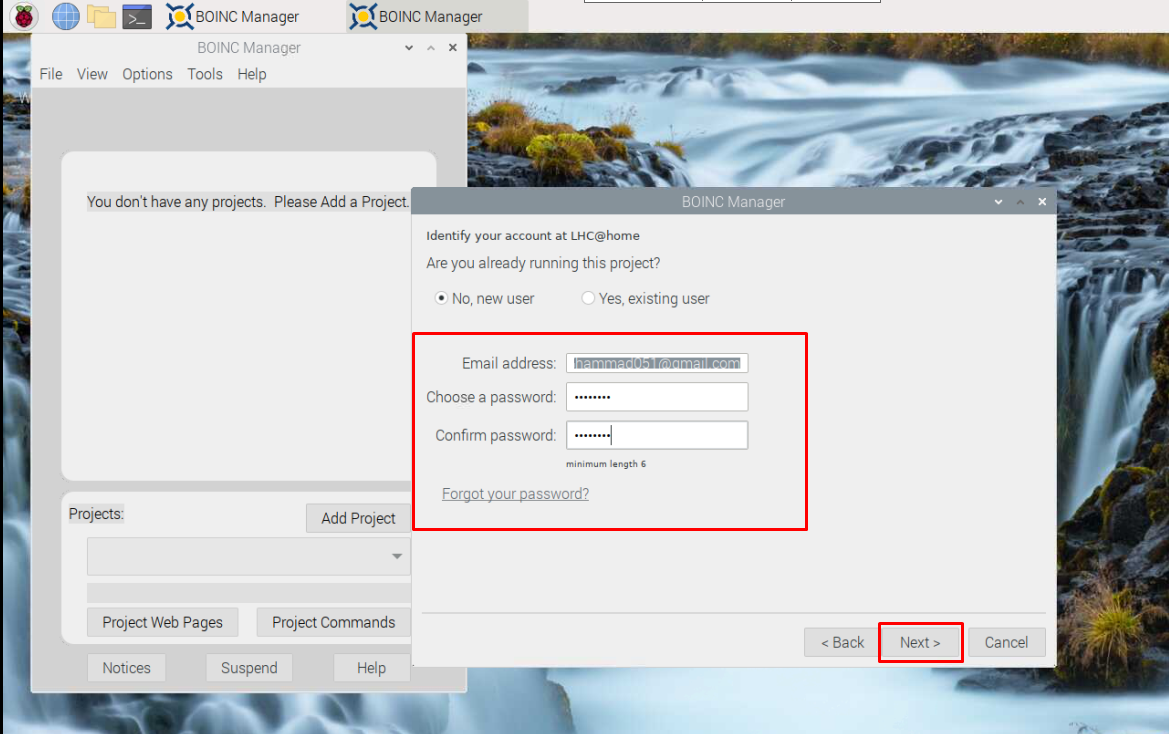
Provide your email address and select a password if you are a new user.
This will start connecting you to the project.
When you click on the “Finish” option, it will go you towards the official page of LC@home.
Click on the “OK” button once you select your desired country location.
You can join a team and if you want to work as an individual, you can simply click on the highlighted option as shown below.
The next screen will ensure that you have successfully registered with LC@home and your device computational power will be utilized if needed.
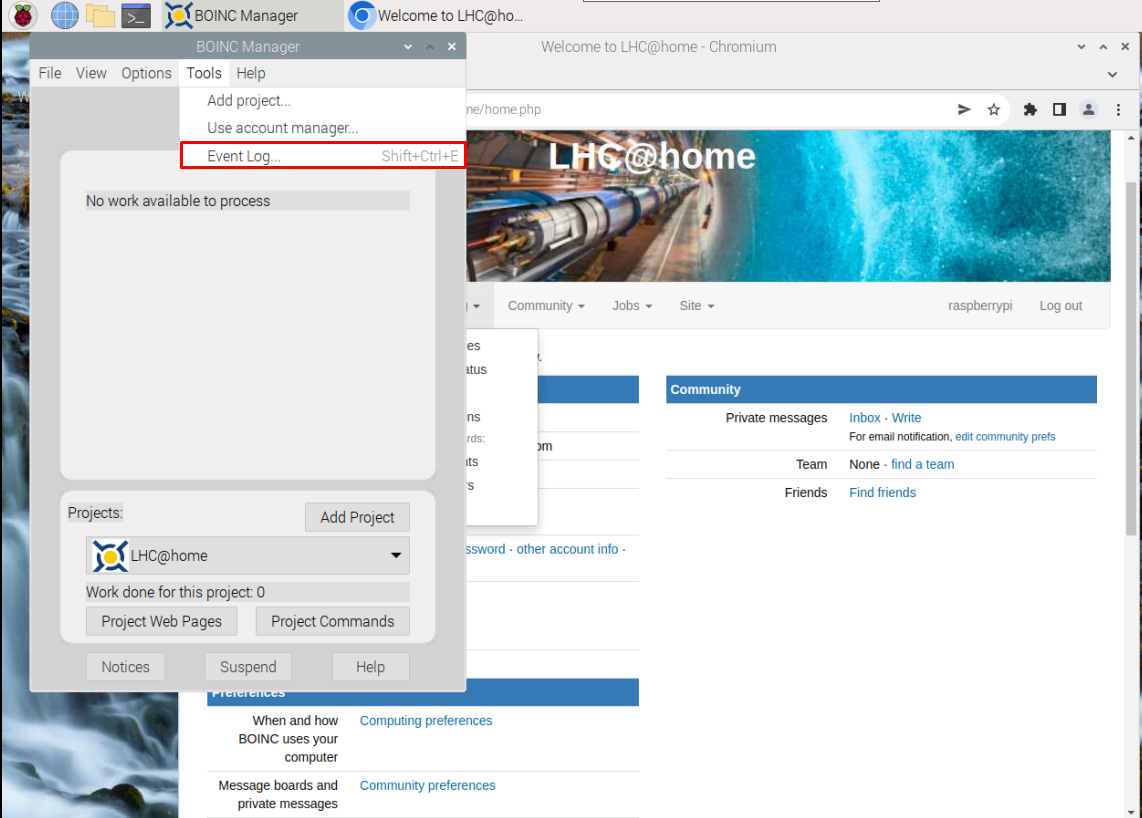
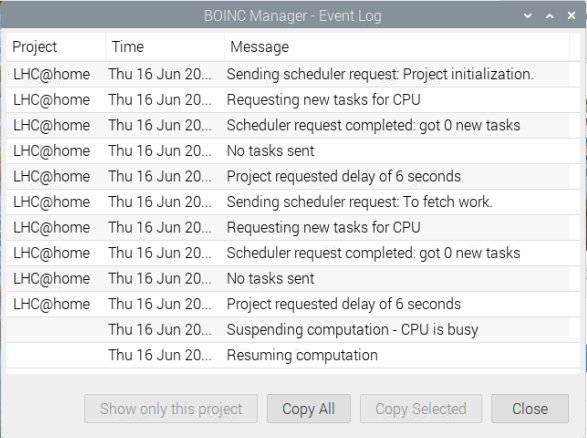
Go to the “Tools” tab on Boinc manager and click on the “Event log” option.
There in the Event Log screen , you will see the event logs on Boinc manager.
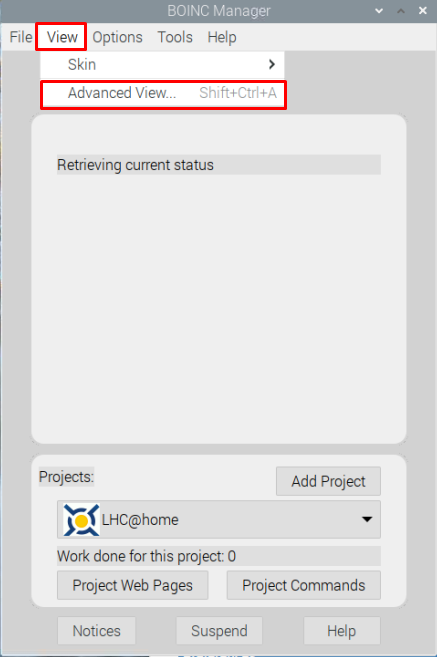
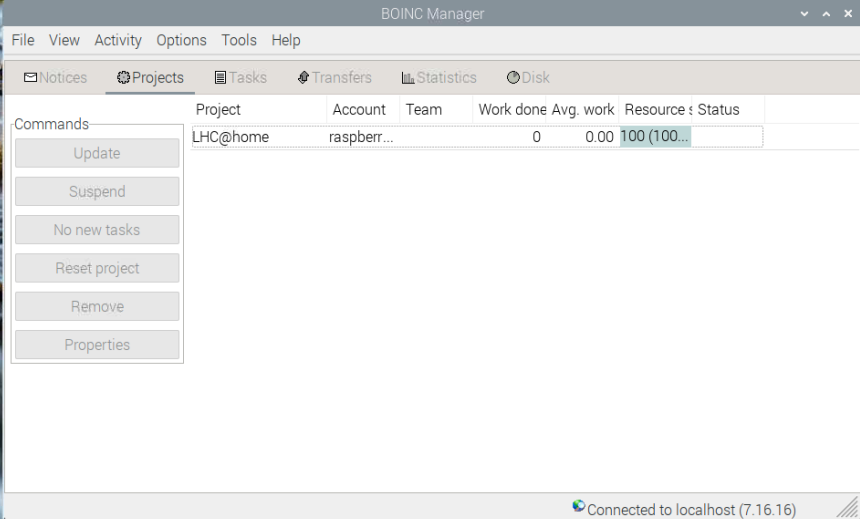
You can also visualize your event log by clicking on the “Advanced View” option available in the “View” section as shown below.
There you will be able to view your project progress in different modes.
Conclusion
Boinc is an excellent platform that enables users to share their devices’ computing resources to help scientists perform their tasks quickly. Setting up Boinc on Raspberry Pi is a straightforward task which you can complete through a simple installation command. After the installation, you can easily run Boinc manager and select a project by yourself to start sharing your device resources to the selected project.


