If you haven’t yet installed the RetroPie onto your Raspberry Pi device, then you should require help in installing it and this article will provide you with necessary guidance to install it on your device.
How to install RetroPie on Raspberry Pi 4
If you want to play your favorite games on your Raspberry Pi device, then you will need to follow the below mentioned steps which will help you to install the RetroPi on Raspberry Pi 4.
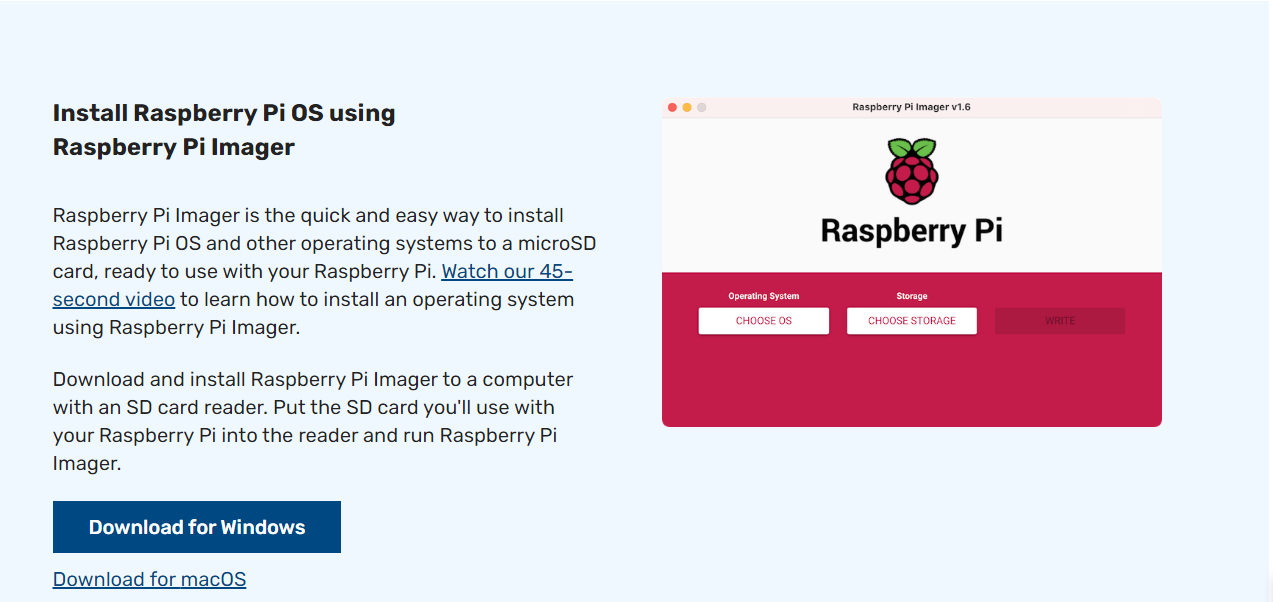
Step 1: As RetroPie is especially designed for the Raspberry Pi users, therefore, it will be accessed from the Raspberry Pi Imager therefore you won’t require to download a separate RetroPie image file. You will only require to download the Raspberry Pi Imager which can be easily available on Raspberry official website.
Step 2: Once the imager is downloaded successfully on your PC, you will then require to open it.

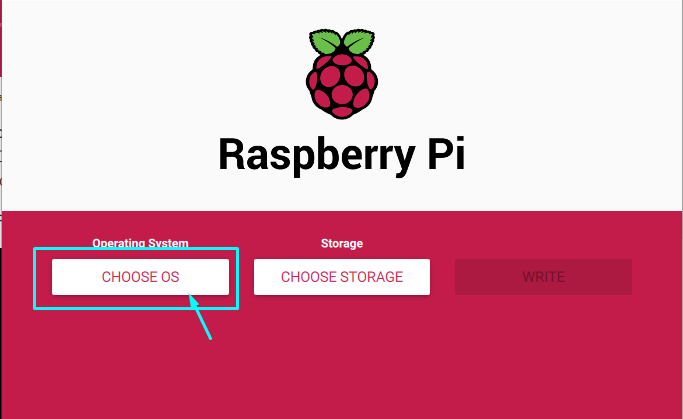
Step 3: Now, you will see three options on the imager and you will have to select each option one by one. For now on, you will need to select the first option which is “CHOOSE OS”.
Step 4: When you perform the previous step, you will need to select an OS for your Raspberry Pi device. As you are installing an emulator for your device so you will need to go with selecting the option “Emulation and game OS”.
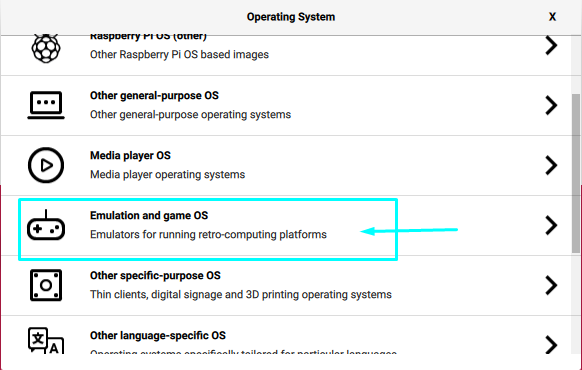
Step 5: Next, click on the option “RetroPie”.

Step 6: In the next window, choose the RetroPie for your device, if you are using Raspberry Pi 4, you will need to select the last option as shown below.

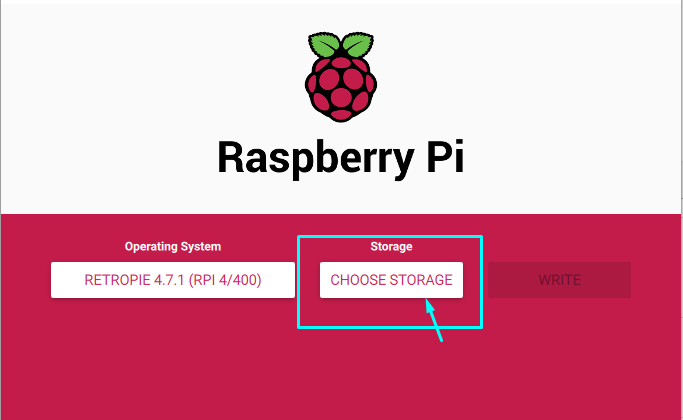
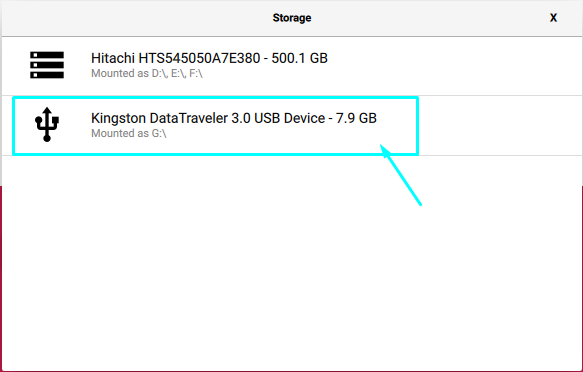
Step 7: After choosing the RetroPie version for your Raspberry Pi device, you will be required to choose a storage option and for that click on “CHOOSE STORAGE” option and select your SD card (card reader) or USB device. In this step, you can choose an SD card with an SD card reader or can use USB storage device.
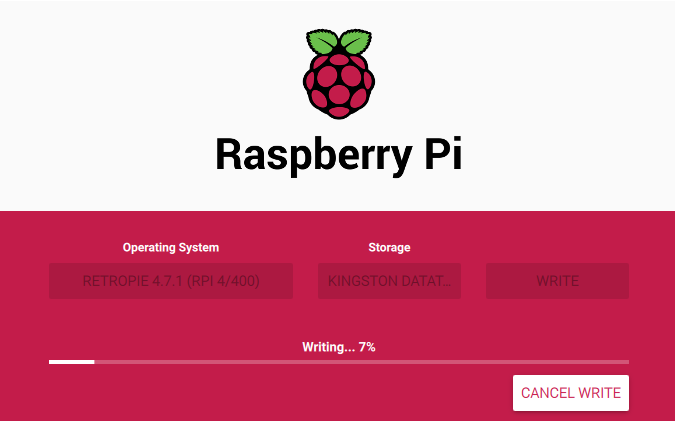
Step 8: In the next step, click on the “WRITE” option to begin the process of creating an image of RetroPie onto your SD card or USB storage.

The process can take a longer time depending on your USB performance and you will have to wait until you will get a message to remove your SD card.
Step 9: Once the setup is completed you will safely remove your storage device. Then, turn on the Raspberry Pi device and after a few seconds, insert the card or USB storage into the device port.
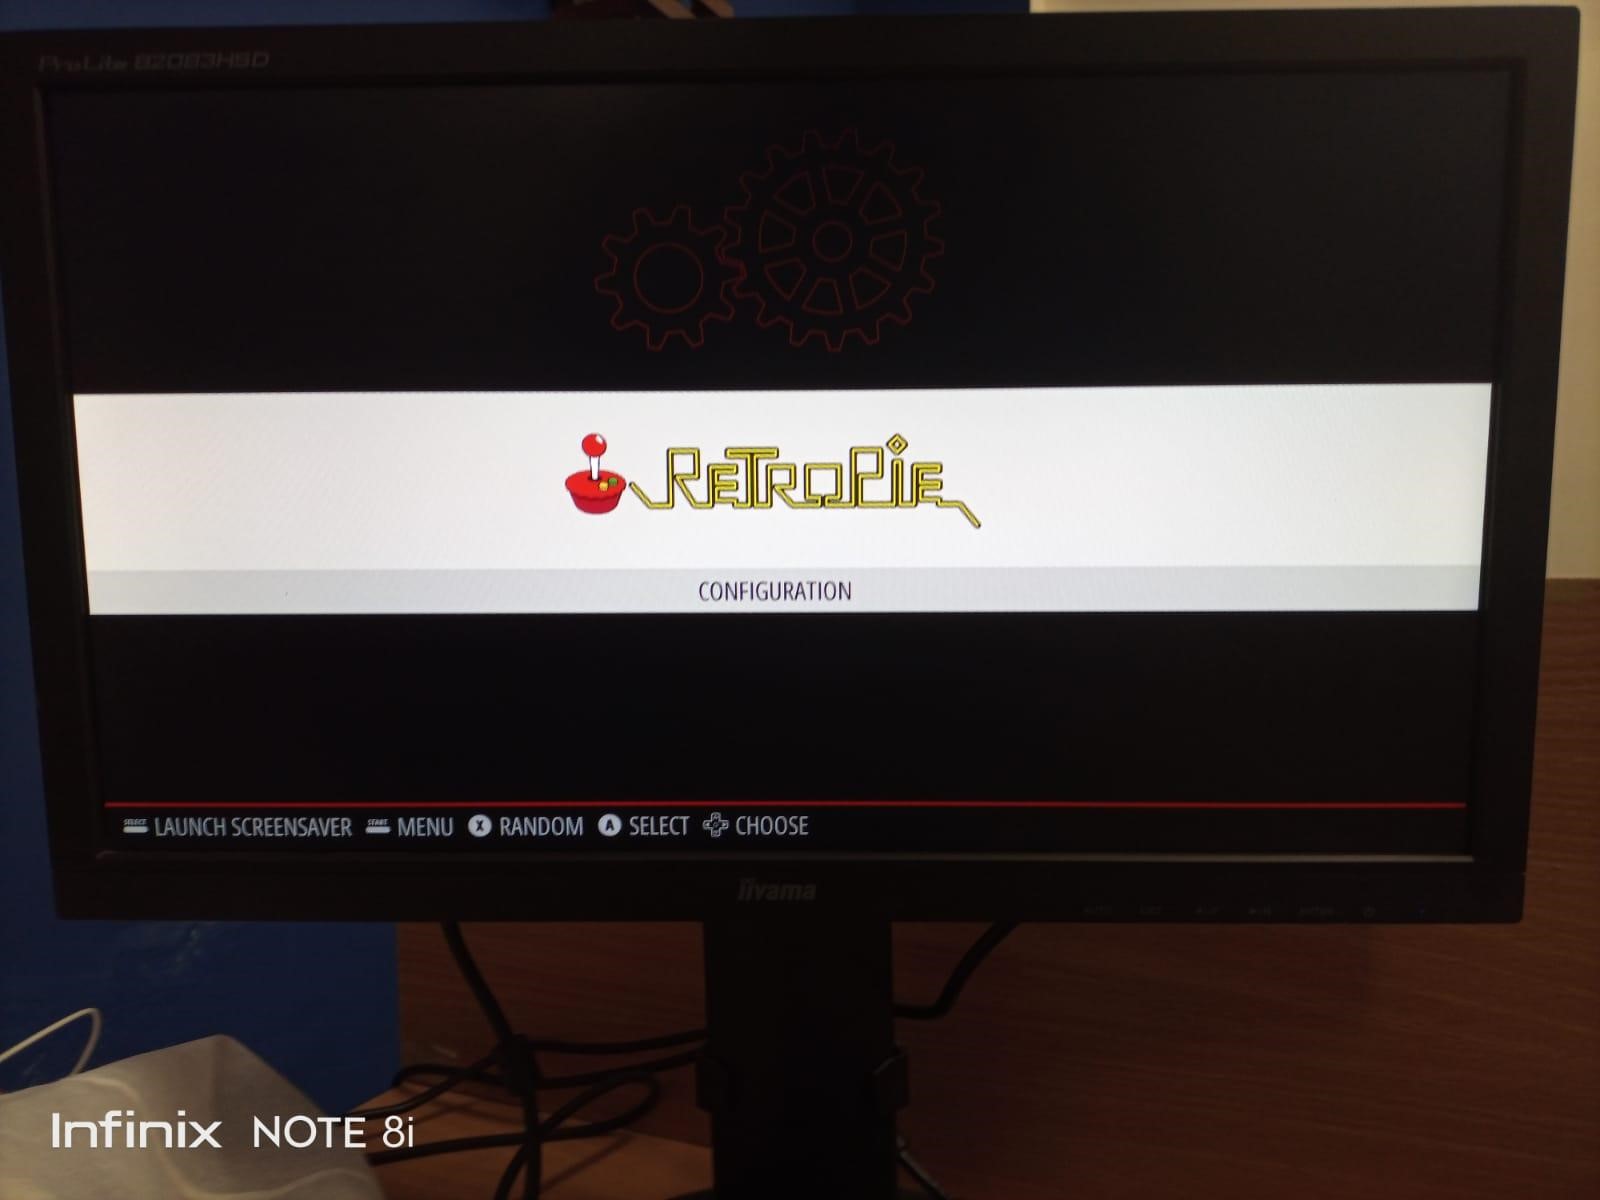
Once it is done, you will see the RetroPie emulator on your display screen in a few seconds.
There you go, now you can safely use RetroPie on your Raspberry Pi device.
Conclusion
RetroPie is a specially designed front end that turns the Raspberry Pi device into a retro-gaming console. It allows users to run different games including ones that they have played on Nintendo Entertainment System (NES), Super Nintendo Entertainment System (SNES), GameBoy, Playstation One and the original xbox. The games can only be played once you install RetroPie on your Raspberry device and the above installation guide will be enough for you in installing the perfect RetroPie gaming OS on Raspberry Pi.