Installing the Raspberry Pi desktop on a PC is a straightforward process and this guide will prove to be helpful in installing the OS successfully on your PC through an external hard drive.
How to install and run Raspberry Pi Desktop on PC through an external hard drive
Here, you will be provided with some steps that will enable you to install and run Raspberry Pi Desktop on PC through external hard drive effortlessly.
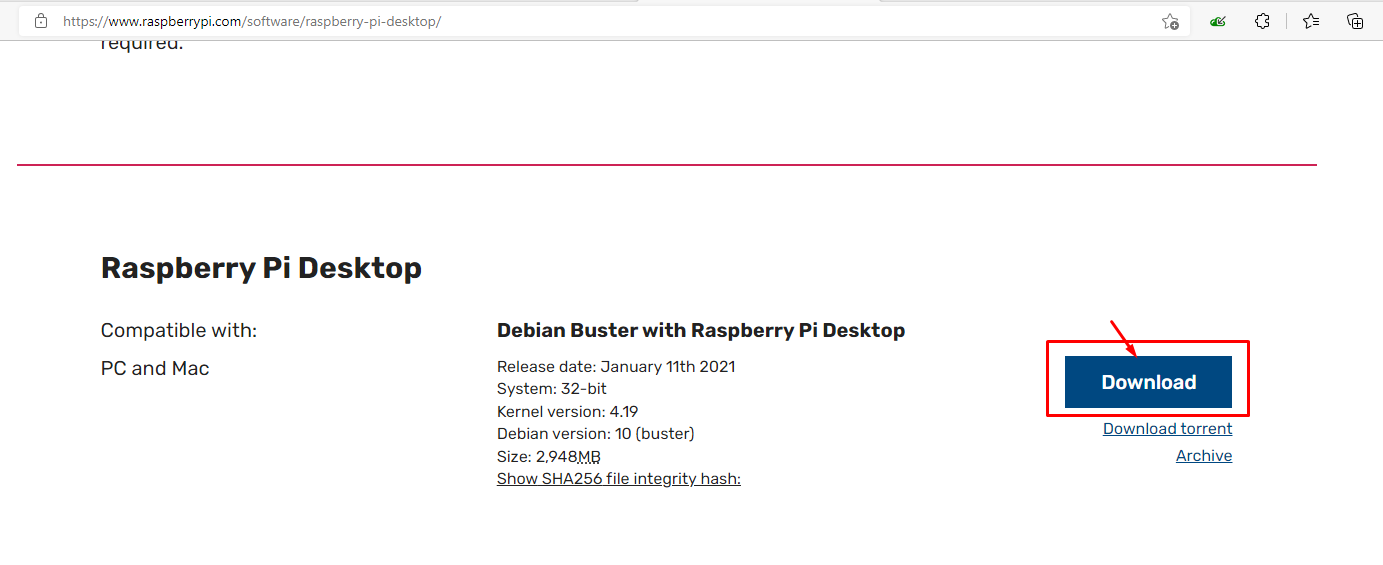
Step 1: Initially, you will need to download the Raspberry Pi iso file from the official website of Raspberry Pi.
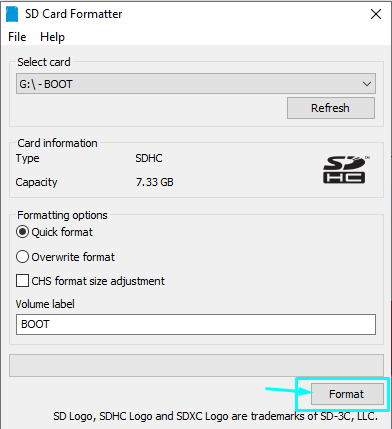
Step 2: Next, you will need to format your SD card properly using the NTFS or FAT file system. It’s better to use SD Card Formatter which you can download from the official website.
Step 3: Now, after completing the first two steps, you will need to install Rufus on your desktop using the official link. The rufus will be an ideal option to create an image of your Raspberry Pi onto your USB device.
Step 4: After the installation is completed, plug in your USB device into the USB port of your PC and open the Rufus app from the Windows’ search box.

Step 5: After opening the Rufus, you will need to select the “Boot selection” option as shown below.

Step 6: Now, you will require to load the downloaded .iso file of Raspberry Pi OS in the Rufus app.

Step 7: Click on the “START” option and pick the recommended choice as indicated in the following picture and then click on “OK”.

Step 8: Again, click on the “OK” option when you will notice a warning appear on your window as you are going to delete the data on the USB device.
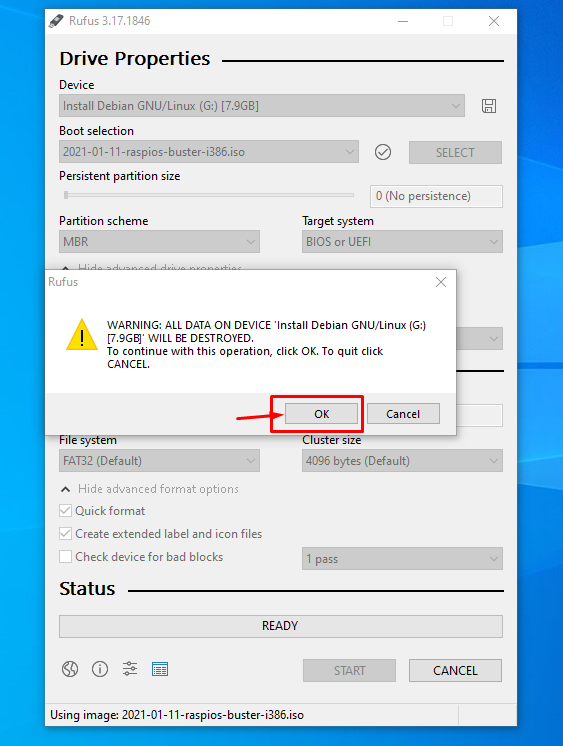
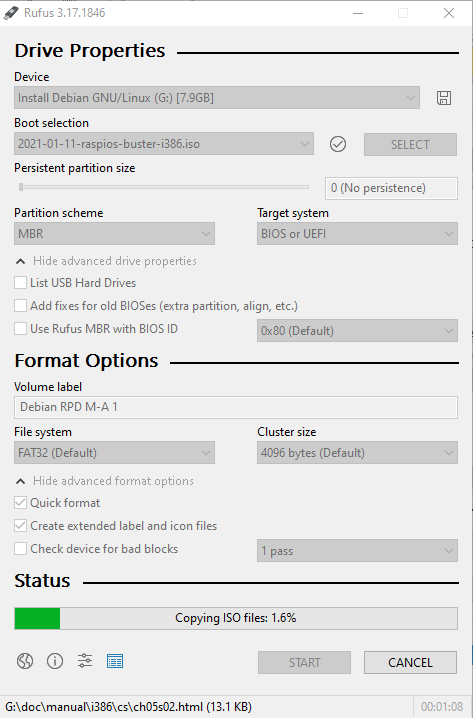
The setup process will start writing the Raspberry Pi image on your USB device and which will take some time.
Step 8: If you wish to protect your previous Windows OS, you can install Raspberry Pi desktop on PC by using an external hard drive as it will save your previous Windows OS as well which is installed in your internal hard drive. The process of installation is similar to installing Raspberry Pi OS on an internal hard drive so you don’t need to worry about that.
Step 9: Now restart your system and press “F12 or F8 key”; keys to enter the BIOS are different for different manufacturers, so ensure you press the right key. It is to be noted that the boot key may be different on different versions so you will need to check the boot key option for your system.
Step 10: When the boot screen appears, you will need to select the Boot from USB option mode as shown in the image below.

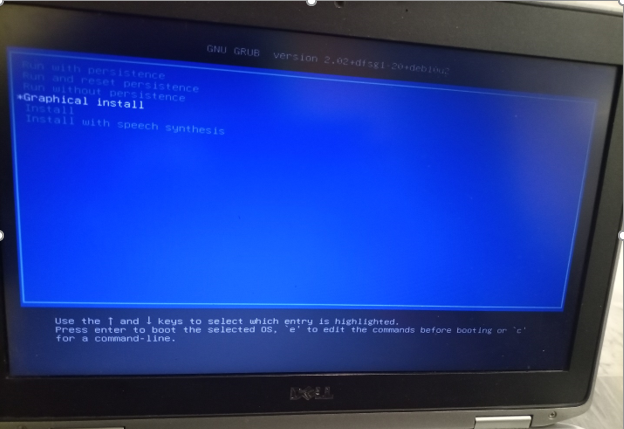
Step 11: In the next step, you will need to select the option “Graphical Install”.
Step 12: In the next step, select the language according to your country and then click on the “Continue” option to go towards the next step.

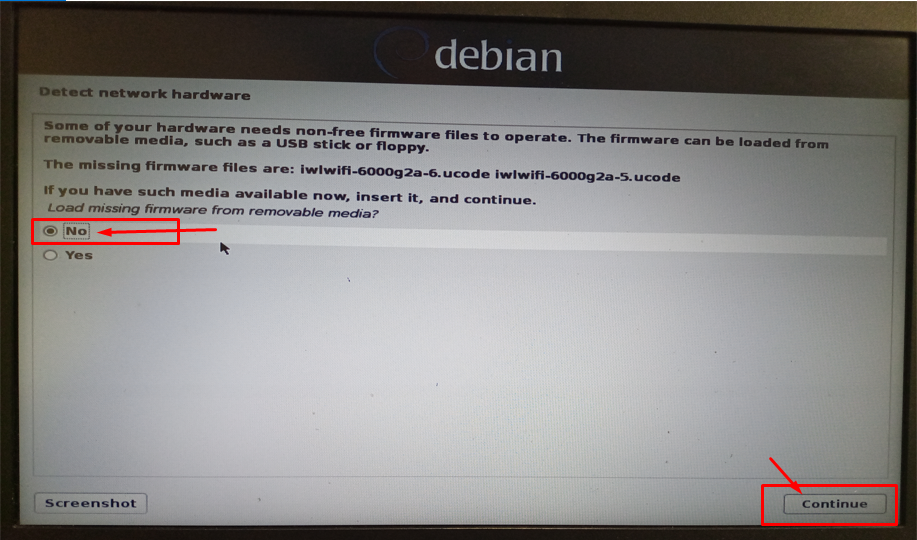
Step 13: Next, choose the “No” option if you don’t have non-firmware files in your removable drive and click on the “Continue” option to go towards the next step.
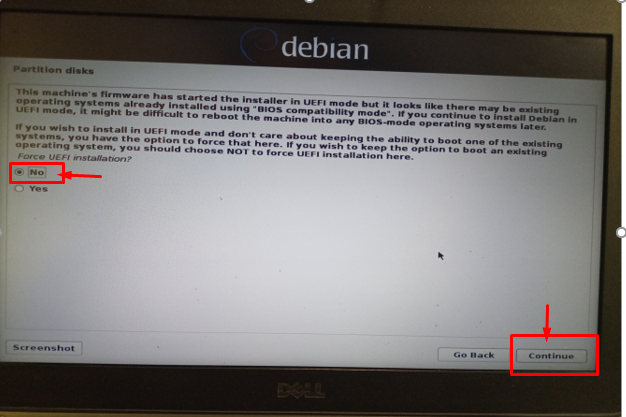
Step 14: Go with the “No” option as you are wishing to keep your operating system on boot.
Step 15: In the next step, you will be required to select a partition disk and you will need to choose manual selection as the other three possible will create a partition on your previous windows drive. If you are going to install the OS on an internal hard drive then you will need to select the first option “Guided-use entire disk” by clicking on the “Continue” option.

Step 16: Select your partition, if you wish to create a partition on an internal hard drive, you will need to select your internal hard drive as it will remove previous data on your drive.
In our case, we are going to use an external hard drive option where Raspberry Pi OS will be installed.

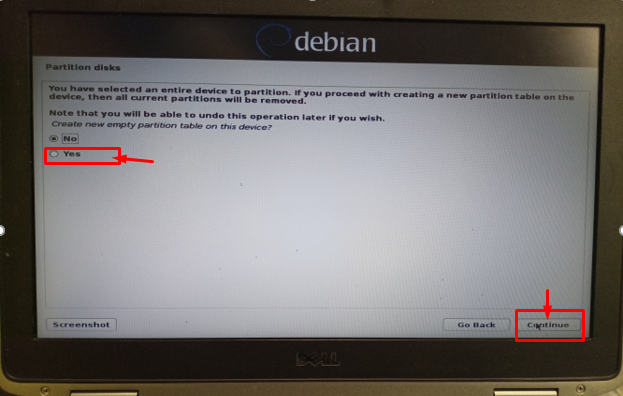
Step 17: Choose the “Yes” option and then go towards the next step by clicking on the “Continue”option.
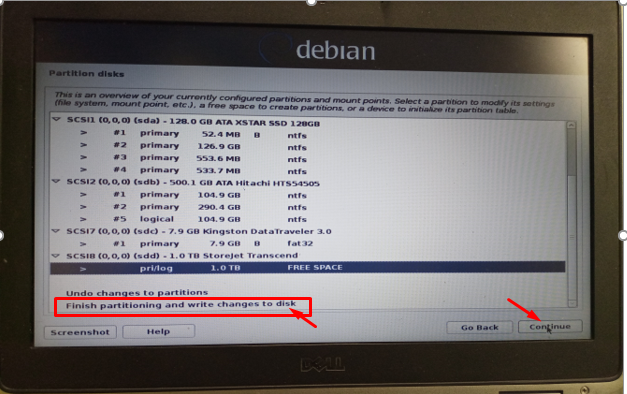
Step 18: Choose the option “Finish partitioning and write changes to disk” and once selected move towards the next step by choosing to click on the “Continue” option.
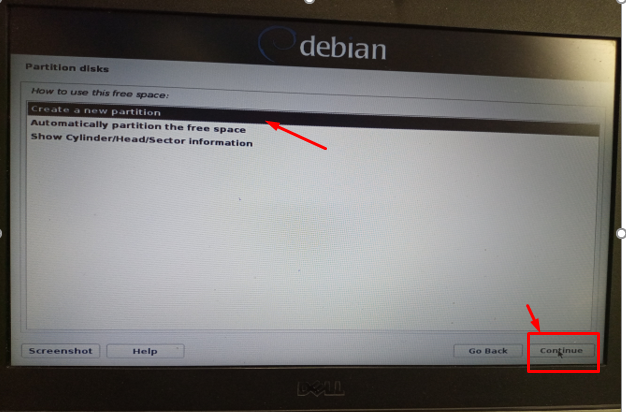
Step 19: Create a new partition in the next step and click on the “Continue” option.
Step 20: In the next step, you will need to provide the partition size and as we are using a 1TB external hard drive therefore the maximum size is 1TB but you have to create a minimum of 10GB space on your external hard drive where your Raspberry Pi OS will be installed.
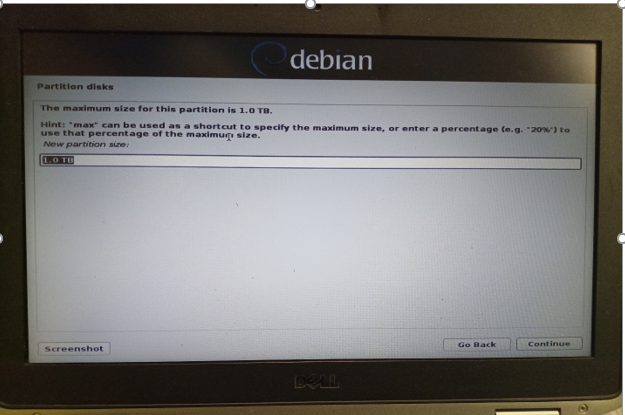

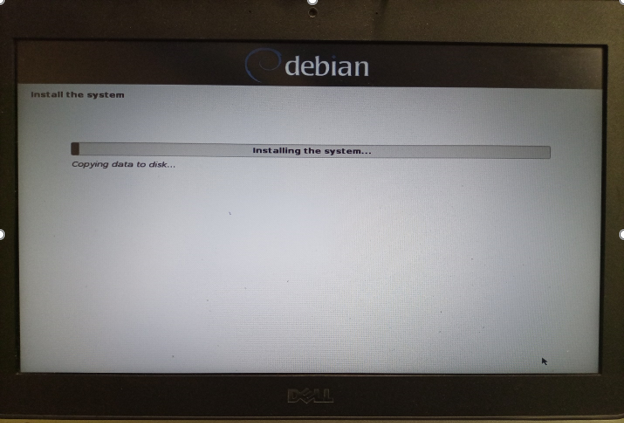
As soon as you click the “Continue” option, the installation process will begin which is shown in the image below.
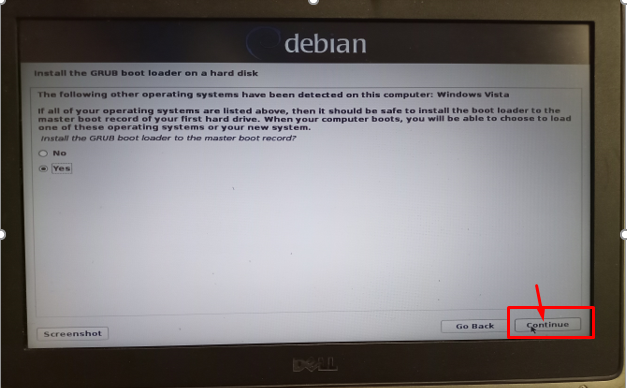
Step 21: During the installation, you will be required to install GRUB Bootloader and it’s up to you whether to install it as or not. It allows you to boot a single or multiple OS on the device so it’s recommended to install it by choosing the “Yes” option and then clicking on the “Continue” option to move towards the next step.
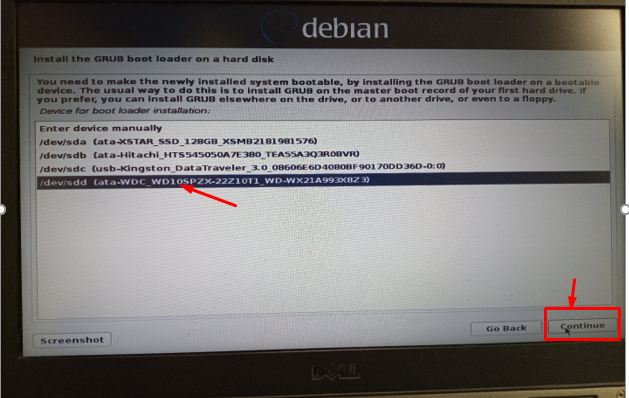
Step 22: Choose the location where you want to install “Bootloader” and you will need to select the drive in which you have installed the Raspberry Pi OS. In our case, it’s an external hard drive, so we will select it as shown in the image below.
Step 23: After clicking the “Continue” option, the setup process will take some time to install the OS on your PC.
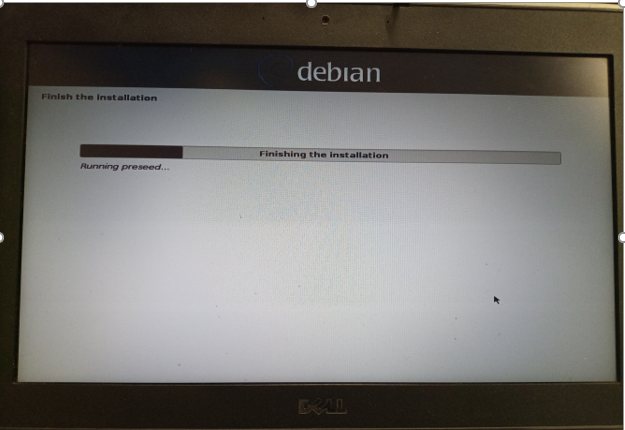
Step 24: Select the “Continue” option when the installation is complete and it will take some additional minutes to set up the Raspberry Pi OS on PC.


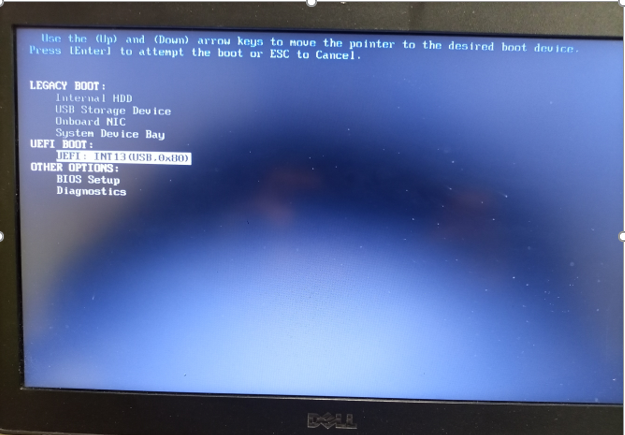
Step 25: Reboot your PC. If you have installed Raspberry Pi OS on your internal hard drive, then it will directly go into the OS.
If you have created it through an external hard drive, then press “F12 or F8” key to go into the boot option and there select the UEFI BOOT option.
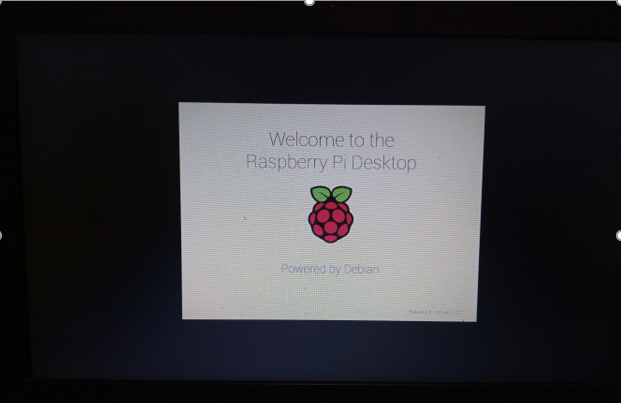
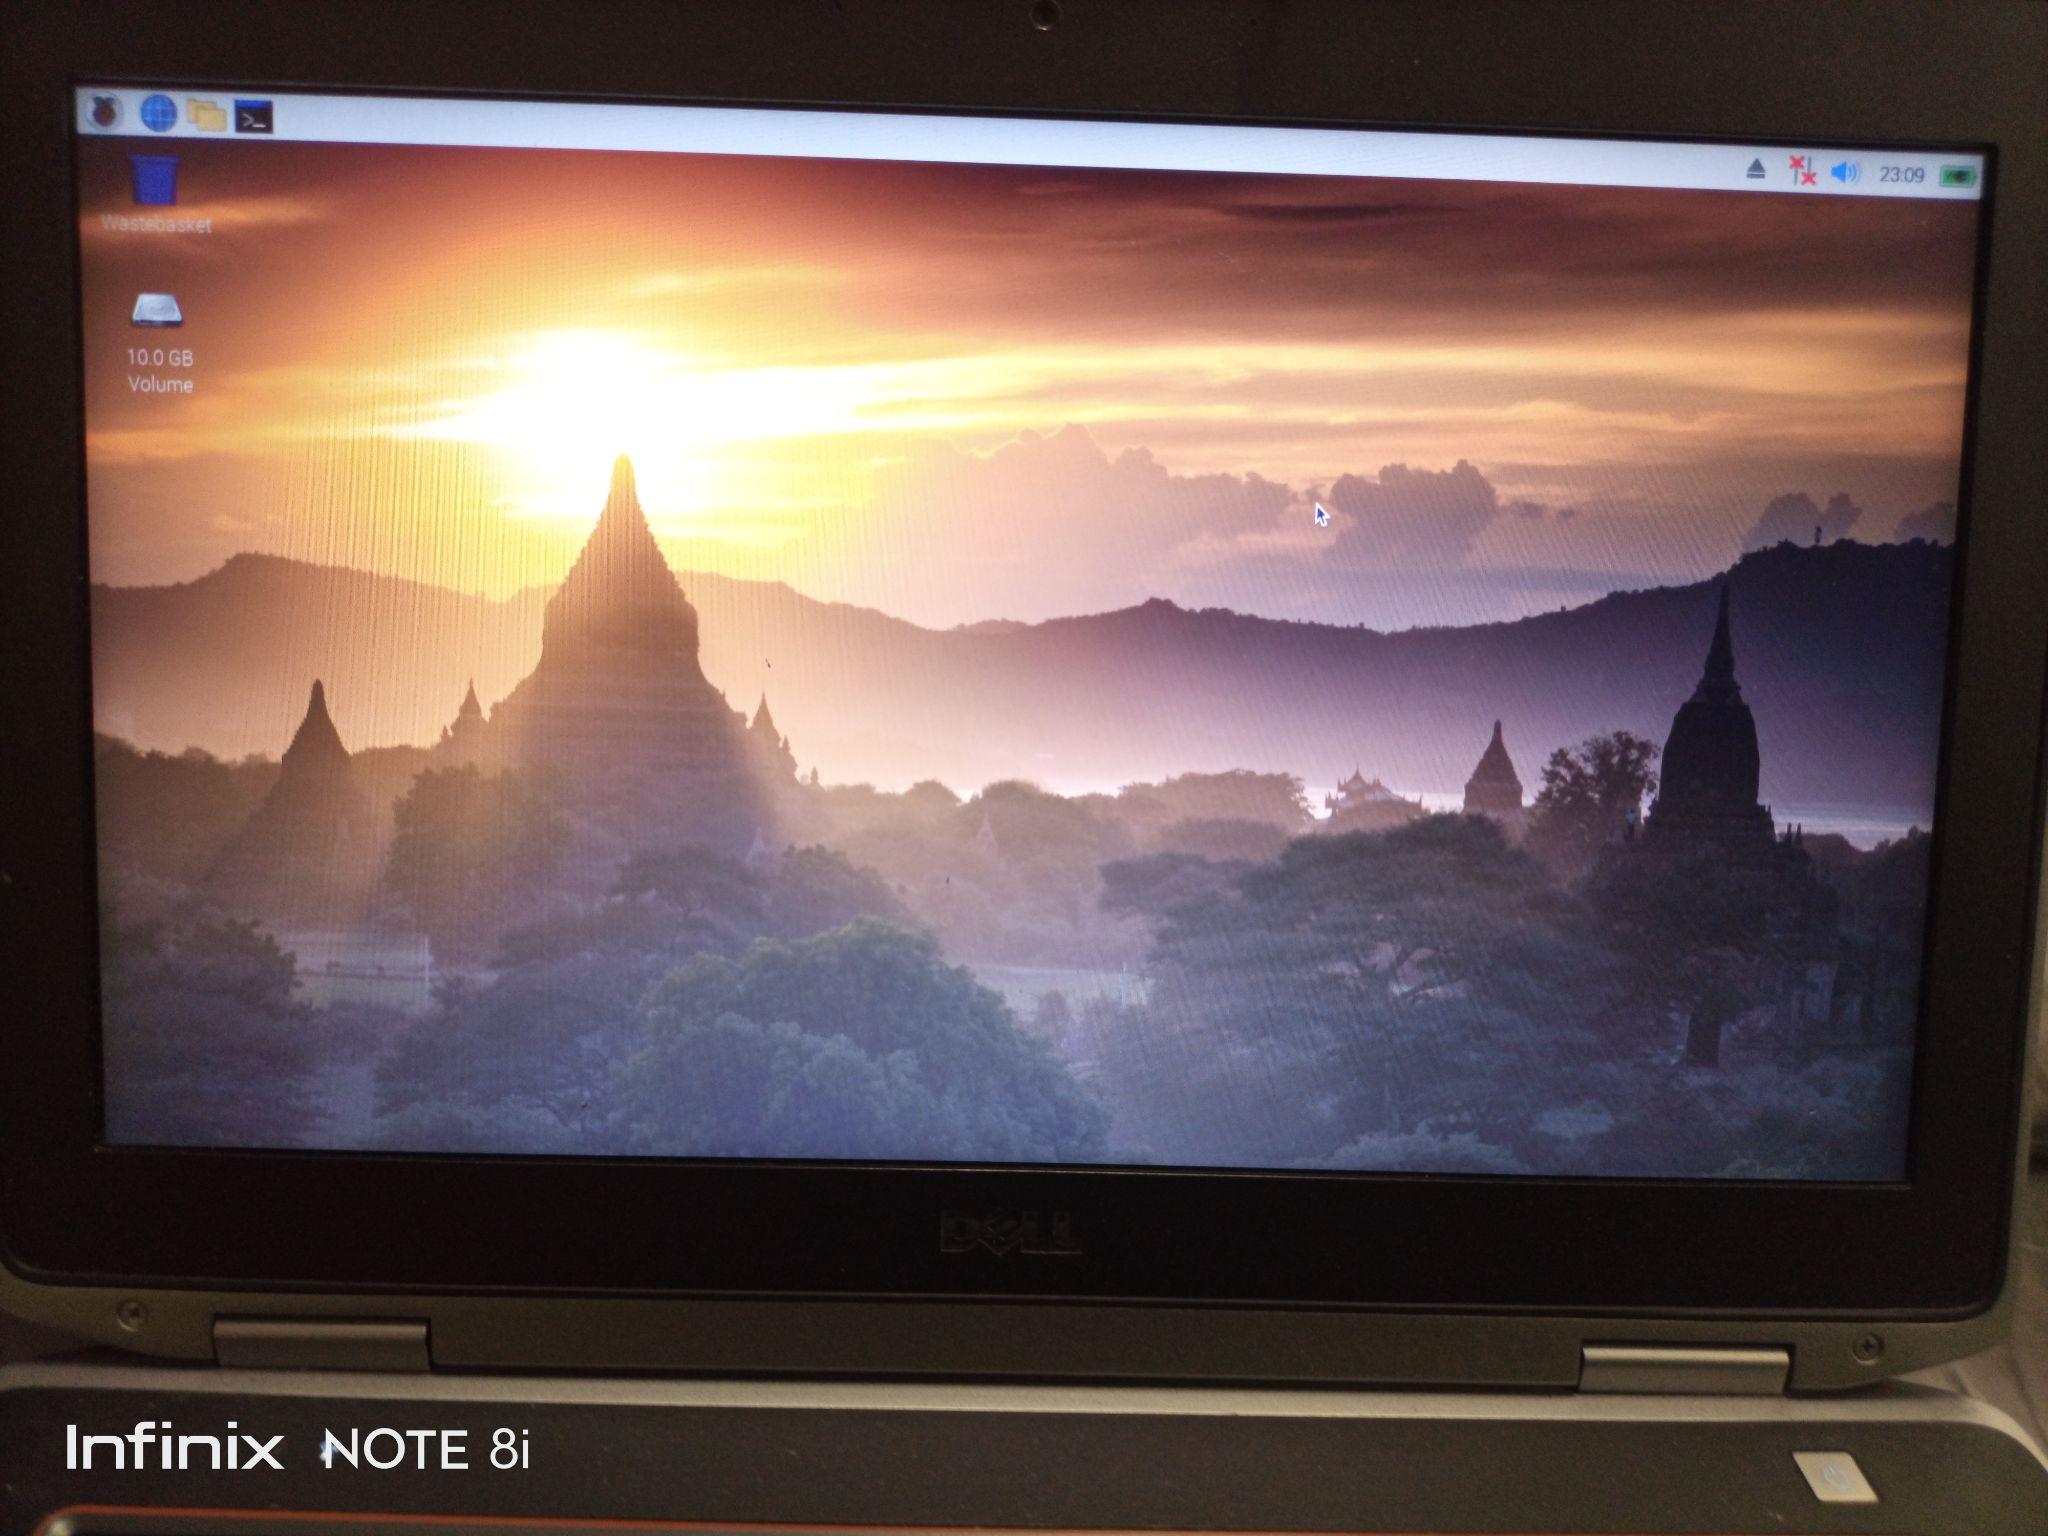
Step 26: You will also need to select “Run with persistence option” and after a few seconds, you will be greeted with the message “Welcome to Raspberry Pi Desktop” and thereafter, you will be able to see your Raspberry Pi desktop on your PC screen.
Conclusion
Raspberry Pi OS comes with a comprehensive desktop package and because of its lightweight and user-friendly environment, it will be a perfect pick for your older PC. The above instructions will guide you to install and run Raspberry Pi OS on your PC through an external hard drive. You will then be able to enjoy creating various projects and start refining your abilities through different IDEs already included in the OS. The setup process will take a few minutes and after that you will be ready to start working on Raspberry Pi OS.