Follow this guide to install pigpio on your Raspberry Pi system.
How to Install pigpio on Raspberry Pi
Installation of pigpio on Raspberry Pi is straightforward, which can be accomplished using the following steps:
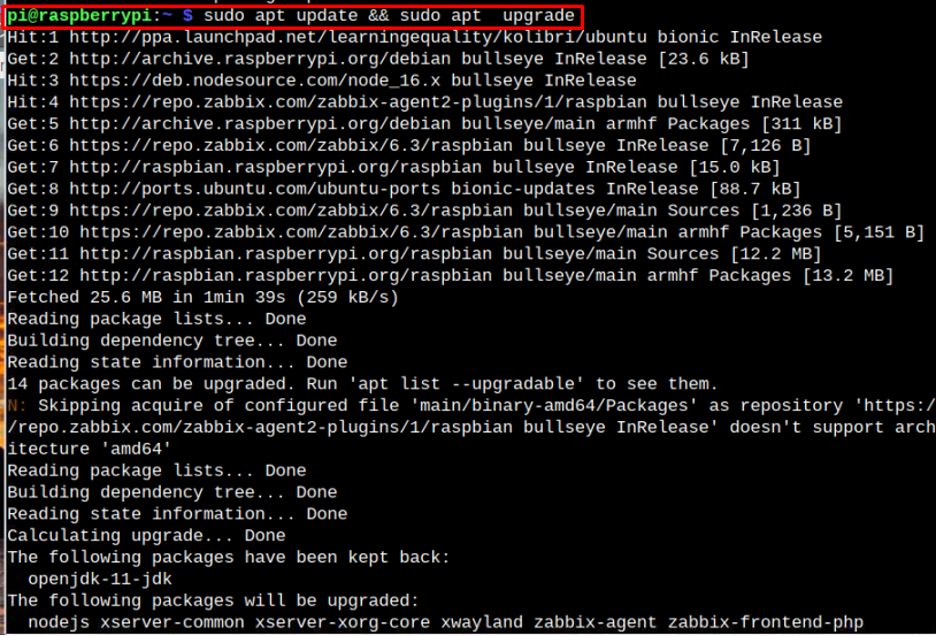
Step 1: Install Updates
Make sure your Raspberry Pi system is fully updated. If not, you can use the command shown below to update it.
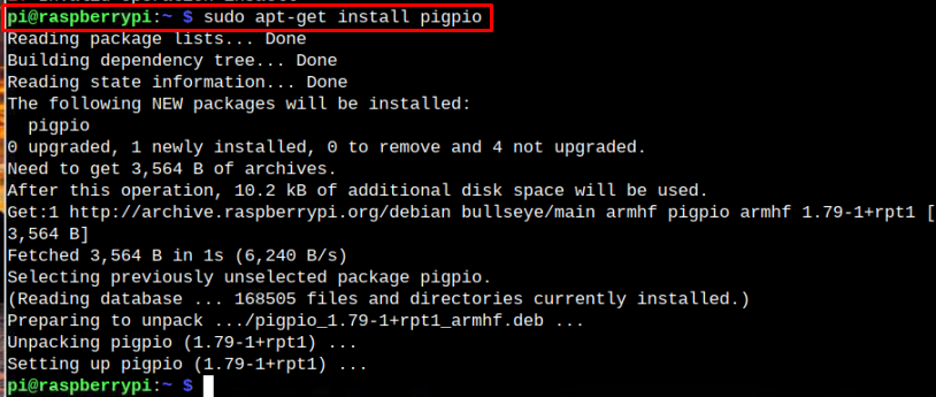
Step 2: Install pigpio
Now, next step is to install pigpio on the Raspberry Pi, which you can do using the following command:
Step 3: Start and Enable pigpio on Raspberry Pi
In order to control the pins of Raspberry Pi using pigpio, you first need to start and enable the pigpio daemon.
To start the daemon, use the below-given command:
Then enable the pigpio, use the following command:
After enabling the pigpio, you can now configure the GPIO pins.
Configuration of GPIO Pins
As an example, we are taking the GPIO 17 and GPIO 18 to configure them as Input and Output pins for the Raspberry Pi. Let’s configure the GPIO 17 as an output. To do this, you can execute the following syntax:
The “w” denotes the pin is used for writing.
If you want to assign input to the GPIO 18 pin, use below-given command.
The “r” denotes the pin is used for reading.
By default, the state of assigned GPIO pins are low “0”.
To assign “High” state value to the designated GPIO pins, you need to execute below-given command.
Similarly, we can set the state value to “Low” again by simply using the following command.
To check the status of the GPIO pins either it is “High” or “Low”. Run the below-given command.
In this way, you can control the Raspberry Pi GPIO pins through pigpio command-line tool.
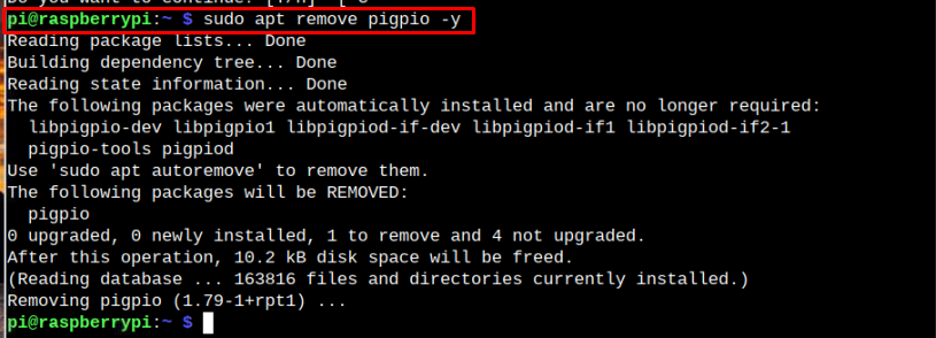
Remove pigpio from Raspberry Pi
To remove the pigpio from Raspberry Pi, run the below-given command.
Conclusion
The pigpio is an effective tool that lets you easily control Raspberry Pi’s GPIO Pins. You can install this tool from Raspberry Pi repository through “apt” command and then use different commands to control GPIO pins through Raspberry Pi terminal. The step-by-step instructions are already presented in the above-mentioned guidelines.


