Penpot is an open-source platform that helps teams in designing prototypes of web and mobile like Figma. However, it’s a lightweight application and includes tools for designing graphics as well, making it an ideal alternative to be used on the Raspberry Pi system.
In this article, we will show you the step-by-step procedure to install Penpot on the Raspberry Pi system.
Let’s start!
Install Penpot Figma Alternative on Raspberry Pi
To install Penpot on Raspberry Pi easily, you will need “Docker” and DockerCompose services and it must be installed on your Raspberry Pi system. To perform the installation, follow the below-mentioned steps:
Step 1: Installing Docker and Docker Compose
Execute the following command to install docker on your Raspberry Pi system:
After completing the installation of docker, follow the below-given command to install docker-compose through pip3 installer on Raspberry Pi:
In case your Raspberry Pi system doesn’t include a pip installer, you can follow this guide to install it on your system.
Step 2: Create Directory for Penpot
Now we will create a separate directory for Penpot inside the home directory location so that we can keep our Penpot-related files in it.
To switch to the new Penpot directory, follow the below-mentioned command:
Step 3: Download Penpot Docker Compose File
Within the directory, download Penpot docker-compose file from the following command:
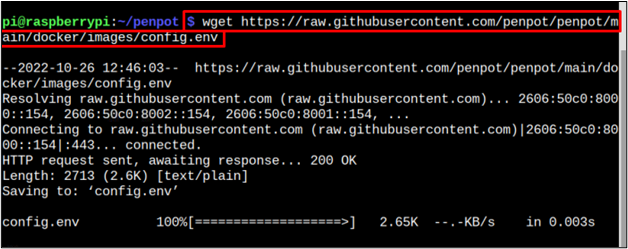
Step 4: Download Penpot Configured Environment File
You should also download the Penpot configured environment file from the following command as this is required for setting up Penpot installation on your system.
Step 4: Penpot Installation
Now finally use the following command to confirm the Penpot installation through docker-compose:
Step 5: Accessing Penpot
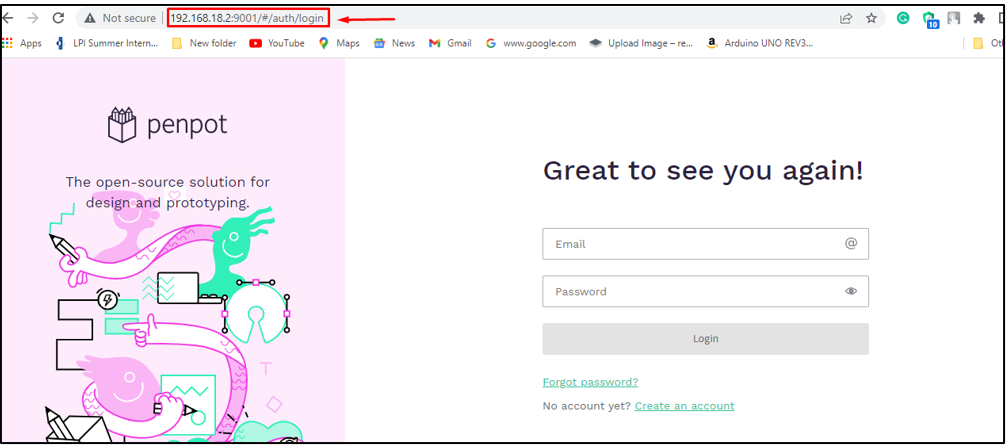
After the successful installation, it’s time to access the Penpot interface through the browser. To do that, open any of your browsers and type your local IP along with 9001:
Note: If you do not know your IP use “hostname -I” command on the terminal.
This opens the Penpot web interface on your system, which confirms the successful installation of this application on your Raspberry Pi.
Step 6: Creating Penpot Account
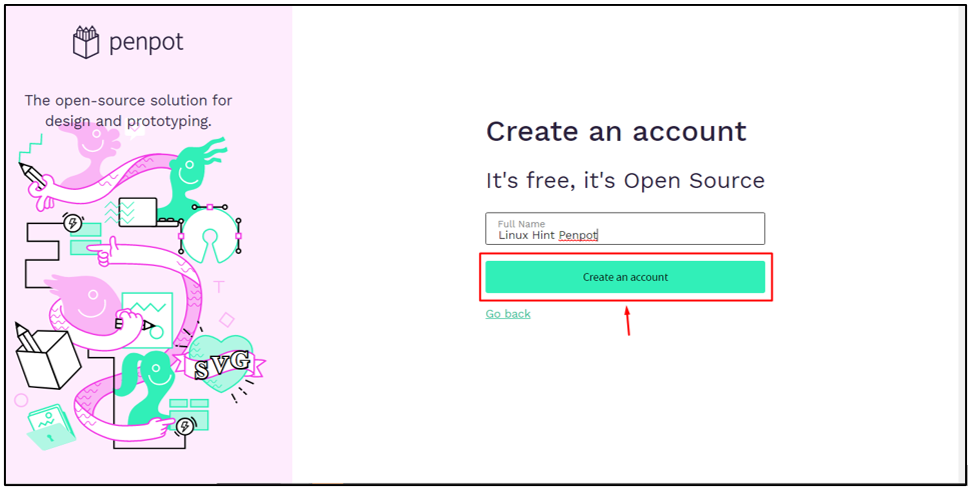
You have accessed Penpot but to use it, you have to create an account and to do that, enter your email and password and then click on the “Create an account” button.
Enter your full name in a Full Name block and that’s it! The account of Penpot has been created and now you can use Penpot on your browser.
Conclusion
Penpot is a platform used for designing mobile and web prototypes. You can install it through Docker and Docker-compose packages. These docker packages need to be installed first so that you can then be able to run the docker-compose command to install the Penpot application on your Raspberry Pi system. Its web interface can be accessed through any browser using the local host address and to start using it for designing, you must create an account first.


