Follow this guide to install the ownCloud Infinite Scale on Raspberry Pi.
Install ownCloud Infinite Scale on Raspberry Pi
Those users who are interested in installing ownCloud Infinite Scale on Raspberry Pi must follow the below-given steps:
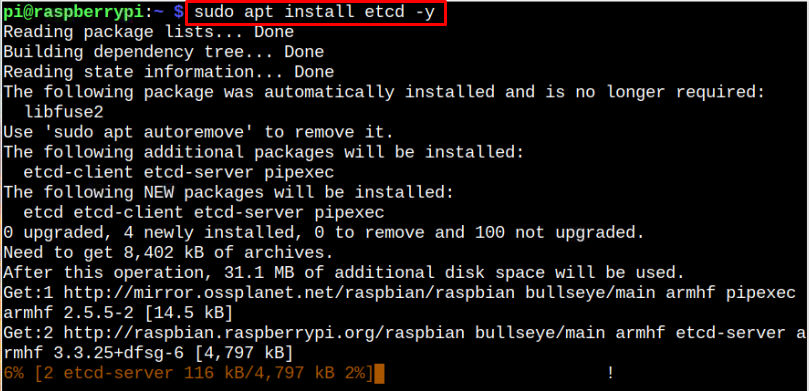
Step 1: Install etcd for Registry
The users must need to install the “etcd” utility on Raspberry Pi from the following command as this is required for registry purposes.
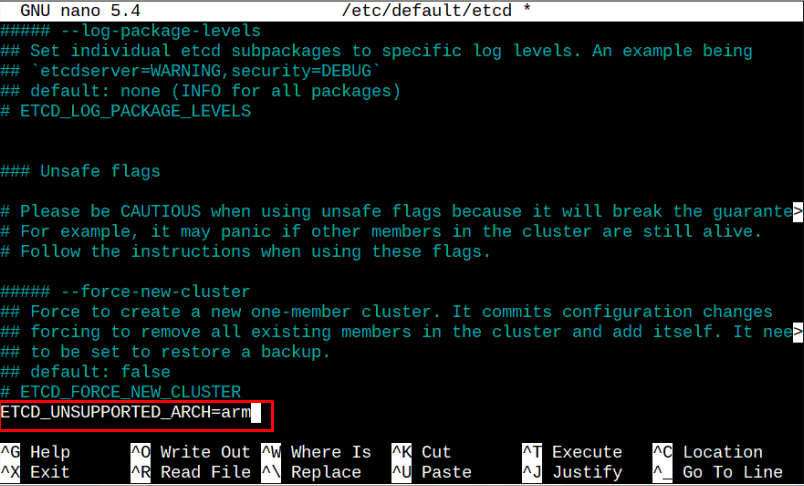
Step 2: Configure “etcd” File
Open the “etcd” configuration file on Raspberry Pi through nano editor:
Within the file, add the following line at the end.
Save the file using the “CTRL+X” key.
Step 3: Start “etcd” Service
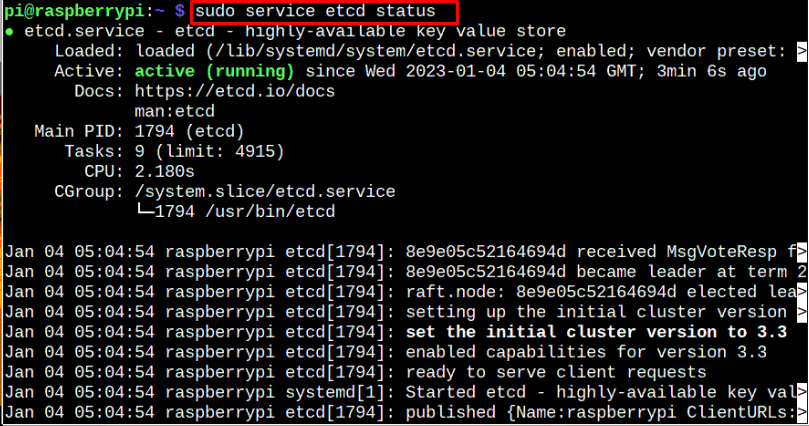
Start the “etcd” service on Raspberry Pi using the below-given command:
Check “etcd” service status using the following command:
Step 4: Download the ownCloud Infinite Scale ARM File
Visit here and download the ownCloud Infinite Scale ARM latest version file using the “curl” command as shown below:
Step 5: Make File Executable
Run the “chmod” command to give all permission to execute the ocis file on Raspberry Pi system:
Step 6: Create a Script File
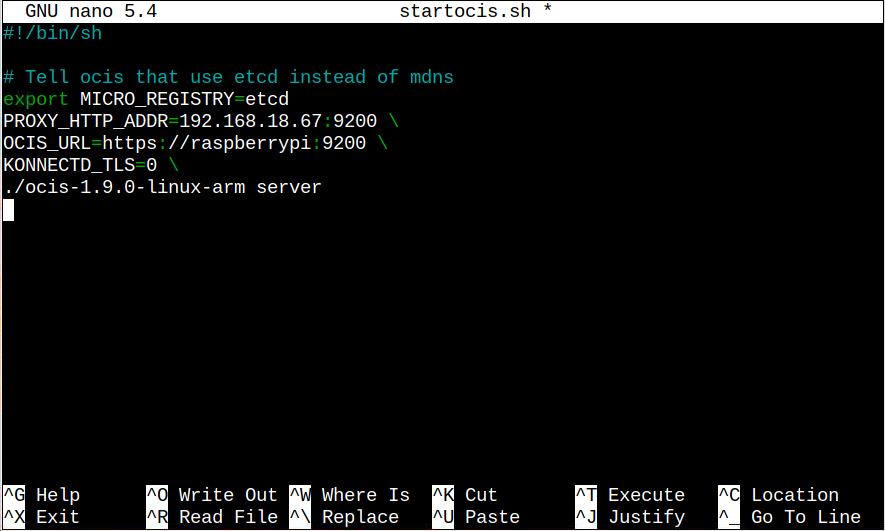
Now, create a script file “startocis.sh” using the nano editor:
Within the file, add the following lines:
# Tell ocis that use etcd instead of mdns
export MICRO_REGISTRY=etcd
PROXY_HTTP_ADDR=:9200 \
OCIS_URL=https://raspberrypi:9200 \
KONNECTD_TLS=0 \
./ocis-1.1.0-linux-arm server
Save the file.
Step 7: Access ownCloud on Raspberry Pi
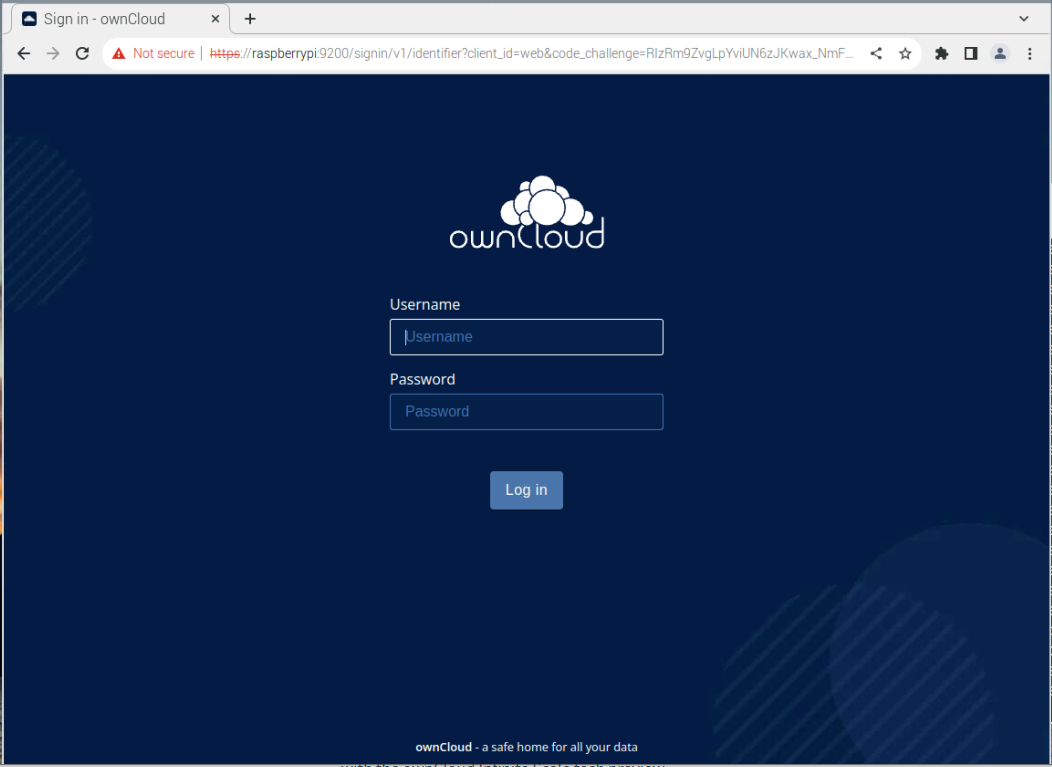
Now, open the Chromium browser on Raspberry Pi and enter the address https://raspberrypi:9200 to open the ownCloud dashboard. Or you can enter the address “https://Pi_IP:9200” to open the ownCloud dashboard on any browser.
At the login screen, use the default demo account with the username “einstein” and password as “relativity”.
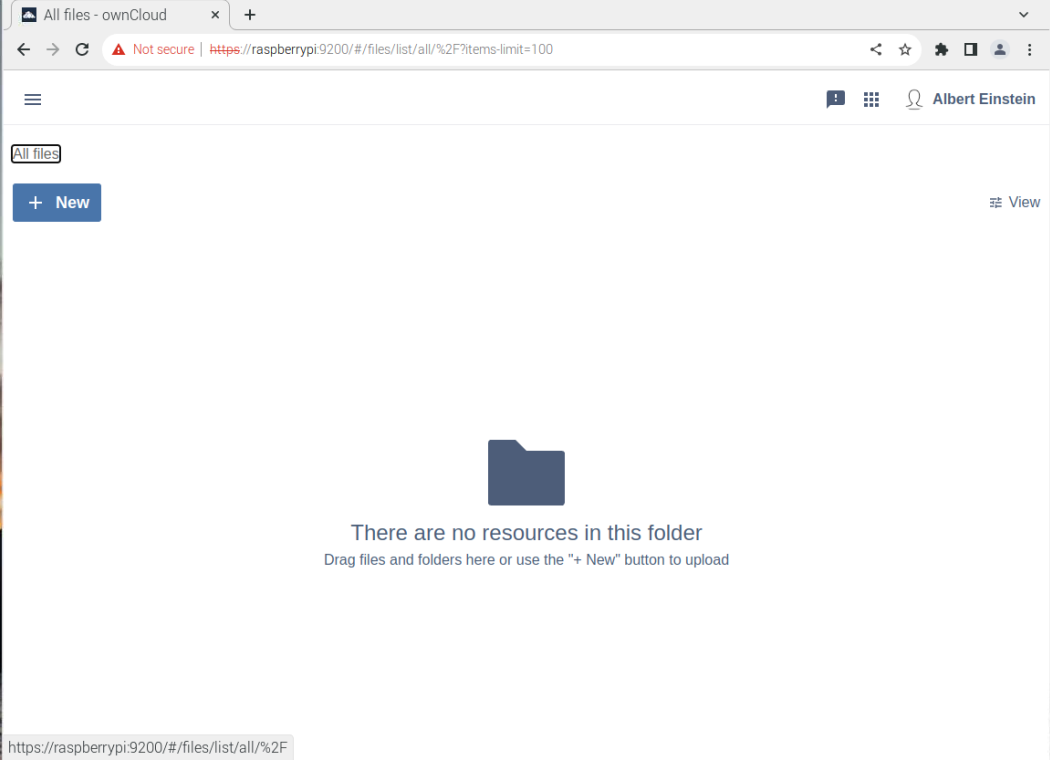
Here, the user can drag and drop files into the ownCloud Infinite Scale.
Conclusion
Installing ownCloud Infinite Scale on Raspberry Pi is quite simple, which first requires installing the “etcd” utility and then configuring the file using the nano editor. After the configuration, the users must install the latest version of the ownCloud Infinite Scale file and make it executable on the Raspberry Pi system. Later, add some lines inside a .sh script file and run it on the system. During the successful run, the user can access the ownCloud dashboard on the browser with the address https://raspberrypi:9200.

