OpenCV is compatible with Windows, macOS, and different distributions of Linux, so in this write-up, we will discuss the installation of OpenCV on Raspberry Pi.
How to install OpenCV on the Raspberry Pi
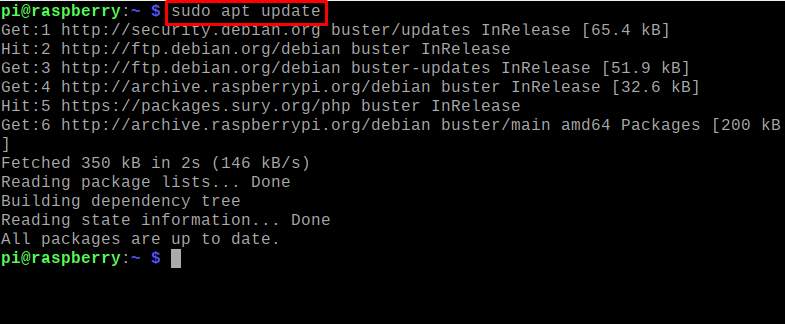
We will update the repository of the Raspberry Pi operating system using the apt package manager:
After making sure all the packages included in the Raspberry Pi repository are up to date, we will install the OpenCV on Raspberry Pi:
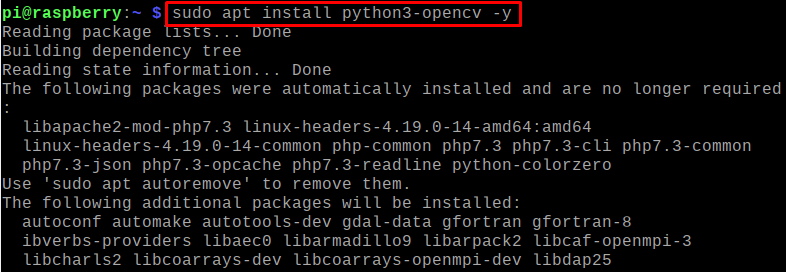
The OpenCV has been installed using the repository of the Raspberry Pi.
How do I know if OpenCV is installed on my Raspberry Pi
To confirm the installation of OpenCV, we will check its version by using the command:

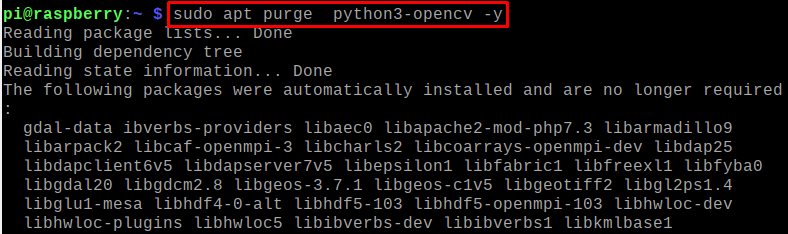
How to uninstall OpenCV on the Raspberry Pi
The version of OpenCV is confirming the installation of OpenCV and now if we want to remove the OpenCV from the Raspberry Pi, execute the command:
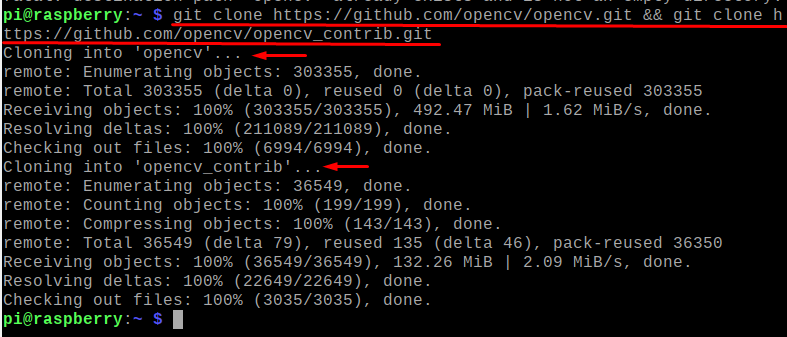
How to download and install OpenCV from the GitHub repository
We can download the package of OpenCV and the OpenCV_contrib from the repository of the GitHub using the command:
To check the version of downloaded OpenCV, we will go its directory and check the version using the command:

Similarly, we will check the downloaded version of OpenCV_contrib using the command:

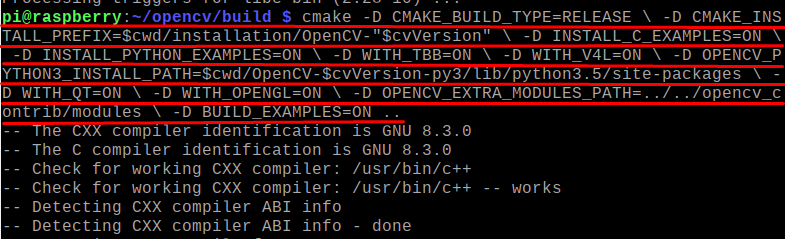
Both the packages are up to date, now we will compile the OpenCV files so that we can install them, for the compilation we will first navigate to the OpenCV directory, make a directory with the name of build, and navigate to it using the command:

To compile the OpenCV libraries and other files, use the command:
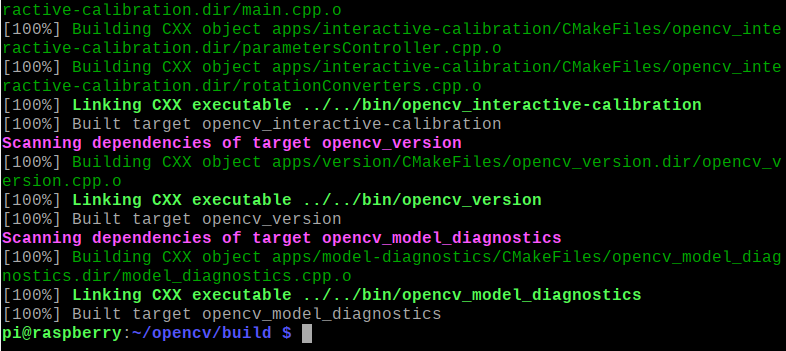
Once the compilation is done, we will make all the compilations according to the number of processors of our system using the command:
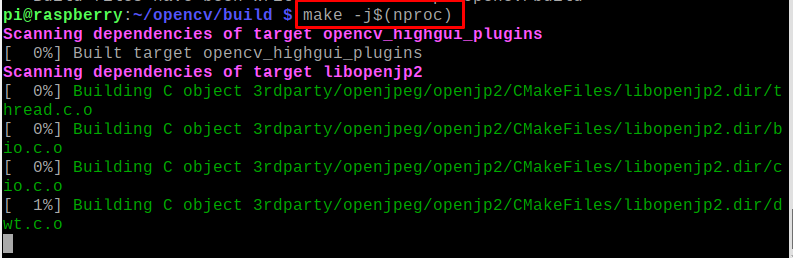
It will take some time depending on the number of processors your system has:
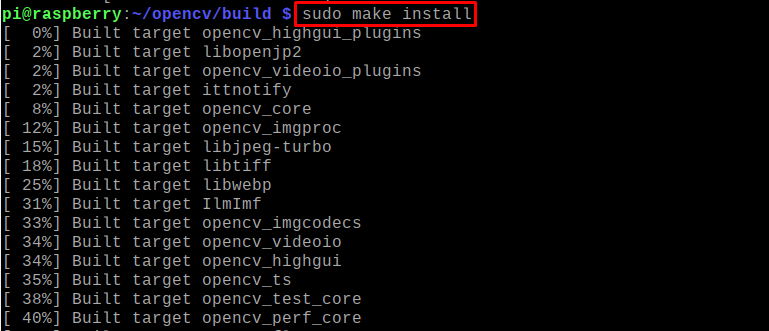
Now it’s time to install the OpenCV using the command:
To verify the installation, we will again check the version of OpenCV using the command:

Conclusion
The OpenCV is an open-source tool that is used in machine learning and computer vision-related tasks, moreover, one of the features of the OpenCV tool is that it supports a variety of programming languages including Python, Java, and C programming. In this write-up, we have discussed the installation of the OpenCV by using the repository of Raspberry Pi and GitHub, but it is recommended to install it using the Raspberry Pi repository because it consumes less time for installation.