NPM, commonly referred as Node Package Management is a default package managing tool for JavaScript runtime Node.js. It is an online repository that handles node.js packages on your system. The npm has a registry that can be accessed via client while the packages are browsed through the online npm website. Thus, whenever you want to install node.js packages on your system, you will surely need npm service.
In this article, we will guide you to install npm on your Raspberry Pi system.
Prerequisites
Before starting the installation process, make sure your Raspberry Pi system has a stable Internet connection and proper power Supply.
How to Install NPM on Raspberry Pi
To install npm on your Raspberry Pi system, follow the below-mentioned steps:
Step 1: First, use the below-mentioned command to add the source file of the version of node.js you want to install. Here, we are installing version 14.x because this is the most recommended version for Raspberry Pi:
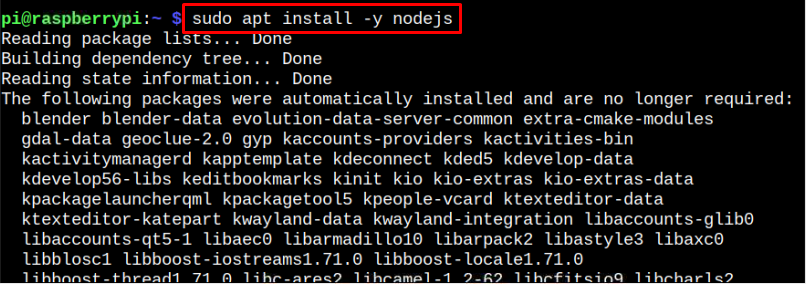
Step 2: Then to give the approval for installation of the node.js by executing the below-mentioned command with y flag to approve the installation:
The above command installs node.js and npm simultaneously on your Raspberry Pi system.
After completing the installation, you can check node.js and npm version by typing the below-mentioned commands:
$ npm --version
Remove NPM From Raspberry Pi
To remove both node.js and NPM from Raspberry Pi system, hit the below-mentioned command
This will successfully remove both tools from your Raspberry Pi system.
Conclusion
The NPM is used to manage Node.js tool, thus whenever you install Node.js on your Raspberry Pi system, it automatically installs the NPM as well. The above guide will show you how you can install node.js and npm together from apt installation command. The apt installation command will work only if you manage to add the node’s source file through curl command. You can verify the NPM version from the “version” command.


